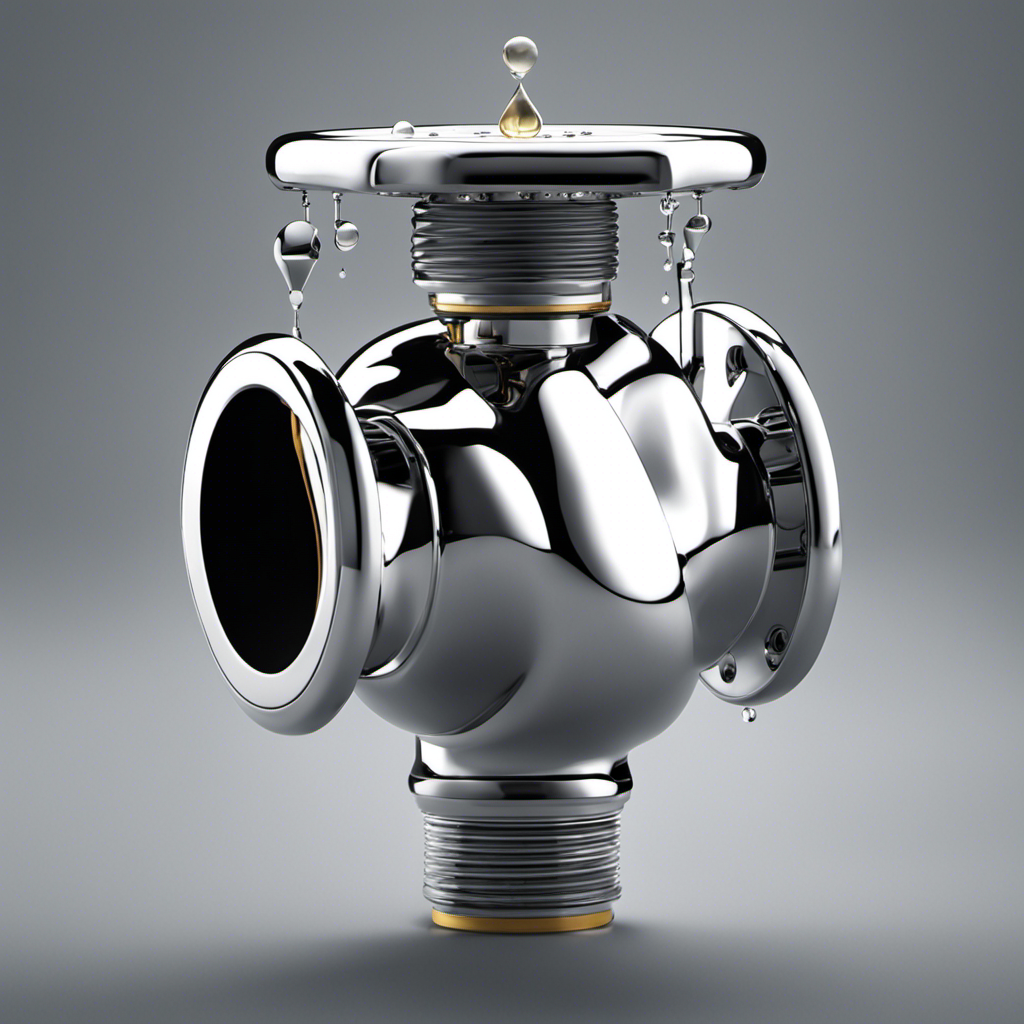
Did you know that a leaking toilet valve can waste up to 200 gallons of water per day? If you’re experiencing this issue, don’t worry – I’ve got you covered.
In this article, I will guide you through the steps of fixing a leaking toilet valve. We’ll start by assessing the leak and shutting off the water supply.
Then, I’ll show you how to remove, repair or replace the valve, and finally, we’ll reassemble and test the toilet valve to ensure it’s working perfectly.
Let’s get started!
Key Takeaways
- Leaking toilet valves can waste up to 200 gallons of water per day.
- It is important to shut off the water supply before fixing the leak.
- Removing the toilet valve is crucial for replacing a toilet and fixing plumbing issues.
- The valve should be repaired or replaced if it is damaged or worn.
Assessing the Leak
To assess the leak in your toilet valve, you’ll need to first turn off the water supply.
Toilet valve leaks can be caused by various factors, such as worn-out washers, loose connections, or a faulty valve mechanism. Troubleshooting common toilet valve problems involves a systematic approach.
Start by examining the water supply line for any visible signs of leakage. Check the valve for any loose or damaged parts. If you notice water dripping from the valve, it could indicate a worn-out washer that needs to be replaced. Additionally, ensure that the valve is tightly connected to the toilet tank.
Shutting off the Water Supply
Before you can work on the toilet valve, it’s important to shut off the water supply. This ensures that you won’t have water spewing out while you’re trying to fix the leak. To shut off the water supply, locate the shut-off valve, which is usually located behind or beside the toilet. Turn the valve clockwise until it is fully closed.
Once the water supply is shut off, you can proceed with fixing the leaking toilet valve.
Before you begin any repairs, it’s a good idea to check for any additional leaks or issues. This can be done by inspecting the surrounding area for any signs of water damage or dampness. Additionally, you can adjust the water pressure if necessary. A water pressure gauge can be helpful in determining if the pressure is too high or too low. Adjusting the water pressure can help prevent future leaks and keep your toilet functioning properly.
Removing the Toilet Valve
Once you’ve shut off the water supply, it’s time to remove the toilet valve. This step is crucial in the process of replacing a toilet and fixing plumbing issues.
To remove the valve, start by disconnecting the water supply line from the bottom of the valve using an adjustable wrench. Next, remove the nut that secures the valve to the bottom of the toilet tank. Once the nut is removed, you can easily lift the valve out of the tank. Be careful not to damage any surrounding parts during this process.
Now that the valve is removed, you can move on to repairing or replacing it to ensure your toilet functions properly.
Repairing or Replacing the Valve
When repairing or replacing the valve, you’ll need to assess the extent of the damage and gather the necessary tools.
Valve problems are common in toilets and can lead to leaks or inefficient flushing.
To fix a leaking toilet valve, you can start by turning off the water supply to the toilet using the shut-off valve located behind the toilet.
Next, you’ll need to drain the remaining water from the tank and remove the valve assembly.
Inspect the valve for any signs of damage or wear, such as cracks or corrosion.
Depending on the issue, you may be able to repair the valve by replacing the faulty parts or seals.
If the valve is severely damaged, it may be best to replace it entirely.
Remember to follow the manufacturer’s instructions and use the appropriate repairing techniques for your specific valve model.
Reassembling and Testing the Toilet Valve
To reassemble and test the toilet valve, you’ll want to carefully follow the steps you took to remove it, making sure all the parts fit back together properly.
Here are some troubleshooting tips and testing methods to ensure your toilet valve is working efficiently:
-
Troubleshooting tips:
-
Inspect all the valve components for any signs of damage or wear.
-
Clean and remove any debris or mineral deposits that may have accumulated on the valve parts.
-
Testing methods:
-
Turn on the water supply and check for any leaks around the valve connections.
-
Flush the toilet and observe if the valve shuts off properly, without any water continuously flowing into the tank.
Conclusion
In conclusion, fixing a leaking toilet valve is a relatively simple task that can be completed by following a few steps. By assessing the leak, shutting off the water supply, removing and repairing or replacing the valve, and reassembling and testing it, you can successfully resolve the issue.
Did you know that a leaking toilet valve can waste up to 200 gallons of water per day? This staggering statistic should evoke a sense of urgency in addressing the problem promptly to conserve water and prevent unnecessary expenses.


