Alright, let’s tackle the task of removing a toilet seat. They say ‘knowledge is power,’ so let me empower you with the step-by-step process.
I’ll guide you through the tools you’ll need, preparing the seat, removing the bolts or screws, detaching the seat from the bowl, and finally, cleaning and replacing the seat.
By the end, you’ll have the know-how to confidently tackle this bathroom maintenance task.
So, let’s get started, shall we?
Key Takeaways
- Tools such as a screwdriver and pliers are necessary for removing a toilet seat.
- Different types of toilet seats available in the market include plastic, wood, and cushioned seats.
- Regular cleaning with mild soap and water is recommended for all types of toilet seats.
- When removing a toilet seat, it is important to wear protective gloves and avoid using excessive force to prevent damage to the toilet bowl.

LemonBest Toilet Seat Fitting Tool – Universal Toilet seat Installation Key, Toilet Seat Repair Wrench, 10/13/17mm Professional Universal Plastic High-Strength Installation Key (1 Pack)
- Universal Rotation Design: Convenient for hard-to-reach areas
- Multiple Interface Sizes: Fits 10mm, 13mm, and 17mm screws
- Anti-slip Handle: Ensures a secure grip during use
As an affiliate, we earn on qualifying purchases.
As an affiliate, we earn on qualifying purchases.
Tools You’ll Need
You’ll need a screwdriver and pliers to take the toilet seat off.
Proper maintenance of your toilet seat is essential for hygiene and durability. There are different types of toilet seats available in the market, including plastic, wood, and cushioned seats. Each type requires specific care and maintenance to prolong its lifespan.
Regular cleaning with mild soap and water is recommended for all types of seats. Plastic seats are more prone to cracking, so avoid using harsh cleaning chemicals. Wood seats should be treated with a protective sealant to prevent moisture absorption. Cushioned seats require gentle cleaning and should be replaced if torn or damaged.
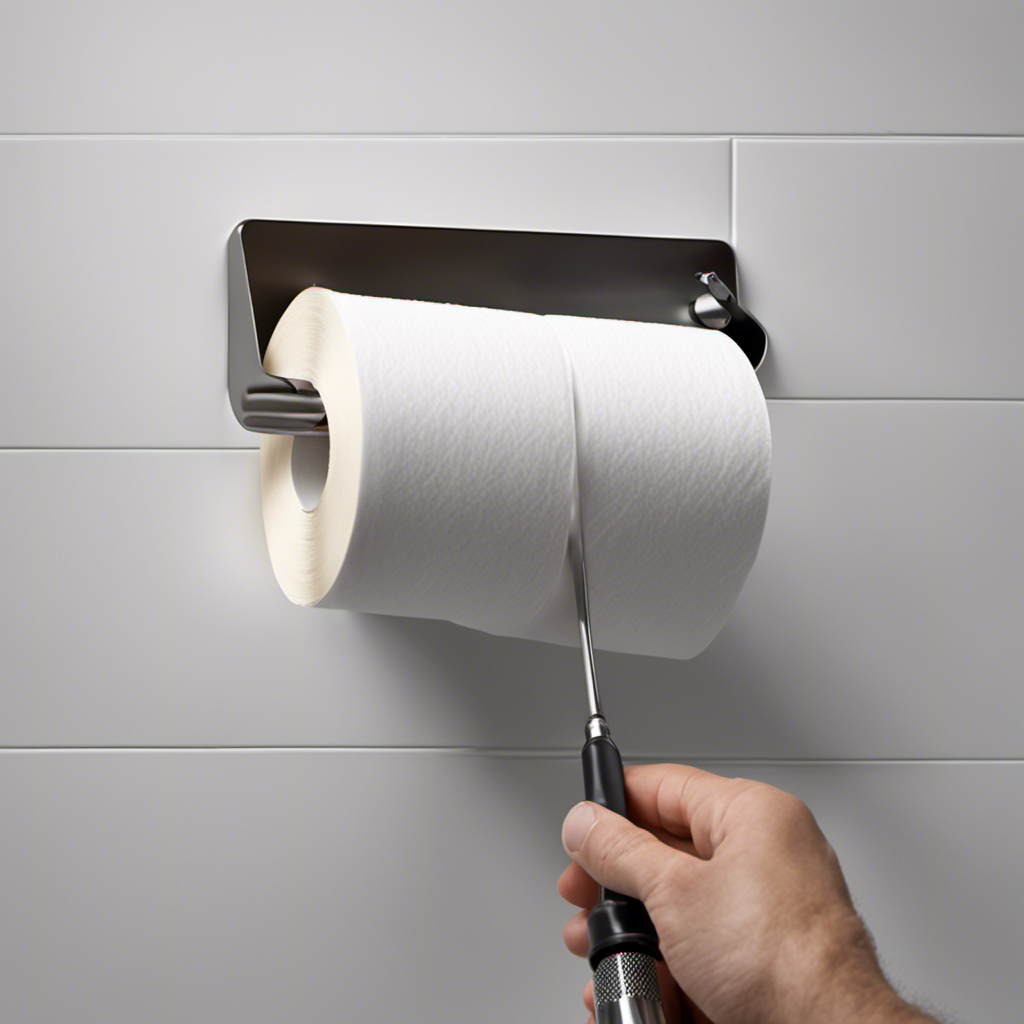
Preparing the Toilet Seat
Before starting, it’s important to gather the necessary tools to remove a toilet seat. Once you have the tools, you can begin preparing the toilet seat.
Here are the steps to follow:
-
Step 1: Inspect the existing toilet seat for any cracks or damage. If there are any issues, replace the seat entirely.
-
Step 2: Clean the area around the toilet seat hinges to ensure a smooth removal process.
-
Step 3: Loosen the nuts or screws that secure the seat to the toilet bowl. Use a wrench or pliers to loosen them, depending on the type of fasteners used.
Once you have successfully removed the old toilet seat, you can proceed with fitting the new toilet seat. Make sure to align it properly and tighten the nuts or screws securely. If you encounter any common issues during the process, such as stripped screws or difficulty removing the seat, refer to the troubleshooting guides provided by the manufacturer.
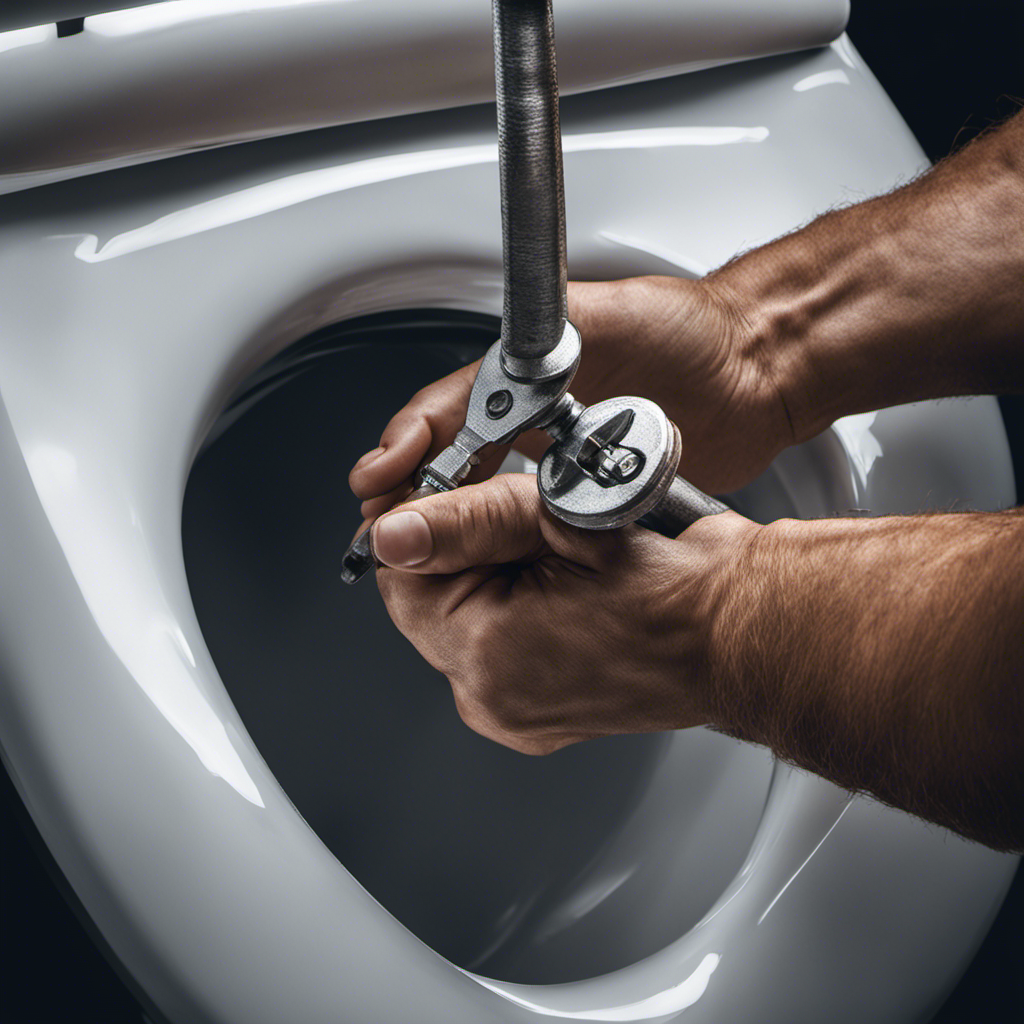
Removing the Bolts or Screws
After inspecting the existing toilet seat for any cracks or damage, it’s time to loosen the nuts or screws that secure the seat to the toilet bowl.
To remove the bolts or screws, it is important to use the proper technique to avoid any mishaps. Start by locating the nuts or screws underneath the toilet seat. Using a wrench or pliers, turn the nuts counterclockwise to loosen them. Be careful not to apply too much force, as this may cause damage to the toilet bowl.
It is also important to avoid common mistakes, such as using the wrong tools or overtightening the nuts or screws. By following these steps, you can safely remove the toilet seat without any issues.
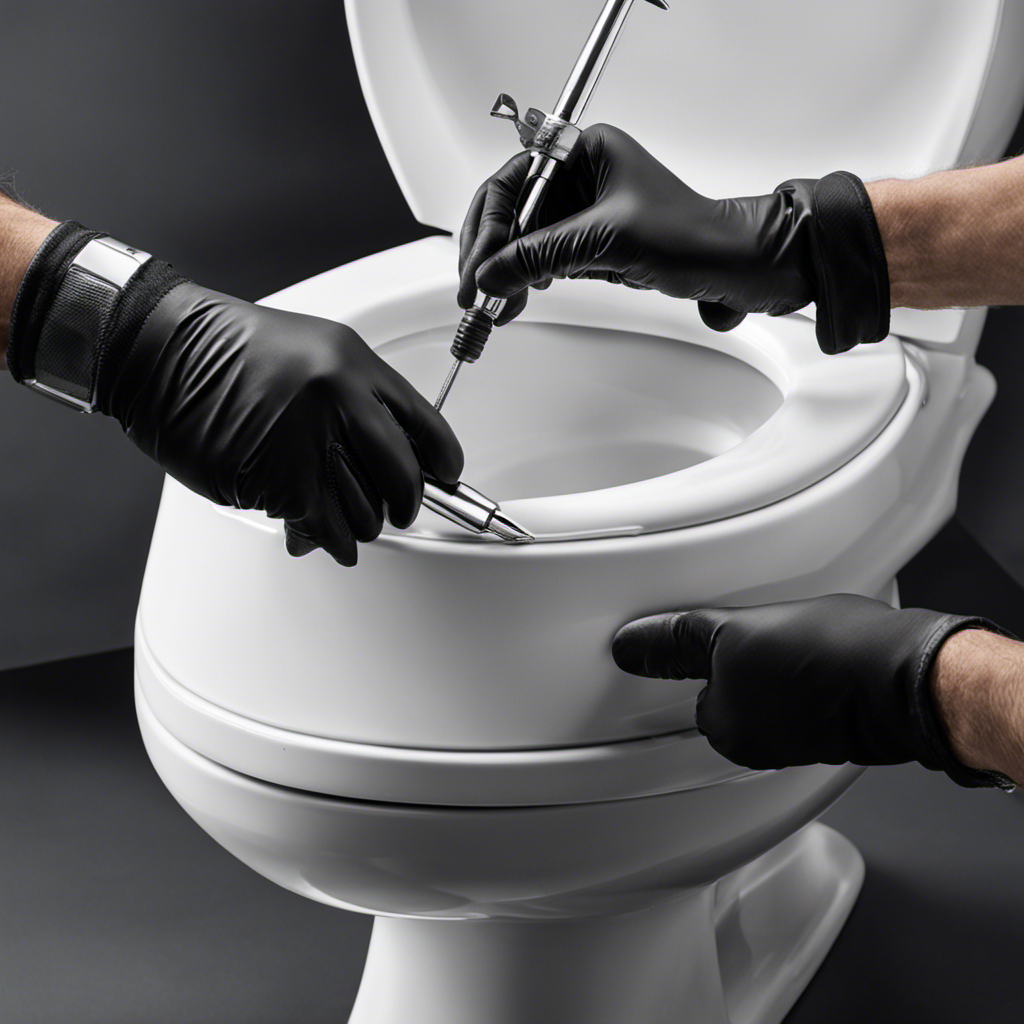
Detaching the Toilet Seat From the Bowl
To detach the toilet seat from the bowl, simply locate the bolts or screws underneath and use a wrench to loosen them. Before beginning, it’s important to take some safety precautions during toilet seat removal.
First, make sure to wear protective gloves to avoid any contact with bacteria or germs. Additionally, ensure that the toilet is securely fastened to the floor to prevent any movement or instability.
When detaching the toilet seat, it’s crucial to avoid common mistakes that can cause damage or difficulty. One mistake to avoid is using excessive force when loosening the bolts or screws. This can lead to stripped threads or even breakage. Another mistake is not properly supporting the toilet seat during removal, which can cause it to fall and potentially cause injury. Lastly, be careful not to scratch or damage the toilet bowl or surrounding surfaces.
Now that the toilet seat is successfully detached from the bowl, it’s time to move on to the next step: cleaning and replacing the toilet seat.
Cleaning and Replacing the Toilet Seat
Once the toilet seat is detached, it’s important to thoroughly clean it before replacing it. Toilet seat maintenance is crucial for hygiene and longevity.
To start, gather cleaning supplies such as disinfectant spray or wipes, a soft cloth, and a mild detergent.
Begin by spraying the disinfectant or wiping down the seat with the disinfectant wipes. Make sure to clean both the top and underside of the seat, as well as the hinges and bolts.
For more stubborn stains, use a mild detergent and a soft cloth to gently scrub the surface. Rinse the seat thoroughly with water and dry it with a clean cloth.
When replacing the seat, ensure you choose the right toilet seat that fits your toilet bowl properly. Consider factors such as shape, material, and durability to make an informed decision.
Proper cleaning and choosing the right toilet seat will promote cleanliness and comfort in your bathroom.
Conclusion
In conclusion, removing a toilet seat may seem like a simple task, but it requires careful preparation and precise execution. By following the steps outlined in this article and using the necessary tools, you can successfully detach the seat from the bowl.
Remember to clean the area thoroughly before replacing the seat to maintain hygiene.
So, if you’re ready to embark on this DIY adventure, prepare yourself for the suspenseful challenge of getting that toilet seat off!