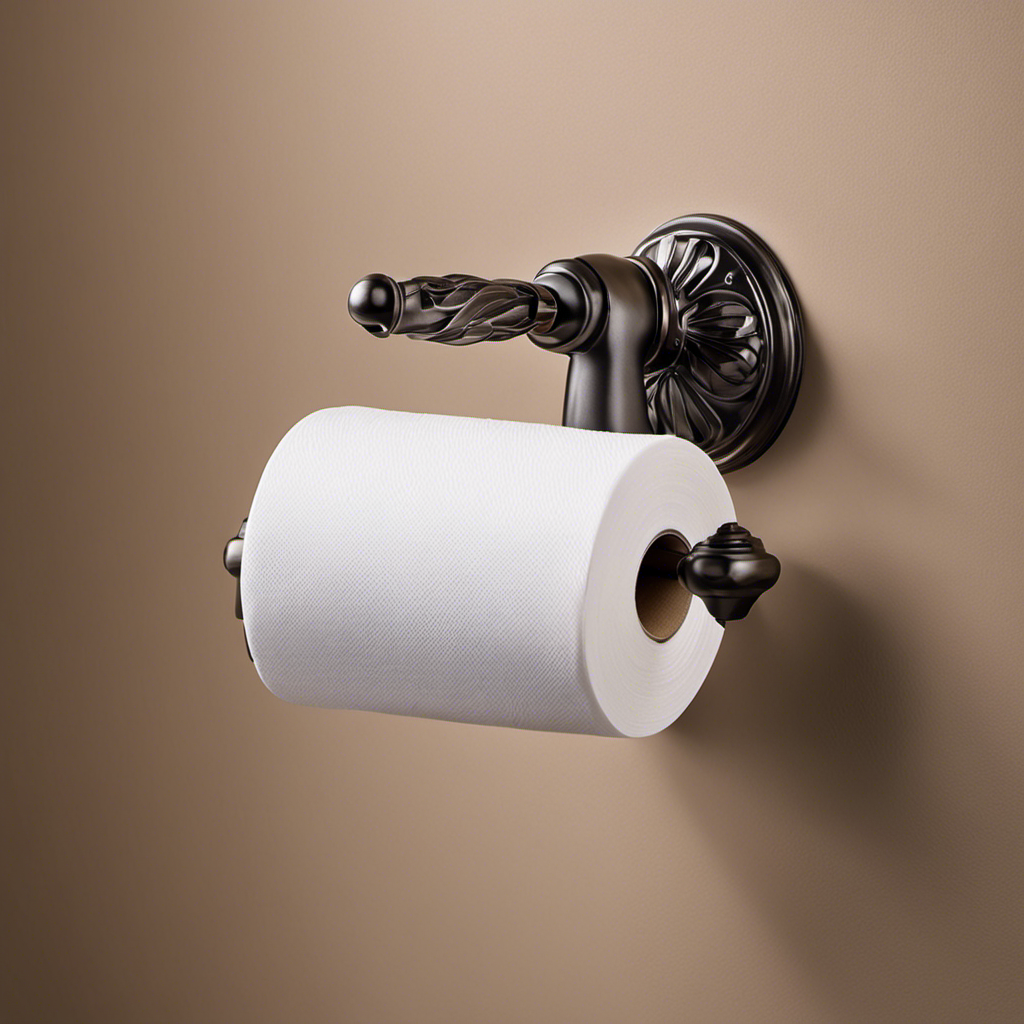
I’ve discovered a foolproof method to remove a toilet paper holder without any hassle.
In just a few simple steps, you can easily take down a wall-mounted or freestanding holder, whether it’s rusty, recessed, or even ceramic or tile-mounted.
No need to worry about damaging your walls or tiles – I’ve got you covered with all the tips and tricks you need.
Get ready to say goodbye to that old holder and hello to a fresh new look in your bathroom.
Key Takeaways
- The tools needed for removing a toilet paper holder include a screwdriver, pliers, a stud finder, a putty knife, and an adjustable wrench.
- The steps to remove a wall-mounted toilet paper holder are to locate and unscrew the screws, gently pull the holder away from the wall, and use pliers if necessary to pry it off.
- To prevent wall damage, consider alternative mounting options, remove screws gently, and ensure the holder comes off easily without force.
- Depending on the type of toilet paper holder, such as freestanding, recessed, rusty or corroded, or ceramic or tile-mounted, specific steps may need to be taken for removal.
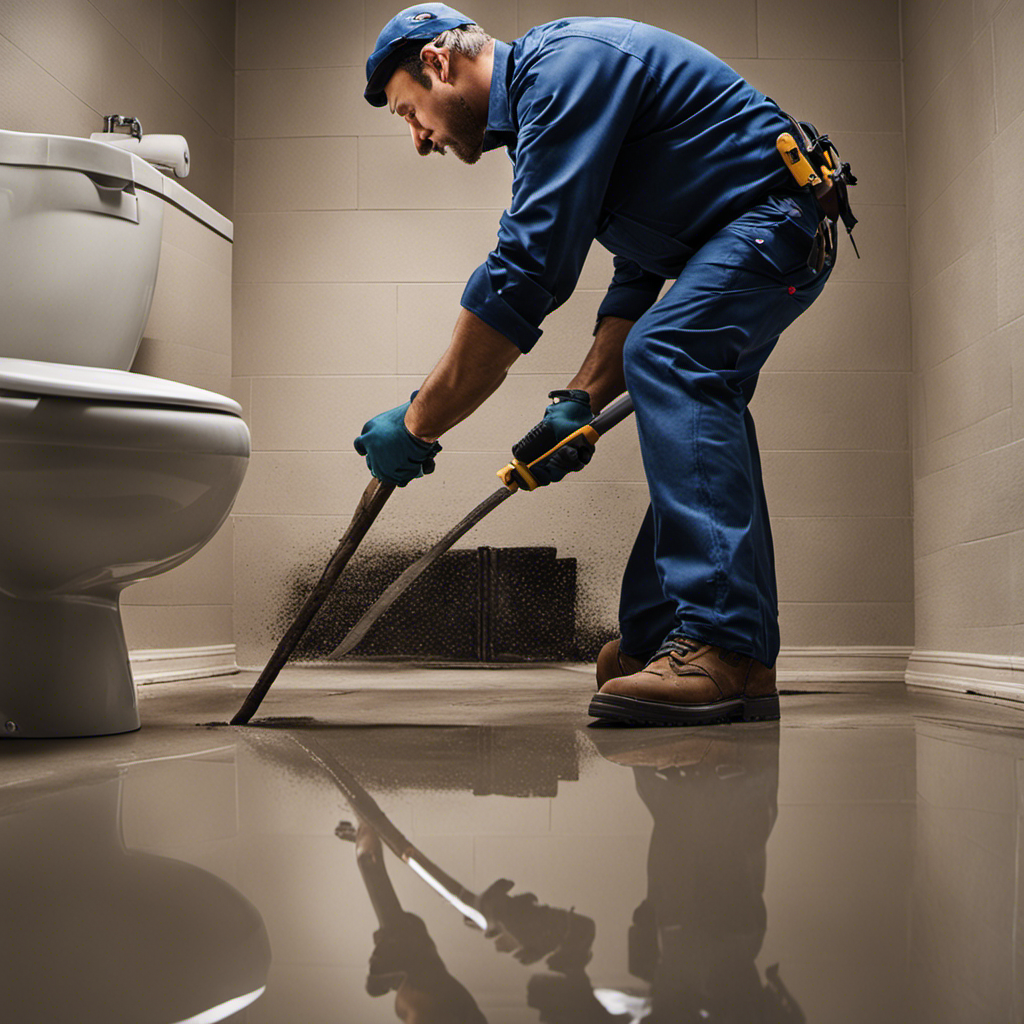
Tools Needed for Removing a Toilet Paper Holder
To remove a toilet paper holder, you’ll need a few tools. First, make sure to prepare the surface by removing any toilet paper, towels, or other items from the holder. This will ensure that you have a clear workspace to work with.
Next, gather a screwdriver, preferably a flathead or Phillips-head depending on the type of screws holding the holder in place. You may also need a pair of pliers if the screws are tight or rusted. Once you have the necessary tools, start by unscrewing the screws that secure the holder to the wall. Be careful not to damage the wall or surrounding area.
Once the screws are removed, gently pull the holder away from the wall. Now that you have successfully removed the old holder, you can move on to securing the replacement.
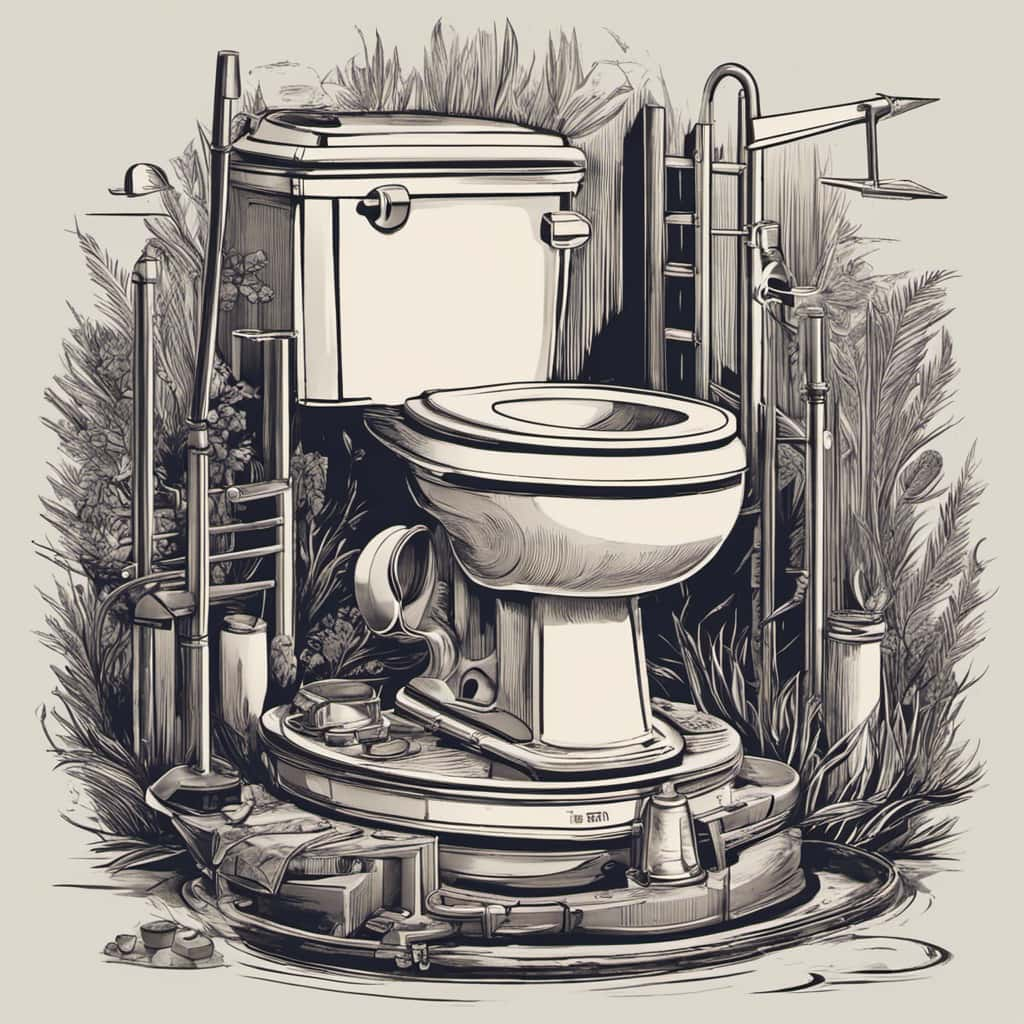
Step-by-Step Guide to Removing a Wall-Mounted Toilet Paper Holder
Before diving into the step-by-step guide for removing a wall-mounted toilet paper holder, let’s go over the essential tools you’ll need for this task.
You’ll need a screwdriver, preferably a Phillips head, to remove any screws holding the holder in place. Having a putty knife or a flathead screwdriver can also come in handy for prying the holder off the wall without causing damage.
Speaking of preventing wall damage, using a stud finder before starting is crucial to avoid hitting any electrical wires or plumbing behind the wall.
Tools Needed for Removal
You’ll need a screwdriver and pliers to remove the toilet paper holder. Here’s a step-by-step guide on how to remove it:
-
Start by locating the screws securing the toilet paper holder to the wall. These screws are usually located on the base or the sides of the holder.
-
Use the screwdriver to remove the screws. Turn them counterclockwise until they are completely loose.
-
Once the screws are removed, gently pull the holder away from the wall. If the holder is stuck, you can use the pliers to carefully pry it off.
Remember to be cautious when using the tools to avoid damaging the wall or the holder itself.
With these simple steps and the right tools, you’ll be able to remove the toilet paper holder easily and quickly.
Preventing Wall Damage
When removing the toilet paper holder, make sure to be cautious to prevent any damage to the wall. The last thing you want is to end up with unsightly holes or marks on your bathroom wall.
To prevent damage, there are a few things you can do. First, check if your toilet paper holder has alternative mounting options, such as adhesive strips or suction cups. These options eliminate the need for drilling holes into the wall.
If your holder doesn’t have alternative mounting options, you can use a screwdriver to carefully remove the screws holding it in place. Be gentle to avoid causing any damage. Once the screws are removed, the holder should come off easily.
Now, let’s move on to removing a freestanding toilet paper holder: a how-to.
Removing a Freestanding Toilet Paper Holder: A How-To
When it comes to replacing a toilet paper holder, it’s important to consider the mounting options available.
In this discussion, I will walk you through the various options you can choose from, including wall-mounted, freestanding, and recessed holders.
Additionally, I will highlight common mistakes to avoid during the replacement process to ensure a smooth and successful installation.
Mounting Options for Replacement
There are several mounting options available for replacing a toilet paper holder. Here are three alternatives to the traditional wall mounted toilet paper holder:
-
Freestanding Holder: This option requires no installation and is perfect for renters or those who don’t want to drill holes in their walls. Simply place the freestanding holder next to the toilet and you’re good to go.
-
Adhesive Holder: This option uses strong adhesive to stick the holder to the wall. It’s a great choice for those who want a clean, minimalist look without any visible screws or brackets. Just make sure the adhesive is strong enough to hold the weight of the toilet paper roll.
-
Over-the-Tank Holder: This option hooks onto the side of the toilet tank, making it a convenient and space-saving choice. It’s easy to install and doesn’t require any drilling or adhesive. Just slide it over the tank and you’re done.
These mounting options provide flexibility and convenience when it comes to replacing your toilet paper holder. Choose the one that best suits your needs and enjoy a stylish and functional bathroom accessory.
Common Mistakes to Avoid
One common mistake to avoid is using weak adhesive that may not support the weight of the toilet paper roll. To ensure a proper technique, follow these steps for removing a toilet paper holder.
- First, locate the mounting screws or adhesive tabs that hold the holder in place.
- Use a screwdriver or a putty knife to carefully loosen and remove the screws or tabs.
- If using adhesive, gently pry the holder away from the wall using a putty knife.
- Once the holder is detached, fill any holes left behind with spackling compound or wall putty.
- Smooth it out and let it dry.
- Finally, sand and paint over the patched area to match the surrounding wall.
Tips for Safely Removing a Recessed Toilet Paper Holder
To safely remove a recessed toilet paper holder, start by ensuring the power is turned off. Here are some tips to help you prevent damage and explore alternative mounting options:
-
Gather the necessary tools: You’ll need a screwdriver, pliers, and a putty knife.
-
Locate the mounting screws: Typically, recessed toilet paper holders are held in place by screws. Look for them on the sides or underneath the holder.
-
Remove the mounting screws: Use a screwdriver to unscrew the screws, and gently pull the holder away from the wall. If the screws are hidden, you may need to use a putty knife to carefully pry off any coverings.
By following these steps, you can safely remove a recessed toilet paper holder without causing any damage.
Once removed, you can explore alternative mounting options such as freestanding holders or wall-mounted dispensers.
Removing a Rusty or Corroded Toilet Paper Holder
If your toilet paper holder is rusty or corroded, you should consider replacing it with a new one. Not only does a rusty or corroded toilet paper holder look unsightly, but it can also be difficult to use and may even pose a safety hazard. To remove a rusty or corroded toilet paper holder, follow these steps:
- Turn off the water supply to the toilet.
- Remove the toilet paper roll from the holder.
- Use a screwdriver to remove the screws holding the holder in place.
- Once the screws are removed, gently pull the holder away from the wall.
- Clean the area where the holder was attached, using a mild cleaner and a soft cloth.
- If there is any rust or corrosion on the surface, use a rust remover or sandpaper to prepare the surface for a new holder.
- Consider alternative storage options, such as a freestanding toilet paper holder or a wall-mounted shelf, to prevent future rust or corrosion.
| Pros | Cons |
|---|---|
| – Easy to install | – May require drilling |
| – Comes in various designs | – Limited space for storage |
| – Can hold multiple rolls | – May be more expensive |
| – Adds a decorative touch | – Needs regular cleaning |
How to Remove a Double Toilet Paper Holder
When removing a double toilet paper holder, you’ll need to locate the screws holding it in place and use a screwdriver to remove them. Here’s a step-by-step guide to help you through the process:
-
Gather your tools: You’ll need a screwdriver, preferably a Phillips head, to remove the screws.
-
Locate the screws: Double toilet paper holders typically have screws on each end that attach the holder to the wall. Look for small, round caps covering the screws.
-
Remove the screws: Use your screwdriver to unscrew the screws counterclockwise. Once the screws are removed, the holder should come off easily.
Removing a Ceramic or Tile-Mounted Toilet Paper Holder
First, locate the screws holding the ceramic or tile-mounted holder in place and use a screwdriver to remove them. Once the screws are removed, gently pull the holder away from the wall. Be careful not to apply too much force, as this could cause damage to the surrounding tiles. To prevent tile damage, it is recommended to place a cloth or towel underneath the holder before removing it. This will provide a cushioning effect and protect the tiles from any accidental scratches or chips.
If you are looking for alternative toilet paper storage options, here are a few ideas:
| Option | Description |
|---|---|
| Freestanding Toilet Paper Holder | This type of holder stands on its own and does not require installation. It is a convenient and portable option. |
| Wall-mounted Shelf | This option provides additional storage space for toilet paper rolls. It can be installed above or beside the toilet. |
| Over-the-toilet Organizer | This organizer fits over the toilet tank and provides storage for toilet paper and other bathroom essentials. It maximizes vertical space and is easy to install. |
These alternative options can be a great solution if you want to change the look of your bathroom or if you need additional storage for toilet paper.
Frequently Asked Questions
Can I Reuse the Toilet Paper Holder After Removal?
Yes, you can reuse the toilet paper holder after removal. If you don’t want to use it for toilet paper, there are alternatives like using it to hold hand towels or as a dispenser for other bathroom essentials.
How Long Does It Typically Take to Remove a Wall-Mounted Toilet Paper Holder?
Removing a wall-mounted toilet paper holder without tools or leaving any marks typically takes a few minutes. Gently twist the holder counterclockwise to unscrew it from the wall, then patch any holes left behind.
Can I Remove a Recessed Toilet Paper Holder Without Causing Damage to the Wall?
Yes, you can remove a recessed toilet paper holder without causing damage to the wall. There are alternative options available, and once removed, you can patch the hole in the wall.
Are There Any Specific Precautions I Need to Take When Removing a Rusty or Corroded Toilet Paper Holder?
When removing a rusty or corroded toilet paper holder, it’s important to take precautions to avoid damaging the wall. Use a screwdriver or Allen wrench to remove screws, and be gentle to prevent any further damage.
What Should I Do if the Screws Holding the Double Toilet Paper Holder Are Stripped or Stuck?
If the screws on the double toilet paper holder are stripped or stuck, there are a few steps you can take. First, try using pliers or a screw extractor tool. If that doesn’t work, you may need to drill out the screws.
Conclusion
In conclusion, removing a toilet paper holder is a simple task that can be done with the right tools and a little bit of know-how.
By following the step-by-step guides provided, you can easily remove a wall-mounted, freestanding, recessed, rusty or corroded, double, or ceramic or tile-mounted toilet paper holder.
So why wait? Take matters into your own hands and give your bathroom a fresh look.
Ready to tackle this DIY project?