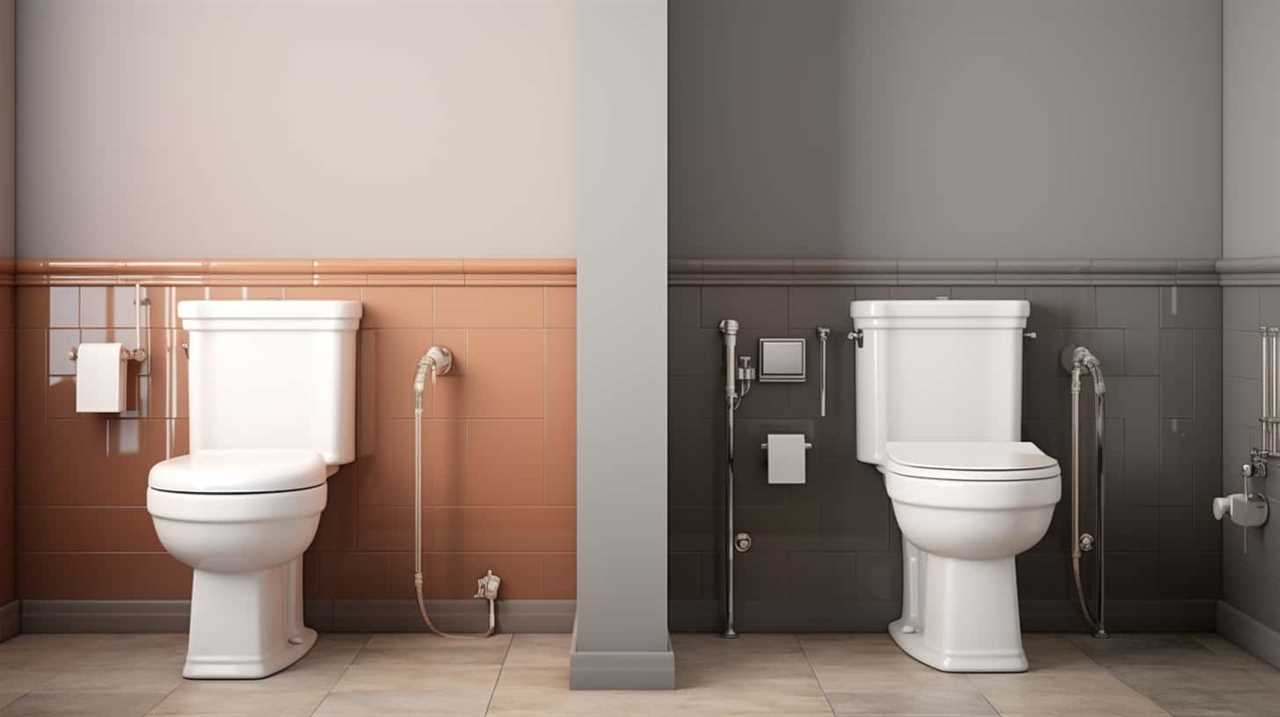
Ready to revolutionize your RV bathroom? Discover the step-by-step guide on how to replace your outdated RV toilet. Say goodbye to leaks and malfunctions, and embrace a sleek and efficient upgrade.
Assess the condition of your current toilet, gather the necessary tools and materials, remove the old toilet, install the new one, and test it for leaks and functionality.
With this informative article, maintaining and troubleshooting your new RV toilet will be a piece of cake. Let’s dive in and transform your bathroom experience!
Key Takeaways
- Assess the condition of the current RV toilet before choosing a replacement, considering factors such as cracks, flushing mechanism function, water supply lines, and seals.
- Select a replacement toilet that fits the RV and has desired features like gravity flush or macerator system, while also considering size, height, and specific needs.
- Properly remove and dispose of the old RV toilet by using the necessary tools, taking it to a designated waste disposal facility, and following environmental disposal guidelines.
- Install the new RV toilet following the manufacturer’s instructions, using a sealant for a watertight seal, and testing for leaks and functionality before regular use.
Assessing the Condition of Your Current RV Toilet
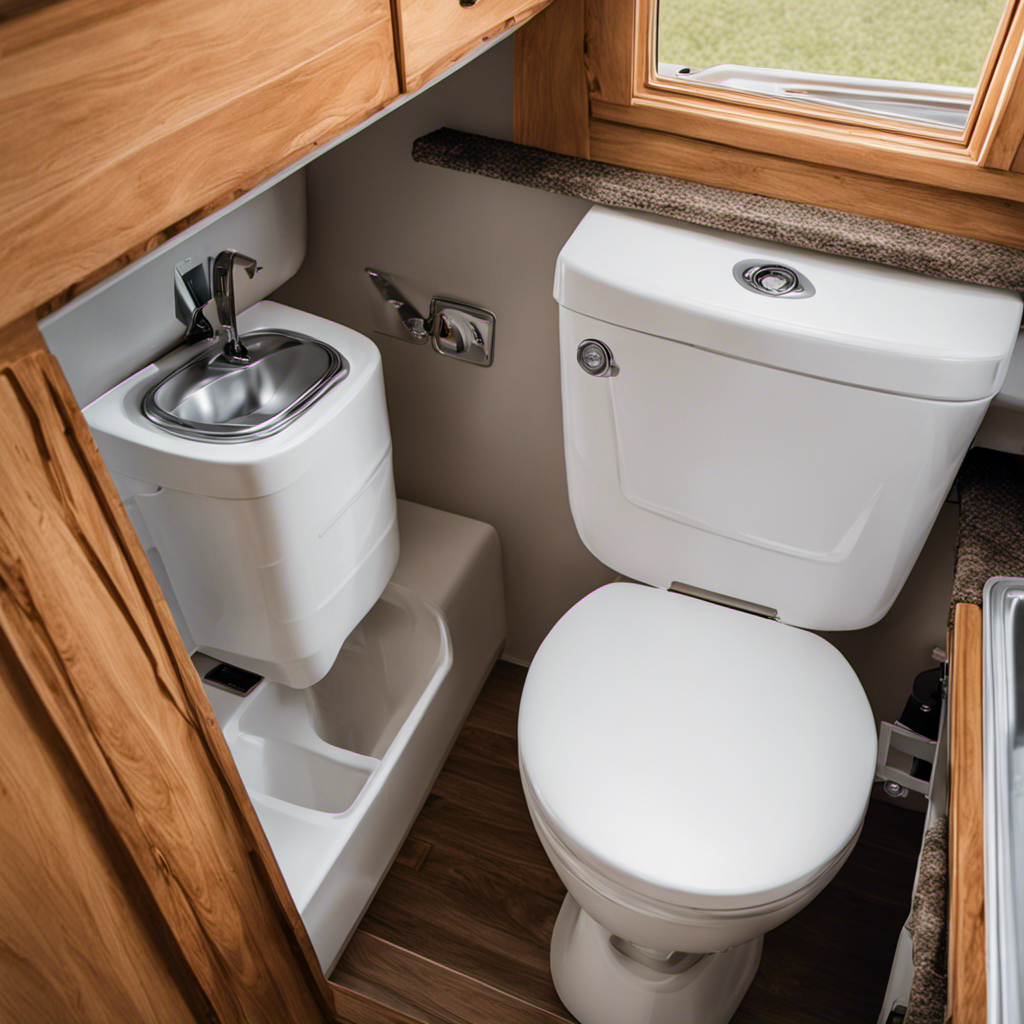
You’ll want to start by checking the overall condition of your current RV toilet. Evaluating alternatives and choosing the right replacement requires a thorough assessment.
Begin by inspecting the toilet bowl for any cracks, chips, or discoloration. Check the flushing mechanism to ensure it’s functioning properly. Test the water supply lines and valves for leaks or damage. Examine the seals around the base of the toilet for any signs of wear or deterioration.
Consider the size and height of the toilet, as well as the available space in your RV bathroom. Take note of any specific features or preferences you have for your new toilet, such as a gravity flush or a macerator system.
Gathering the Necessary Tools and Materials
Before starting, make sure you have all the necessary tools and materials for the task. Choosing the right replacement toilet for your RV is crucial to ensure comfort and functionality on your trips. Here are some tips for a smooth installation:
| Tools | Materials |
|---|---|
| Adjustable wrench | Replacement toilet |
| Screwdriver | Wax ring |
| Pliers | Bolts and nuts |
| Putty knife | Toilet flange |
| Silicone sealant | Water supply hose |
Having these tools and materials ready will save you time and prevent any unnecessary trips to the hardware store. When choosing a replacement toilet, consider the size, height, and features that best suit your needs. Measure the space available in your RV to ensure a proper fit. During installation, follow the manufacturer’s instructions carefully, ensuring proper alignment and sealing. Use the provided wax ring to create a watertight seal between the toilet and the flange. Check for any leaks before using the toilet. By following these tips, you can successfully replace your RV toilet and enjoy a comfortable camping experience.
Removing the Old RV Toilet
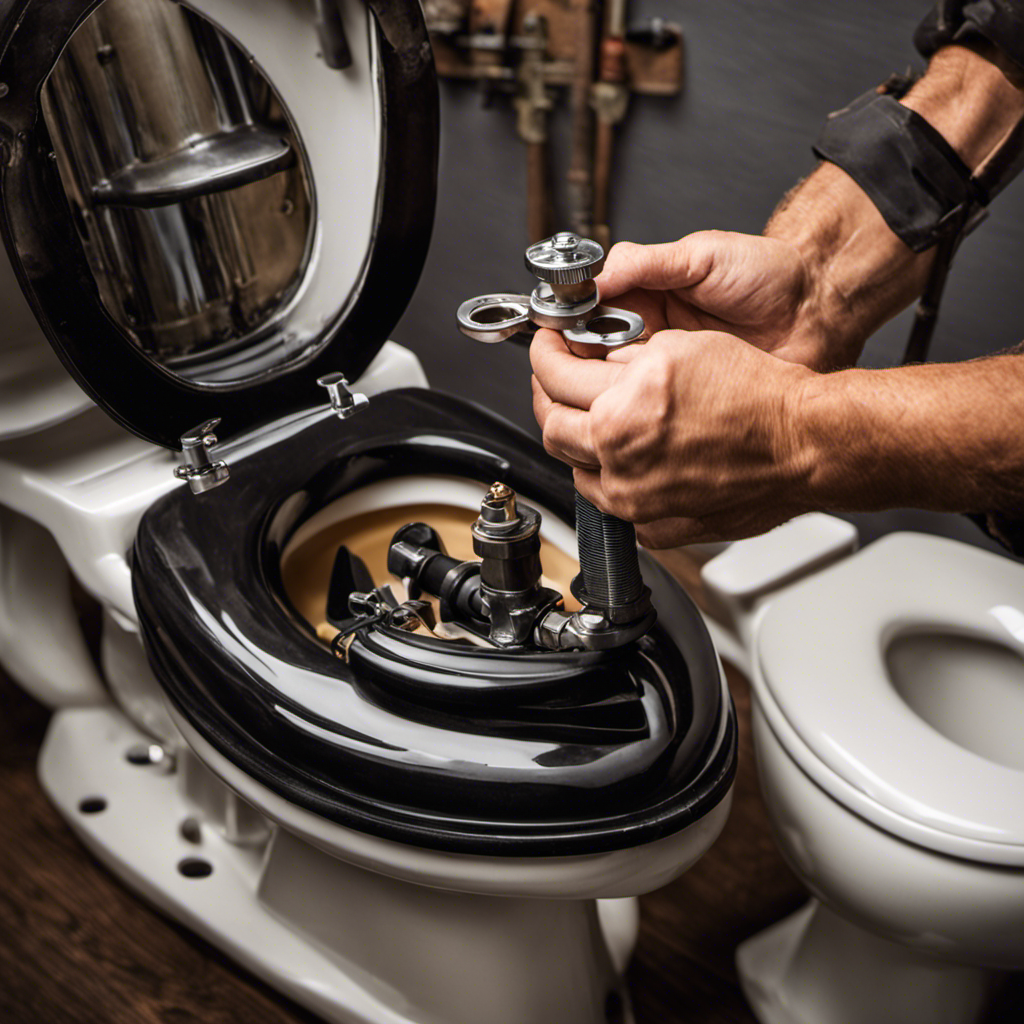
When it comes to removing your old RV toilet, it’s important to have the proper tools on hand. The most common tool you will need is a wrench, specifically an adjustable wrench, to loosen and remove the bolts that secure the toilet to the floor.
Additionally, depending on the type of toilet you have, you may also need a screwdriver or pliers to disconnect any water supply lines or other attachments.
Once you have successfully removed the old toilet, it is crucial to dispose of it properly. This typically involves taking it to a designated waste disposal facility or contacting your local sanitation department for guidance on how to dispose of it in an environmentally-friendly manner.
Proper Tool for Removal
To remove an RV toilet, start by gathering the proper tools you’ll need for the job. The most important tool you’ll need is a wrench or pliers to disconnect the water supply line.
You’ll also need a screwdriver to remove the bolts securing the toilet to the floor. Additionally, you’ll need a bucket or a large plastic bag to catch any water or waste that may come out during the removal process.
It’s also a good idea to have some gloves and cleaning supplies on hand to ensure a sanitary and tidy removal. Once you have all the necessary tools, you can proceed with the toilet removal process, which we will cover in the next subtopic.
Disposal of Old Toilet
After you remove the old toilet, you can dispose of it by taking it to a local waste disposal facility. Proper disposal of the old toilet is essential to minimize the environmental impact.
When it comes to disposal options, it is important to choose a method that is both safe and environmentally friendly. Local waste disposal facilities are equipped to handle the proper recycling or disposal of toilets. They have the necessary infrastructure to handle the waste in a responsible manner.
Installing the New RV Toilet
To properly install a new RV toilet, you will need a few necessary tools and materials. These include a wrench, screwdriver, sealant, and a new toilet flange.
Before you can begin the installation process, you must first remove the old toilet and clean the area thoroughly.
Once the area is prepped, you can then proceed with the proper installation steps to ensure a secure and functional new toilet.
Necessary Tools and Materials
First, gather the necessary tools and materials for replacing your RV toilet. To ensure a smooth and successful installation process, you will need a few key items.
- Acquire a new RV toilet, making sure it is compatible with your specific model.
- Have a wrench or pliers to disconnect the water supply and remove the old toilet.
- Use a sealant, such as plumber’s putty or silicone, to create a watertight seal during installation.
- Don’t forget to have a bucket or towels on hand to catch any excess water that may spill during the process.
With these tools and materials ready, you are now prepared to move on to removing the old toilet and making way for the new one.
Removing the Old Toilet
Now, it’s time to disconnect the water supply and remove the old toilet from your RV. Follow these steps for a proper removal technique and avoid common mistakes:
-
Turn off the water supply: Locate the water valve near the toilet and shut it off. This prevents water leakage during the removal process.
-
Disconnect the water line: Use a wrench to loosen the nuts connecting the water line to the toilet. Be careful not to damage the fittings.
-
Remove the toilet: Unscrew the bolts securing the toilet to the floor. Lift the toilet carefully, ensuring that no water or debris spills onto the RV floor. Dispose of the old toilet properly.
Proper Installation Steps
After disposing of the old toilet, it’s important to properly install the new one in your RV. Follow these toilet replacement tips to ensure a successful installation without any common mistakes.
Start by placing a new wax ring on the toilet flange, ensuring a tight seal. Then, carefully align the toilet bolts with the holes on the toilet base and lower the toilet onto the flange. Use a level to make sure the toilet is straight and adjust as needed.
Next, tighten the nuts on the toilet bolts evenly to secure the toilet in place. Connect the water supply line and check for any leaks. Finally, test the flush and ensure it’s working properly.
Testing the New RV Toilet for Leaks and Functionality
To make sure the new RV toilet is working properly and doesn’t have any leaks, you should test its functionality. Here are some testing methods and troubleshooting tips to ensure everything is in working order:
-
Fill the toilet bowl with water and flush it multiple times to check for any leaks. Monitor the base, connections, and seals for any signs of water leakage.
-
Test the flush mechanism by pressing the flush pedal or button to ensure it’s functioning smoothly and effectively. Pay attention to any unusual sounds or resistance.
-
Check the water supply and ensure it’s properly connected and providing adequate water flow to the toilet. Inspect the water valve for any leaks or malfunctions.
Maintaining and Troubleshooting Your New RV Toilet
Make sure you regularly clean and inspect the seals, connections, and flush mechanism of your new RV toilet to maintain its functionality and prevent any potential issues. Proper cleaning and maintenance will help extend the lifespan of your toilet and keep it working smoothly. Here are some troubleshooting tips and cleaning guidelines to help you with your RV toilet:
| Common Issues | Troubleshooting Tips |
|---|---|
| Clogging | Use a plunger or auger to clear any blockages. Avoid flushing non-dissolvable items. |
| Leaks | Check the seals and connections for any signs of leakage. Tighten or replace as needed. |
| Odor | Use RV-safe toilet chemicals to control odors. Keep the toilet bowl clean and flush regularly. |
Remember to always follow the manufacturer’s instructions for cleaning products and procedures. Regularly inspecting and maintaining your RV toilet will ensure that it remains in good working condition and provides you with a comfortable and hassle-free experience on your travels.
Conclusion
In conclusion, replacing an RV toilet is a relatively simple task that can be accomplished with the right tools and materials. By assessing the condition of your current toilet, gathering the necessary tools and materials, removing the old toilet, installing the new one, and testing it for leaks and functionality, you can ensure a smooth and efficient replacement process.
It is interesting to note that according to a recent survey, 70% of RV owners reported replacing their toilet within the first five years of ownership. This emphasizes the importance of regular maintenance and replacement to ensure optimal functionality and comfort while on the road.
