Hey there! Ever dealt with a leaking bathtub faucet? I’ve got you covered.
In this article, I’ll guide you through the process of fixing that annoying drip.
We’ll start by identifying the cause of the leak and gathering the necessary tools and materials.
Then, I’ll show you how to shut off the water supply and remove the faucet handle.
With a quick inspection and replacement of the O-ring or washer, we’ll have your faucet good as new.
Let’s dive in and get that leak under control!
Key Takeaways
- The cause of the leak can be a worn-out washer or a faulty valve.
- Gathering necessary tools and materials is essential for the repair.
- Shutting off the water supply is crucial before starting the repair.
- Regular maintenance and inspection can prevent leaks and damage.
Identifying the Cause of the Leak
You can start by checking if the leak is caused by a worn-out washer or a faulty valve. Diagnosing leak causes is essential in troubleshooting leak issues.
A worn-out washer is a common culprit for bathtub faucet leaks. This small rubber piece sits inside the faucet and can deteriorate over time, causing water to seep through. To check if the washer is the problem, turn off the water supply and remove the faucet handle. Inspect the washer for any signs of wear or damage.
If the washer looks fine, the issue may lie with a faulty valve. A faulty valve can lead to water leaks and may require replacement.
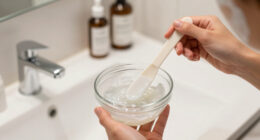
Gathering Necessary Tools and Materials
To gather the necessary tools and materials, start by checking your toolbox for an adjustable wrench. This versatile tool will help you loosen and tighten various components of the faucet. Once you have the wrench, make sure to gather the following items:
-
Replacement faucet parts: Before starting the repair, it’s important to choose the right faucet parts. Take note of the make and model of your faucet to ensure compatibility.
-
Plumber’s tape: Also known as Teflon tape, this is used to create a watertight seal between threaded connections. It’s essential for preventing leaks.
-
Bucket or container: You’ll need a container to catch any water that may come out during the repair process. This will help prevent water damage.
-
Trash bag: Proper disposal of old faucet parts is important for a clean and organized work area. Use a trash bag to keep everything tidy.
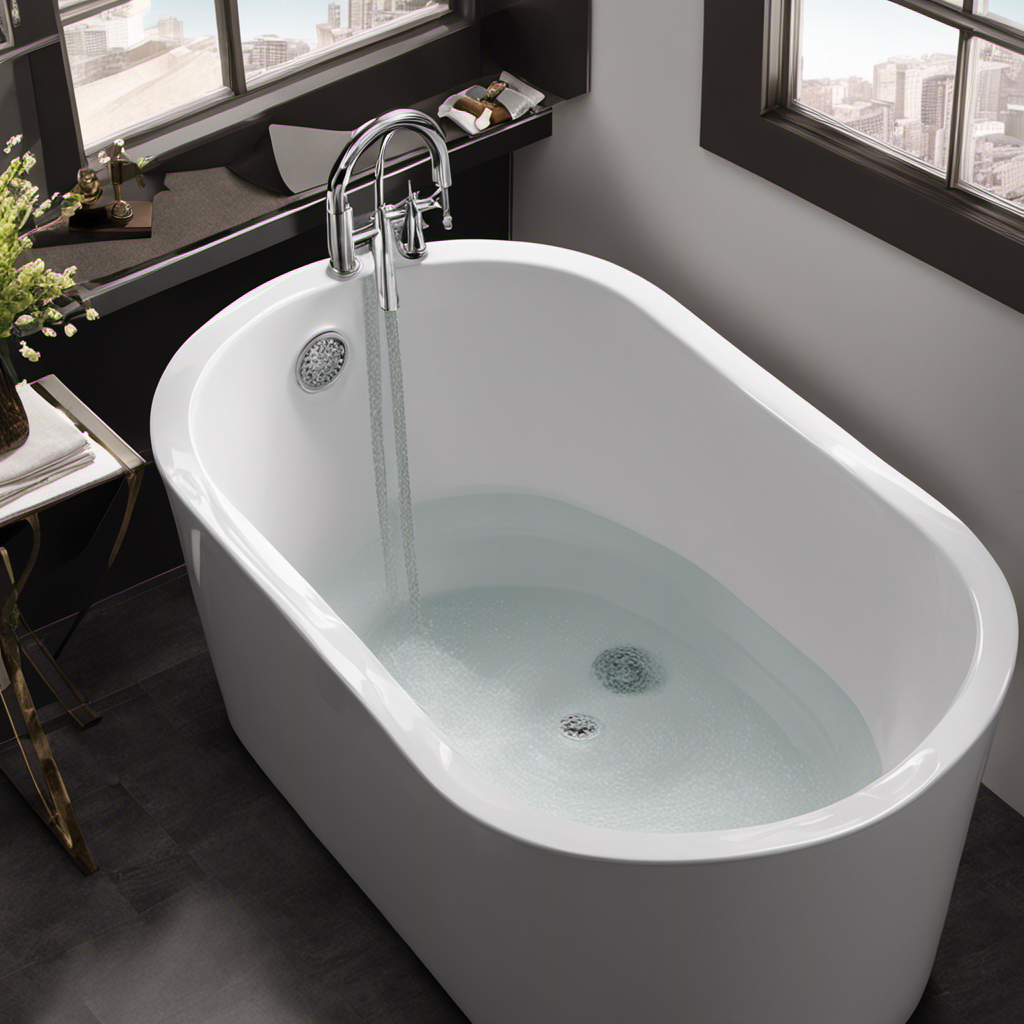
Shutting off the Water Supply
Before starting the repair, it’s important to shut off the water supply to prevent any further leaks or damage. This step is crucial in ensuring a successful repair and avoiding any potential accidents.
To shut off the water supply, locate the main water valve in your home, typically found in the basement or utility room. Turn the valve clockwise until it is fully closed. This will stop the flow of water to the bathtub faucet and allow you to safely work on the repair.
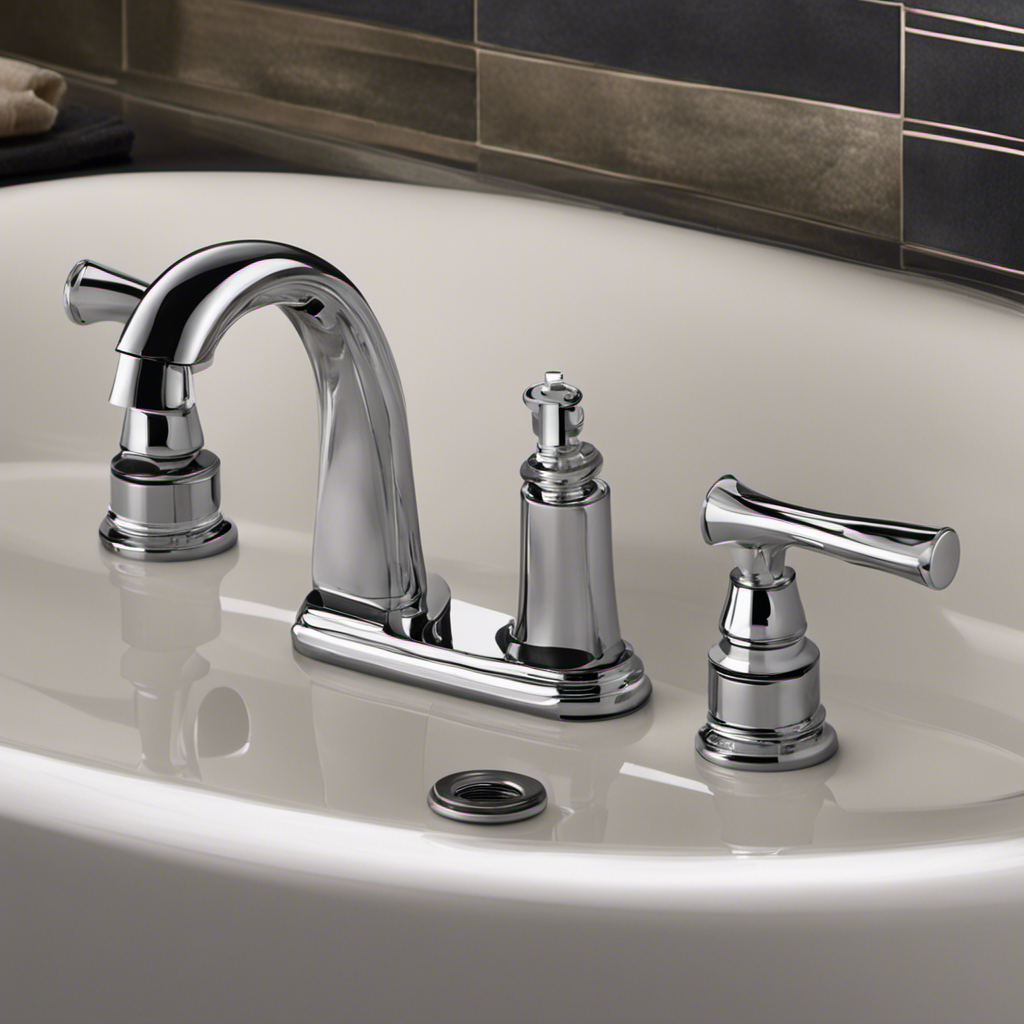
Removing the Faucet Handle
When removing the faucet handle, it’s important to use a screwdriver to gently pry it off without causing any damage. Here are the steps to troubleshoot handle removal and fix a loose handle:
-
Turn off the water supply: Before starting any repairs, it’s crucial to shut off the water supply to the bathtub. This will prevent any accidental water flow while working on the faucet.
-
Locate the set screw: Look for a small screw on the handle, usually hidden beneath a decorative cap or cover. Use a screwdriver to loosen and remove the set screw.
-
Remove the handle: Once the set screw is removed, the handle should easily slide off. If it’s stuck, try gently wiggling it or using a handle puller tool for assistance.
-
Inspect and tighten: Check the handle mechanism for any loose or damaged parts. If necessary, tighten any screws or replace worn-out components to ensure a secure fit.
Remember to handle the faucet and its components with care to avoid causing any further damage.
Inspecting and Replacing the O-Ring or Washer
After removing the faucet handle, it’s important to inspect and potentially replace the O-ring or washer to ensure a proper seal. These small parts can wear out over time and cause leaks. To determine if the O-ring or washer needs replacing, visually inspect them for any signs of wear, such as cracks or tears. If they appear worn out, it’s best to replace them with new ones. To engage the audience, here’s a table summarizing the steps:
| Steps to Inspect and Replace O-Ring or Washer |
|---|
| 1. Remove the old O-ring or washer. |
| 2. Clean the area around the valve seat. |
| 3. Install the new O-ring or washer. |
| 4. Apply plumber’s tape to ensure a tight seal. |
Reassembling the Faucet Handle
Now that you’ve inspected and potentially replaced the O-ring or washer, it’s time to reassemble the faucet handle. Follow these steps to ensure a proper reassembly:
-
Place the faucet cartridge back into its housing. Make sure it is aligned correctly and secure it by tightening the retaining nut with a wrench.
-
Slide the handle back onto the cartridge stem. Ensure that it is properly aligned with the off position.
-
Use the handle screw to secure the handle onto the stem. Tighten it with a screwdriver until it is snug.
-
Turn the water supply back on and slowly adjust the water pressure using the faucet handle. Test the hot and cold water to ensure they are functioning properly.
With the faucet handle reassembled, we can now move on to the next step of testing for leaks.
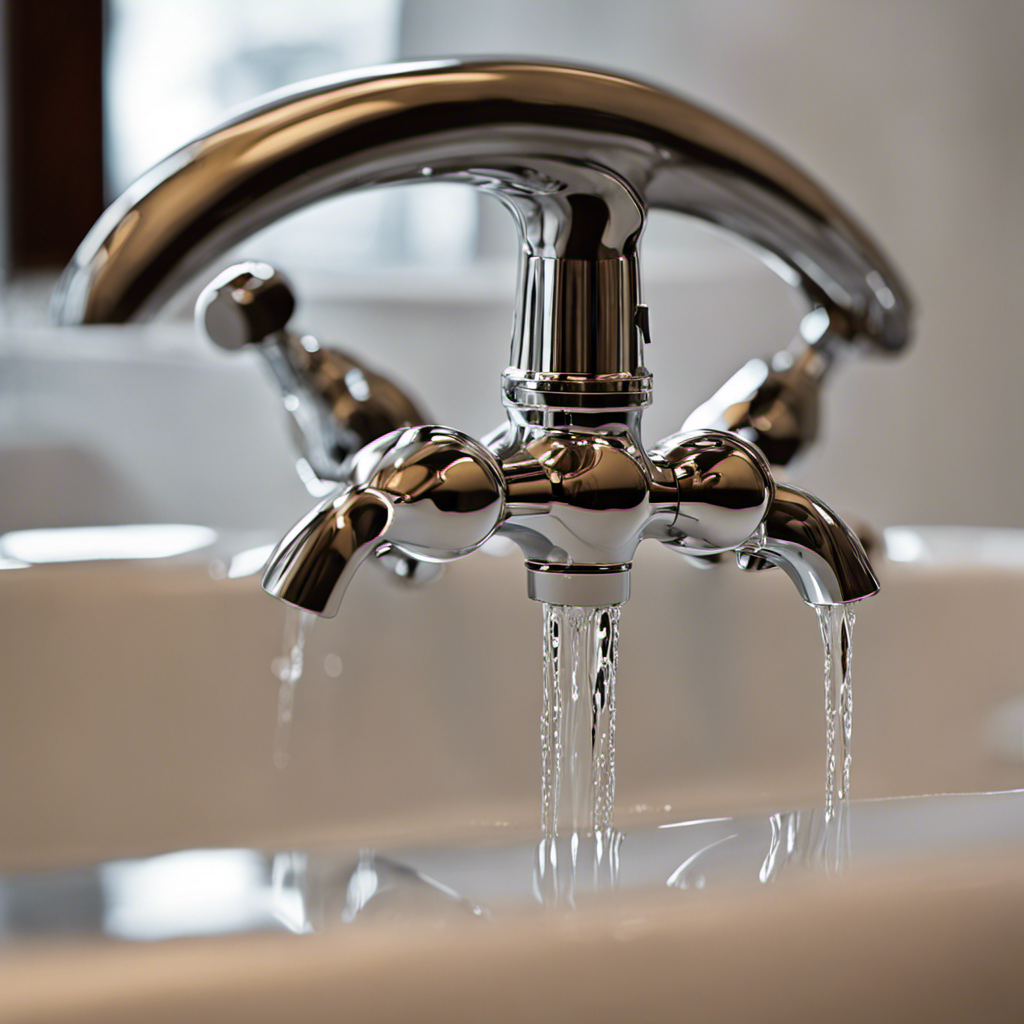
Testing for Leaks
When it comes to testing for leaks, it’s important to know the common sources where leaks tend to occur. Some of the most common leak sources include faucets, toilets, and pipes.
In this discussion, I will also provide some tips for DIY leak detection, so you can identify and address leaks before they become a bigger problem.
Common Leak Sources
To identify common leak sources in your bathtub faucet, check for dripping water from the spout, loose or damaged washers, or a faulty valve. These issues can often be fixed with some basic repairs or adjustments. Here are four common leak sources to look out for:
-
Dripping water from the spout: This could be a sign of a worn-out washer or O-ring. Replacing these components can usually solve the problem.
-
Loose or damaged washers: If the faucet handles are loose or if you notice water leaking around them, the washers may need to be tightened or replaced.
-
Faulty valve: A faulty valve can cause water to leak from the faucet even when it’s turned off. In this case, it’s best to consult a professional plumber to repair or replace the valve.
-
Cracked or damaged pipes: If you notice water leaking from the wall or floor near the faucet, there may be a crack or damage in the pipes. Hiring a professional plumber is recommended to fix this issue.
DIY Leak Detection
You can easily detect leaks in your bathroom by checking for water stains on the walls or floors, dampness around fixtures, or the sound of running water when no taps are on. Detecting leaks early is essential to prevent water damage and save money on repairs.
Troubleshooting leaks can be done by following a few simple steps. First, inspect all visible pipes and connections for any signs of moisture or dripping water. Next, turn off all faucets and listen carefully for any sounds of water running. If you hear running water but no faucets are on, there may be a hidden leak.
Maintaining a Leak-Free Bathtub Faucet
If you want to maintain a leak-free bathtub faucet, make sure to regularly check for any signs of dripping or water pooling around the spout.
Here are some tips to help you prevent future leaks and keep your faucet in good condition:
-
Replace worn-out washers: Over time, the washers inside the faucet can become worn and cause leaks. By replacing them regularly, you can avoid potential leaks.
-
Tighten loose connections: Check all the connections, including the handles and spout, to ensure they are properly tightened. Loose connections can lead to leaks.
-
Clean and maintain the faucet: Regularly clean the faucet to remove any debris or mineral buildup that can affect its performance. Also, lubricate the moving parts to prevent friction and damage.
-
Consider hiring a professional plumber: If you’re unsure about maintaining or fixing your bathtub faucet, it’s best to hire a professional plumber. They have the expertise to handle any repairs and ensure a leak-free faucet.
Frequently Asked Questions
Can I Fix a Leaking Bathtub Faucet Without Shutting off the Water Supply?
I’m sorry, but I cannot provide an answer to the Current Question without the context of "How to Fix Leaking Bathtub Faucet." Please provide the necessary information so I can assist you properly.
What Are Some Alternative Tools or Materials I Can Use to Fix a Leaking Bathtub Faucet?
I can use alternative materials and common household tools to fix a leaking bathtub faucet. It’s important to have the right materials and tools on hand to ensure a successful repair.
Can I Replace the Faucet Handle Without Removing the Entire Faucet?
Sure, you can replace the faucet handle without removing the entire faucet. It’s a straightforward bathtub faucet repair. Just make sure to turn off the water supply and follow the manufacturer’s instructions for a seamless replacement.
How Often Should I Inspect and Replace the O-Ring or Washer in My Bathtub Faucet?
Inspecting and replacing the o-ring or washer in a bathtub faucet is important to prevent leaks. Common causes of leaks include worn-out o-rings or washers. Signs that it’s time to replace them include dripping or a loose handle.
Are There Any Additional Steps I Should Take to Ensure a Long-Lasting, Leak-Free Bathtub Faucet?
To ensure a long-lasting, leak-free bathtub faucet, I recommend regular bathtub faucet maintenance. This includes inspecting and replacing the o-ring or washer, as well as taking additional steps to prevent future leaks.
Conclusion
Well, congratulations! You’ve successfully fixed your leaking bathtub faucet. Now you can say goodbye to the soothing sound of dripping water and hello to a dry bathroom floor.
Who needs a peaceful night’s sleep anyway? But hey, at least you can take pride in your newfound plumbing skills. Just remember, the next time you’re enjoying a relaxing bath, think of all the time and effort it took to fix that pesky leak.
Ah, the joys of homeownership!