
I’ve always enjoyed tackling home improvement projects, and replacing a bathtub is no exception.
In this step-by-step guide, I’ll show you how to confidently replace your old bathtub with a brand new one.
From assessing the condition of your bathtub to ensuring a watertight seal, I’ll walk you through each stage of the process.
So roll up your sleeves and let’s get started on this exciting and rewarding project!
Key Takeaways
- Assess the condition of your bathtub by examining the surface for cracks, chips, or stains and checking the caulking around the edges.
- Gather the necessary tools and materials such as a screwdriver, wrench, hammer, and utility knife, as well as a new bathtub, plumbing fittings, and plumber’s putty.
- Remove the old bathtub by disconnecting the plumbing and fixtures, turning off the water supply, and preparing the space for the new bathtub.
- Prepare the space for the new bathtub by removing old fixtures, measuring the area, ensuring a clean and level floor, and considering surrounding walls and fixtures.

Dual-Flush Actuator Plate for Concealed Cisterns Jet Black Gloss Compatible with 115.770.DW.5 Sigma01 Wall Mount Toilets Series
Color:Jet Black, Gloss; Material: High-quality molded plastic
As an affiliate, we earn on qualifying purchases.
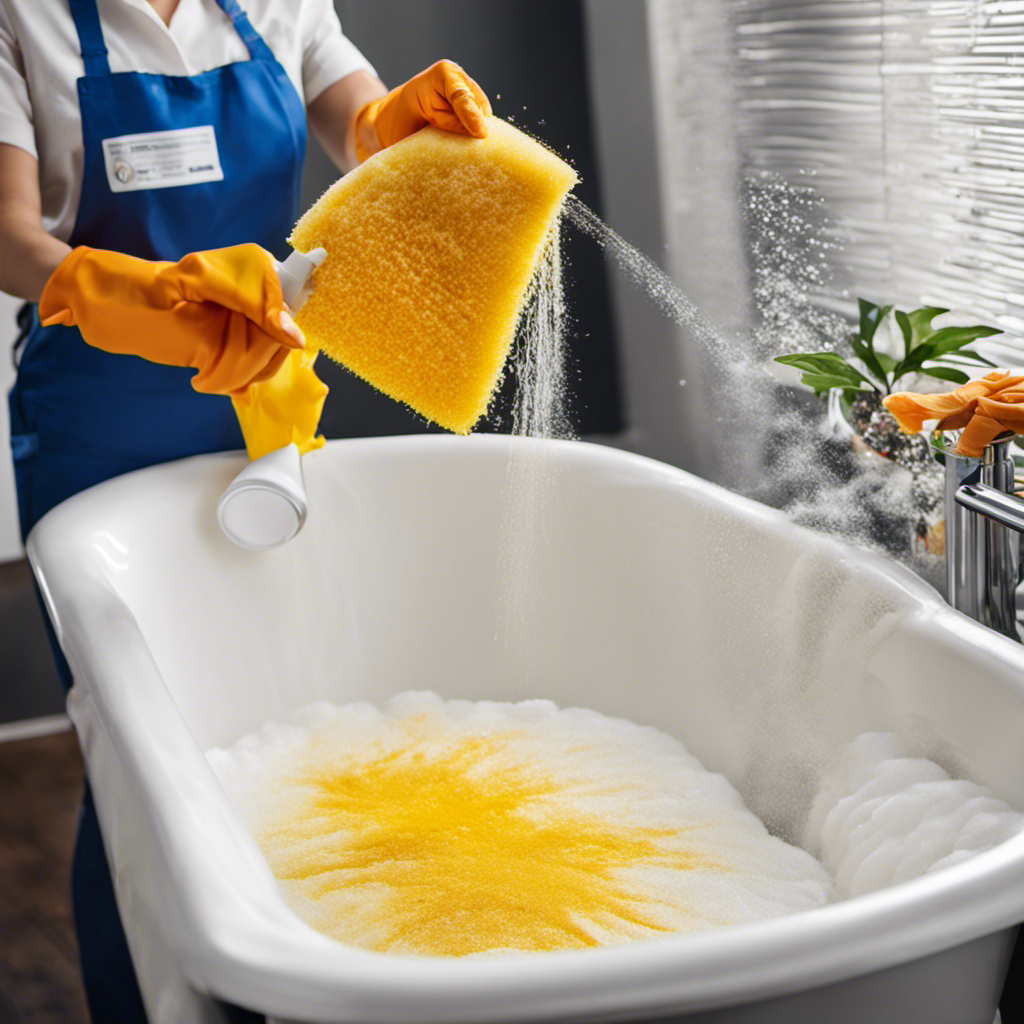
Assessing the Condition of Your Bathtub
Now, you’ll want to take a close look at your bathtub to see if there are any visible signs of damage or wear. Start by examining the surface for cracks, chips, or stains. These can indicate structural problems that may need to be addressed before proceeding with a replacement.
Next, check the caulking around the edges of the tub. If it is deteriorating or missing, water can seep through and cause further damage. Additionally, inspect the plumbing fixtures to ensure they are functioning properly. If you notice any leaks or rust, it may be necessary to replace those as well.
Evaluating the bathtub’s structural integrity is crucial in determining whether a replacement is necessary. Once you have assessed the condition of your bathtub, you can move on to gathering the necessary tools and materials for the replacement process.

Banhey Dual Flush Actuator Plate, Compatible with Geberit 115.770.46.5. Replacement Parts for Concealed Cistern Toilet Repair (White)
Exquisite Appearance and Multiple Color Options of Toilet Tank Parts: The dual-flush actuator plate in the toilet tank...
As an affiliate, we earn on qualifying purchases.
Gathering the Necessary Tools and Materials
First, you’ll want to make sure you have all the necessary tools and materials for the job. Choosing the right bathtub and finding professional assistance are key steps in this process. Here is a list of the tools and materials you will need:
| Tools | Materials | Additional Items |
|---|---|---|
| Screwdriver | Bathtub | Caulk Gun |
| Wrench | Plumbing fittings | Level |
| Hammer | Pipe wrench | Silicone Caulk |
| Pry bar | Plumber’s putty | Towels |
| Utility knife | Waterproofing membrane | Safety glasses |
When choosing a bathtub, consider factors such as size, material, and style to ensure it fits your needs and preferences. It’s also important to find professional assistance, especially if you are unfamiliar with plumbing or construction work. They can offer guidance and ensure the installation is done properly and safely.
Los Flexi Concealed In-Wall Toilet Tank Carrier for Wall Hung Toilets, 0.8/1.6 GPF Dual Flush, Adjustable Height Tank Carrier, Includes Flush Actuator Plate for Wall Mount Toilet Setup
Durable Steel Construction: This in-wall toilet tank system supports most wall hung toilets with a sturdy steel frame,...
As an affiliate, we earn on qualifying purchases.
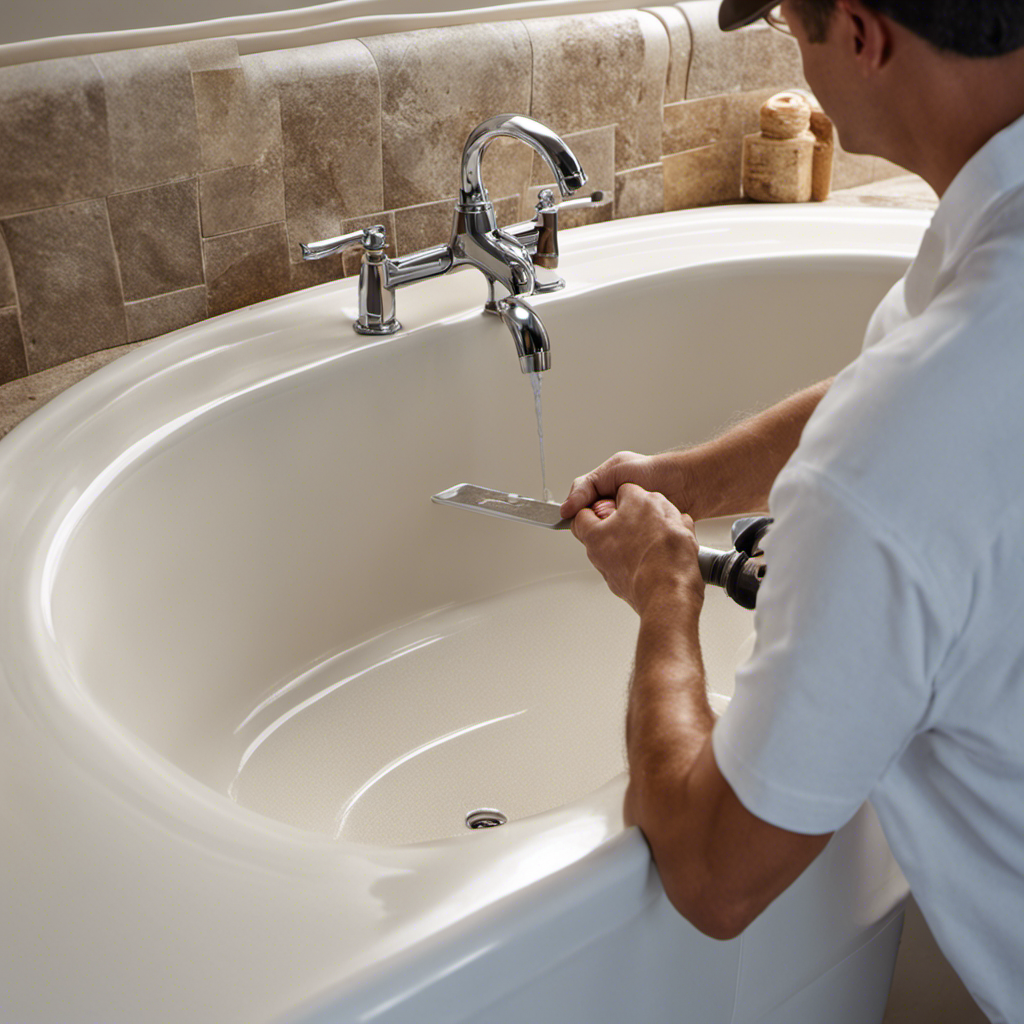
Removing the Old Bathtub
To start, you’ll need to carefully disconnect the plumbing and remove any fixtures attached to the old bathtub.
Before beginning the process of replacing the bathtub, there are a few important plumbing considerations to keep in mind. Firstly, turn off the water supply to the bathroom to avoid any accidental leaks or water damage. Next, use a wrench to disconnect the water supply lines and the drain pipe connected to the bathtub. It’s crucial to drain any remaining water from the bathtub before proceeding further. Additionally, take note of the location of the shut-off valves for the bathtub, as you may need to turn them off during the installation of the new bathtub.
Now that the plumbing has been disconnected, we can move on to preparing the space for the new bathtub.

Casta Diva in Wall Toilet Tank Carrier, Concealed Wall Hung Toilet Tank System with Black Dual-Flush Actuator Plate (2x4 / 2x6 Studs)
Toilet tank brace wall, fit for most wall mount toilet bowls, a black tank actuator plate included in...
As an affiliate, we earn on qualifying purchases.
Preparing the Space for the New Bathtub
Before installing a new bathtub, there are a few important steps to take.
First, I’ll need to remove any old fixtures, such as faucets and showerheads, to ensure a clean installation.
Next, I’ll need to measure the area where the new tub will be placed, taking into account the dimensions of the tub and any surrounding walls or fixtures.
Removing Old Fixtures
Once you’ve gathered all the necessary tools, it’s time to start removing the old fixtures. This step is crucial in the bathtub replacement process and requires careful execution to avoid any damage or injury.
Here’s a step-by-step guide on how to effectively remove the old fixtures:
- Turn off the water supply and disconnect the water lines connected to the fixtures.
- Use a wrench or pliers to detach the drain assembly from the bathtub.
- Remove any caulking or adhesive around the fixtures using a putty knife or scraper.
- Unscrew or unfasten the screws, bolts, or nuts that hold the fixtures in place.
Measuring for New Tub
Now that the old fixtures have been removed, it is time to measure for the new bathtub. Accurate measurements are crucial in ensuring a proper fit during the bathtub installation process. To achieve measuring accuracy, follow these steps:
-
Measure the length and width of the existing bathtub. Use a tape measure and record the measurements in inches.
-
Measure the height of the existing bathtub from the bottom to the overflow drain. This will help determine the depth of the new bathtub.
-
Take note of any surrounding walls, plumbing fixtures, or other obstructions that may affect the placement of the new bathtub.
By accurately measuring the dimensions of the existing bathtub and considering any obstacles, you can choose a new bathtub that will fit seamlessly into your bathroom. This will ensure a smooth and successful bathtub installation process.
| Measurement | Inches |
|---|---|
| Length | |
| Width | |
| Height |
Clearing the Area
To clear the area for installation, make sure to remove any objects or furniture that may obstruct the process. This step is crucial to ensure a smooth and efficient bathtub replacement.
Here are some important points to consider:
-
Clear the Path: Remove any rugs, mats, or other floor coverings that may make it difficult to maneuver the old bathtub out and the new one in.
-
Protect the Walls: Cover the walls surrounding the bathtub area with plastic sheets or drop cloths to prevent any damage during the removal and installation process.
-
Disconnect Plumbing: Before removing the bathtub, turn off the water supply and disconnect any plumbing connections to avoid water leakage and potential damage.
-
Secure Fragile Items: If there are any delicate objects or fixtures near the bathtub, such as mirrors or glass shelves, remove them or cover them with protective materials to prevent breakage.
Installing the New Bathtub
Before you start installing the new bathtub, make sure you have all the necessary tools and materials. It’s important to have a clear understanding of the steps involved in order to ensure a successful installation.
First, you will need to install the bathtub drain. This involves connecting the drain assembly to the drainpipe underneath the bathtub. Make sure to follow the manufacturer’s instructions for this step.
Next, you will need to choose the appropriate fixtures for your bathtub. Consider factors such as style, functionality, and budget when making your selection.
Once you have all the necessary tools and materials and have installed the drain and chosen the fixtures, you can proceed to the next step of connecting the plumbing fixtures to complete the installation process.
Connecting the Plumbing Fixtures
When connecting the plumbing fixtures in a bathroom, it’s crucial to ensure proper pipe connections. This involves accurately aligning and securing the pipes to prevent any leaks or disruptions in the flow of water.
Additionally, sealing and caulking are essential steps to maintain a watertight environment and prevent any water damage.
Proper Pipe Connections
Make sure you check that the pipe connections are properly sealed before installing the new bathtub. Proper pipe installation is crucial for ensuring proper drainage in your bathroom. Here are some important points to remember:
-
Check for leaks: Inspect all the pipe connections for any signs of leakage. Even a small leak can lead to water damage and mold growth over time.
-
Use the right materials: Make sure you use the appropriate materials for the specific type of pipes you have. This will ensure a secure and tight connection.
-
Tighten fittings properly: Use a wrench to tighten the fittings, but be careful not to overtighten and risk damaging the pipes or fittings.
-
Apply thread sealant: Use thread sealant tape or pipe joint compound on threaded connections to prevent leaks.
Sealing and Caulking
To ensure a watertight seal, apply caulking around the edges of the bathtub.
Proper caulking techniques are essential in preventing water damage and maintaining the integrity of your bathroom.
Start by cleaning the area thoroughly to remove any dirt, grime, or old caulk residue.
Use a caulk gun to apply a thin, even bead of silicone caulk along the joint between the bathtub and the wall.
Smooth the caulk using a caulk tool or your finger, ensuring it adheres properly to both surfaces.
Allow the caulk to dry completely before using the bathtub.
Regularly inspect and replace any deteriorating or damaged caulk to prevent water leakage and potential damage to the surrounding areas.
Testing for Leaks
Regularly inspecting and fixing deteriorating or damaged caulking is important to prevent water leakage and potential damage to the surrounding areas of your bathroom. As part of bathtub maintenance, it is crucial to test for leaks to ensure the integrity of the caulking.
Here are some steps to help you test for leaks and prevent water damage:
- Fill the bathtub with water, ensuring that the water level reaches above the caulking line.
- Let the water sit in the tub for at least 10 minutes.
- Carefully inspect the caulking for any signs of water leakage, such as water droplets or discoloration.
- If you notice any leaks, it is important to promptly re-caulk the affected areas to prevent further water damage.
Sealing the Bathtub and Surrounding Area
First, you’ll need to ensure the bathtub and surrounding area are properly sealed to prevent any leaks. This step is crucial for bathtub maintenance and preventing water damage.
To begin, inspect the edges of the bathtub for any gaps or cracks. Use a caulk gun to apply a generous amount of silicone caulk along these areas, making sure to create a continuous, watertight seal. Smooth out the caulk with your finger or a caulk smoothing tool for a professional finish.
Additionally, check the drain and overflow openings for any signs of leakage. Apply plumber’s putty around these areas to create a tight seal.
Finally, inspect the walls surrounding the bathtub and apply a waterproofing membrane or sealant to protect against moisture seepage.
Taking these steps will ensure a properly sealed bathtub and prevent water damage in the long run.
Testing and Checking for Leaks
After sealing the bathtub and surrounding area, it’s time to test and check for leaks. This step is crucial to ensure that the replacement bathtub is properly installed and functioning correctly.
To test for leaks, follow these steps:
- Turn on the water supply and fill the bathtub to its maximum capacity.
- Check for any visible leaks around the bathtub edges, faucet, and handles.
- Use a water pressure gauge to measure the water pressure coming out of the faucet. It should be within the recommended range.
- Test the drain functionality by filling the bathtub with water and then releasing it. Observe if the water drains quickly and efficiently.
Frequently Asked Questions
How Much Does It Cost to Replace a Bathtub?
Replacing a bathtub can be costly. The average cost of bathtub replacement depends on various factors such as the type of bathtub, materials used, and labor costs. There are different bathtub replacement options available to suit different budgets.
Can I Replace a Bathtub Myself or Do I Need to Hire a Professional?
I can replace a bathtub myself, but there are pros and cons to consider. DIY allows for cost savings and personal satisfaction, but it requires time, skills, and potential mistakes. Hiring a professional ensures expertise and efficiency, but it comes at a higher cost.
How Long Does It Take to Replace a Bathtub?
Replacing a bathtub typically takes around 8-10 hours. The process involves removing the old tub, preparing the area, installing the new tub, and making necessary plumbing connections. Tools needed include a wrench, screwdriver, and caulk gun.
What Should I Do if My Bathtub Is Too Heavy to Remove on My Own?
If my bathtub is too heavy to remove on my own, I would consider hiring professionals who have the expertise and equipment to handle the job safely. They can use various bathtub replacement methods to ensure a smooth and efficient process.
What Are Some Common Signs That Indicate It’s Time to Replace a Bathtub?
When it comes to bathtub maintenance, there are some common signs that indicate it’s time for a replacement. These may include cracks, leaks, stains, or outdated design. Refinishing might not be enough.
Conclusion
In conclusion, replacing a bathtub may seem daunting, but it can be a manageable DIY project with the right tools and materials. By assessing the condition of your bathtub, gathering necessary supplies, and following step-by-step instructions for removal and installation, you can successfully update your bathroom.
Remember, proper sealing and checking for leaks are crucial for a job well done. So go ahead and take the plunge into a new and improved bathing experience!