
I’ve always believed that tackling home improvement projects can be both satisfying and cost-effective. One common task that many homeowners encounter is replacing a bathtub faucet.
In this article, I’ll guide you through the step-by-step process of replacing your bathtub faucet with ease. From assessing the faucet type to installing the new one, I’ll provide you with thorough and precise instructions.
So, grab your tools and let’s get started on transforming your bathroom!
Key Takeaways
- Determine the faucet type before beginning the replacement process by examining the handles and spout.
- Gather the necessary tools and materials such as a wrench, pliers, screwdriver, pipe tape, and a new faucet.
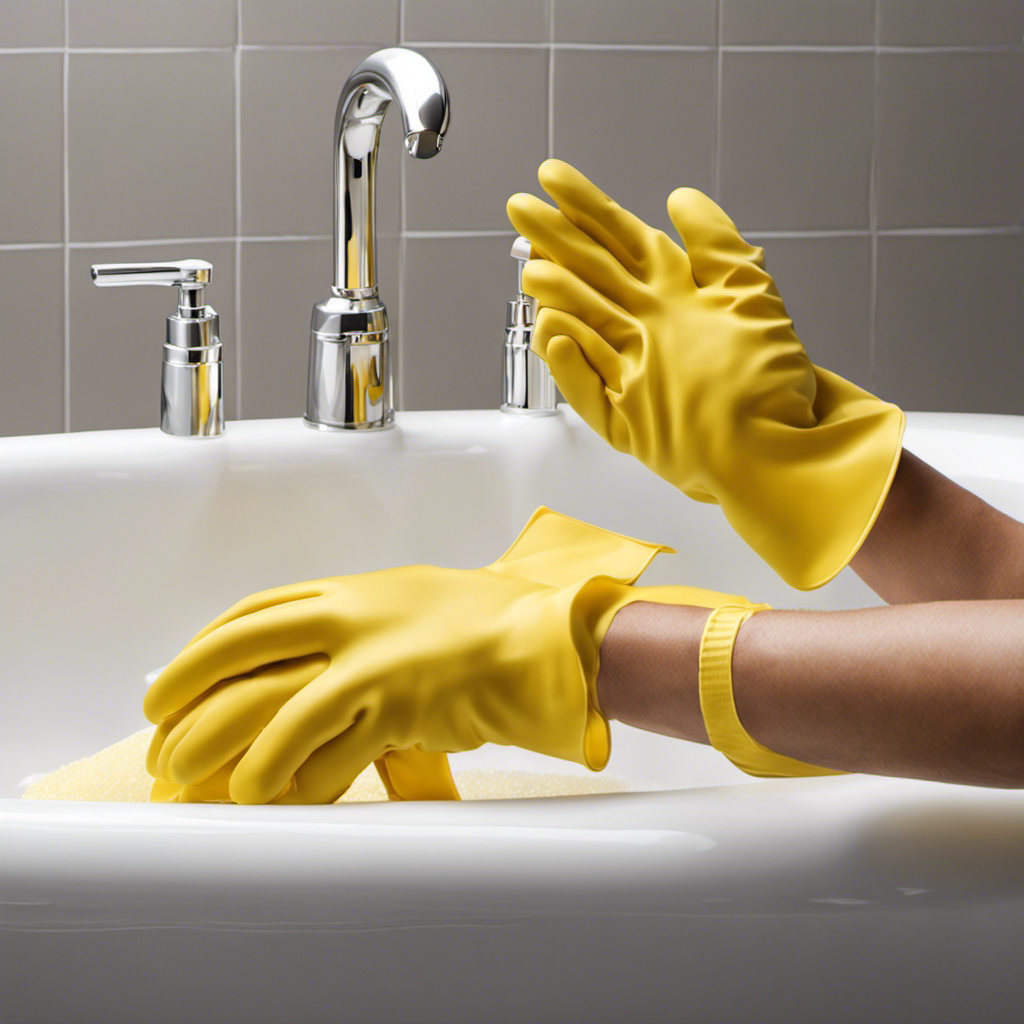
- Properly prepare the area by turning off the water supply, draining any remaining water, and cleaning the bathtub.
- Take into consideration the existing decor and functionality when choosing the right faucet style.
Assessing the Faucet Type
First, you’ll want to determine the type of faucet you have in your bathtub. Evaluating the condition of your current faucet is crucial before choosing a replacement.
Start by examining the handles and spout. If they are separate, you have a two-handle faucet. If the handles are connected to the spout, it’s a single-handle faucet.
Next, check if there is a diverter on the spout. If there is, it’s a diverter faucet.
Lastly, determine if the faucet has a separate showerhead. This would indicate a showerhead diverter faucet.
Once you have identified the type of faucet, you can proceed with choosing a replacement that matches the existing plumbing.
Taking the time to accurately assess the faucet type will ensure a successful replacement process.
Gathering the Necessary Tools and Materials
Before starting the installation process for replacing a bathtub faucet, it’s important to gather all the necessary tools and materials. This includes items such as a wrench, pliers, screwdriver, pipe tape, and a new faucet.
Once all the required tools and materials are gathered, it’s crucial to properly prepare the area before installation. This involves turning off the water supply and ensuring the bathtub is clean and free from any debris.
The step-by-step installation process will then involve removing the old faucet, installing the new one, and testing for any leaks.
Required Tools and Materials
To replace the bathtub faucet, you’ll need a pair of pliers, an adjustable wrench, and plumber’s tape.
Choosing the right faucet style is crucial to ensure a seamless installation and enhance the overall aesthetic of your bathroom. There are various styles available, including single-handle, double-handle, and wall-mounted faucets. Consider the existing decor and functionality of your bathroom when making your selection.
It’s also important to prevent leaks and water damage during installation. To do so, make sure to turn off the water supply before beginning the replacement process. Additionally, inspect the old faucet for any signs of damage or wear, and replace any worn-out parts to prevent future leaks. By taking these precautions, you can ensure a smooth installation process and minimize the risk of leaks or water damage.
Now that we have gathered the necessary tools and materials, let’s move on to the preparation before installation.
Preparation Before Installation
Now that you have gathered the necessary tools and materials, let’s start by checking the water supply and ensuring it is turned off. This step is crucial in preventing water damage and ensuring proper water flow during the installation process. Before beginning any work, locate the main water shut-off valve and turn it clockwise to close it. This will stop the water supply to the faucet. To further prevent any accidental water flow, I recommend opening a faucet in a lower level of your home to drain any remaining water in the system. Once the water supply is turned off and drained, you can proceed with confidence to replace the bathtub faucet. Remember, taking these precautions will help you avoid unnecessary water damage and ensure a smooth installation process.
| Steps to Ensure Proper Water Flow | Steps to Prevent Water Damage |
|---|---|
| 1. Locate the main shut-off valve and close it | 1. Open a faucet in a lower level to drain remaining water |
| 2. Check for any leaks or dripping water | 2. Place a towel or bucket beneath the faucet to catch any water |
| 3. Clean the water supply pipes and remove any debris | 3. Inspect the surrounding area for any signs of previous water damage |
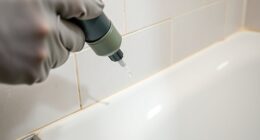
| 4. Test the water flow by turning on a nearby faucet | 4. Use a waterproof sealant around the new faucet to prevent future leaks |
Step-By-Step Installation Process
Once you have successfully shut off the water supply and drained any remaining water, you can begin the step-by-step installation process.
Start by removing the old faucet. Use a wrench to loosen and remove the nuts that secure the faucet to the water supply lines.
Next, clean the area around the faucet to ensure a smooth installation. Apply plumber’s tape to the threads of the new faucet to prevent leaks.
Carefully align the new faucet with the holes in the bathtub, and secure it in place using the nuts provided.
Finally, reconnect the water supply lines and turn on the water to check for any leaks. If you encounter any issues during the installation, such as leaks or difficulty removing the old faucet, refer to troubleshooting techniques or seek professional assistance.
Following these installation tips and troubleshooting techniques will ensure a successful bathtub faucet replacement.
Shutting off the Water Supply
First, make sure you’ve turned off the water supply before proceeding with replacing the bathtub faucet. This is an important step to avoid any water leakage or accidents during the process.
Here are some signs of a faulty faucet that may require replacement:
-
Dripping or leaking: If you notice water constantly dripping from your bathtub faucet, it’s a clear indication that there is a problem with the valve or seals.
-
Low water pressure: If you’re experiencing reduced water flow from your bathtub faucet, it could be due to a clogged aerator or a faulty valve.
-
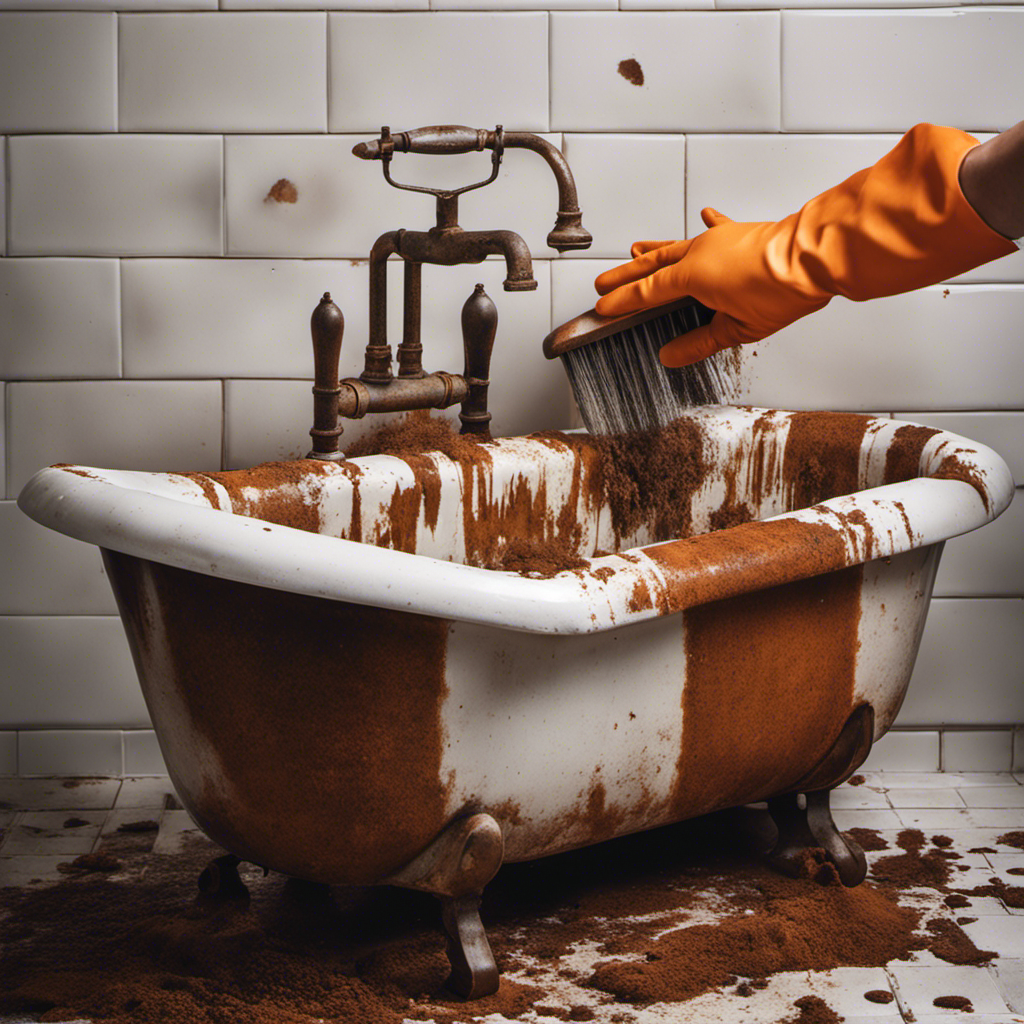
Rust or corrosion: If you see signs of rust or corrosion on your faucet, it’s a sign that it’s deteriorating and may need replacement.
-
Difficult to operate: If your faucet is hard to turn or requires excessive force to operate, it could be due to worn-out internal components.
Removing the Old Faucet
When it comes to removing the old faucet, there are a few key points to consider.
First, you’ll need the right tools for the job, such as an adjustable wrench, pliers, and a screwdriver.
Second, there are common challenges that you may encounter, such as rusted or stubborn connections. However, with the right solutions, like using penetrating oil or applying heat, these challenges can be overcome.
Tools Required for Removal
To remove the bathtub faucet, you’ll need a few tools. Here are the essential tools you’ll need for this task:
- Adjustable wrench: This versatile tool will help you loosen and tighten the faucet connections without damaging them.
- Screwdriver: A Phillips or flathead screwdriver will be necessary for removing any screws or fasteners holding the faucet in place.
- Plumber’s tape: Also known as Teflon tape, this thin white tape is used to create a watertight seal on the threaded connections.
- Bucket or towels: These will come in handy for catching any water that may leak during the removal process.
Having these tools ready will make the removal process easier and more efficient, ensuring a smooth bathroom renovation.
Now, let’s move on to the common challenges and solutions you may encounter during the faucet replacement.
Common Challenges and Solutions
Now that we know the tools required for removing a bathtub faucet, let’s discuss some common challenges you may encounter during the replacement process and their solutions.
Troubleshooting Tips:
-
Leaks: If you notice any leaks after installing the new faucet, check the connections and ensure they are tight. Apply plumber’s tape if necessary.
-
Low water pressure: If the water pressure seems low, remove the aerator from the faucet and clean it. Mineral deposits can block the flow of water.
-
Incompatibility: Choosing the right replacement is crucial. Measure the existing faucet and compare it with the new one to ensure compatibility.
-
Difficulty in removing the old faucet: If the faucet is stuck, use penetrating oil to loosen it. You may also need a pipe wrench for extra leverage.
Remember to turn off the water supply before starting the replacement process.
Following these troubleshooting tips and choosing the right replacement will help ensure a successful bathtub faucet replacement.
Preparing the Area for Installation
Make sure you’ve cleared the area around the bathtub faucet before starting the installation process. This step is crucial to ensure a smooth and hassle-free installation.
Here are some tips to help you prepare the area and avoid common mistakes:
-
Turn off the water supply: Before you begin, shut off the water supply to the bathtub. This will prevent any water leakage during the installation process.
-
Remove the old faucet: Carefully remove the old faucet using the appropriate tools. Make sure to disconnect any water connections and loosen any mounting screws.
-
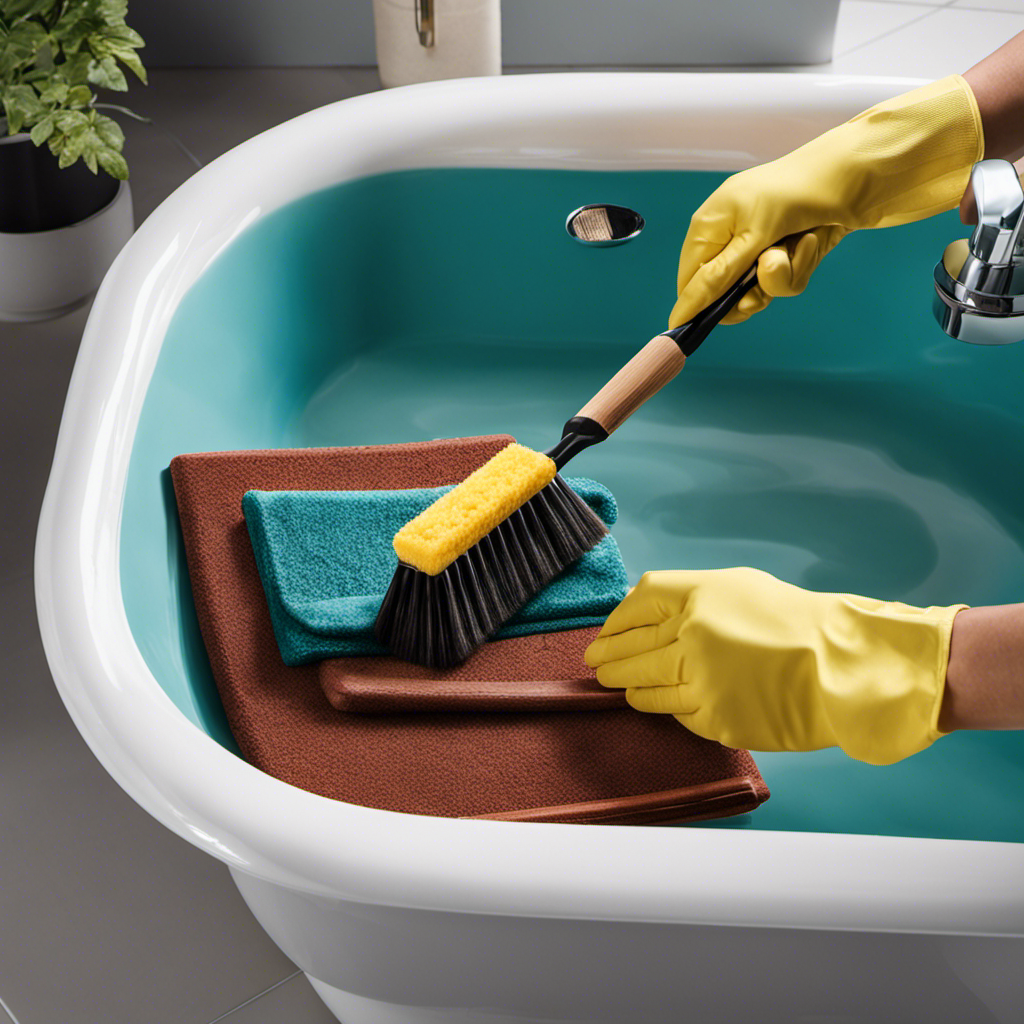
Clean the area: Once the old faucet is removed, clean the area thoroughly to remove any dirt or debris. This will ensure a proper and secure installation of the new faucet.
-
Check for leaks: Before installing the new faucet, inspect the area for any signs of leaks or damage. Fix any issues before proceeding with the installation to avoid future problems.
Installing the New Faucet
Once you’ve removed the old faucet, you’ll need to carefully align the new faucet with the pre-drilled holes in the bathtub.
Start by placing the new faucet in position, ensuring that it lines up perfectly with the existing holes.
Next, you’ll want to secure the connections and install the hardware. Begin by attaching the mounting hardware to the underside of the faucet using the provided screws and a screwdriver. Make sure everything is tightened securely.
Once the hardware is in place, connect the hot and cold water supply lines to the corresponding valves on the faucet. Use an adjustable wrench to tighten the connections, ensuring they are leak-free.
Testing the New Faucet
After securing the connections and installing the hardware, it’s time to test the new faucet for any leaks. Here are some testing techniques and troubleshooting tips to ensure a successful installation:
-
Turn on the water supply: Slowly open the shut-off valves and check for any leaks at the connections. If there are any leaks, tighten the connections further.
-
Check the water flow: Turn on both the hot and cold water handles to ensure water is flowing smoothly. If there is reduced water flow, it could be due to debris clogging the aerator. Remove the aerator and clean it thoroughly.
-
Inspect for drips: Let the water run for a few minutes and then turn off the handles. Check for any drips or leaks around the faucet base. If there are any, try tightening the mounting nuts or replace the faucet cartridge if necessary.
-
Test the diverter: If your faucet has a diverter for a showerhead or hand shower, test it to ensure it is functioning properly. Turn on the water and switch between the different settings to verify the diverter is working smoothly.
Cleaning up and Final Thoughts
To finish up, don’t forget to wipe down the sink and countertop to remove any excess water or debris. Cleaning up after replacing a bathtub faucet is an important step to ensure a clean and functional bathroom.
Here are some cleaning techniques and maintenance tips to keep in mind:
-
Use a mild soap or cleaning solution to clean the sink and countertop. Avoid using abrasive cleaners that can damage the surfaces.
-
Pay special attention to any hard-to-reach areas or corners where dirt and grime can accumulate.
-
Use a soft cloth or sponge to gently scrub the surfaces, removing any stains or residue.
-
Rinse thoroughly with water and dry with a clean towel to prevent water spots or streaks.
Following these cleaning techniques and regular maintenance will help keep your bathroom looking fresh and hygienic. It’s important to take care of your fixtures to ensure their longevity and functionality.
Frequently Asked Questions
How Do I Determine if I Need to Replace My Bathtub Faucet?
To determine if I need to replace my bathtub faucet, I would look for signs such as a constant drip, rust or corrosion, difficulty turning the handle, or if it’s outdated. It’s important to fix a leaky bathtub faucet to prevent further damage.
Can I Use the Same Tools and Materials for Any Type of Bathtub Faucet?
Yes, you can reuse old materials for any type of bathtub faucet replacement. However, it’s important to have essential tools like a wrench, screwdriver, and plumber’s tape to ensure a successful installation.
What Should I Do if I Can’t Find the Water Shut-Off Valve for My Bathtub Faucet?
If I can’t find the water shut-off valve for my bathtub faucet, the first thing I would do is check the basement or crawl space for a main water shut-off valve. If that doesn’t work, I’d call a plumber for assistance.
Is It Necessary to Remove Any Other Fixtures or Accessories Before Removing the Old Faucet?
It is necessary to remove any other fixtures or accessories before removing the old faucet. This ensures a smooth and efficient replacement process. Follow these necessary steps to properly remove the old faucet.
Are There Any Additional Steps Required if I Want to Upgrade to a Different Type of Faucet?
If I want to upgrade to a different type of faucet, there may be additional steps involved in the installation process. It’s important to consider the compatibility of the new faucet with the existing plumbing and make any necessary adjustments.
Conclusion
In conclusion, replacing a bathtub faucet can be a daunting task, but with the right tools and knowledge, it becomes as smooth as a gentle stream flowing through a serene forest.
By carefully assessing the faucet type and gathering the necessary materials, shutting off the water supply, and removing the old faucet, you pave the way for a seamless installation.
With precision and expertise, installing the new faucet becomes a breeze, and after a final test, you can bask in the satisfaction of a job well done.
Remember to clean up and admire your handiwork, knowing that you have transformed your bathing oasis into a sanctuary of tranquility.

Liam’s journey with us started as a consumer. Having faced challenges while setting up his own modern bathroom, he delved deep into research.
Recognizing his knack for simplifying complex information and his authentic writing style, we were thrilled to welcome him aboard. Liam’s articles often merge practicality with style, ensuring readers find the perfect fit for their homes. Liam is an avid hiker off-duty and often jokes about finding the best “natural toilets” Mother Earth has to offer.