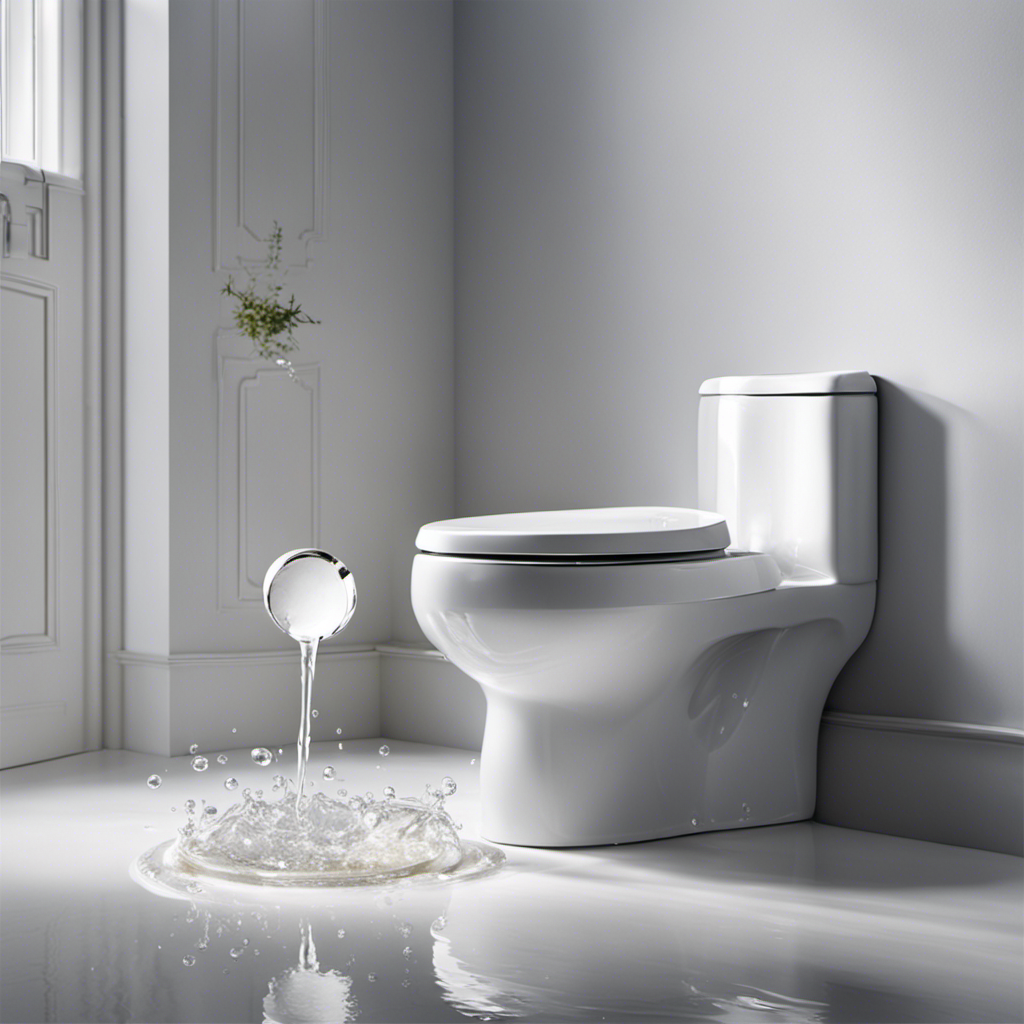

I’ve been dealing with a constantly running toilet for weeks, and it’s finally time to take matters into my own hands.
In this article, I’ll show you how to change a toilet float step by step.
With a few simple tools and a little know-how, you’ll be able to fix this common issue in no time.
So, let’s dive in and put an end to that annoying sound of water constantly running in the background.
Key Takeaways
- Proper adjustment of the toilet float is crucial for troubleshooting common issues.
- The float controls the water level in the toilet tank and can cause water to constantly run or overflow if malfunctioning.
- Tools such as an adjustable wrench and screwdriver are necessary for fixing toilet float issues.
- Shutting off the water supply by closing the valve behind or near the toilet is important before making any repairs.

Flexisnake Drain Weasel Hair Clog Remover Kit – Plumbing Snake Auger for Cleaning Shower, Bath Tub, Bathroom Drains with Rotating Handle and 5 Disposable Wands, Made in USA
POWERFUL HAIR CLOG REMOVAL: The snake drain hair removal tool features patented micro-hook technology that grabs and removes...
As an affiliate, we earn on qualifying purchases.
Understanding the Toilet Float
The toilet float controls the water level in the tank. Understanding how it works is crucial for troubleshooting common toilet float issues and preventing water wastage.
If you notice that the water in your toilet tank is constantly running or overflowing, it could be due to a malfunctioning float. To troubleshoot this issue, first check if the float is properly adjusted. The float should be positioned so that it stops the water from filling the tank once it reaches the desired level.
If the float is too high, it may cause the water to continuously run. To adjust the toilet float, simply bend the float arm downwards or adjust the float screw to lower the water level.

Drain Snake, 25ft Flexible Steel Drain Auger With Drill Adapter, Plumbing Unblocking Hand Auger, Manual Or Powered for Shower & Bathtub Clogs-No auto retract or feed (Orange)
Perfect household tool for quickly unclogging any drain, No matter driven by electric drill which attaches to the...
As an affiliate, we earn on qualifying purchases.
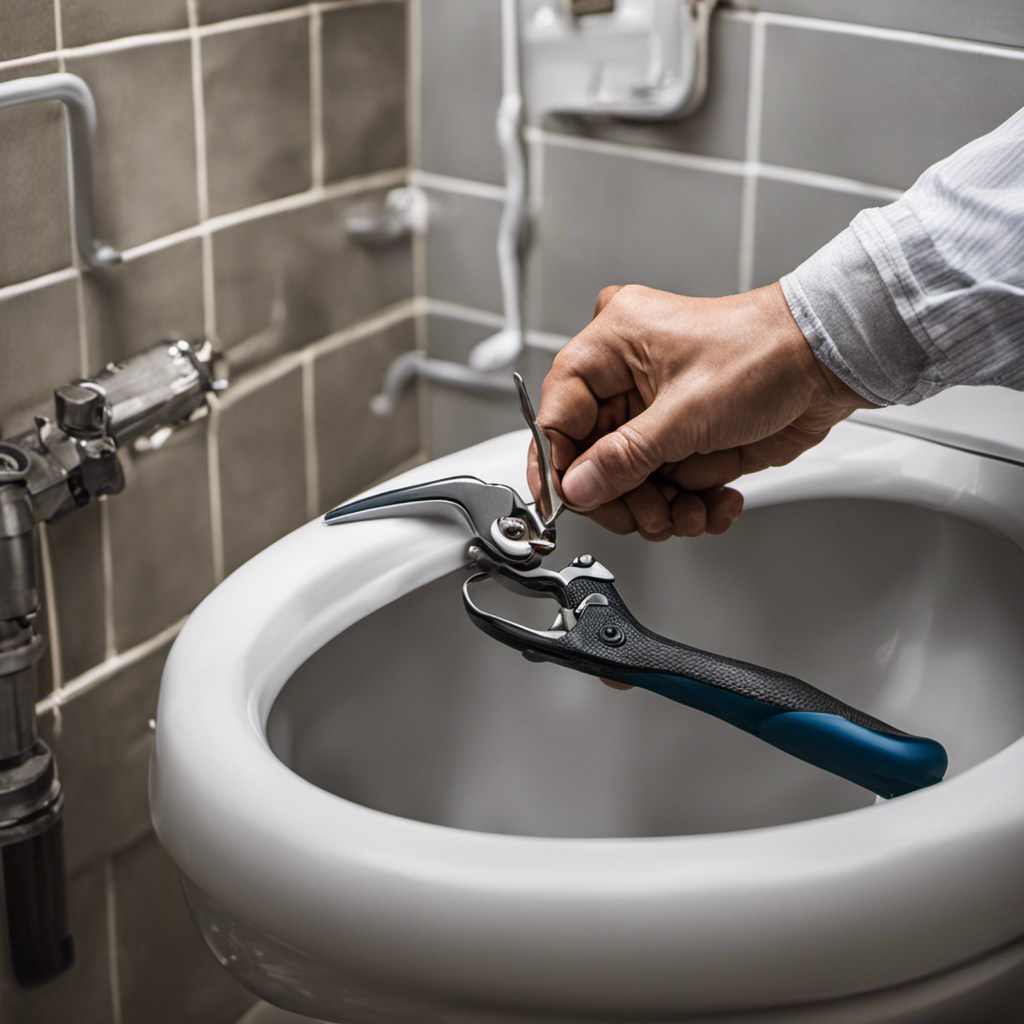
Gathering the Necessary Tools
Before you begin, make sure you have all the necessary tools on hand.
Proper maintenance for toilet floats is essential to ensure optimal performance and prevent common issues.
Troubleshooting problems with your toilet float can be frustrating, but with the right tools, you can easily fix the problem.
Here are four items you will need:
-
Adjustable wrench: This tool will help you loosen and tighten nuts and bolts without damaging them.
-
Screwdriver: You’ll need a screwdriver to remove screws and access the float mechanism.
-
Replacement float: If your float is damaged or not functioning properly, you will need a new one.
-
Cleaning solution: To properly maintain your toilet float, you should clean it regularly to prevent buildup and clogs.
With these tools, you’ll be able to tackle any toilet float issue efficiently and effectively.

ARCTIC EAGLE Drain Snake Hair Drain Clog Remover - 3 Pack Shower Snake Sink Unclogger Tool with Exquisite Packaging
Package Includes: 3 pack of 20" drain clog remover cleaning tools. The width of the hair cleaner is...
As an affiliate, we earn on qualifying purchases.
Shutting Off the Water Supply
To shut off the water supply, you’ll need to locate the valve and turn it clockwise. The valve is usually located behind the toilet, near the floor or on the wall. Once you find it, turn the valve clockwise until it is fully closed. This will stop the water from flowing into the toilet tank and allow you to work on the float without any water pressure.
Troubleshooting common toilet float issues can be tricky if you don’t have the water supply shut off, as water may continue to fill the tank and interfere with your repairs. Regular maintenance for toilet floats is important to ensure proper functioning and prevent any issues.
Now that the water supply is off, let’s move on to removing the old float.

Drain Snake, Drain Clog Remover - Gutter Cleaning Tools Drain Cleaner for Toilet Sewer Shower Kitchen Bathroom Tub Clogged Drains Opener Cleaning Tool, Flexible Grabber Claw Pick Up Reacher (79 inch)
Compatible with Drains ≥ 1.5 cm Wide – Not for Narrow Pipes This drain clog remover is designed...
As an affiliate, we earn on qualifying purchases.
Removing the Old Float
Now that you’ve shut off the water supply, you can start by disconnecting the old float. Here are four common float problems that you might encounter:
-
Leakage: If you notice water seeping from the float, it could be due to a damaged seal or a crack in the float itself. This can lead to water wastage and higher bills.
-
Sticking: Sometimes, the float may get stuck in the up or down position, preventing the toilet from flushing properly. This can cause frustration and inconvenience.
-
Rusting: Over time, the metal parts of the float can rust, affecting its performance and causing it to malfunction. Rust can also contaminate the water.
-
Limited Adjustability: Some floats have limited adjustability, making it difficult to set the water level to your desired height. This can result in inefficient flushing and water usage.
When faced with these common float problems, you may consider alternative float options such as adjustable floats, fluidmaster floats, or even floatless fill valves. These options offer better performance, increased durability, and more precise water level control.
With the old float disconnected, you are now ready to move on to installing the new float and ensuring a properly functioning toilet.
Installing the New Float
Once you’ve disconnected the old float, it’s time to attach the new one and ensure it functions properly. To install the new float, follow these steps:
- Begin by locating the float valve assembly inside the toilet tank.
- Position the new float in the same area where the old float was located.
- Attach the float by securing it to the float valve assembly using the provided hardware or by tightening the adjustment screw.
- Adjust the float height to the desired level by either bending the float arm or adjusting the float valve assembly.
- Ensure that the float moves freely up and down without any obstructions.
By correctly installing the new float and adjusting its height, you can prevent common float issues such as a constantly running toilet or a toilet that doesn’t fill up properly.
Troubleshooting any float problems will become easier once you have successfully installed the new float.
Frequently Asked Questions
How Do I Know if My Toilet Float Needs to Be Changed?
If my toilet float is malfunctioning, there are signs to look out for. Common issues include constant running water, water not filling properly, or a toilet that won’t flush. Troubleshooting can help determine if the float needs to be changed.
Can I Use Any Type of Float to Replace the Old One?
Yes, you can use different types of floats to replace the old one. However, it’s important to consider the pros and cons of each type. Some floats may be more durable or adjustable, while others may be more prone to issues.
Do I Need to Drain the Water From the Toilet Tank Before Removing the Old Float?
Before replacing the float, it is essential to drain the water from the toilet tank. This ensures a safe and dry environment for the process. Failure to do so may result in water leakage during the replacement.
Are There Any Specific Safety Precautions I Should Take When Shutting off the Water Supply?
When shutting off the water supply, it’s crucial to take proper precautions. Ensure the water valve is fully closed to prevent any leaks or flooding. Remember, water supply precautions are essential for a safe and successful task.
Can I Adjust the Water Level in the Toilet Tank After Installing the New Float?
Yes, you can adjust the water level in the toilet tank after installing the new float. This is important for troubleshooting common float problems and ensuring the proper functioning of your toilet.
Conclusion
In conclusion, changing a toilet float is a simple and essential task that can be easily accomplished with the right tools and knowledge.
By understanding the function of the float and following the steps to shut off the water supply, remove the old float, and install the new one, you can ensure the proper functioning of your toilet.
Don’t let a faulty float float your frustrations. Take charge and float through this task like a pro.