
I’ve been there – standing in the bathroom, frustrated by a broken toilet flush handle. But fear not, because I’m here to guide you through the process of fixing it.
In this article, I’ll show you step-by-step how to:
- Identify the problem
- Gather the necessary tools
- Disassemble the flush handle mechanism
Then, we’ll dive into:
- Repairing or replacing the broken components
- Reassembling and testing the flush handle
Get ready to triumph over that pesky toilet flush handle once and for all!
Key Takeaways
- Regularly clean and lubricate the flush handle to ensure smooth operation.
- Inspect the handle for wear and replace any worn parts.
- Disassemble the flush handle mechanism to identify any broken or damaged components causing the malfunction.
- Troubleshoot the specific problem with the handle and repair or replace the broken components accordingly.
Identifying the Problem
First, you’ll want to check if the toilet flush handle is loose or if it’s not working properly. Common toilet flush handle issues can include a loose handle, a handle that doesn’t flush the toilet when pressed, or a handle that gets stuck and doesn’t return to its original position.
To troubleshoot these problems, start by removing the lid of the toilet tank and inspecting the handle mechanism. Check if the handle is securely attached to the flush valve chain or rod. If it’s loose, tighten the nut or screw that holds it in place.
If the handle isn’t engaging the flush valve properly, adjust the chain or rod length to ensure a proper connection. If the handle is sticking, lubricate the moving parts with a silicone-based lubricant.
These troubleshooting steps should help you fix most toilet flush handle problems.
Gathering the Required Tools
Next, you’ll need a few tools to get started on the task at hand. Proper maintenance for toilet flush handles is essential to ensure their longevity and functionality. However, if you find yourself needing to fix a toilet flush handle, there are a few common mistakes you should avoid. To emphasize this point, I have prepared a table below:
| Proper Maintenance | Common Mistakes to Avoid |
|---|---|
| Regular cleaning | Using excessive force |
| Lubrication | Overtightening |
| Inspecting for wear | Ignoring small issues |
| Replacing worn parts | Incorrect installation |
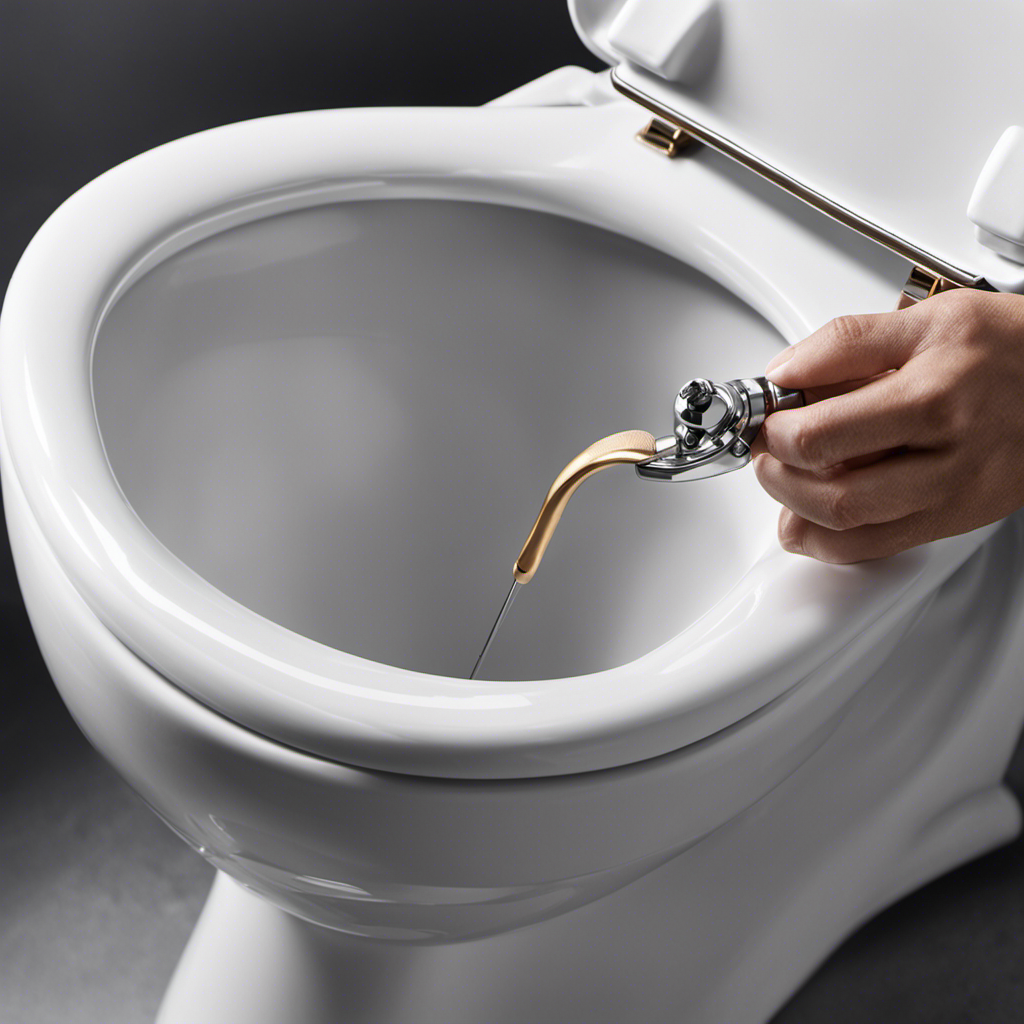
Disassembling the Flush Handle Mechanism
Now that you have the required tools, it’s time to take apart the mechanism connected to the handle.
Troubleshooting common issues with a toilet flush handle often involves adjusting the flush handle tension.
To begin, locate the small screw at the base of the handle. Using a screwdriver, loosen the screw and remove it completely.
Once the screw is removed, gently pull the handle away from the toilet tank. You should be able to see the inner workings of the mechanism now.
Take note of any broken or damaged components that may be causing the handle to malfunction.
With the mechanism disassembled, you can now proceed to the next step of repairing or replacing the broken components.
Repairing or Replacing the Broken Components
Once you’ve identified the broken components, you can start repairing or replacing them. Troubleshooting common toilet handle issues can help pinpoint the specific problem. It could be a loose or broken lever arm, a faulty lift chain, or a worn-out flapper.
Here are some practical tips for finding affordable replacement parts for toilet flush handles:
-
Check with your local hardware or plumbing supply store. They often carry a variety of toilet repair parts, including flush handles, at reasonable prices.
-
Look for deals online. Many websites offer discounted prices on toilet repair parts, and you may even find free shipping options.
-
Consider buying universal replacement parts. These are designed to fit most toilet models and can be a cost-effective solution.
Reassembling and Testing the Flush Handle
To reassemble and test the flush handle, make sure all the components fit together correctly and then give it a few trial flushes to ensure it’s working properly. Adjusting the flush handle tension is an important step in this process. If the handle feels loose or too tight, you can adjust the tension by either tightening or loosening the nut on the inside of the tank. Cleaning and lubricating the flush handle mechanism is also crucial for its smooth operation. Use a mild detergent and water to clean any dirt or debris from the handle and the surrounding area. After cleaning, apply a small amount of lubricant, such as silicone spray, to the moving parts of the mechanism. This will help reduce friction and ensure a smooth and effortless flush.
| Adjusting Flush Handle Tension | Cleaning and Lubricating Flush Handle Mechanism |
|---|---|
| Tighten or loosen the nut on the inside of the tank to adjust the tension. | Clean the handle and surrounding area with mild detergent and water. |
| Ensure the handle feels neither too loose nor too tight. | Apply a small amount of lubricant, such as silicone spray, to the moving parts. |
Frequently Asked Questions
How Do I Know if My Toilet Flush Handle Is Broken?
When my toilet flush handle broke, I noticed it wouldn’t spring back after flushing. I had to lift the lid and manually adjust it. I knew it was broken and needed fixing.
Can I Use Any Type of Wrench to Disassemble the Flush Handle Mechanism?
Yes, you can use a pipe wrench to disassemble the flush handle mechanism. However, if you don’t have a wrench, you can also try using pliers or an adjustable wrench as alternatives.
Where Can I Purchase Replacement Parts for My Toilet Flush Handle?
I usually purchase replacement parts for my toilet flush handle at a local hardware store or online. They have a variety of options available for different brands and models.
Is It Necessary to Turn off the Water Supply Before Repairing or Replacing the Broken Components?
It’s crucial to turn off the water supply before fixing or replacing broken toilet flush handle components. Regular maintenance is important to avoid common repair mistakes and ensure smooth operation.
How Long Does It Typically Take to Reassemble and Test the Flush Handle After Repair or Replacement?
After repairing or replacing the flush handle, the reassembly time depends on the complexity of the toilet model. Once reassembled, I recommend thoroughly testing the flush handle to ensure it functions properly before using the toilet.
Conclusion
In conclusion, fixing a toilet flush handle is a simple task that anyone can tackle with the right tools and knowledge.
By following the steps outlined in this article, you can easily identify the problem, gather the necessary tools, and disassemble the mechanism.
Whether you need to repair or replace broken components, this guide provides practical and detailed instructions to help you get the job done.
So, don’t let a faulty flush handle dampen your spirits – take charge and fix it yourself!

Liam’s journey with us started as a consumer. Having faced challenges while setting up his own modern bathroom, he delved deep into research.
Recognizing his knack for simplifying complex information and his authentic writing style, we were thrilled to welcome him aboard. Liam’s articles often merge practicality with style, ensuring readers find the perfect fit for their homes. Liam is an avid hiker off-duty and often jokes about finding the best “natural toilets” Mother Earth has to offer.