As someone who has experienced the frustration of a faulty toilet bowl, I understand the importance of a smooth and efficient installation process. In this step-by-step guide, I’ll show you how to install a toilet bowl with ease.
With the right tools and materials at hand, we’ll remove the old bowl, prepare the area, and install the new one.
Get ready to bid farewell to leaks and clogs, and say hello to a fully functional bathroom fixture. Let’s get started!
Key Takeaways
- Choose the right toilet bowl based on size, shape, and flushing system
- Gather all necessary tools and materials before starting
- Remove the old toilet bowl carefully and dispose of it properly
- Ensure a watertight seal and secure installation of the new toilet bowl

Elongated One Piece Toilet with Comfort Chair Seat ADA Height 17.33", Powerful Dual Flush 0.8/1.28 GPF Compact Toilet, MAP 1000g, Standard White Toilet Bowl, 12'' Rough-in
[Modern Toilets for Bathrooms]: Full skirt design elongated one-piece toilet, not only is it beautiful and elegant, it's...
As an affiliate, we earn on qualifying purchases.
Gathering the Necessary Tools and Materials
Before you begin, make sure you’ve gathered all the necessary tools and materials for installing the toilet bowl.
Choosing the right toilet bowl is crucial for a successful installation. Take into consideration factors such as the size, shape, and flushing system. Measure the rough-in distance, which is the space from the wall to the center of the drainpipe, to ensure the toilet bowl will fit properly.
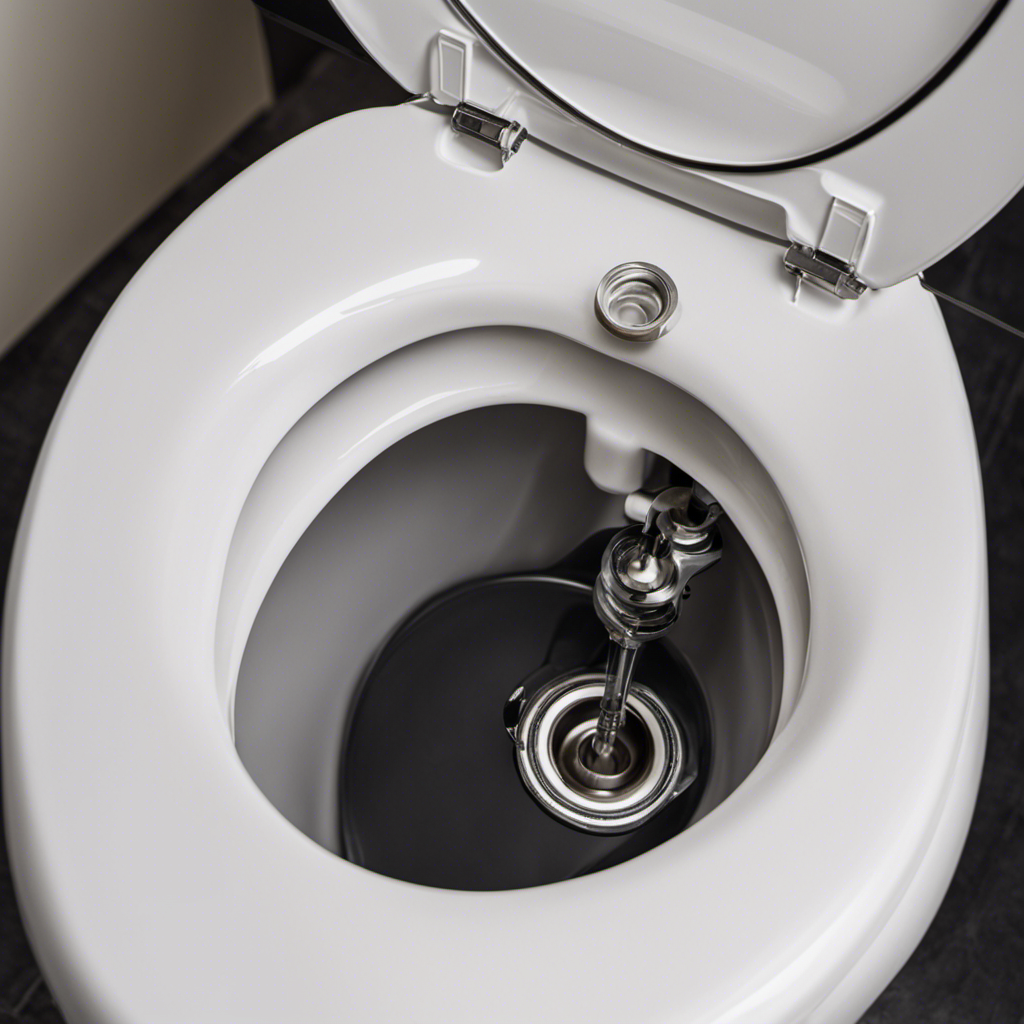
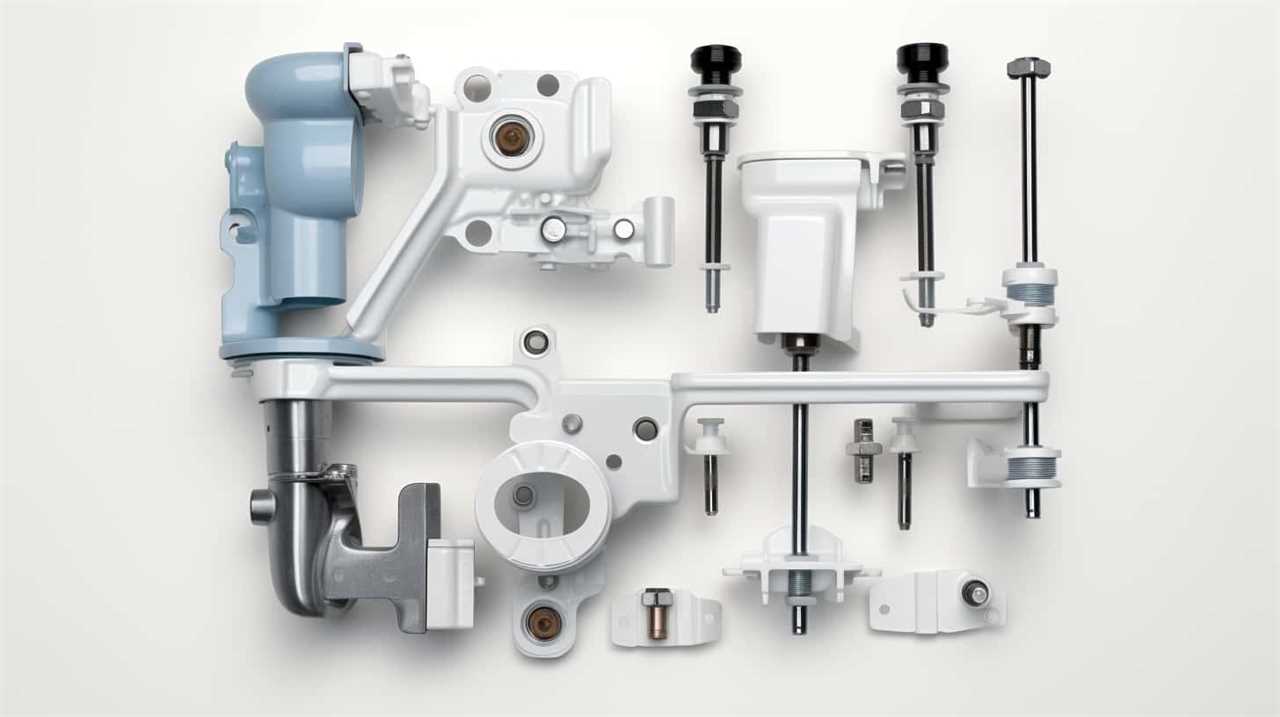
Understanding the different parts of the toilet bowl is also important. These include the bowl itself, the tank, the flush valve, the fill valve, and the wax ring. Each part plays a crucial role in the functioning of the toilet.
Now that you have everything ready, let’s move on to the next step.

Electric Bidet Toilet Seat, Heated Toilet Seat Elongated with Instant Warm Water & Dryer, Feminine & Front Rear Wash, Wireless Remote, Self-Clean Nozzle, Slow Close Lid, Upgraded Silent ECO Child Mode
Instant Water Heating: Enjoy instant and unlimited warm water, and 3-level adjustable warm air drying of this toilet...
As an affiliate, we earn on qualifying purchases.
Removing the Old Toilet Bowl
To start, you’ll need to disconnect the water supply line from the old toilet. This is an important step in removing the old toilet bowl. Here’s a step-by-step guide on how to do it:
- Turn off the water supply valve to stop the flow of water.
- Flush the toilet to empty the tank and bowl.
- Use an adjustable wrench to loosen the nut connecting the water supply line to the toilet tank.
- Once the nut is loose, carefully remove the water supply line from the tank.
Now that the water supply line is disconnected, you can move on to the next steps in removing the old toilet bowl. Remember to take safety precautions while working with the toilet, such as wearing gloves and protective eyewear.
As for disposal options, you can contact your local waste management facility to inquire about proper disposal methods for your old toilet.

XCQQ Electric Heated Bidet Toilet Seat with Warm Water Wash, Warm Air Dryer, Soft Closed Lid, Night Light, LED Display, Toilet Seat with Bidet Requires Outlet - Elongated
Electronic Bidet Toilet Seat: This heated toilet seat features a soft-close lid, warm air dryer, adjustable water temperature...
As an affiliate, we earn on qualifying purchases.
Preparing the Area for Installation
Once you’ve disconnected the water supply line, it’s time to prepare the area for installation.
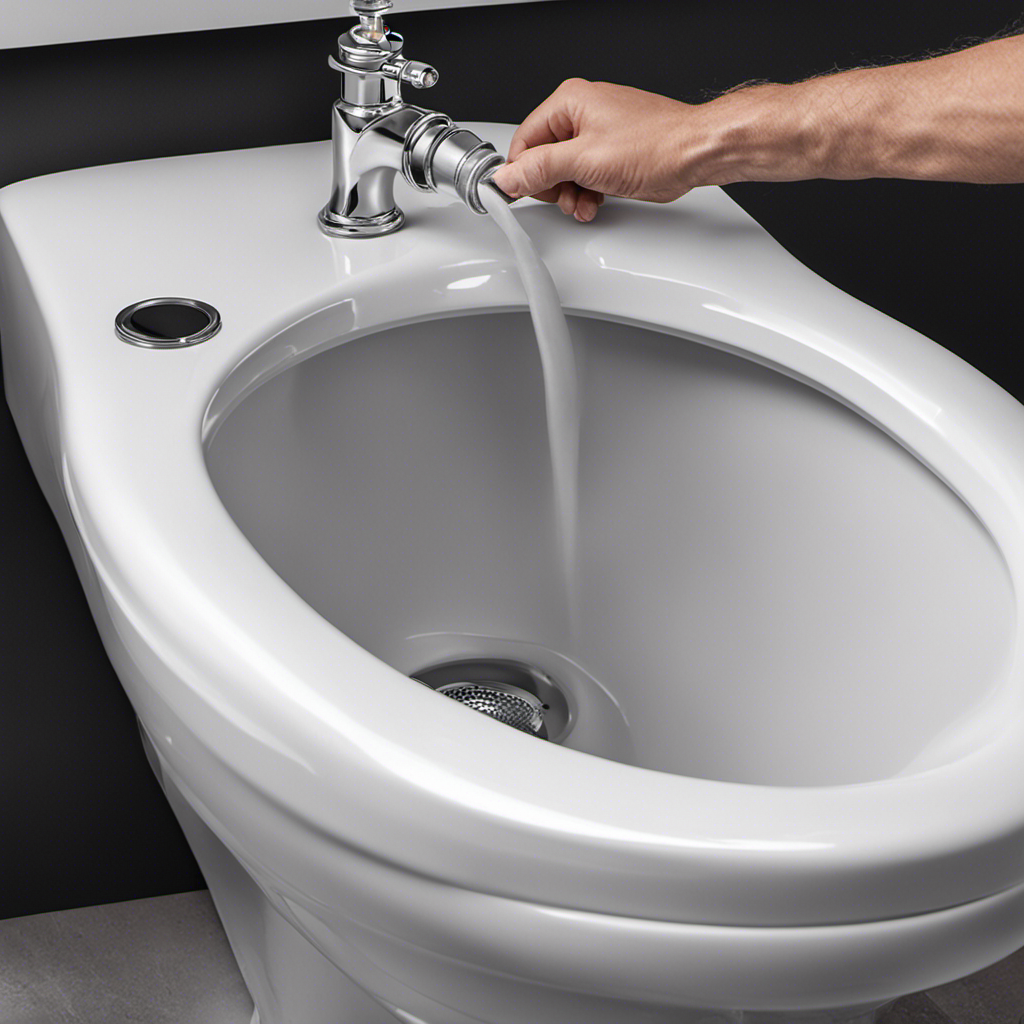
The first step is to measure for proper placement of the new toilet bowl. Start by measuring the distance from the wall to the center of the flange, which is the pipe that connects the toilet to the waste line. Make sure to account for any baseboard or molding that may affect the placement. Once you have the measurements, mark the floor with a pencil or tape to indicate where the toilet will sit.
Next, you’ll need to seal the toilet flange. This is an important step to prevent leaks and ensure a secure installation. Apply a layer of plumber’s putty or silicone caulk around the flange, making sure to cover the entire area. This will create a watertight seal when the toilet is installed.
With the area prepared and the flange sealed, you’re now ready to move on to installing the new toilet bowl.

Bio Bidet BB2000 Bliss Electric Bidet Toilet Seat, Warm Water with Air Dryer, Heated Seat with Sensor and Slow Close Lid, Night Light, Remote Control, Elongated, White
LUXURY SPA COMFORT AT HOME - Indulge in a heated seat, warm water wash, soothing night light, and...
As an affiliate, we earn on qualifying purchases.
Installing the New Toilet Bowl
Now that you’ve prepared the area and sealed the flange, it’s time to go ahead and attach the new toilet bowl. Here’s how to do it:
- Place the wax ring on the flange, ensuring it is properly aligned.
- Carefully lower the toilet bowl onto the wax ring, making sure the bolts on the flange align with the holes on the base of the toilet.
- Gently rock the toilet bowl back and forth to help the wax ring create a tight seal.
Once the toilet bowl is properly aligned, secure it in place by tightening the nuts onto the bolts using a wrench, alternating between the two sides to ensure even pressure.
Remember to not overtighten the nuts, as it can crack the toilet bowl.
With the toilet bowl securely attached, you’re one step closer to completing the installation process.
Testing and Finishing Touches
After securing the toilet bowl in place, it’s time to test for any leaks and add the finishing touches.
To ensure a successful installation, troubleshooting common toilet bowl installation issues is crucial.
First, check for leaks by pouring water into the bowl and flushing it. If there are any leaks, tighten the bolts connecting the tank to the bowl.
Next, inspect the flush valve and fill valve to make sure they are properly installed and functioning. Adjust the water level in the tank if needed.
Frequently Asked Questions
How Do I Determine the Correct Size of the Toilet Bowl for My Bathroom?
To determine the correct size of a toilet bowl for your bathroom, measure the rough-in distance from the wall to the center of the floor drain. This measurement will help you choose a toilet bowl that fits properly in your bathroom.
What Should I Do if I Encounter Any Leaks During the Installation Process?
If I encounter any leaks during the installation process, I would first check the water supply connection and tighten it if necessary. If the leak persists, I would inspect the wax ring and replace it if damaged.
Are There Any Specific Safety Precautions That I Should Take When Installing a Toilet Bowl?
When installing a toilet bowl, it is important to take certain safety precautions. Wear gloves and safety goggles to protect yourself. Additionally, gather the necessary tools such as a wrench and a level for a smooth installation process.
Can I Reuse the Wax Ring From the Old Toilet Bowl or Do I Need to Buy a New One?
I can reuse the wax ring from the old toilet bowl if it’s in good condition and hasn’t been compressed. However, it’s recommended to buy a new one for a proper seal. There are alternative sealing methods available as well.
How Do I Properly Dispose of the Old Toilet Bowl?
To properly dispose of the old toilet bowl, I recommend following proper disposal methods to minimize the environmental impact. Step-by-step, ensure you take it to a designated recycling center or contact your local waste management for guidance.
Conclusion
As I put the final touches on my newly installed toilet bowl, I couldn’t help but feel a sense of accomplishment. It was like I had breathed new life into my bathroom, transforming it into a sanctuary of cleanliness and comfort.
Just like the process of installing a toilet bowl, life presents us with challenges that require patience, determination, and the right tools. But with a little guidance and a willingness to get our hands dirty, we can overcome any obstacle and create something beautiful.
So go forth, my friends, and conquer your own personal ‘toilet bowl’ installations with confidence and grace.