I’ve always believed that a little creativity can transform even the most mundane objects into something extraordinary.
And what better way to showcase your artistic flair than by painting your very own toilet seat?
In this article, I’ll guide you through the step-by-step process of selecting the right paint, preparing the surface, and adding decorative designs.
Get ready to give your bathroom a personal touch and make a statement with a beautifully painted toilet seat.
Let’s dive in!
Key Takeaways
- Choose paint specifically formulated for bathroom fixtures
- Clean the surface and lightly sand it for better adhesion
- Remove the toilet seat before painting and clean it thoroughly
- Apply a primer and a base coat using proper brush techniques

Brondell Bidet Toilet Seat Non-Electric Swash Ecoseat, Fits Elongated Toilets, White - Dual Nozzle System, Ambient Water Temperature - Bidet with Easy Installation
CLEAN AND REFRESHING: With Brondell’s Ecoseat 101 Bidet, you’ll experience a soothing, freshwater wash that leaves you feeling...
As an affiliate, we earn on qualifying purchases.
Selecting the Right Paint and Supplies
Now that you know how to prepare the toilet seat, it’s time to gather the right paint and supplies.
When it comes to painting techniques, selecting the right paint is crucial for a successful and long-lasting finish. Look for a paint that is specifically formulated for use on bathroom fixtures, as it will be more durable and resistant to moisture and stains. Additionally, consider the color and finish you desire for your toilet seat. Matte and glossy finishes are popular choices, but make sure to select one that suits your personal style and bathroom decor.
In terms of supplies, you will need a paintbrush or foam roller, painter’s tape, sandpaper, and a drop cloth to protect the surrounding area. With these essential tools in hand, you are ready to move on to preparing the toilet seat for painting.
TOTO® WASHLET® C5 Electronic Bidet Toilet Seat with PREMIST and EWATER+ Wand Cleaning, Elongated, Cotton White - SW3084#01
A REFRESHING CLEAN FOR EVERYONE - Gentle yet powerful water spray provides an effective clean; Adjustable warm water...
As an affiliate, we earn on qualifying purchases.
Preparing the Toilet Seat for Painting
Before you start, make sure you’ve properly cleaned and sanded the surface. Toilet seat preparation is crucial to ensure a smooth and long-lasting paint job. Cleaning the seat with a mild detergent and warm water will remove any dirt or grease that could interfere with the adhesion of the paint. After cleaning, lightly sand the surface with fine-grit sandpaper to create a rough texture that the paint can adhere to. Now, let’s talk about painting techniques.
| Column 1 | Column 2 | Column 3 |
|---|---|---|
| Primer | Brush | Roller |
| Sandpaper | Paint | Drop cloth |
| Tack cloth | Masking tape | Paint tray |
Using a primer will ensure better adhesion and durability of the paint. A brush is ideal for detailed work and hard-to-reach areas, while a roller can provide a smooth finish on larger surfaces. Make sure to sand between coats for better paint adhesion. Cover the surrounding area with a drop cloth and use masking tape to protect any parts you don’t want to paint. And remember, always follow the manufacturer’s instructions for drying time and curing before using the toilet seat again. With proper preparation and painting techniques, your toilet seat can be transformed into a stylish and durable feature in your bathroom.

BIGCOW Ultra-Slim Bidet Attachment for Toilet - Dual Nozzle (Frontal & Rear Wash) with Adjustable Cold Water Pressure and Stainless Steel Inlet - Hygienic Solution for Fresh Cleanliness, Silver 1 Pcs
【Dual Spraying Modes】- This toilet bidet offers both rear wash for thorough cleaning and a specially designed frontal...
As an affiliate, we earn on qualifying purchases.
Removing the Toilet Seat
To remove the toilet seat, you’ll need to locate the plastic caps that cover the bolts securing it in place. Use a flathead screwdriver to gently pry off the caps. Underneath, you’ll find the bolts. Loosen and remove them with a wrench, being careful not to damage the porcelain. Lift the seat and lid straight up to detach them from the toilet bowl.
Use a mild cleaning solution to wipe down the underside of the toilet seat and the rim of the bowl. Scrub the seat and lid with a soft brush to remove any stains or buildup. Rinse thoroughly with water and dry with a clean cloth before reattaching.
Regular toilet seat maintenance and proper cleaning techniques will help keep your bathroom clean and hygienic.
Amazon Product B0GMY4B6YR
As an affiliate, we earn on qualifying purchases.
Sanding and Priming the Surface
You’ll want to start by sanding the surface of the toilet seat to create a smooth and even texture for the primer to adhere to. Sanding techniques can vary depending on the material of the seat. If it’s made of wood, use fine-grit sandpaper and gently sand in the direction of the grain to avoid damaging the surface.
For plastic or ceramic seats, use a medium-grit sandpaper and apply light pressure in circular motions. Once the surface is sanded, wipe away any dust or debris with a damp cloth.
Now, it’s time for primer application. Choose a primer specifically designed for the type of material your seat is made of. Apply the primer evenly using a paintbrush or roller, making sure to cover the entire surface.
Allow the primer to dry completely before moving on to the next step.
Applying the Base Coat
When it comes to applying the base coat on a toilet seat, there are a few key points to keep in mind.
First, color selection is important, as you want a shade that complements your bathroom decor.
Second, using proper brush techniques will ensure a smooth and even application.
Lastly, considering the drying time of the paint is crucial to avoid any smudges or smears.
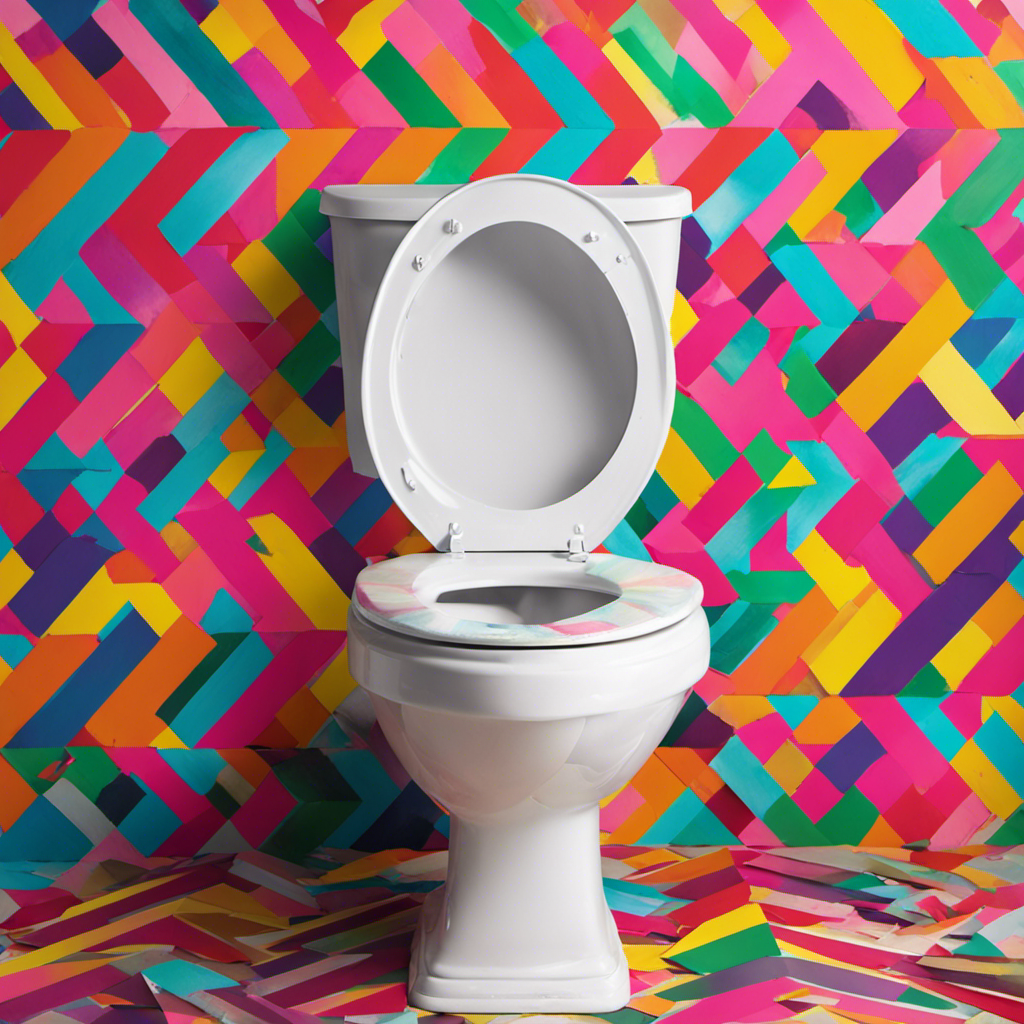
Color Selection Tips
Choosing the right color for your toilet seat can be a fun and creative way to add a pop of personality to your bathroom. When it comes to color matching, there are a few tips and tricks that can help you find the perfect shade. Here are some ideas to get you started:
-
Experiment with different shades: Don’t be afraid to step outside of your comfort zone and try bold and vibrant colors. You might be surprised at how well they can complement your bathroom decor.
-
Consider the overall theme: Think about the style and theme of your bathroom. If you have a modern and sleek design, you might want to opt for a neutral or metallic color. For a more rustic or vintage look, earthy tones or pastels can be a great choice.
-
Take inspiration from your surroundings: Look around your bathroom and take note of the colors that are already present. Try to find a color that will complement or contrast with these existing hues.
When it comes to painting your toilet seat, color selection is just the first step. Now, let’s move on to the proper brush techniques.
Proper Brush Techniques
To get the best results, it’s important to apply the paint with smooth and even brush strokes. When it comes to painting a toilet seat, proper brush techniques are crucial.
Before starting, make sure your brush is clean and in good condition. Brush maintenance is key to achieving a flawless finish. Check for any loose bristles and remove them before you begin.
When applying the paint, use long and steady brush strokes to avoid drips and streaks. Start from one end and work your way to the other, ensuring even coverage. Take your time and be patient.
Remember, a well-maintained brush and careful application technique can make all the difference.
Now, let’s move on to drying time considerations.
Drying Time Considerations
Make sure you give it enough time to dry completely before using it again, so you don’t accidentally smudge or ruin your hard work. The drying time for different types of paint can vary depending on factors such as the type of paint, the thickness of the application, and the humidity in the air.
Here are some tips for speeding up the drying process:
- Use a fan or open windows to increase air circulation.
- Thin layers of paint dry faster than thick ones, so consider applying multiple thin coats instead of one thick coat.
- Choose fast-drying paint options such as acrylic or latex paints, which dry quicker compared to oil-based paints.
Adding Decorative Designs or Patterns
When it comes to choosing colors for your project, there are a few key tips, tools, and techniques that can make the process easier and more successful.
First, consider the mood and atmosphere you want to create – warm tones like reds and yellows can bring energy, while cool blues and greens can create a calming effect.
Next, make use of color swatches and online tools to visualize different combinations and see how they will look in your space.
Color Selection Tips
Choosing the right color for your toilet seat can be a fun and creative way to personalize your bathroom. Not only does it add a pop of color to your space, but it also allows you to express your unique style and personality. When selecting a color, consider these tips:
-
Choosing complementary colors: Select colors that work well together and complement the overall color scheme of your bathroom. For example, if your walls are painted in a cool blue, a toilet seat in a contrasting warm color like coral or yellow can create a visually pleasing effect.
-
Using stencils for unique designs: If you want to take your creativity to the next level, consider using stencils to add unique designs or patterns to your toilet seat. From floral motifs to geometric shapes, stencils offer endless possibilities for customization.
-
Considering durability: Keep in mind that the color you choose should be durable and able to withstand frequent use and cleaning. Opt for high-quality paints or finishes that are specifically designed for bathroom fixtures.
Tools and Techniques
Using stencils is a great way to add unique designs or patterns to your bathroom decor. When it comes to painting with stencils, having the right tools and equipment is essential.
Firstly, you’ll need a good quality stencil brush or a foam roller to apply the paint evenly and smoothly onto the stencil. Make sure to choose a brush or roller that is appropriate for the size of the stencil design.
Additionally, having painters tape and a level will help ensure that your stencil is aligned correctly. Troubleshooting common painting issues can be easily resolved with a few simple techniques.
If you’re experiencing bleeding or smudging, try using less paint and applying it in thin layers. If the edges of your stencil design are not crisp, use a small brush or sponge to touch up the details.
With the right tools and a little troubleshooting, you’ll be able to achieve stunning stencil designs on your bathroom decor.
Sealing and Finishing the Paint Job
To ensure a durable and polished finish on your painted toilet seat, make sure to apply a layer of sealant after the paint has dried. This step is crucial in protecting the paint from chipping, fading, or peeling over time.
Here are some finishing techniques and maintenance tips to help you achieve a professional-looking result:
- Use a high-quality clear sealant specifically designed for bathroom fixtures.
- Apply the sealant in thin, even coats using a foam brush or a soft cloth.
- Allow each coat to dry completely before applying the next layer.
By following these steps, you can ensure that your painted toilet seat will not only look great but also withstand the test of time.
Remember to regularly clean and maintain the seat to keep it looking its best.
Frequently Asked Questions
Can I Use Regular Wall Paint to Paint My Toilet Seat?
Yes, you can use regular wall paint to paint your toilet seat. However, there are specific toilet seat painting techniques, pros and cons, and it’s recommended to use the best types of paint for painting toilet seats.
Do I Need to Remove the Toilet Seat Before Painting It?
No, you don’t have to remove the toilet seat. Just make sure to clean it properly before painting. Use primer for a smooth finish and follow all safety precautions. Happy painting!
Can I Paint Over a Plastic Toilet Seat or Does It Have to Be Wood?
I can paint over a plastic toilet seat, but it’s important to ensure proper paint adhesion. I recommend using a primer designed for plastic surfaces and a high-quality paint that is suitable for the material.
How Long Should I Wait Before Sitting on the Freshly Painted Toilet Seat?
I’d recommend waiting for the paint to fully dry before taking a seat on your freshly painted throne. As for the best types of paint, opt for ones that are durable and suitable for plastic or wood surfaces.
Can I Use Spray Paint to Paint My Toilet Seat Instead of Using a Brush or Roller?
Yes, you can use spray paint to paint your toilet seat instead of a brush or roller. Spray paint offers convenience and even coverage, but be sure to apply thin coats and allow ample drying time for a smooth and durable finish.
Conclusion
In conclusion, painting a toilet seat can be a fun and creative way to add a personal touch to your bathroom. By following the steps outlined in this article, you can transform your plain toilet seat into a work of art.
Remember to choose the right paint and supplies, properly prepare the surface, and add decorative designs or patterns to make it truly unique.
Did you know that a survey found that 75% of people feel more relaxed and comfortable in a bathroom that reflects their personal style?
So go ahead and unleash your creativity!