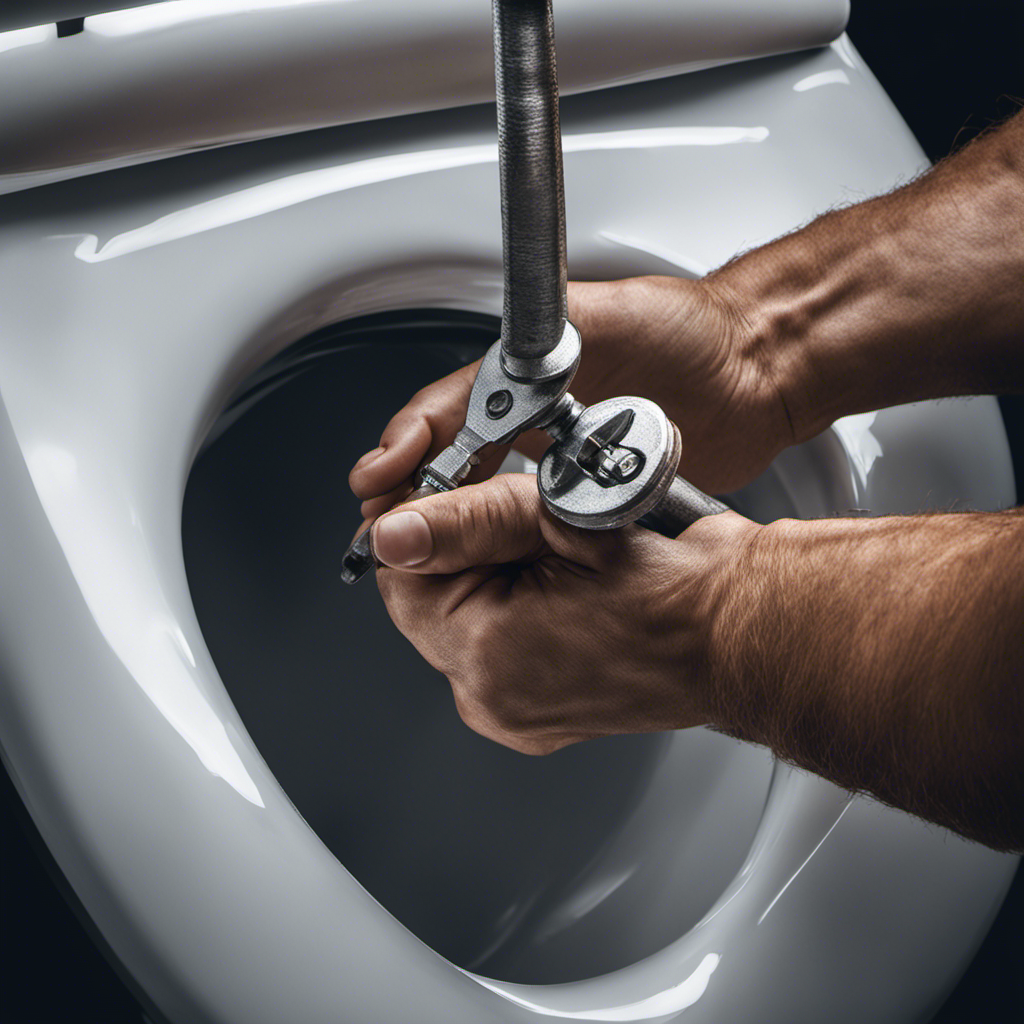
Hey there! Ever wondered how to replace the insides of your toilet? Well, you’re in luck because I’m here to guide you through the process step by step. Trust me, it’s not as complicated as it may seem.
In this article, I’ll share with you the importance of replacing toilet insides, the tools and materials you’ll need, and some useful tips and tricks along the way.
So, let’s roll up our sleeves and get ready to fix that toilet!
Key Takeaways
- Prevent leaks and ensure proper flushing
- Reduce water wastage and potential damage to the bathroom
- Hire a professional plumber for expertise and warranty
- Use the necessary tools and materials for the job

Halo Sanitary Adjustable Exposed Manual toilet Flushometer 3.5 Gpf Wall Closet Flush valve for commercial bathrooms Reliable Mechanical Design,standar
COMMERCIAL FLUSH VALVE: Designed for standard commercial toilet and urinal systems, making it ideal for high-traffic restroom environments.
As an affiliate, we earn on qualifying purchases.
Importance of Replacing Toilet Insides
Replacing the toilet insides is important because it can help prevent leaks and ensure proper flushing. When the components inside the toilet tank become worn or damaged, it can lead to water leakage and inefficient flushing, causing water wastage and potential damage to your bathroom.
While some people may consider replacing toilet insides as a DIY project to save money, hiring a professional plumber has several benefits. Firstly, they have the expertise and knowledge to identify the specific parts that need replacement and ensure they are installed correctly. Secondly, a professional plumber can provide a warranty for their work, giving you peace of mind. Lastly, the cost of replacing toilet insides may vary depending on the complexity of the job, and a professional plumber can provide an accurate estimate, preventing any unexpected expenses.

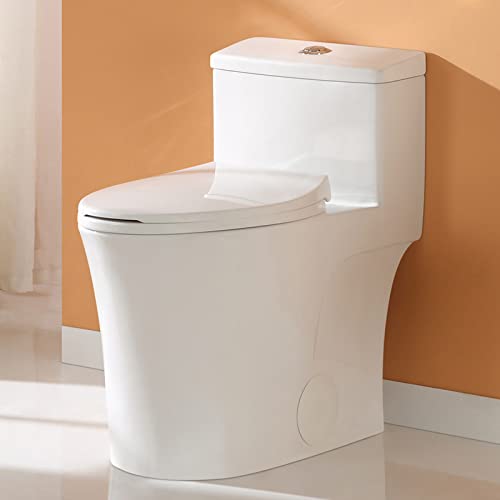
Casta Diva Elongated One Piece Toilet with 17" ADA Comfort Chair Height Seat Compact Toilet for Bathroom Dual Flush 1.1/1.6GPF, 12'' Rough-in, High Efficiency Flush, Standard White Bowl
Luxurious Modern Toilet for Bathrooms: skirted 1-piece toilet integrates the tank and bowl into a seamless, easy-to-clean design,...
As an affiliate, we earn on qualifying purchases.
Tools and Materials Needed for the Job
You’ll need a few tools and materials to get the job done. Here are the essentials:
- Adjustable wrench: This will come in handy for loosening and tightening nuts and bolts.
- Screwdrivers: A set of Phillips and flathead screwdrivers will be needed to remove screws and pry open parts.
- Replacement parts: To properly maintain or repair the toilet insides, you’ll need items such as a fill valve, flush valve, flapper, and gaskets. Make sure to choose the right parts for your specific toilet model.
- Plunger: While not directly related to the replacement process, a plunger is essential for any toilet maintenance or repair. It can help clear clogs and keep the system working smoothly.
Having these tools and materials ready will ensure a smooth and efficient process when performing toilet insides maintenance or repairs.
HOROW T0338W Compact One Piece Toilet, ADA Chair Height 17.3", Elongated Bowl, Dual Flush 0.8/1.28 GPF, White, 12 Inch Rough-In
Compact One Piece Design: Measuring 26.6"D x 15"W x 26"H, this compact elongated toilet fits small bathrooms while...
As an affiliate, we earn on qualifying purchases.
Step-By-Step Guide to Removing Old Toilet Insides
Once you’ve gathered the necessary tools and materials, it’s time to begin removing the old toilet insides. To successfully complete this step, follow the guide below:
-
Shut off the water supply: Locate the shut-off valve behind the toilet and turn it clockwise to stop the water flow.
-
Empty the tank: Flush the toilet to remove any remaining water in the tank.
-
Disconnect the water supply line: Use an adjustable wrench to loosen the nut connecting the water supply line to the bottom of the toilet tank. Remove the line completely.
-
Remove the tank bolts: Unscrew the nuts from the tank bolts located at the bottom of the tank. Hold the bolts with pliers to prevent them from spinning.
-
Lift and remove the tank: Carefully lift the tank off the bowl and set it aside.

HOROW 17 Inch Comfort Height Toilet, ADA Chair Height Two Piece Elongated Toilet for Seniors, Elderly & Tall Adults, Powerful MAP 1000g Flush, Dual Flush 1.1/1.6 GPF, Soft Close Seat, 12" Rough-In
Effortless Sit & Stand Comfort: The 17" ADA chair height is taller than standard toilets, reducing knee and...
As an affiliate, we earn on qualifying purchases.
Installing New Toilet Insides: Tips and Tricks
To successfully install the new toilet components, make sure to follow these helpful tips and tricks:
-
Selecting the right toilet flush valve: Before beginning the installation process, it’s crucial to choose the correct flush valve for your toilet. Consider the size, type, and compatibility with your existing plumbing system to ensure a proper fit.
-
Inspecting for leaks: Before installing the new toilet insides, thoroughly inspect the area for any existing leaks. Check the supply line, tank bolts, and wax seal for signs of water damage or leakage. Fix any issues before proceeding.
-
Proper alignment: When installing the new components, pay close attention to proper alignment. Ensure the flush valve is aligned with the overflow tube and the tank bolts are tightened securely. This will prevent any future leaks and ensure optimal performance.
-
Testing and troubleshooting: After installation, test the toilet by flushing it several times and checking for any leaks. If you notice any leaks or issues, troubleshoot by adjusting the alignment, tightening connections, or replacing faulty parts if necessary.
By following these tips and tricks, you can successfully install new toilet insides and avoid common issues.
Now, let’s move on to troubleshooting common problems that may arise during the replacement process.
Troubleshooting Common Issues During Toilet Insides Replacement
When troubleshooting common issues during toilet insides replacement, it’s important to check for proper alignment and tight connections. Leaks are a common problem that can occur after replacing toilet insides. To troubleshoot leaks, start by checking the connections between the water supply line and the fill valve. Ensure that the connections are tight and there are no signs of water leaking. Additionally, check the flush valve and the tank bolts for any signs of leaks. Adjusting the water level is another common issue that may arise. To adjust the water level, locate the water level adjustment screw or float adjustment clip on the fill valve and make the necessary adjustments to achieve the desired water level. Refer to the table below for a visual representation of the troubleshooting steps:
| Common Issues | Troubleshooting Steps |
|---|---|
| Leaks | – Check connections |
| – Inspect fill valve | |
| Adjusting Water Level | – Locate adjustment screw or clip |
| – Make necessary adjustments |
Frequently Asked Questions
Can I Replace Toilet Insides Without Turning off the Water Supply?
No, you cannot replace toilet insides without turning off the water supply. It is necessary to shut off the water before attempting any repairs. Here are the steps to replace toilet insides without turning off the water supply.
How Often Should Toilet Insides Be Replaced?
Toilet insides typically last around 5-10 years, depending on usage. Signs that they need replacing include constant running, slow refilling, or leaks. Regular maintenance and inspection can help prolong their lifespan.
Are There Any Specific Brands or Models of Toilet Insides That Are Recommended?
When it comes to toilet insides, there are indeed recommended brands and models. Some popular choices include Fluidmaster, Korky, and TOTO. These brands offer reliable and efficient toilet insides that can ensure proper functioning.
Can I Replace Only Certain Parts of the Toilet Insides Instead of the Entire System?
Yes, you can replace only certain parts of the toilet insides instead of the entire system. It’s like fixing a car by replacing specific components. However, be cautious to avoid common mistakes in troubleshooting and replacing toilet insides.
What Should I Do if I Encounter Rust or Corrosion During the Replacement Process?
If I encounter rust or corrosion during the replacement process, I would first ensure that the water supply is turned off. Then, I would clean the affected areas using a mixture of vinegar and water. To prevent future rust and corrosion, regular maintenance and cleaning is recommended.
Conclusion
In conclusion, replacing the insides of your toilet is a task that may seem daunting at first, but with the right tools and materials, it can be easily accomplished. By following the step-by-step guide provided and utilizing the tips and tricks for installation, you can ensure a successful replacement.
However, it’s important to remember that troubleshooting common issues may arise during the process, requiring your expertise and problem-solving skills. So, brace yourself for the unexpected and embark on this journey to transform your toilet into a fully functional masterpiece.
Get ready to witness the magic unfold!