I’ve always believed that a home is a sanctuary, a place where you can find solace and comfort. But what happens when cracks start to appear in the very foundation of that sanctuary?
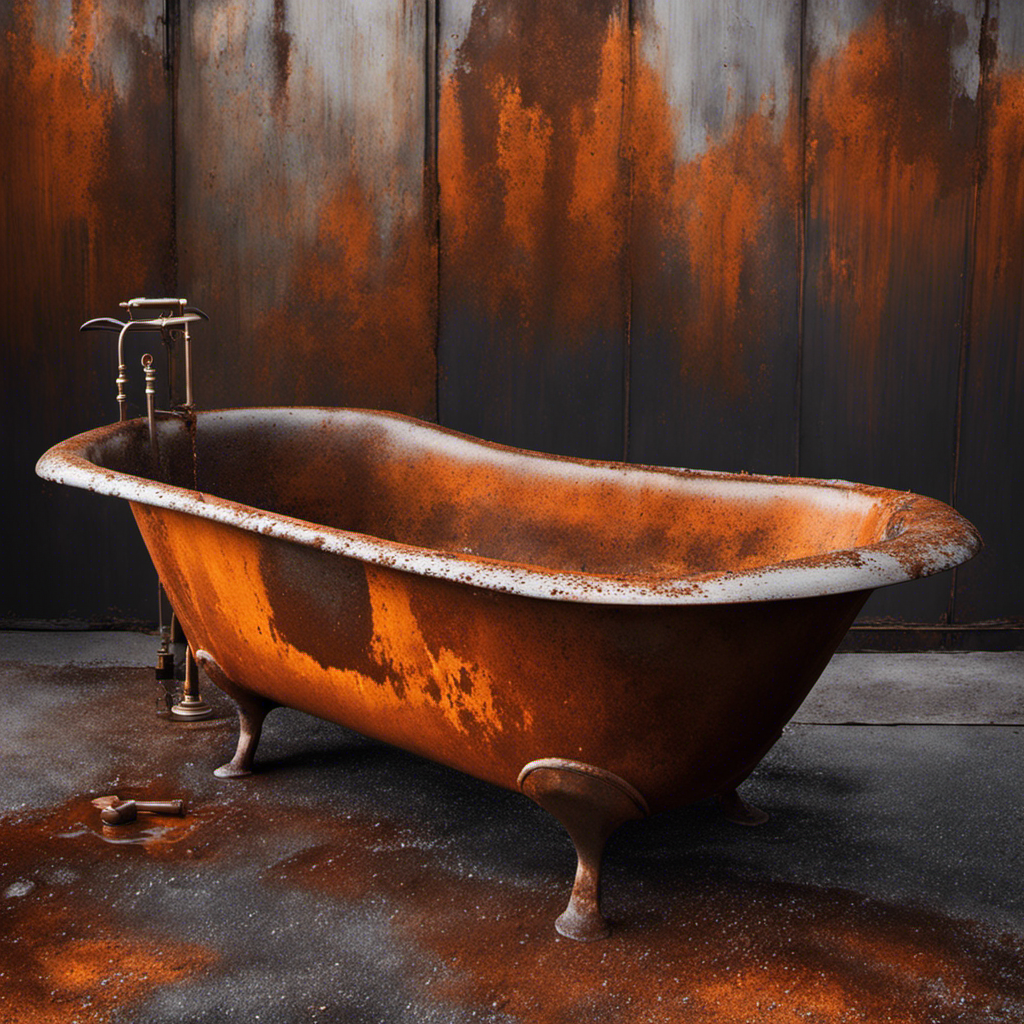
Specifically, what can you do when your bathtub develops unsightly cracks? Don’t panic just yet! With a little know-how and the right tools, you can repair those cracks and restore your bathtub to its former glory.
In this article, I’ll guide you through the step-by-step process of repairing a cracked bathtub, so you can reclaim your sanctuary.
Key Takeaways
- Assess the size, location, length, width, and depth of the crack to determine the severity of the damage and necessary repair approach.
- Gather the necessary tools and materials such as epoxy resin, fiberglass cloth, sandpaper, and a putty knife to ensure a successful bathtub repair.
- Thoroughly clean the bathtub surface before applying any repair materials and use fine-grit sandpaper to roughen the area around the crack for better adhesion.
- Follow the manufacturer’s instructions for properly applying the repair solution, allow it to cure for at least 24 hours, and finish with sealing techniques such as silicone caulk, epoxy resin, or a fiberglass patch to achieve a seamless and long-lasting repair.
Delta Faucet R10000-UNBXHF MultiChoice Universal Shower Valve Body, Brass, Black
COMPLETE FLEXIBILITY: Delta's MultiChoice Universal Valve gives you the flexibility to upgrade or change your shower trim without...
As an affiliate, we earn on qualifying purchases.
Assessing the Crack
To properly assess the crack in your bathtub, you’ll need to carefully examine its size and location. Evaluating the crack is an essential step in understanding the extent of damage and determining the best course of action for repair.
Start by inspecting the crack closely, noting its length, width, and depth. Is it a hairline crack or a larger, more significant one? Pay attention to its location as well – is it on the surface or penetrating through the layers of the bathtub?
Understanding these details will help you determine the severity of the damage and decide whether it can be repaired with a simple DIY fix or if professional intervention is necessary.
Take your time during this evaluation process to ensure accurate assessment and effective repair.

HammerHead Showers Solid Metal Single-Handle Trim Kit with Rough-In Shower Valve, Volume and Temperature Control, Pressure Balance, Chrome
THE PLUMBER'S CHOICE – Designed for EASY INSTALLATION and MAINTENANCE with a durable BRASS and STAINLESS STEEL construction,...
As an affiliate, we earn on qualifying purchases.
Gathering the Necessary Tools and Materials
When it comes to bathtub repair, having the essential repair supplies and tools is crucial for a successful repair.
These supplies include epoxy resin, fiberglass cloth, sandpaper, and a putty knife.
The tools needed typically include a drill, a heat gun, and a utility knife.
With these materials and tools on hand, I can confidently tackle any bathtub repair project and ensure a professional and long-lasting result.
Essential Repair Supplies
You’ll need a few essential supplies to repair a cracked bathtub. Before diving into the repair process, it’s important to understand some bathtub repair techniques and bathtub crack prevention strategies. By following these steps, you can ensure a successful repair and prevent future damage.
To make it easier for you to gather the necessary supplies, I have prepared a table that lists the essential items you’ll need for bathtub repair:
| Supplies | Description |
|---|---|
| Epoxy putty | A strong adhesive that fills and seals cracks |
| Fiberglass mesh tape | Reinforces the repair and provides added strength |
| Tub refinishing kit | Restores the finish and appearance of the bathtub |
Now that you know the essential supplies required for bathtub repair, we can move on to the next step: gathering the appropriate tools.
Tools for Bathtub Repair
Now that you have the essential supplies, let’s discuss the tools you’ll need for the bathtub repair.
When it comes to repairing a cracked bathtub, having the right tools can make all the difference. Firstly, you’ll need a utility knife to clean and prep the crack. This will ensure that the repair materials adhere properly.
Next, you’ll need a fiberglass repair kit, which usually includes a resin and hardener. These materials will help strengthen and seal the crack.
Additionally, a putty knife or a plastic spreader will be needed to apply the repair compound smoothly. To smooth out any rough edges, sandpaper or a sanding block can be used.
Finally, don’t forget safety goggles and gloves to protect yourself during the repair process.
As for the bathtub repair cost, it can vary depending on the size of the crack and the cost of the repair materials.

TOTO Drake Two-Piece Elongated 1.6 GPF Universal Height TORNADO FLUSH Toilet with CEFIONTECT, Cotton White - CST776CSFG#01
POWERFUL PERFORMANCE WITH LESS FREQUENT CLEANING - TORNADO FLUSH swirls water in a circular pattern to fully wash...
As an affiliate, we earn on qualifying purchases.
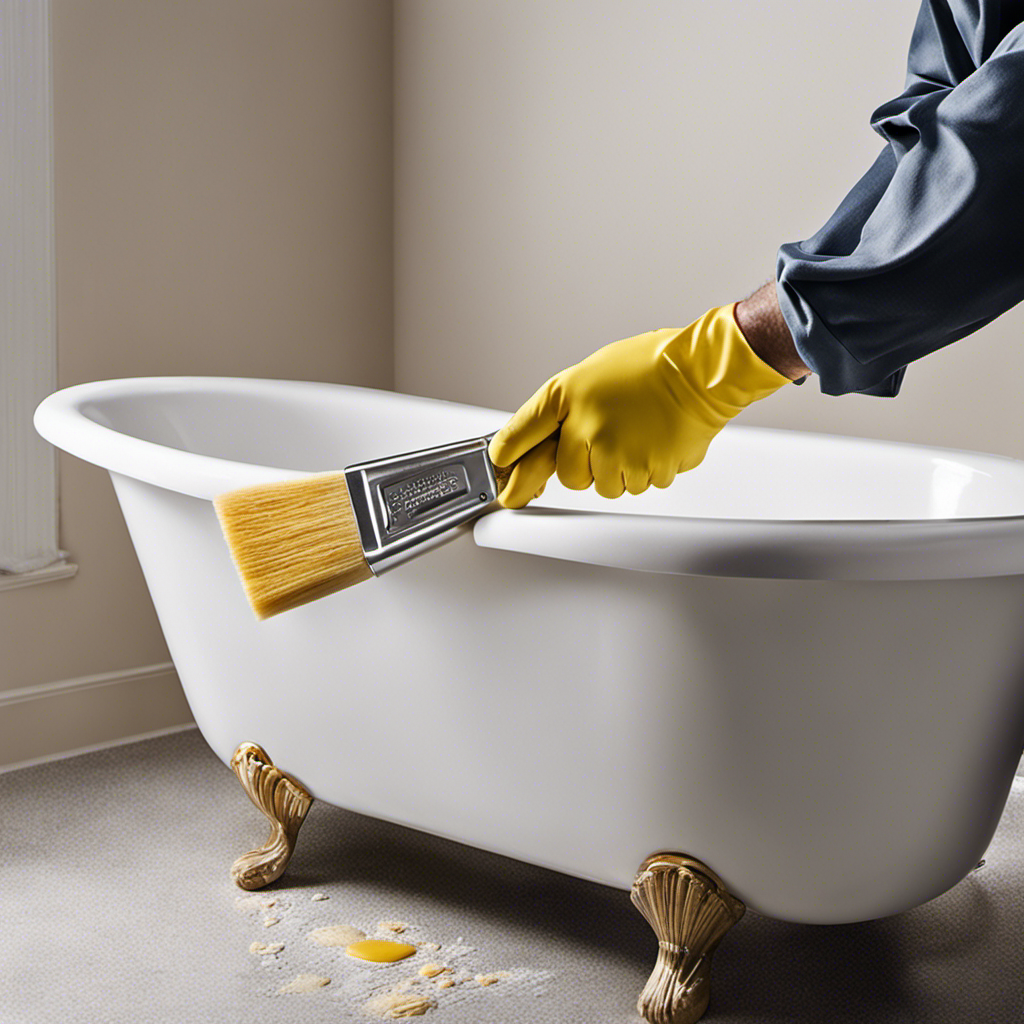
Preparing the Bathtub Surface
First, make sure to thoroughly clean the bathtub surface before applying any repair materials. Begin by removing any dirt, grime, or soap scum using a mild cleaner and a soft sponge. Pay special attention to areas around the crack, as they may harbor hidden debris.
Rinse the surface thoroughly with warm water to remove any residue. Next, dry the bathtub completely using a clean towel. This will ensure that the repair materials adhere properly.
Once the surface is clean and dry, use a fine-grit sandpaper to gently roughen the area around the crack. This will create a better bond between the repair material and the bathtub surface.
After preparing the bathtub surface, you are now ready to move on to applying the repair solution, which will be discussed in the next section.

Moen ExactTemp IPS Rough In Thermostatic Shower Valve with Check Stops, S3371
MOEN M-PACT TRIM KIT COMPATABLE: The ExactTemp 3/4 Inch IPS Rough In Thermostat Water Valve is compatable with...
As an affiliate, we earn on qualifying purchases.
Applying the Repair Solution
When it comes to applying a repair solution to a cracked bathtub, proper application techniques are crucial for achieving a long-lasting and effective repair.
It is important to follow the manufacturer’s instructions carefully, ensuring that the solution is mixed and applied correctly.
Additionally, understanding the drying and curing process is essential in order to allow the repair solution to fully set and provide maximum durability.
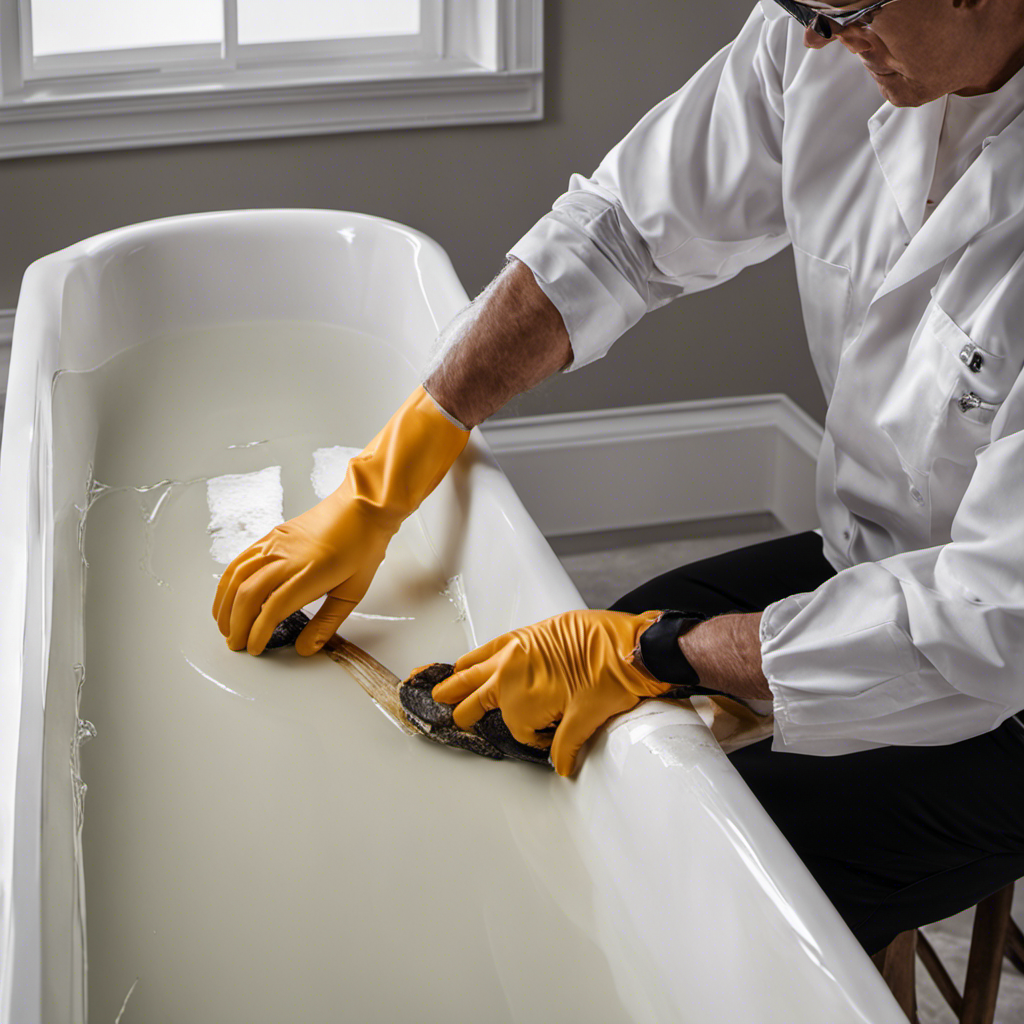
Proper Application Techniques
To ensure proper application, it’s important to follow these techniques when repairing a cracked bathtub.
First and foremost, gather all the necessary materials, including a bathtub repair kit, which typically includes epoxy resin, sandpaper, and a putty knife.
Next, thoroughly clean the cracked area and remove any loose debris or old caulking.
Then, carefully apply the epoxy resin to the crack, making sure to fill it completely and smooth out any excess.
Allow the resin to dry according to the instructions provided with the repair kit.
Finally, sand down the dried resin until it’s smooth and blend it with the surrounding surface.
If you’re unsure or uncomfortable with DIY repairs, it’s always best to seek professional repair services to ensure a long-lasting and effective fix.
Drying and Curing Process
Once the epoxy resin is applied, you’ll need to wait for it to dry and cure completely. This is a crucial step in the bathtub repair process.
Drying time can vary depending on the brand and type of epoxy used, but it typically takes around 24 hours. During this time, it’s important to keep the area well-ventilated and avoid using the bathtub.
Curing is the process in which the epoxy hardens and reaches its maximum strength. It usually takes around 72 hours for the epoxy to fully cure.
To ensure the best results, it’s essential to follow the manufacturer’s instructions regarding drying and curing times. Once the epoxy is dry and cured, you can proceed with refinishing the bathtub surface and implementing preventive measures to avoid future cracks.
Allowing the Repair Solution to Cure
After applying the repair solution, you’ll need to let it cure for at least 24 hours. This curing process is crucial for the repair to be effective and long-lasting. During this time, the repair solution will harden and bond with the surface of the bathtub, creating a strong and durable seal.
Here are three important things to keep in mind during the curing process:
- Avoid using the bathtub during this time to prevent any disturbances or damage to the repair.
- Maintain a consistent temperature and humidity level in the bathroom to ensure optimal curing conditions.
- Keep the area well-ventilated to allow for proper airflow, which aids in the curing process.
Sanding and Smoothing the Repaired Area
After allowing the repair solution to cure, it’s time to move on to the next step: sanding and smoothing the repaired area. This is an important part of the process as it helps to create a seamless finish and ensure that the repaired area blends in with the rest of the bathtub.
To begin, gather the necessary materials such as sandpaper, a sanding block, and a dust mask for protection. Start by using coarse-grit sandpaper to remove any excess repair solution and rough edges. Gradually move on to finer-grit sandpaper to smooth out the surface.
It’s important to use proper sanding techniques, applying even pressure and making smooth, circular motions. Take your time and be careful not to sand too much, as this can damage the bathtub’s surface.
Once the repaired area is smooth and leveled, wipe away any dust particles with a damp cloth. This prepares the surface for the finishing touches and sealing the crack, which will be discussed in the next section.
Finishing Touches and Sealing the Crack
To complete the repair and ensure a seamless finish, it’s time to add the finishing touches and seal the crack. Here are some sealing techniques you can consider:
-
Caulking: Use a high-quality silicone caulk to fill the crack completely. Smooth out any excess caulk with a caulk smoothing tool or your finger for a neat finish. Allow it to dry thoroughly before using the bathtub.
-
Epoxy Resin: If the crack is large or deep, opt for epoxy resin. Mix the resin according to the manufacturer’s instructions and apply it to the crack. Use a putty knife to spread it evenly and remove any excess. Allow it to cure completely before using the bathtub.
-
Fiberglass Patch: For a more permanent solution, use a fiberglass patch. Cut the patch to fit the crack and apply it with an epoxy adhesive. Smooth out any wrinkles or bubbles and let it dry. Sand it down to create a smooth surface before applying a waterproof sealant.
Conclusion
In conclusion, repairing a cracked bathtub is a task that can be accomplished with the right tools and materials. By assessing the crack, preparing the surface, applying the repair solution, and allowing it to cure, you can restore your bathtub to its former glory.
Don’t forget the finishing touches and sealing the crack for a long-lasting result. Remember, Rome wasn’t built in a day, and neither is a perfectly repaired bathtub. So take your time, follow the steps, and soon you’ll be enjoying a rejuvenated bathing experience.