
As they say, ‘Out with the old, in with the new!’ If you’re looking to upgrade your bathtub or fix a clogged drain, you’ve come to the right place.
In this article, I’ll guide you through the process of removing a bathtub drain. With a few simple steps and the right tools, you’ll have that drain out in no time.
So, let’s roll up our sleeves and get ready to tackle this plumbing project together!
Key Takeaways
- Pliers, screwdriver, and drain removal tool are essential tools for removing the bathtub drain.
- Different types of drains require different removal techniques, so it’s important to identify the type of drain before attempting removal.
- Clear the surrounding area and gather the necessary tools and supplies before starting the removal process.
- To remove the bathtub drain cover, locate and remove the screws or clips that hold it in place, then carefully lift it off.

BIGCOW Ultra-Slim Bidet Attachment for Toilet - Dual Nozzle (Frontal & Rear Wash) with Adjustable Cold Water Pressure and Stainless Steel Inlet - Hygienic Solution for Fresh Cleanliness, Silver 1 Pcs
【Dual Spraying Modes】- This toilet bidet offers both rear wash for thorough cleaning and a specially designed frontal...
As an affiliate, we earn on qualifying purchases.
Tools and Materials Needed
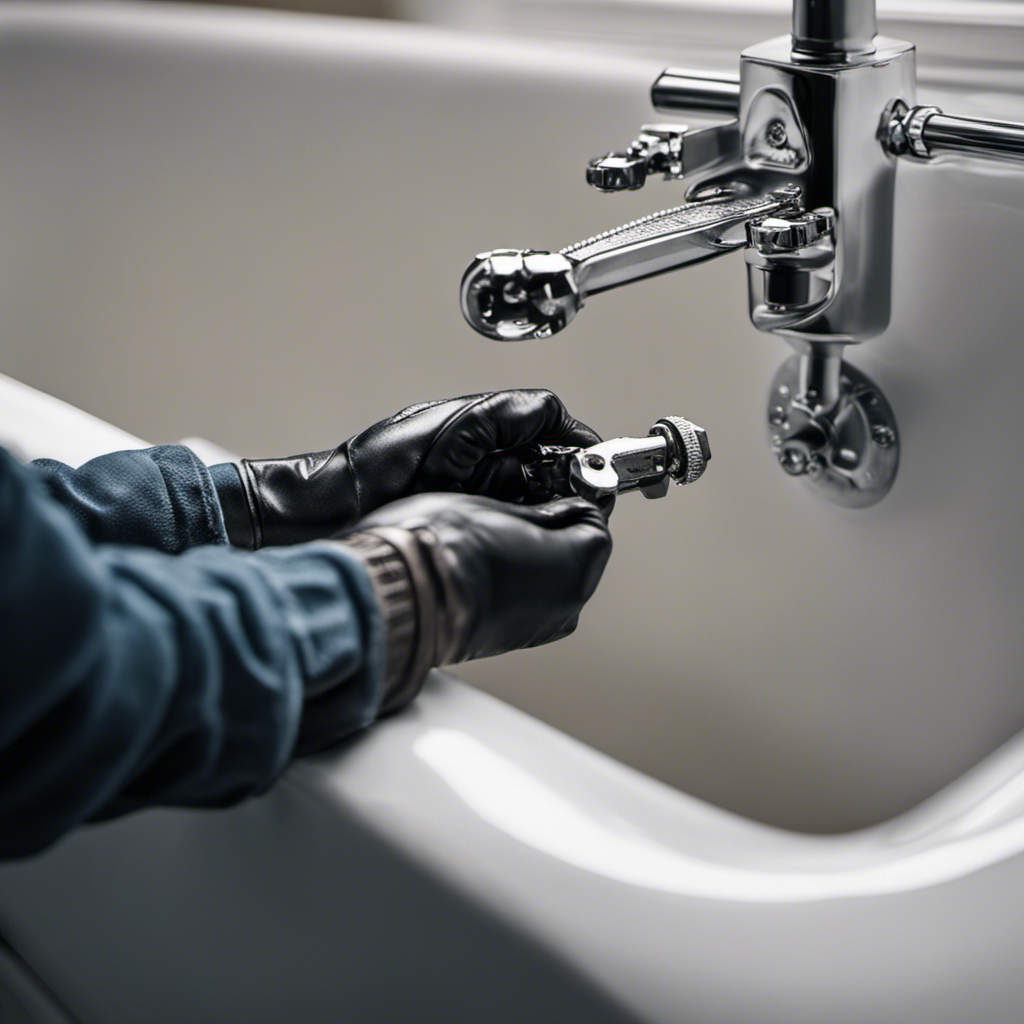
To remove a bathtub drain, you’ll need a pair of pliers, a screwdriver, and a drain removal tool. These tools are essential for both bathtub drain installation and maintenance.
The pliers will help you grip and turn the drain, while the screwdriver is necessary to remove any screws holding the drain in place. The drain removal tool is specifically designed to fit into the drain and loosen it, making the removal process easier.
It is important to have these tools on hand before attempting to remove a bathtub drain to avoid any potential damage or frustration. By having the right tools, you can ensure a smooth and successful removal process.

Brondell Bidet Toilet Seat Non-Electric Swash Ecoseat, Fits Elongated Toilets, White - Dual Nozzle System, Ambient Water Temperature - Bidet with Easy Installation
CLEAN AND REFRESHING: With Brondell’s Ecoseat 101 Bidet, you’ll experience a soothing, freshwater wash that leaves you feeling...
As an affiliate, we earn on qualifying purchases.
Step 1: Assessing the Type of Bathtub Drain
First, take a look at what kind of drain your bathtub has. There are several types of bathtub drains, each requiring different removal techniques.
The most common types include trip lever drains, toe-touch drains, and lift-and-turn drains. To determine the type of drain you have, look for a lever or knob near the faucet or on the overflow cover plate.
Trip lever drains have a lever that operates the stopper, while toe-touch drains have a push-down stopper. Lift-and-turn drains have a stopper that must be lifted and turned to open or close.
Once you have identified the type of drain, you can proceed with the appropriate removal technique.

Bidet Attachment for Toilet Sprayer, Self-Cleaning Dual Retractable Nozzles Bidet Spray, Non-Electric Adjustable Water Pressure for Hygienic Rear & Feminine Wash, Easy Installation Ultra-Slim (Black)
【Dual Nozzles with Adjustable Water Pressure】Our non-electric bidet attachment for toilet offers a choice between two types of...
As an affiliate, we earn on qualifying purchases.
Step 2: Preparing the Area and Gathering Supplies
Next, make sure you have all the necessary supplies and prepare the area before proceeding. Preparing your workspace and taking safety precautions is crucial to ensure a smooth and safe removal of the bathtub drain. Here’s what you need to do:
-
Clear the surrounding area: Remove any items or obstructions around the bathtub to create a clear workspace. This will prevent any accidental damage or interference during the process.
-
Gather the required tools: Make sure you have the necessary tools handy, such as pliers, screwdrivers, and a drain removal tool. Having these tools within reach will save you time and effort.
-
Turn off the water supply: Locate the water shut-off valve for the bathtub and turn it off. This will prevent any water leakage or accidental flooding while working on the drain.
-
Use protective gear: Prioritize your safety by wearing gloves and safety glasses. These protective gear items will prevent any injuries or accidental exposure to harmful substances.

Hibbent Bidet Attachment for Toilet, Non-Electric Dual Nozzle for Frontal & Rear Wash, Adjustable Water Pressure Control, Fresh Water Bidet Toilet Seat, Self Cleaning Water Sprayer, White
Mechanical Bidet for your Toilet: With Hibbent toilet seat bidet, replace the paper rolls with this small and...
As an affiliate, we earn on qualifying purchases.
Step 3: Removing the Bathtub Drain Cover
Now, it’s time to take off the cover of your bathtub drain. To replace or clean the drain cover, follow these simple steps.
First, locate the screws or clips that hold the cover in place. Use a screwdriver or pliers to remove them. Carefully lift the cover off the drain. If it’s stuck, you can use a flathead screwdriver to pry it loose.
Once removed, inspect the drain cover for any debris or buildup. Clean it thoroughly using a mixture of warm water and mild soap. You can also use a brush to scrub away any stubborn dirt. Rinse the cover and dry it before placing it back on the drain.
Now you’re ready to move on to the next step in maintaining your bathtub drain.
Step 4: Removing the Bathtub Drain Assembly
To start this step, make sure you have a pair of pliers handy.
Removing the bathtub drain assembly can be a bit more challenging than removing the drain cover.
Here are some bathtub drain removal techniques to help you tackle this task:
-
Loosen the drain flange: Use the pliers to grip the crossbars on the drain flange. Turn counterclockwise to loosen it from the drain pipe.
-
Remove the drain flange: Once loosened, you can unscrew the drain flange by hand and pull it out.
-
Clear any obstructions: Take this opportunity to check for any hair or debris clogging the drain. Remove any blockages you find.
-
Inspect for common bathtub drain problems: Look for signs of corrosion, leaks, or damaged parts. Address any issues before reinstalling the drain assembly.
Conclusion
In conclusion, removing a bathtub drain may seem like a daunting task, but it can be easily accomplished with the right tools and a little know-how.
By assessing the type of drain and preparing the area, you can ensure a smooth removal process. Remember to be cautious and follow the steps carefully to avoid any damage.
With a little patience and determination, you’ll have your bathtub drain removed in no time. So go ahead, take the plunge, and give your bathtub the makeover it deserves!