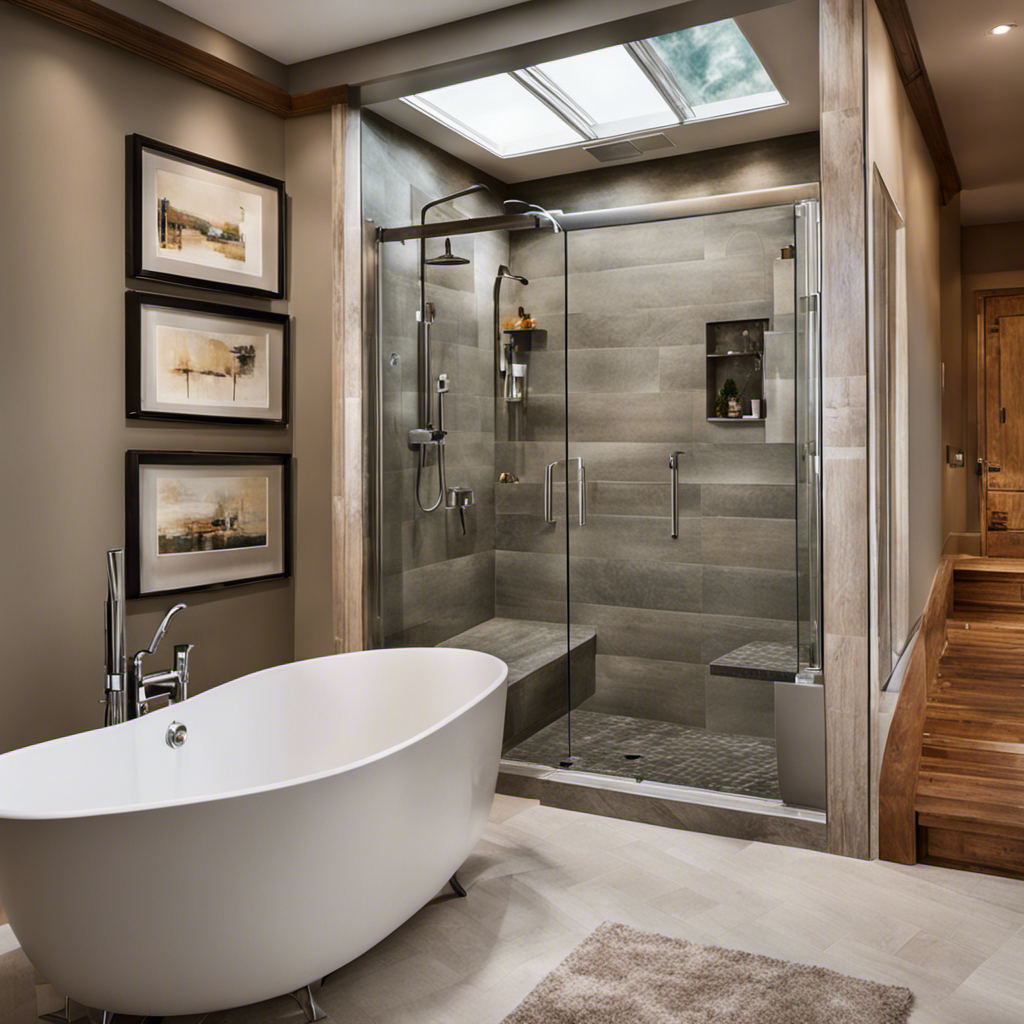
Hey there! Ever wished you could transform your old, boring bathtub into a convenient, modern walk-in shower? Look no further!
In this article, I’ll guide you through the process of converting your bathtub into a walk-in shower. From assessing the feasibility to gathering the necessary tools and materials, we’ll cover it all.
So, grab your toolkit and get ready to embark on this exciting home improvement journey!
Key Takeaways
- Assess the feasibility and potential obstacles of converting the bathtub in terms of bathroom layout and plumbing.
- Consult a professional to evaluate the existing plumbing system and provide expert advice.
- Gather the necessary tools, materials, and fixtures for the conversion project.
- Address drainage and plumbing considerations to ensure a smooth transition to a walk-in shower.

VEVOR Shower Enclosure, 36 in. D x 48 in. W x 79.1 in. H, Framed Sliding Shower Door with 1/4 in. Clear Tempered Glass, Complete Bathroom Alcove Stall with Non-Slip Base Kit & Triple-Sided Wall Panels
- All-in-One Shower Kit: Includes doors, base, panels, and shelf
- Dry-Wet Separation: Waterproof seals keep bathroom dry
- Tempered Glass Construction: Impact- and heat-resistant glass for durability
As an affiliate, we earn on qualifying purchases.
As an affiliate, we earn on qualifying purchases.
Assessing the Feasibility of Conversion
Before you begin, you’ll need to determine if converting your bathtub into a walk-in shower is feasible for your bathroom layout and plumbing. Evaluating costs and consulting a professional are essential steps in this process.
First, assess your budget and consider the expenses involved in the conversion. Factors such as removing the bathtub, installing a shower base, and adding necessary plumbing can impact the overall cost.
Additionally, consulting a professional is crucial to ensure that the conversion aligns with your bathroom’s layout and meets plumbing requirements. They can evaluate the existing plumbing system, identify any potential obstacles, and provide expert advice on the feasibility of the project.
Taking these steps will help you make an informed decision and ensure a successful bathtub-to-walk-in shower conversion.
Gathering Necessary Tools and Materials
To get started, you’ll need to gather the necessary tools and materials for the project.
When converting a bathtub into a walk-in shower, it’s important to select appropriate shower fixtures and choose the right shower door.
For the fixtures, consider the type of showerhead you prefer, such as a rainfall showerhead or a handheld one. Additionally, think about the type of controls you want, whether it’s a traditional faucet or a modern digital interface.
As for the shower door, there are various options available. You can choose a sliding door, a pivot door, or even a frameless glass door for a sleek and contemporary look. Make sure to measure the space accurately and select a door that fits properly.
Removing the Bathtub
When converting a bathtub into a walk-in shower, it’s essential to consider the drainage and plumbing aspects. Proper drainage is crucial to prevent water buildup and potential damage to the surrounding areas.
Additionally, ensuring that the shower area is properly waterproofed is essential to prevent leaks and water damage in the long run.
Taking these considerations into account will help ensure a successful and functional walk-in shower conversion.
Drainage and Plumbing Considerations
Make sure you check the drainage and plumbing considerations when converting your bathtub into a walk-in shower. It’s crucial to ensure that your new shower has proper drainage to prevent any water damage or flooding.
Here are some key points to consider:
-
First Subtopic: Drainage Maintenance
-
Regularly clean the shower drain to prevent clogs and ensure proper water flow.
-
Install a strainer or hair catcher to prevent hair and other debris from clogging the drain.
-
Second Subtopic: Plumbing System Upgrades
-
Consider upgrading your existing plumbing system to accommodate the new shower fixtures.
-
Consult a professional plumber to assess your current plumbing system and make any necessary adjustments.
By addressing these drainage and plumbing considerations, you can ensure a smooth and functional transition from a bathtub to a walk-in shower.
Now, let’s move on to the next step: waterproofing the shower area.
Waterproofing the Shower Area
Now it’s important to ensure the shower area is properly waterproofed to prevent any water leakage or damage. One of the key components of a waterproof shower area is a well-installed shower pan. A shower pan is a waterproof barrier that is placed beneath the tile floor to catch and redirect any water that seeps through the tile and grout. It’s crucial to choose a high-quality shower pan that is durable and leak-proof. Additionally, proper tile installation is essential for maintaining a waterproof shower area. The tile should be installed with a waterproof membrane, such as a cement backer board or a liquid waterproofing system, to create a watertight seal. By following these steps and using the right materials, you can ensure a waterproof shower area that will stand the test of time.
| Component | Importance | Materials |
|---|---|---|
| Shower Pan | High | PVC, fiberglass |
| Tile | Medium | Ceramic, porcelain |
| Waterproof Membrane | High | Cement backer board, liquid waterproofing system |
Installing the Shower Base
To install the shower base, you’ll need to carefully measure and mark the location where it will be placed. First, choose the right shower base for your needs. Consider the size, shape, and material of the base. Look for a base that fits the dimensions of your existing bathtub and matches your bathroom aesthetic.
Once you have the shower base, follow these steps for installation:
- Remove the old bathtub and clean the area thoroughly.
- Test fit the shower base to ensure it aligns properly with the plumbing.
- Use a level to make sure the base is even and adjust as necessary.
- Apply a layer of waterproofing membrane to protect against leaks.
- Install the drain assembly and connect it to the plumbing.
- Finally, secure the shower base to the floor using screws or adhesive.
Following these steps will ensure a successful shower base installation and a sturdy foundation for your walk-in shower.
Adding Waterproofing Measures
When it comes to adding waterproofing measures in a bathroom renovation, two key points to consider are proper sealant application and waterproofing membrane installation.
Properly applying sealant around areas prone to water exposure, such as corners and joints, helps create a watertight barrier.
Additionally, installing a waterproofing membrane beneath the tile ensures an extra layer of protection against water damage.
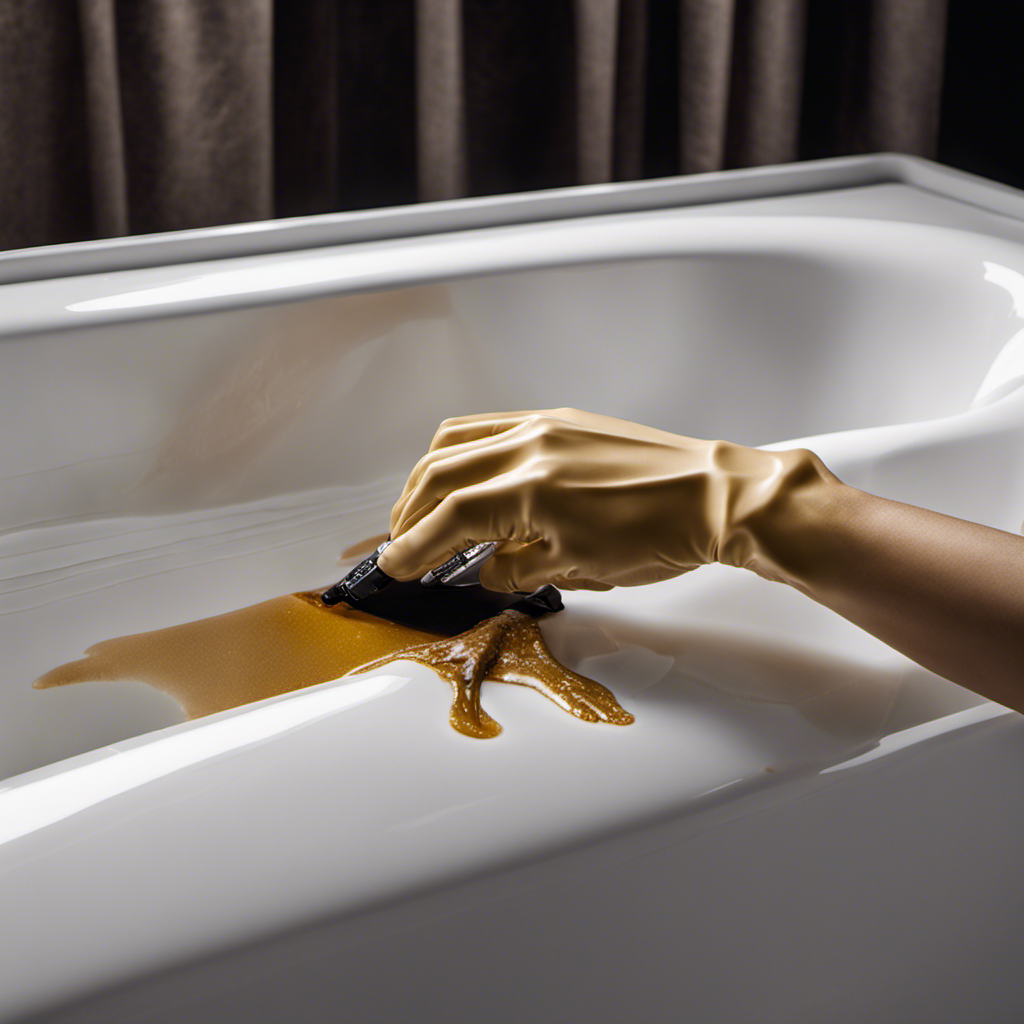
Proper Sealant Application
First, make sure you’re applying the sealant evenly along the edges of the walk-in shower to prevent any leaks. Proper sealant application is crucial in maintaining the integrity of your newly converted bathtub into a walk-in shower. Here are some tips and tricks to ensure a successful sealant application:
- Clean the surface thoroughly before applying the sealant to remove any dirt or debris.
- Use a caulking gun for precise and controlled application.
- Apply the sealant in a continuous bead, making sure to fill any gaps or cracks.
- Smooth the sealant with a caulk smoothing tool or your finger for a neat finish.
Proper maintenance is essential for keeping the sealant intact and preventing water damage. Here are some steps to follow:
- Regularly inspect the sealant for any signs of wear or damage.
- Clean the sealant regularly to remove any soap scum or mildew.
- Avoid using abrasive cleaners or harsh chemicals that can deteriorate the sealant.
- Promptly fix any cracks or gaps in the sealant to prevent water from seeping through.
Waterproofing Membrane Installation
After properly applying sealant to the bathtub, the next step in converting it into a walk-in shower is the installation of a waterproofing membrane. This membrane is a crucial component in ensuring that no water leaks occur and that the shower area remains dry and free from moisture-related issues.
Using a waterproofing membrane offers several benefits when it comes to waterproofing techniques. Firstly, it provides a strong barrier against water penetration, preventing any potential damage to the underlying structure. Additionally, it helps to prevent the growth of mold and mildew, ensuring a clean and hygienic shower environment. Moreover, a waterproofing membrane is highly durable and long-lasting, offering protection for years to come.
To better understand the significance of a waterproofing membrane, take a look at the table below:
| Benefits of Waterproofing Membrane |
|---|
| Prevents water leaks |
| Protects underlying structure |
| Prevents mold and mildew growth |
| Durable and long-lasting |
With the waterproofing membrane properly installed, we can now move on to the next step: installing shower walls and enclosure.
Installing Shower Walls and Enclosure
To install the shower walls and enclosure, it’s important to measure the area accurately beforehand. This will ensure a proper fit and a seamless installation.
When it comes to shower wall design, you have a variety of options to choose from. Some popular choices include tiled walls, acrylic panels, and solid surface materials. Consider the style and durability of each option before making a decision.
As for the shower enclosure, there are also multiple choices available. You can choose between a framed or frameless enclosure, as well as different types of glass such as clear, frosted, or patterned. It’s important to select an enclosure that complements the overall design of your bathroom.
Once the walls and enclosure are installed, you can move on to the finishing touches and finalize your walk-in shower.
Finishing Touches and Finalizing the Walk-In Shower
Now that the walls and enclosure are in place, it’s time to add the finishing touches and complete your walk-in shower. One important aspect to consider is the showerhead selection. There are various types available, such as fixed, handheld, or a combination of both. Consider your preferences and needs, as well as the water pressure in your home. Additionally, don’t forget about safety features. Installing grab bars can provide stability and support, especially for those with limited mobility. Non-slip flooring is also essential to prevent accidents and ensure a secure footing. Lastly, consider adding a shower seat or bench for added comfort and convenience. These final touches will not only enhance the functionality of your walk-in shower but also create a safer and more enjoyable bathing experience.
| Showerhead Selection | Safety Features |
|---|---|
| Fixed | Grab bars |
| Handheld | Non-slip flooring |
| Combination | Shower seat/bench |
Conclusion
In conclusion, converting a bathtub into a walk-in shower is a practical and worthwhile endeavor. By following the steps outlined in this article, you can transform your bathroom into a more accessible and modern space.
Remember, though, that this process requires careful planning and preparation. As the saying goes, ‘Patience is a virtue.’ Take your time, gather the necessary tools, and don’t rush the installation process.
With a little determination and some handy skills, you’ll soon be enjoying the convenience and luxury of your new walk-in shower.