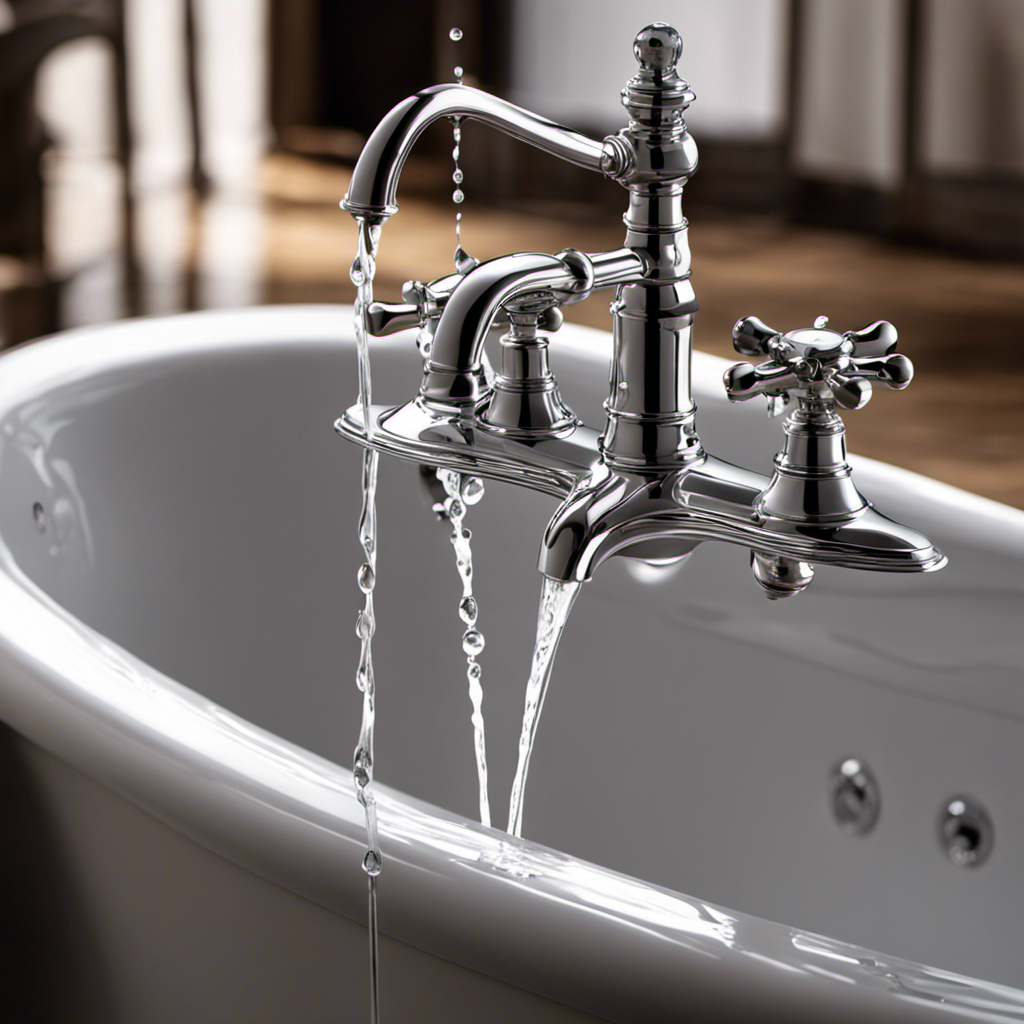
I’ve had my fair share of frustrating nights lying in bed, listening to the relentless drip-drip-drip of my bathtub faucet. But fear not, fellow drip victims, for I have discovered the ultimate solution to put an end to this maddening symphony.
In this article, I will guide you through the step-by-step process of stopping your bathtub faucet from dripping, ensuring peaceful nights and a water bill that won’t make you cringe.
So grab your tools and let’s dive into the world of faucet repair together.
Key Takeaways
- Turn off the water supply to the bathtub to prevent further water damage and accurately assess the source of the leak.
- Gather the necessary tools such as an adjustable wrench, screwdriver, pliers, flashlight, and plumber’s tape for the repair.
- Properly prepare and maintain your tools for optimal performance and troubleshoot by identifying the source of the leak.
- Repair the faucet by removing the handle, inspecting and cleaning the cartridge or valve assembly, replacing any worn or damaged parts, and ensuring proper alignment and seating of the cartridge.
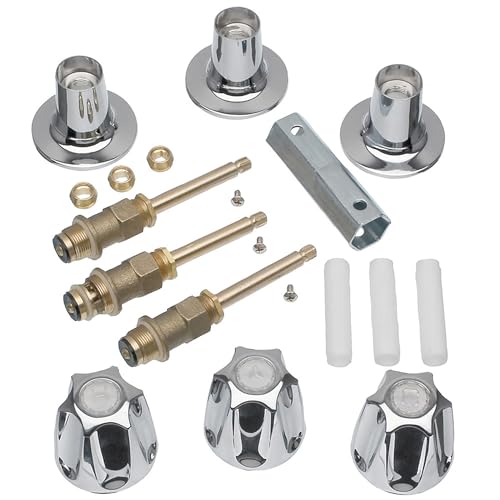
DANCO Bathtub and Shower 3-Handle Remodel/Rebuild Trim Kit for Price Pfister Verve Faucets | Knob Handle Replacement | Chrome (39619)
HASSLE-FREE UPGRADE – Classic chrome finish will update and complement your existing bathroom décor with durable brass stems…
As an affiliate, we earn on qualifying purchases.
As an affiliate, we earn on qualifying purchases.
Assessing the Faucet Drip
To assess the faucet drip, you’ll need to start by turning off the water supply to the bathtub. This is crucial to ensure your safety and prevent any further water damage.
Once the water supply is turned off, you can begin assessing the water pressure. Check if the water pressure is too high or too low, as this can be a common cause of faucet drips.
If the water pressure is normal, you can move on to identifying common faucet problems. These may include worn out washers, loose connections, or a faulty cartridge.

Huashan Replacement Brass Ceramic Disc Stem Cartridge Faucet Valve Quarter Turn 1/2" X 53mm x 12mm spline length 20 teeth(PAIR Hot & Cold)
✔ Pair of premium G 1/2" (basin) cartridges, solid M4 screws provided.
As an affiliate, we earn on qualifying purchases.
As an affiliate, we earn on qualifying purchases.
Gathering the Necessary Tools
When it comes to any DIY project, having the right tools is essential for success.
In this discussion, we will explore the key points of creating an essential tool checklist and properly preparing your tools.
Essential Tool Checklist
You’ll need a few essential tools to stop the bathtub faucet from dripping. The first tool you’ll need is an adjustable wrench. This will allow you to loosen and tighten the various parts of the faucet.
Next, you’ll need a screwdriver, preferably one with interchangeable heads, as different faucets may require different types of screws.
Additionally, you’ll need a pair of pliers to grip and turn small parts, such as the valve stem.
A flashlight will also come in handy for troubleshooting common faucet issues, as it will allow you to see into tight spaces and identify any leaks or blockages.
Finally, it’s always a good idea to have a roll of plumber’s tape on hand, as this can help create a watertight seal when reassembling the faucet.
With these essential tools, you’ll be well-equipped to tackle any dripping faucet problem.
Proper Tool Preparation
Having the right tools is essential for properly preparing to fix a leaky bathtub faucet. As a knowledgeable handyman, I understand the importance of tool maintenance and troubleshooting techniques.
Before starting any repair, it is crucial to ensure that all tools are in good working condition. Regularly oiling and cleaning the tools will prolong their lifespan and ensure optimal performance.
Additionally, it is essential to have a variety of tools for different tasks, such as a wrench for removing the faucet handle and a cartridge puller for extracting the cartridge.
Troubleshooting techniques involve identifying the source of the leak, whether it’s a worn-out washer or a faulty cartridge.

VOTMELL 4 Rolls 1/2 Inch(W) X 520 Inches(L) Teflon Plumbers Tape,Pipe Sealing & Plumbing Thread Tape,PTFE Water Sealant Seal for Shower Head,White
Teflon tape has a sealing function to prevent the leakage of water or gas.
As an affiliate, we earn on qualifying purchases.
As an affiliate, we earn on qualifying purchases.
Shutting Off the Water Supply
To stop the bathtub faucet from dripping, try shutting off the water supply at the main valve. This is a simple and effective troubleshooting technique for fixing leaks. Here are four reasons why shutting off the water supply is important:
-
Prevents further water damage: By turning off the water supply, you can prevent any additional water from leaking and causing damage to your bathroom or other areas of your home.
-
Allows for accurate assessment: With the water supply shut off, you can easily identify the source of the leak and determine the necessary steps to fix it.
-
Reduces water wastage: Dripping faucets can waste a significant amount of water over time. Shutting off the supply helps conserve water and lowers your utility bills.
-
Ensures safety during repairs: Working on a dripping faucet with the water supply on can be hazardous. Shutting it off ensures your safety while disassembling the faucet handle and making necessary repairs.
By following these troubleshooting techniques and fixing the leaks promptly, you can maintain a functional and water-efficient bathtub faucet.
Next, let’s move on to disassembling the faucet handle.

WORKPRO 2-Piece Adjustable Wrench Set, 6-Inch & 10-Inch Wide Jaw Black Oxide Wrench, Cr-V Steel, Metric & SAE Scales, Max Jaw Opening 15/16" & 1-5/16", for Home Repairs, Plumbing, Garage Work
DUAL-SIZE SET FOR VERSATILE USE: This 2-piece set includes 6-inch and 10-inch adjustable wrenches, designed for everyday household…
As an affiliate, we earn on qualifying purchases.
As an affiliate, we earn on qualifying purchases.
Disassembling the Faucet Handle
Now that the water supply is shut off, it’s time to disassemble the faucet handle. This step is crucial in identifying and fixing the cause of the dripping. I’ll guide you through the disassembling technique to ensure a successful repair.
Before starting, gather the necessary tools: a screwdriver, pliers, and a cloth to protect the fixture’s finish. Follow these troubleshooting tips:
- Remove the decorative cap or cover on the handle by gently prying it off with a flathead screwdriver.
- Use a screwdriver to loosen and remove the screw holding the handle in place.
- With the handle removed, inspect the cartridge or valve assembly for any signs of damage or wear.
- If necessary, use pliers to remove the cartridge or valve assembly for closer examination.
- Clean any debris or sediment from the components and replace any worn or damaged parts.
Inspecting and Replacing the O-Rings
After removing the cartridge or valve assembly, inspect it closely for any signs of damage or wear before replacing the O-rings. This step is crucial in troubleshooting faucet leaks and ensuring that the O-rings are the root cause of the problem.
Here are four key things to look out for when inspecting faucet parts:
-
Cracks or fractures: Check for any visible cracks or fractures on the cartridge or valve assembly. These can lead to leaks and require immediate replacement.
-
Corrosion: Look for any signs of corrosion, such as rust or discoloration. Corrosion can affect the functionality of the O-rings and cause leaks.
-
Wear and tear: Examine the O-rings for any signs of wear and tear, such as flattening or fraying. Damaged O-rings should be replaced to prevent leaks.
-
Proper alignment: Ensure that the cartridge or valve assembly is properly aligned and seated. Misalignment can lead to leaks and should be corrected.
Repairing or Replacing the Cartridge
Inspect the cartridge closely for any signs of damage or wear before repairing or replacing it. Cartridge maintenance is crucial in preventing common faucet problems such as leaks and drips. A worn or damaged cartridge can cause water to seep through, leading to a constant dripping.
To ensure proper cartridge maintenance, follow these steps:
- Turn off the water supply to the faucet.
- Remove the faucet handle and any decorative caps to access the cartridge.
- Carefully examine the cartridge for cracks, breaks, or excessive wear.
- If the cartridge is damaged, replace it with a new one of the same size and model.
- If the cartridge appears to be in good condition, clean it thoroughly to remove any debris or mineral buildup.
- Reassemble the faucet and turn on the water supply to test for any further leaks or drips.
Reassembling the Faucet Handle
When reassembling the faucet handle, it’s important to ensure proper handle alignment to ensure smooth operation. This involves aligning the handle with the stem and making sure it is straight and level.
Additionally, tightening the set screw securely is crucial to prevent any wobbling or looseness in the handle.
Proper Handle Alignment
To properly align the handle, you’ll need to make sure it is facing the correct direction. Here are some key steps to follow for proper handle alignment:
-
Remove the handle: Use a screwdriver to loosen the set screw and remove the handle from the faucet stem.
-
Inspect the stem: Check for any debris or mineral buildup that may be causing the handle to misalign.
-
Clean and lubricate: Wipe off any dirt or grime from the stem and apply a small amount of plumber’s grease to ensure smooth movement.
-
Reassemble the handle: Align the handle with the stem and tighten the set screw securely.
By properly aligning the handle, you can ensure that it operates smoothly and prevents any leaks or drips.
Once the handle is aligned, the next step is to tighten the set screw to secure it in place.
Tightening the Set Screw
After aligning the handle, you’ll need to tighten the set screw securely to secure it in place. This step is crucial in troubleshooting faucet leaks and addressing common faucet problems. The set screw is usually located underneath a decorative cap on the handle. Using an appropriate screwdriver, turn the set screw clockwise until it is snug. Be careful not to overtighten, as this can cause damage to the handle or the valve. Once the set screw is tightened, test the faucet to ensure there are no more leaks. It’s important to note that if the leak persists, there may be other underlying issues that require further investigation or professional assistance. Refer to the table below for a summary of common faucet problems and their possible solutions:
| Problem | Possible Solution |
|---|---|
| Dripping faucet | Replace the washer or O-ring |
| Low water pressure | Clean or replace the aerator |
| Leaky handle | Tighten the set screw or replace |
Testing for Leaks and Final Steps
First, make sure to thoroughly test for any leaks in the bathtub faucet before proceeding with the final steps. Testing for leaks is crucial to ensure that the drip is completely stopped. Here are some testing methods and troubleshooting tips to help you:
- Check for visible leaks: Inspect the faucet closely for any signs of water dripping or pooling around it.
- Listen for leaks: Turn on the water and listen for any dripping sounds coming from the faucet.
- Use tissue paper: Wrap tissue paper around the faucet and check for any wet spots that indicate leaks.
- Monitor water meter: Turn off all faucets in the house and check if the water meter is still running, which could indicate a hidden leak.
Frequently Asked Questions
How Do I Know if the Bathtub Faucet Is Causing the Dripping or if It’s Another Issue?
If your bathtub faucet is dripping, it’s important to troubleshoot the issue before calling a plumber. By understanding common bathtub faucet issues and learning how to fix them, you can save time and money.
Are There Any Special Precautions I Should Take Before Disassembling the Faucet Handle?
Before disassembling the faucet handle, it’s important to take a few precautions. Make sure to turn off the water supply and gather the necessary tools. This will ensure a smooth and successful process.
Can I Use Any Type of O-Rings to Replace the Old Ones, or Do I Need to Buy Specific Ones?
I can use different types of o-rings as alternatives to the old ones in my bathtub faucet. However, it’s important to note that the effectiveness of different o-ring materials may vary.
What Should I Do if I Accidentally Damage Any Parts While Disassembling the Faucet Handle?
If I accidentally damage any parts while disassembling the faucet handle, there are a few repair options available. I can either try to fix the damaged components myself or consult a professional plumber for assistance.
Is There a Specific Order in Which I Need to Reassemble the Faucet Handle?
When reassembling a faucet handle, it’s important to follow a specific order. Start by troubleshooting any issues with the parts, then carefully reassemble them in the correct order to ensure proper functioning.
Conclusion
In conclusion, fixing a dripping bathtub faucet is a task that can easily be accomplished with the right tools and knowledge.
By carefully disassembling the faucet handle, inspecting and replacing the worn-out O-rings, and repairing or replacing the cartridge if necessary, you can put an end to that annoying drip.
Just imagine the satisfaction of finally enjoying a peaceful, quiet bath without the constant reminder of a leaky faucet.
So go ahead, take control of your bathroom oasis and bid farewell to that pesky drip for good.