
Did you know that a leaky bathtub faucet can waste up to 3,000 gallons of water per year? If you’re tired of the constant drip and the rising water bill, you’ve come to the right place.
In this article, I’ll guide you through a step-by-step process to fix that frustrating leak. By identifying the source, gathering the necessary tools, and repairing or replacing faulty parts, you’ll have your bathtub faucet working like new in no time.
Let’s dive in and put an end to that drip!
Key Takeaways
- Inspect the faucet handles and spout for signs of water dripping or pooling
- Gather the necessary tools and materials such as a wrench and plumber’s tape
- Disassemble the bathtub faucet carefully, turning off the water supply before starting
- Consider the pros and cons of repairing versus replacing the faulty parts

Enhon 2 Set Tub Spout Diverter Repair Kit (Chrome, Classic)
- Universal Fit: Compatible with most standard tub spouts
- Leak Repair Solution: Stops bathtub spout leaks effectively
- Durable Materials: Made of metal, plastic, and rubber for longevity
As an affiliate, we earn on qualifying purchases.
As an affiliate, we earn on qualifying purchases.
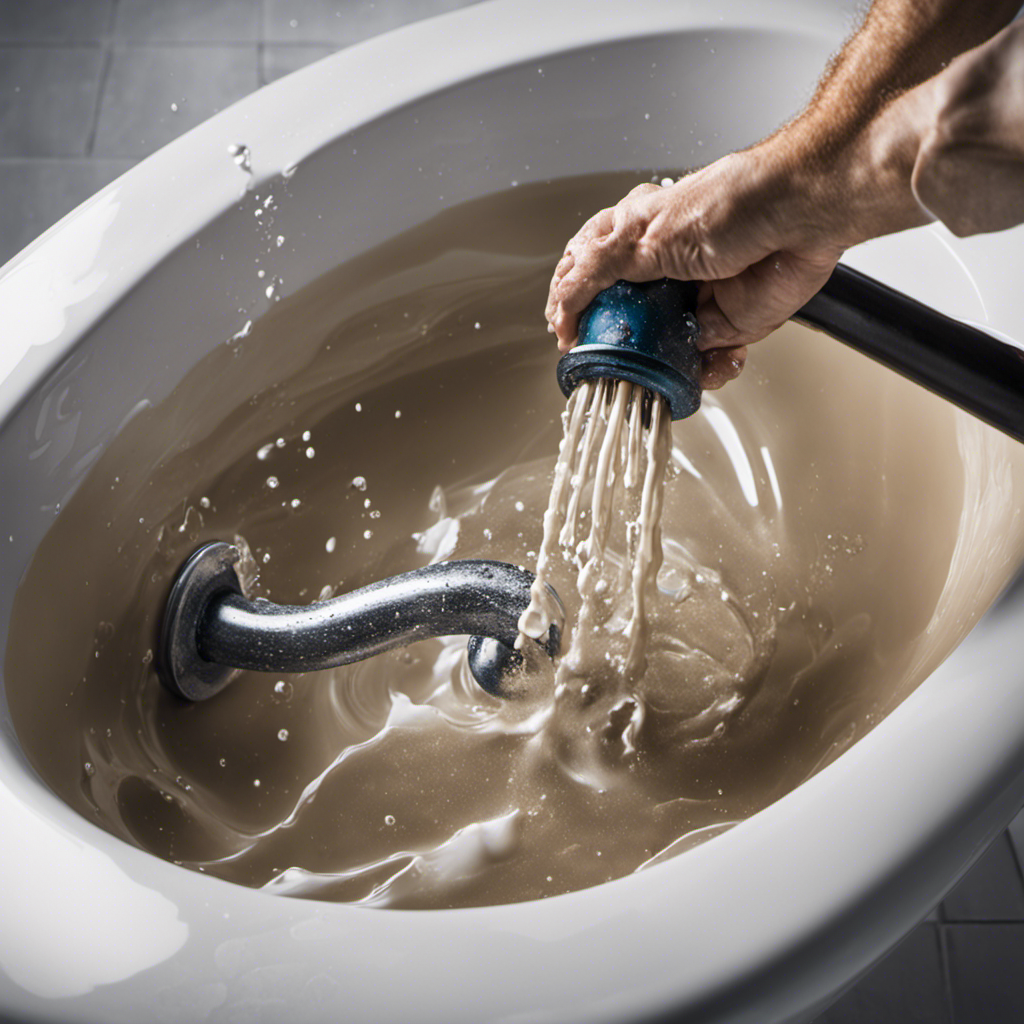
Identifying the Source of the Leak
You can start by inspecting the faucet handles and spout for any signs of water dripping or pooling. Common causes of bathtub faucet leaks include worn out washers, damaged O-rings, or loose connections. Signs of a leaking bathtub faucet can include a constant drip, water pooling around the base of the faucet, or difficulty in turning the handles. Take note of any unusual sounds or vibrations as well.
If you notice any of these signs, it’s likely that your bathtub faucet is leaking. Once you have identified the source of the leak, you can move on to the next step of gathering the necessary tools and materials to fix the problem.
Gathering the Necessary Tools and Materials
To gather the necessary tools and materials, start by checking your toolbox for a wrench and plumber’s tape. These items will be essential for fixing a leaky bathtub faucet.
Proper maintenance is key to prevent future leaks, so it’s important to have the right tools on hand. Additionally, consider using eco-friendly alternatives for bathtub faucet repair. Look for products that are made from sustainable materials or have minimal environmental impact.
Once you have your wrench and plumber’s tape, you are ready to move on to the next step: disassembling the bathtub faucet. This process will allow you to identify the source of the leak and make the necessary repairs.
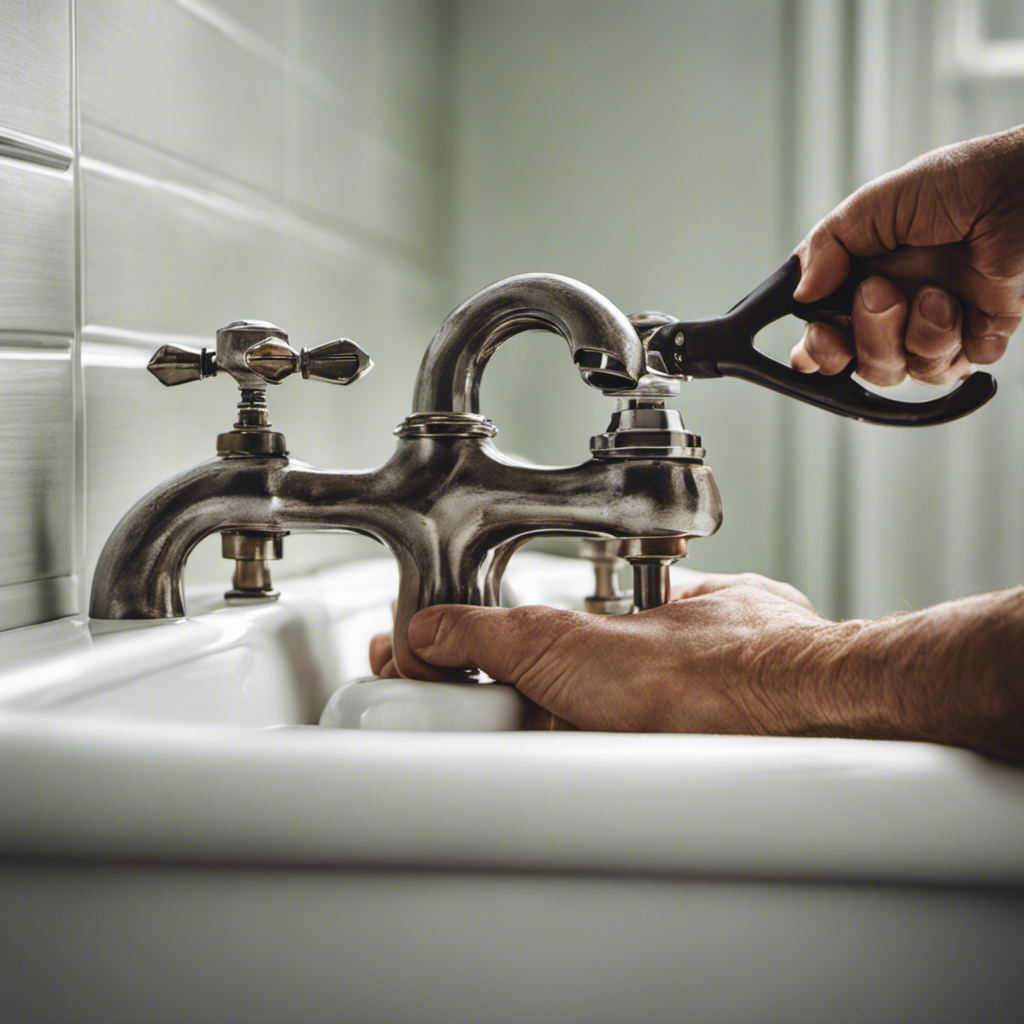
Disassembling the Bathtub Faucet
Once you’ve gathered the necessary tools and materials, it’s time to start disassembling the bathtub faucet. Before beginning, it’s important to troubleshoot common issues to determine if disassembling is necessary.
If your faucet is leaking, the problem may lie with the O-rings or the cartridge. To start, turn off the water supply to the faucet. Next, remove the handle by unscrewing the set screw or popping off the decorative cap and unscrewing the handle.
Once the handle is off, remove the escutcheon plate to expose the cartridge. Depending on the faucet type, you may need a specialized tool to unscrew the cartridge. Once the cartridge is removed, inspect it for any damage or wear. If necessary, replace it with a new one.
If you’re unsure about the disassembly process, it’s recommended to find professional help to avoid causing further damage.
Repairing or Replacing the Faulty Parts
After identifying the faulty parts, it’s essential to either repair or replace them to resolve the issue. Here are the pros and cons of each option:
- Repairing:
Pros: - Cost-effective
- Allows for the preservation of original parts
- Can be a quick and easy fix for minor issues
Cons:
-
May not provide a long-term solution
-
Can be time-consuming if multiple repairs are needed
-
Replacing:
Pros: -
Offers a brand new, reliable fixture
-
Provides a long-term solution
-
Can upgrade the aesthetics of your bathtub
Cons:
- More expensive than repairing
- Requires additional time and effort for installation
Consider the severity of the issue, the age of the faucet, and your budget when deciding between repair or replacement. Once you’ve made your choice, you can proceed to reassembling and testing the repaired faucet.
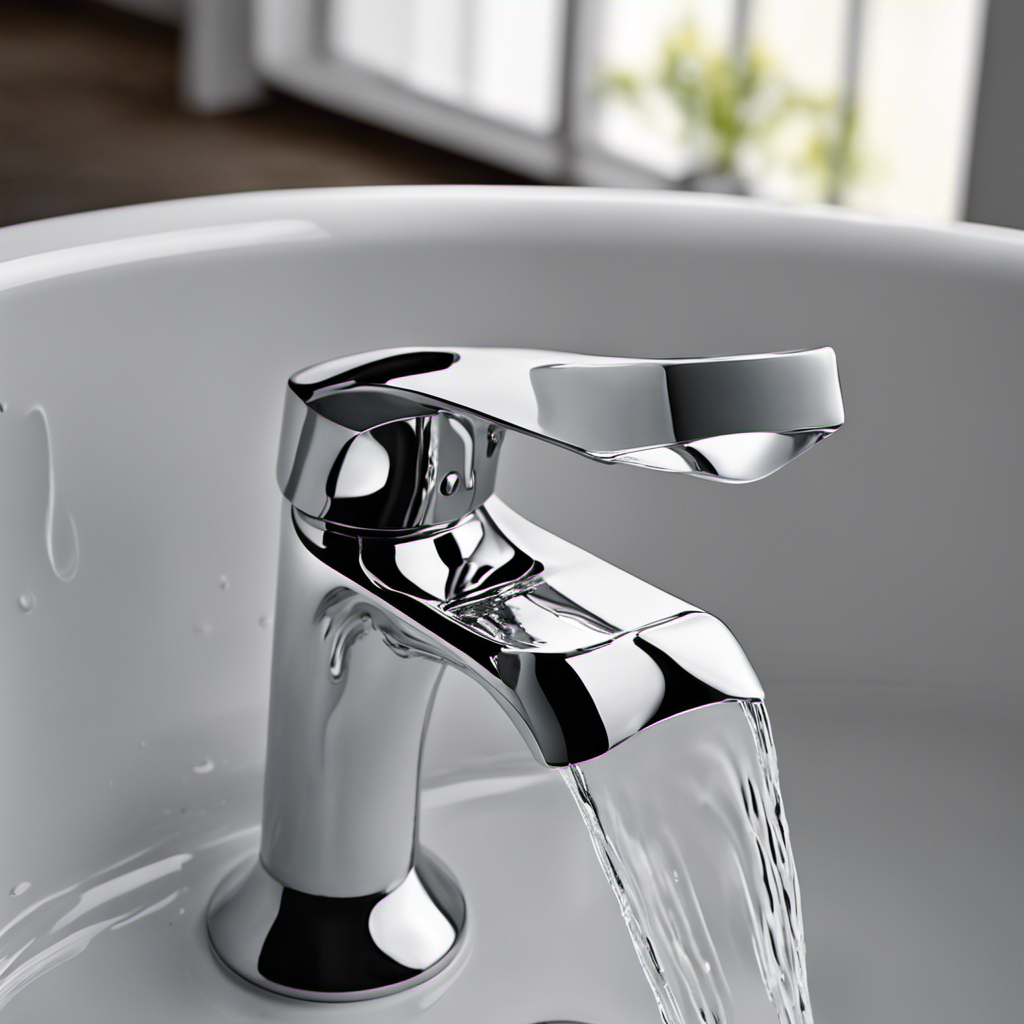
Reassembling and Testing the Repaired Faucet
When reassembling the repaired faucet, make sure to securely attach each component in the correct order.
Proper water pressure management is crucial for the overall functionality and longevity of your faucet. It ensures a smooth flow of water and prevents any damage to the internal parts. Regular faucet maintenance is important to prevent leaks and other issues.
To reassemble the faucet, start by placing the rubber or silicone gasket onto the bottom of the faucet body. Then, insert the valve cartridge or stem assembly into the body, making sure it fits snugly. Next, attach the handle and tighten the screw to secure it. Finally, turn on the water supply and test the faucet for any leaks.
Proper water pressure management and regular maintenance will help keep your faucet in good working condition for years to come.
Frequently Asked Questions
How Much Is It Going to Cost to Fix a Leaky Bathtub Faucet?
Fixing a leaky bathtub faucet can cost anywhere from $50 to $200, depending on the extent of the damage and whether you choose to hire a professional or do it yourself.
Can I Fix a Leaky Bathtub Faucet Myself, or Do I Need to Hire a Professional Plumber?
Fixing a leaky bathtub faucet can be a simple DIY project. With a few basic tools and some patience, you can save money by doing it yourself instead of hiring a plumber.
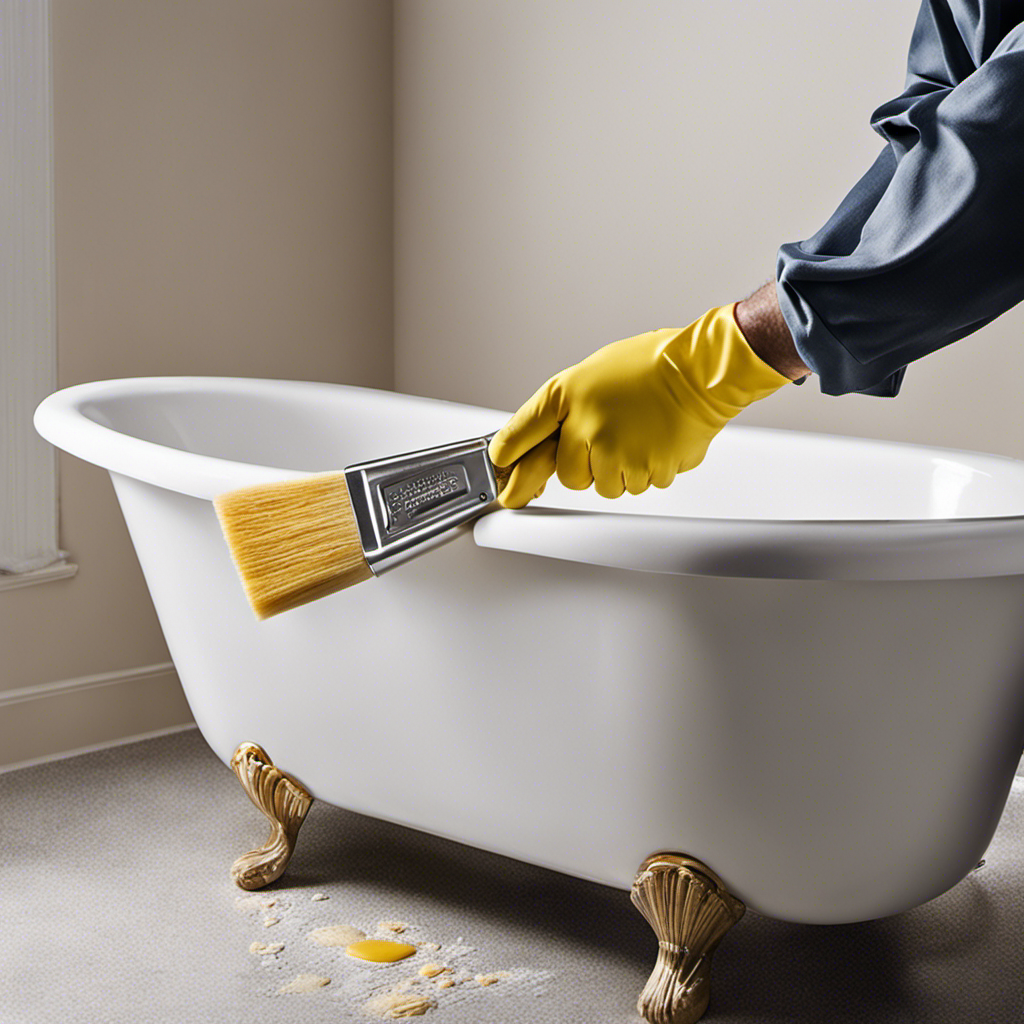
Are There Any Safety Precautions I Need to Take While Disassembling the Bathtub Faucet?
When disassembling a bathtub faucet, it’s important to take safety precautions. Make sure to turn off the water supply and wear protective gloves. You’ll also need a screwdriver, pliers, and a wrench.
How Long Does It Usually Take to Repair a Leaky Bathtub Faucet?
When diagnosing a leaky bathtub faucet, it’s important to take your time and follow a step-by-step guide for repairs. By doing so, you can efficiently fix the issue and minimize the time it takes.
What Are the Common Causes of a Leaky Bathtub Faucet, and How Can I Prevent It From Happening Again in the Future?
To prevent future leaks in your bathtub faucet, it’s important to understand the common causes. By addressing issues like worn-out washers, loose connections, or high water pressure, you can ensure a leak-free bathing experience.
Conclusion
In conclusion, fixing a leaky bathtub faucet is a simple yet important task that can save you from wastage and frustration. By identifying the source of the leak, gathering the necessary tools and materials, and disassembling the faucet, you can easily resolve the issue. Repairing or replacing the faulty parts is the next step. Reassembling and testing the faucet ensures that your repair was successful.
So, don’t let a leaky faucet slow you down. Follow these steps and enjoy a properly functioning bathtub faucet once again.