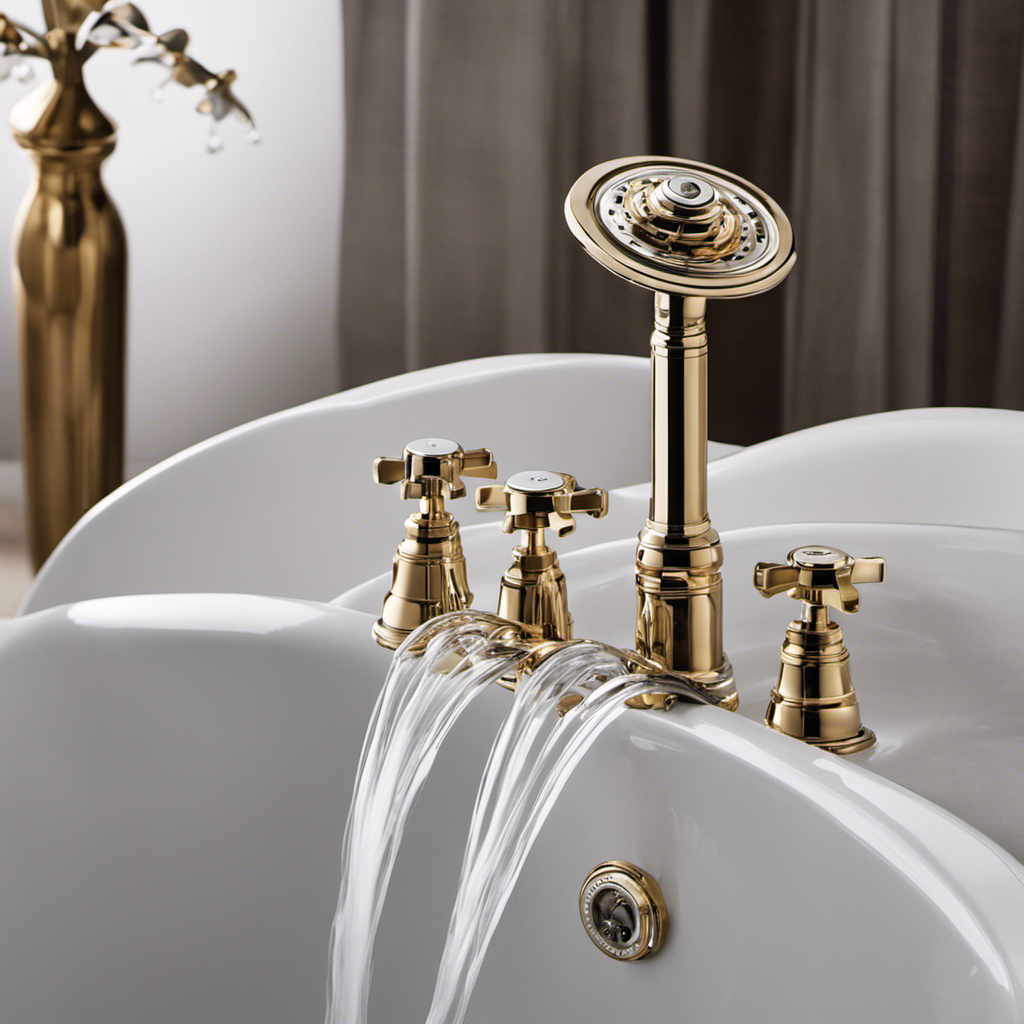
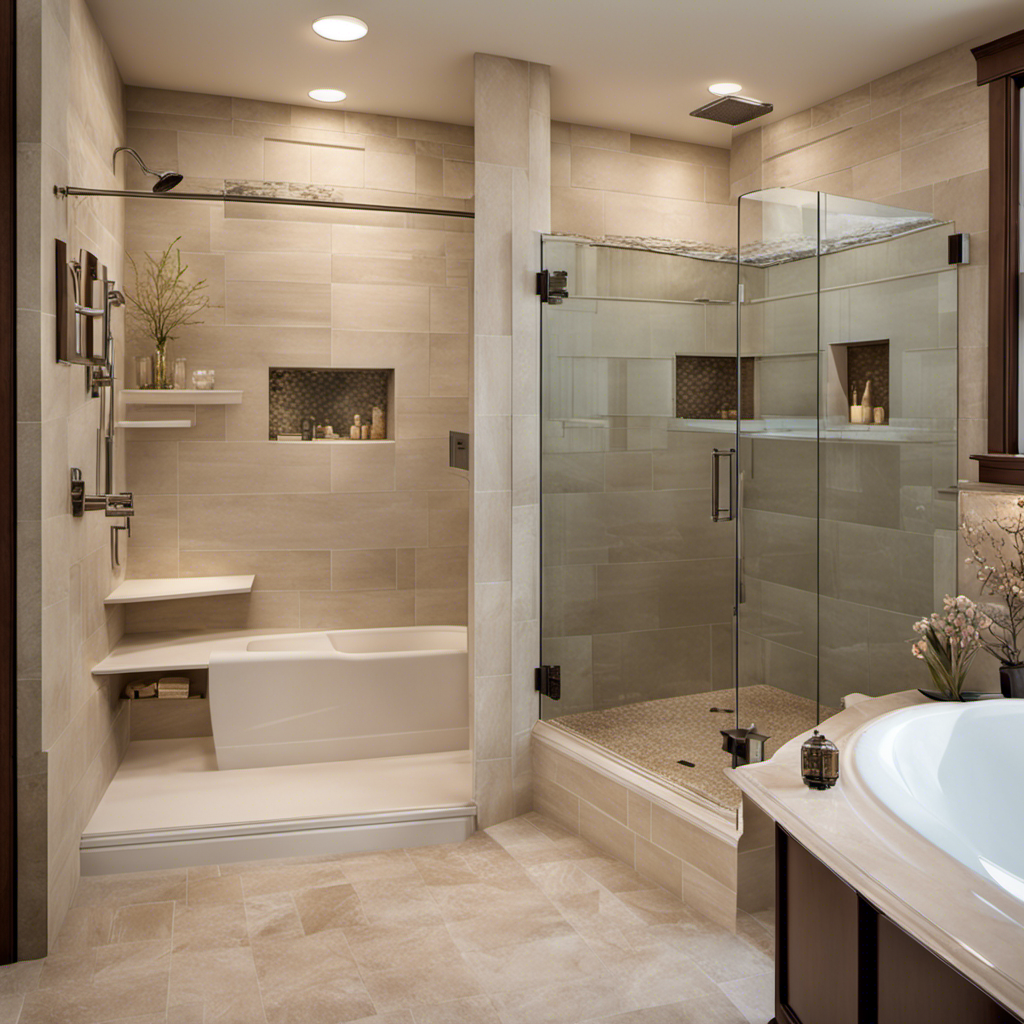
As I stood in my bathroom, staring at the worn and leaky faucet, I realized it was time for a change. With a few simple steps, I could replace it myself and restore functionality to my bathtub.
In this article, I will guide you through the process of changing your bathtub faucet. By following these instructions, you’ll be able to confidently tackle this task and enjoy a smooth-running, leak-free faucet in no time.
Let’s get started!
Key Takeaways
- Choose the right faucet that suits your needs and matches the existing plumbing fixtures.
- Turn off the water supply and disconnect the water supply lines before starting any work.
- Remove the old faucet by loosening and removing the mounting nuts or screws.
- Install the new faucet by placing a rubber or silicone gasket, aligning it with the sink or bathtub drain, and tightening the mounting nuts.
Delta Faucet R10000-UNBXHF MultiChoice Universal Shower Valve Body, Brass, Black
COMPLETE FLEXIBILITY: Delta's MultiChoice Universal Valve gives you the flexibility to upgrade or change your shower trim without...
As an affiliate, we earn on qualifying purchases.
Tools and Materials Needed
To change the bathtub faucet, you’ll need a few tools and materials. First, you need to choose the right faucet that suits your needs and matches the existing plumbing fixtures. Consider factors like the type of mounting, handle style, and finish.
Safety precautions should also be taken into account. Ensure that you have turned off the water supply before starting any work. This will prevent any accidental flooding and potential damage. Additionally, make sure to wear protective gloves and eyewear to avoid any injury.
Once you have gathered the necessary tools and materials, and have taken the required safety measures, you can proceed to the next step of shutting off the water supply.
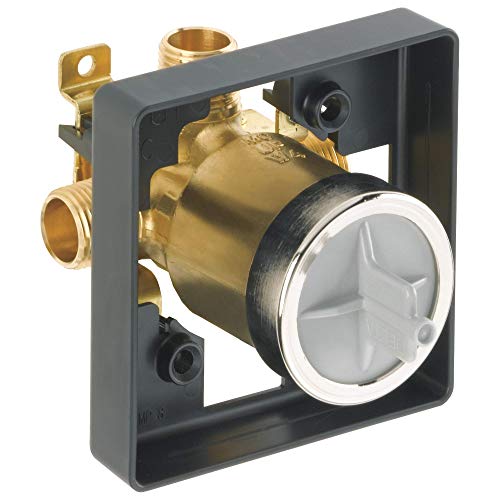
KOHLER 8304-K-NA Rite-Temp Pressure-Balancing Valve Body and Cartridge Kit, Shower Valve System, 5.0 GPM, Simple Installation & Maintenance
Pressure-Balancing Valve Body and Cartridge Kit: Shower system valve body kit with 1/2" universal NPT and direct sweat...
As an affiliate, we earn on qualifying purchases.
Shutting Off the Water Supply
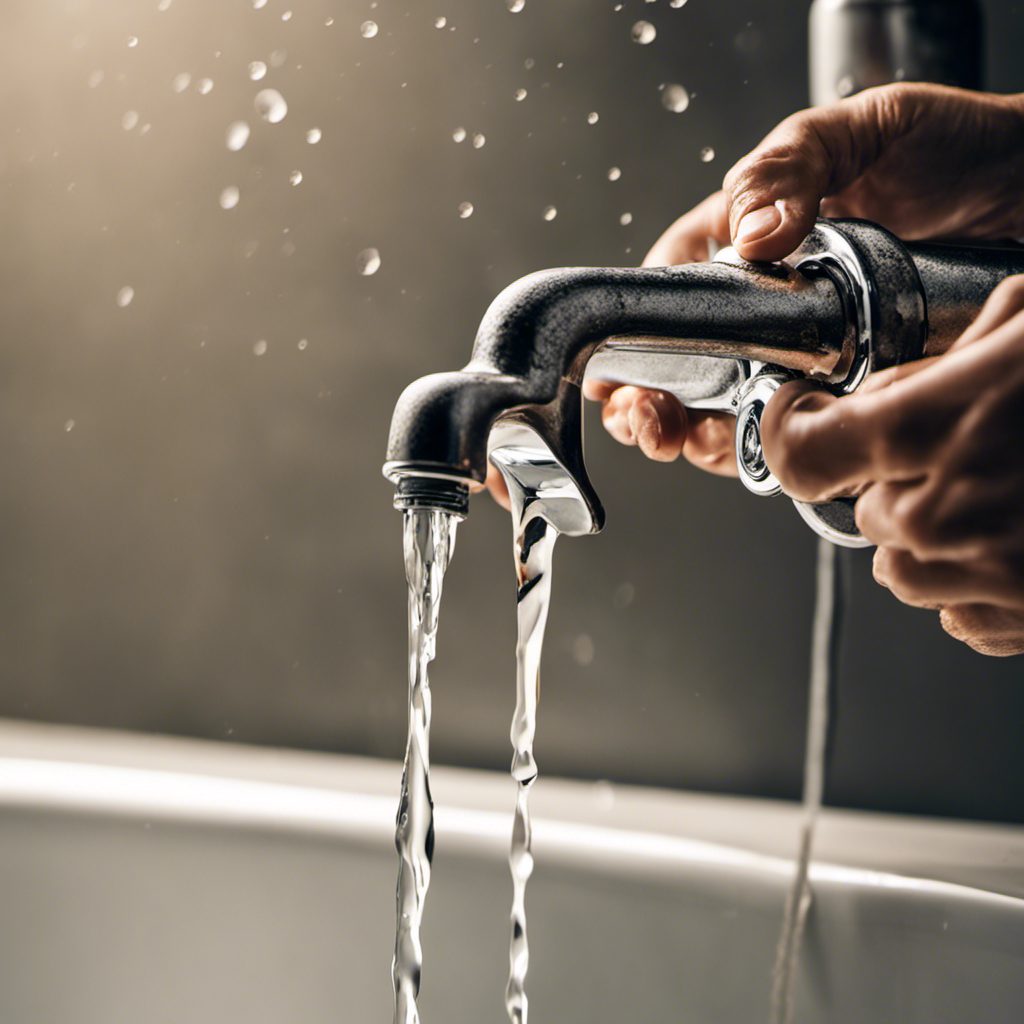
First, make sure you’ve shut off the water supply before continuing with the process. The water valve, usually located under the sink or near the bathtub, needs to be turned clockwise to shut off the water flow. This step is crucial to prevent any water leakage or damage during the faucet replacement.
Once the water valve is closed, you can proceed to remove the old faucet. To remove the old faucet, you will need a few tools such as an adjustable wrench, pliers, and a screwdriver. Start by unscrewing any visible screws or nuts that are holding the faucet in place. Use the adjustable wrench or pliers to loosen and disconnect any water supply lines attached to the faucet.
After disconnecting the water supply lines, carefully lift the old faucet from the countertop or bathtub. With the water supply shut off, you can now safely move on to installing the new faucet.

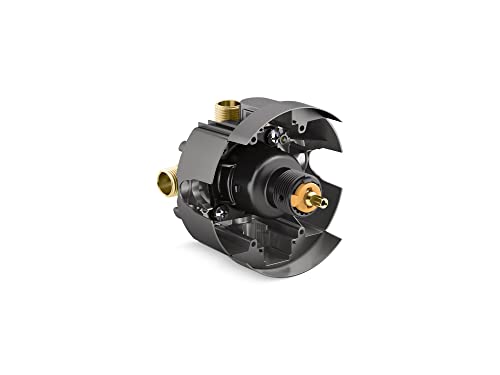
HammerHead Showers Solid Metal Single-Handle Trim Kit with Rough-In Shower Valve, Volume and Temperature Control, Pressure Balance, Chrome
THE PLUMBER'S CHOICE – Designed for EASY INSTALLATION and MAINTENANCE with a durable BRASS and STAINLESS STEEL construction,...
As an affiliate, we earn on qualifying purchases.
Removing the Old Faucet
Once you’ve shut off the water supply, it’s time to remove the old faucet. This is an important step in the dismantling process and allows for proper faucet maintenance.
To remove the old faucet, follow these steps:
-
Begin by gathering the necessary tools: adjustable wrench, pliers, and a screwdriver.
-
Locate the mounting nuts or screws that secure the faucet to the sink or bathtub.
-
Use the adjustable wrench or pliers to loosen and remove the mounting nuts or screws.
-
Once the nuts or screws are removed, gently lift the old faucet off the sink or bathtub.
-
Inspect the area for any debris or buildup that may have accumulated over time and clean it thoroughly.
Now that the old faucet has been removed, it’s time to move on to installing the new faucet.

Faucet Floor-Mount Freestanding Tub Filler Rough-In Valve,Compatible with Delta Freestanding Tub Fillers R4700-FL
1.Application:Floor-Mount Freestanding Tub Filler Rough-In Valve is compatible with freestanding tub filler trim kits such as T4579-fl、T4759-FL、T4768-FL、T4774-FL、T4767-FL、T4752-FL、T4797-FL、T4759-FL、T4797‑SSFL‑LHP and...
As an affiliate, we earn on qualifying purchases.
Installing the New Faucet
Now that you’ve successfully removed the old faucet, it’s time to start installing the new one. Proper faucet alignment is crucial for a successful installation.
Begin by placing the rubber or silicone gasket onto the bottom of the faucet. Then, insert the faucet into the mounting holes on the sink or countertop. Ensure that the faucet is centered and aligned with the sink or bathtub drain.
Tighten the mounting nuts underneath the sink to secure the faucet in place. Avoid overtightening, as this can damage the faucet or the sink.
Testing and Troubleshooting
To ensure everything is working properly, you’ll want to turn on the water supply valves and check for any leaks or issues with the new installation. Troubleshooting techniques can help identify and resolve common faucet problems. Here are a few common issues you may encounter and how to troubleshoot them:
| Problem | Troubleshooting Techniques |
|---|---|
| Low water pressure | – Check if the aerator is clogged |
| – Inspect the water supply valves and pipes | |
| Leaking faucet | – Tighten any loose connections or fittings |
| – Replace worn-out washers or O-rings | |
| No hot water | – Verify if the hot water supply valve is open |
| – Check the water heater for any issues |
Conclusion
In conclusion, changing a bathtub faucet can seem like a daunting task, but it can be done easily with the right tools and instructions. Remember to always shut off the water supply before starting the process to avoid any mishaps.
One interesting statistic to note is that according to a survey conducted by a plumbing association, 60% of homeowners prefer to hire a professional plumber for faucet installations. However, with the right knowledge and guidance, anyone can successfully change their bathtub faucet themselves.