Do you ever find yourself frustrated with a leaky bathtub? I know I have!
That’s why I’m here to share with you my step-by-step guide on how to plug the bathtub effectively.
With just a few essential tools and materials, you’ll be able to easily seal up any pesky leaks and enjoy a relaxing, worry-free bath.
So let’s get started and put an end to those annoying drips once and for all!
Key Takeaways
- Rubber stoppers, drain covers, and silicone plugs are common types of bathtub plugs.
- Clean the drain area and remove debris before installing the plug.
- Choose the appropriate plug material for different types of tubs.
- Use the right size seal and ensure a proper seal to prevent water leakage.
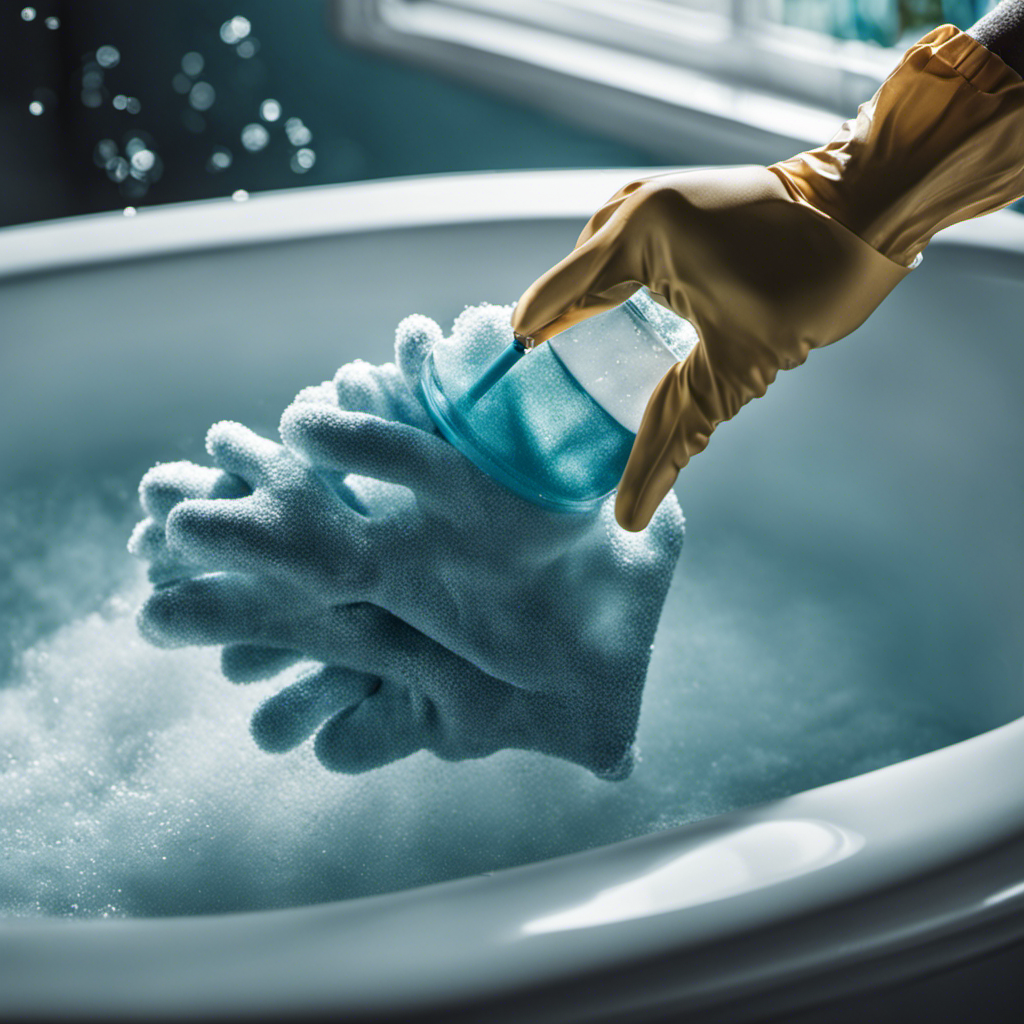
Essential Tools and Materials for Bathtub Plugging
You’ll need a few essential tools and materials to plug the bathtub.
There are different types of bathtub plugs available, including rubber stoppers, drain covers, and silicone plugs. Rubber stoppers are the most common and affordable option, while drain covers are more versatile and can fit various drain sizes. Silicone plugs provide a tight seal and are great for preventing leaks.
To install a bathtub plug, start by cleaning the drain area and removing any debris. Then, place the plug over the drain and press it firmly to create a secure seal. Some plugs may require twisting or turning to ensure a tight fit.
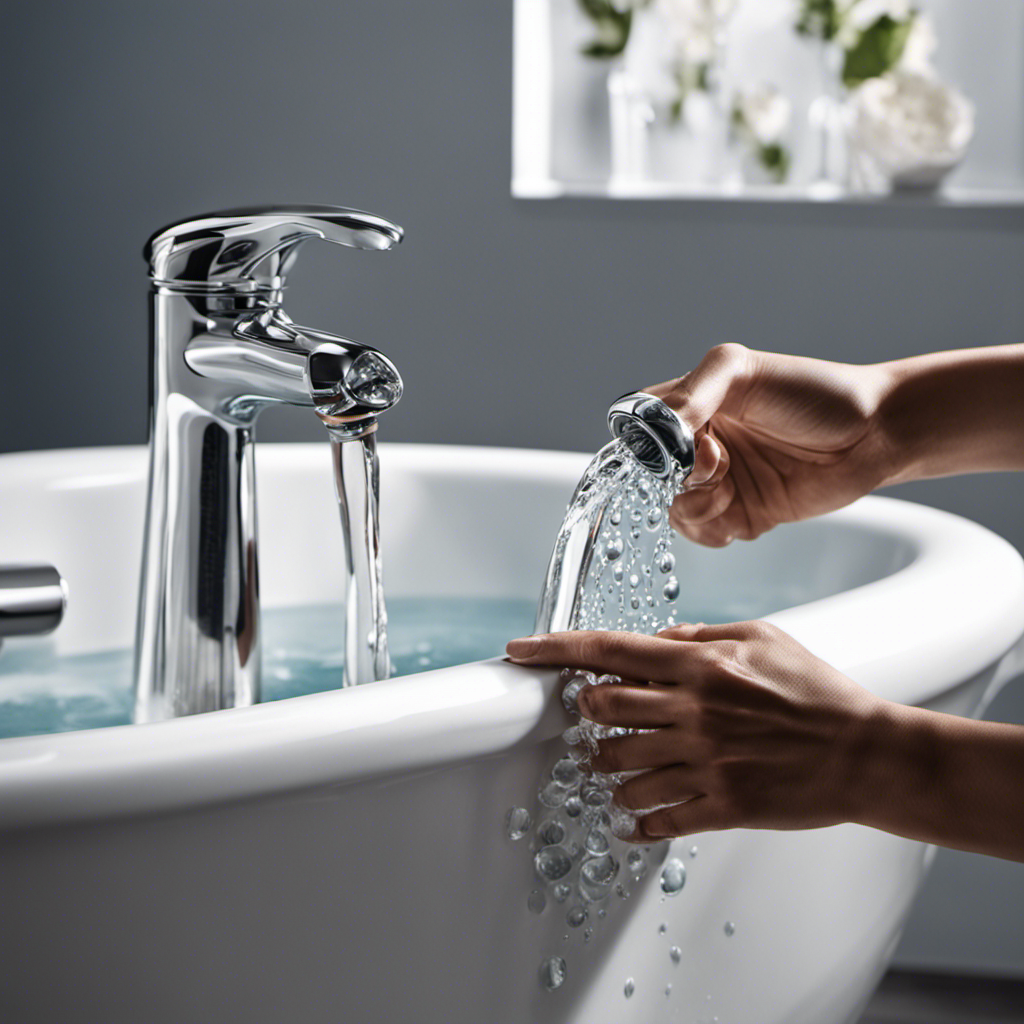
Once installed, test the plug by filling the bathtub with water to ensure it holds and prevents any leaks.
Step-by-Step Guide to Installing a Bathtub Plug
To install a bathtub plug, start by carefully removing the existing drain cover. This will allow you to access the drain and prepare it for the new plug. Once the drain cover is removed, follow these steps:
-
Choose the right type of bathtub plug for your needs. There are different types available, such as rubber stoppers, push-down plugs, and pop-up plugs. Consider factors like water tightness and ease of use when selecting the plug.
-
Clean the drain thoroughly to ensure a proper seal. Use a mild cleaner or vinegar to remove any residue or debris that may prevent the plug from fitting snugly.
-
Install the new bathtub plug according to the manufacturer’s instructions. Make sure it fits securely and creates a watertight seal.
Proper maintenance of bathtub plugs is essential to ensure longevity and functionality. Regularly clean the plug to prevent buildup and clogging. Additionally, check for any signs of wear or damage and replace the plug as needed. By following these steps and maintaining your bathtub plug, you can enjoy a hassle-free bathing experience.
Now, let’s move on to some tips and tricks for ensuring a proper seal…
Tips and Tricks for Ensuring a Proper Seal
When installing a new drain cover, it’s important to ensure a proper seal to prevent any leaks or water damage.
Troubleshooting common bathtub plug sealing issues can help you achieve this. One common issue is a loose or ill-fitting plug, which can cause water to leak out. To fix this, make sure the plug is the right size for your drain and fits snugly.
Another issue is worn-out or damaged seals. Check the condition of the seal and replace it if necessary.
Choosing the right bathtub plug material for different types of tubs is also crucial. For ceramic or porcelain tubs, rubber or silicone plugs are ideal as they provide a secure and watertight seal. For acrylic or fiberglass tubs, plastic or PVC plugs are recommended to avoid scratching the surface.
Common Mistakes to Avoid When Plugging the Bathtub
Avoid making the mistake of using an incorrect size or type of seal, as this can lead to leaks and water damage. When it comes to plugging the bathtub, there are some common problems that people often encounter.
Here are a few troubleshooting tips to help you avoid these issues:
- Ensure that the seal is the right size for your drain. Using a seal that is too small will result in water seeping through, while a seal that is too big will not create a tight fit.
- Check the material of the seal. Some materials may not be compatible with certain types of drains, causing leakage.
- Clean the drain thoroughly before applying the seal. Any debris or residue can interfere with the effectiveness of the seal.
By following these tips, you can prevent leaks and enjoy a properly sealed bathtub.
However, if you’re looking for alternative solutions for temporary bathtub plugging, continue reading in the next section.
Alternative Solutions for Temporary Bathtub Plugging
If you need a temporary solution for sealing your tub, you can try using a rubber stopper or a silicone drain cover. These options are widely available and easy to use. However, if you are looking for more innovative and eco-friendly alternatives, there are inflatable options for bathtub plugging that you can consider. These inflatable devices are designed to create a watertight seal in your bathtub, preventing any leakage. They are made from natural and eco-friendly materials, ensuring that your bathing experience is not only convenient but also environmentally conscious. In addition to being effective, these inflatable options are also portable and easy to store when not in use. Below is a table outlining some popular inflatable options for temporary bathtub plugging:
| Brand | Material | Size | Features |
|---|---|---|---|
| EcoSeal | PVC | Standard | Anti-slip surface |
| AquaPlug | Rubber | Large | Adjustable pressure control |
| GreenStop | Silicone | Small | Heat resistant |
| AirLock | TPU | Medium | Quick inflation and deflation |
These inflatable options provide a reliable and natural solution for temporary bathtub plugging, giving you peace of mind while minimizing your environmental impact.
Conclusion
In conclusion, plugging the bathtub is a simple task that can be done with the right tools and materials. By following the step-by-step guide and using the tips and tricks mentioned, you can ensure a proper seal and prevent any leaks or water damage.
Remember to avoid common mistakes and consider alternative solutions for temporary plugging.
So why wait? Start plugging your bathtub today and enjoy a relaxing bath without any worries. Isn’t that worth the effort?

Liam’s journey with us started as a consumer. Having faced challenges while setting up his own modern bathroom, he delved deep into research.
Recognizing his knack for simplifying complex information and his authentic writing style, we were thrilled to welcome him aboard. Liam’s articles often merge practicality with style, ensuring readers find the perfect fit for their homes. Liam is an avid hiker off-duty and often jokes about finding the best “natural toilets” Mother Earth has to offer.