Are you tired of dealing with a leaky or outdated bathtub spout? Well, look no further!
In this informative guide, we will show you how to replace your bathtub spout quickly and easily. With just a few tools and materials, you’ll have a brand new, functional spout in no time.
Say goodbye to those constant drips and hello to a sleek and efficient upgrade.
So, are you ready to transform your bathroom? Let’s get started!
Key Takeaways
- Prepare the bathtub by cleaning the surface and removing the old spout.
- Choose a replacement spout that matches existing plumbing fixtures and complements bathroom decor.
- Clean the surface around the spout using a damp cloth and a mild soap solution.
- When removing the old spout, turn off the water supply, loosen the set screw, and disconnect any water supply lines.

Dual-Flush Actuator Plate for Concealed Cisterns Jet Black Gloss Compatible with 115.770.DW.5 Sigma01 Wall Mount Toilets Series
Color:Jet Black, Gloss; Material: High-quality molded plastic
As an affiliate, we earn on qualifying purchases.
Tools and Materials Needed
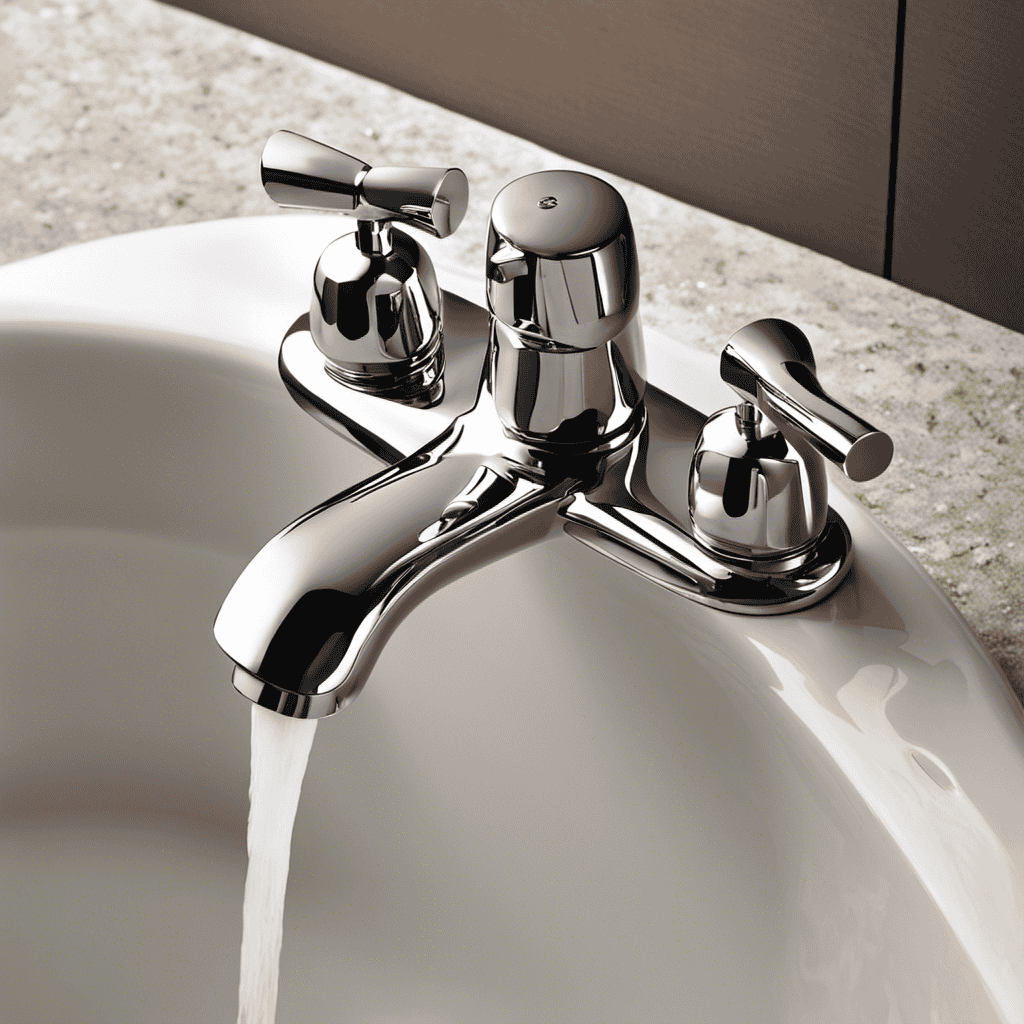
You’ll need a pair of pliers to remove the old bathtub spout.
Before beginning the bathtub spout replacement or installation process, it is essential to gather the necessary tools and materials.
To successfully complete the task, you will need a new bathtub spout, plumber’s tape, an adjustable wrench, a screwdriver, and a pipe wrench.
The new bathtub spout should match the existing plumbing fixtures and be compatible with your plumbing system. Ensure that you have the correct size and style of spout before starting the installation.
Additionally, it’s a good idea to have a bucket or towel nearby to catch any water that may spill during the process.
With your tools and materials ready, you can now move on to preparing the bathtub for the installation.

Banhey Dual Flush Actuator Plate, Compatible with Geberit 115.770.46.5. Replacement Parts for Concealed Cistern Toilet Repair (White)
Exquisite Appearance and Multiple Color Options of Toilet Tank Parts: The dual-flush actuator plate in the toilet tank...
As an affiliate, we earn on qualifying purchases.
Preparing the Bathtub
Before replacing the bathtub spout, there are a few key points you need to consider.
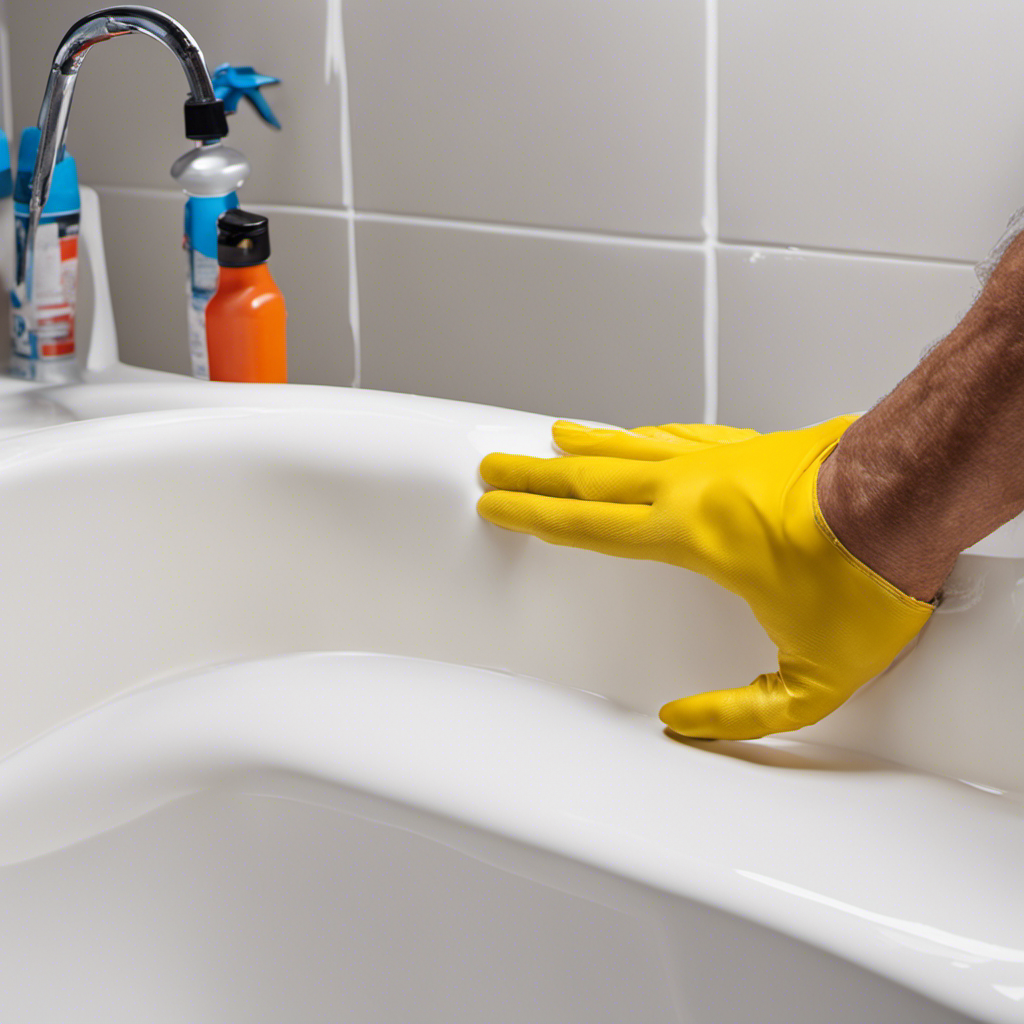
First, clean the surface around the spout thoroughly to ensure a proper seal.
Next, remove the old spout using the appropriate tools, making sure to disconnect any water supply lines.
Cleaning the Surface
To clean the surface, start by wiping it down with a damp cloth. This will remove any loose dirt or debris that may be present.
Next, mix a cleaning solution of warm water and mild soap. Apply this solution to the surface using a sponge or soft brush. Use a gentle scrubbing technique to remove any stains or grime.
Rinse the surface thoroughly with clean water to remove any residue from the cleaning solution. As you clean, you’ll feel a sense of satisfaction as the surface becomes cleaner and more refreshed.
Now that the surface is clean and ready, you can move on to the next step of removing the old spout.
Removing Old Spout
Once you’ve successfully cleaned the surface, it’s time to tackle the task of removing the old spout. This step is crucial in repairing a broken spout or exploring bathtub spout alternatives.
To ensure a smooth process, follow these precise instructions:
-
Turn off the water supply: Locate the water shut-off valve and turn it clockwise to stop the flow of water to the bathtub.
-
Remove the set screw: Using a screwdriver, loosen and remove the set screw that holds the spout in place. This screw is typically located underneath the spout.
-
Twist and pull: Grip the spout firmly and twist counterclockwise to loosen it. Once it’s loose, gently pull the spout away from the wall, applying consistent pressure until it comes off completely.
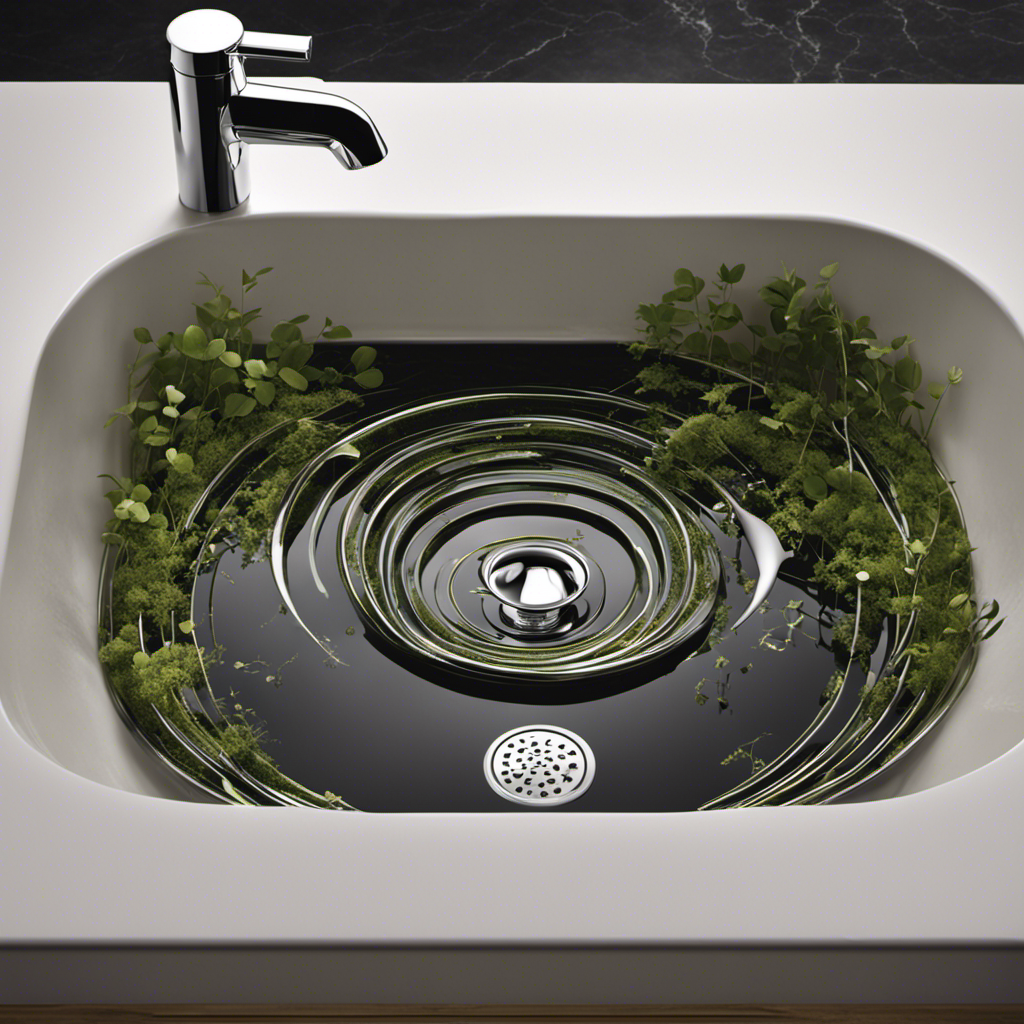
Checking for Leaks
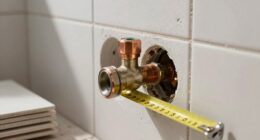
While checking for leaks, make sure to inspect the area around the water shut-off valve. This is an important step in troubleshooting leaks and ensuring the proper functioning of your bathtub spout. Here are four key things to consider when testing for leaks:
-
Visual Inspection: Look for any visible signs of water leakage around the shut-off valve, such as wet spots, drips, or discoloration. This could indicate a faulty valve or plumbing connection.
-
Pressure Test: Turn on the water and observe the pressure. If the water pressure is weak or inconsistent, it may be a sign of a leak or blockage in the system.
-
Listening for Sounds: Pay attention to any unusual sounds coming from the shut-off valve, such as hissing or gurgling. These sounds could indicate a leak or air trapped in the pipes.
-
Water Meter Check: To determine if there is a hidden leak, check your water meter before and after a period of no water usage. If the meter reading has increased, it suggests a leak somewhere in your plumbing system.
After ensuring there are no leaks around the shut-off valve, you can proceed to the next step of removing the old bathtub spout.
Los Flexi Concealed In-Wall Toilet Tank Carrier for Wall Hung Toilets, 0.8/1.6 GPF Dual Flush, Adjustable Height Tank Carrier, Includes Flush Actuator Plate for Wall Mount Toilet Setup
Durable Steel Construction: This in-wall toilet tank system supports most wall hung toilets with a sturdy steel frame,...
As an affiliate, we earn on qualifying purchases.
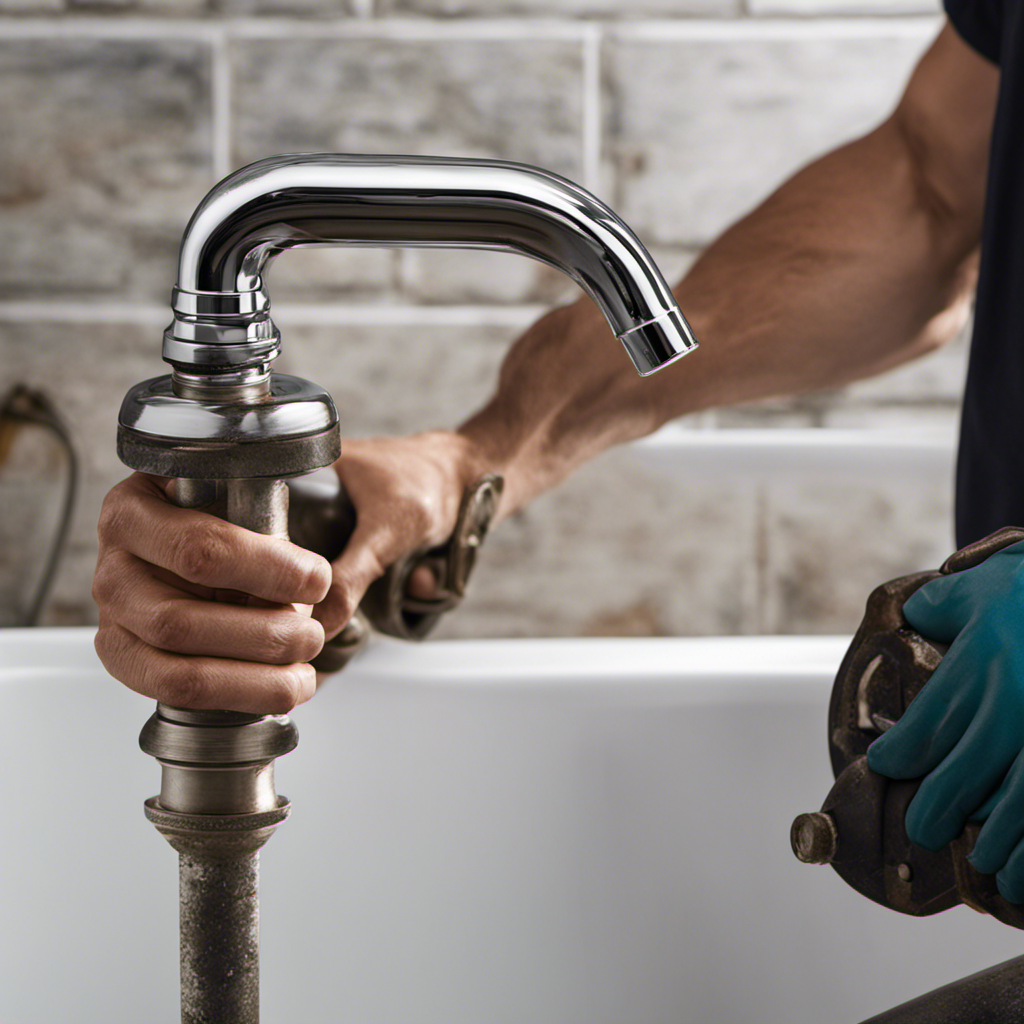
Removing the Old Bathtub Spout
First, grab a pair of pliers to loosen the setscrew on the underside of the old bathtub spout. This step is crucial in removing the old spout from the wall.
There are different types of bathtub spouts available, such as slip-on spouts, threaded spouts, or diverter spouts. If you encounter any difficulties during the removal process, troubleshooting spout installation can help you identify and resolve the issue.
Once the setscrew is loosened, carefully twist and pull the old spout away from the wall. Be cautious not to damage the surrounding tiles or plumbing.
Congratulations, you have successfully removed the old bathtub spout!
Now, let’s move on to choosing the right replacement spout to complete your bathroom upgrade.

Casta Diva in Wall Toilet Tank Carrier, Concealed Wall Hung Toilet Tank System with Black Dual-Flush Actuator Plate (2x4 / 2x6 Studs)
Toilet tank brace wall, fit for most wall mount toilet bowls, a black tank actuator plate included in...
As an affiliate, we earn on qualifying purchases.
Choosing the Right Replacement Spout
Now that you’ve successfully removed the old bathtub spout, it’s time to choose the right replacement option. This step is crucial because compatibility issues can arise if you don’t select the right spout for your plumbing system.
Here are four key factors to consider when choosing your replacement spout:
-
Type of Spout: Determine whether you need a slip-on spout, threaded spout, or universal spout. Each type has its own installation requirements, so make sure to choose the one that matches your existing plumbing setup.
-
Finish and Design: Consider the aesthetic appeal of the replacement spout. Choose a finish and design that complements your bathroom decor and personal style.
-
Material Quality: Look for a replacement spout made from durable materials like brass or stainless steel. This ensures longevity and prevents issues like rusting or corrosion.
-
Water Flow: Check the spout’s flow rate to ensure it meets your needs. Higher flow rates are ideal for filling the tub quickly, while low-flow options are more water-efficient.
Installing the New Bathtub Spout
After selecting the right replacement option, it’s time to install the new spout.
To begin, make sure the water supply to the bathtub is turned off.
Take the new spout and apply a layer of plumber’s tape to the threaded end. This will help create a watertight seal.
Insert the threaded end into the pipe on the wall and begin twisting it clockwise. Use a wrench to tighten the spout until it is securely in place.
Once the spout is installed, turn on the water supply and check for any leaks. If you notice any leaks, use the wrench to tighten the spout further.
It is important to secure the spout properly to prevent water damage and ensure proper functionality.
Testing and Adjusting the Spout
To ensure proper water flow in your bathtub, it’s important to test and adjust the spout.
Start by checking the spout angle to ensure it is directing water into the tub effectively.
Then, proceed to test for leaks to prevent any water wastage or potential damage.
Following these steps will help you optimize your bathtub experience and maintain a functional spout.
Proper Water Flow
The water should always flow smoothly from the bathtub spout. If you’re experiencing issues with your water flow, don’t worry. There are a few common problems that can be easily troubleshooted.
Here are four possible causes for improper water pressure:
-
Clogged aerator: Over time, mineral deposits can accumulate in the aerator, affecting the flow. Cleaning or replacing it may solve the issue.
-
Faulty diverter valve: This valve directs water from the spout to the showerhead. If it’s not functioning correctly, it can disrupt the water flow. Replacing the diverter valve might be necessary.
-
Pipe blockage: Debris or buildup in the pipes can restrict water flow. Consider checking and clearing any obstructions.
-
Insufficient water supply: If the water pressure is consistently low throughout your home, you may need to contact your water utility company for assistance.
Once you’ve addressed any flow issues, you can move on to adjusting the spout angle for optimal water flow.
Adjusting Spout Angle
Adjusting the angle of the spout can help improve the water flow in your bathtub. If you’re experiencing low water pressure, the first thing you should do is check the angle of the spout. Sometimes, the spout can be positioned in a way that restricts the flow of water. By adjusting the angle, you can allow for a more direct and powerful flow.
To do this, simply loosen the set screw located underneath the spout and rotate it to the desired position. Be sure to tighten the set screw back up to secure the spout in place.
If adjusting the angle doesn’t solve the issue, there may be other common problems with your bathtub’s water flow that need troubleshooting.
Testing for Leaks
If you’re experiencing a leak, one way to test for it is by adding food coloring to the water in your bathtub. This simple method can help you identify the source of the problem. Here’s how to test for leaks:
- Add a few drops of food coloring to the water in your bathtub.
- Let the water sit for about 15 minutes.
- If you see the colored water seeping through any cracks or gaps, you have a leak.
- Take note of the location and severity of the leak for troubleshooting purposes.
Testing for leaks is an essential step in the leak detection process. By following these steps, you can efficiently troubleshoot leaks and determine the necessary repairs.
Once you have identified the problem, you can move on to the next step: finishing touches and cleanup.
Finishing Touches and Cleanup
After completing the installation, don’t forget to clean up any debris and give the surrounding area a final wipe down. This step is crucial to ensure a polished finish and maintain a clean workspace. Grab your cleaning supplies, such as a cloth, mild soap, and water, to effectively remove any dirt or residue left behind during the installation process.
Before you begin the cleanup, it’s important to prioritize safety precautions. Make sure to wear gloves to protect your hands from any sharp edges or chemicals. Additionally, be cautious of any water or wet surfaces to prevent slips or falls.
Start by removing any leftover debris, such as screws or packaging materials, from the area surrounding the spout. Use a damp cloth and mild soap to gently wipe down the surrounding surfaces, including the bathtub walls and floor. Pay attention to any stains or marks and ensure they are thoroughly cleaned.
Frequently Asked Questions
How Do I Know if I Need to Replace My Bathtub Spout?
If your bathtub spout is leaking, rusted, or not working properly, it may be time for a replacement. Look for signs such as water dripping, low water pressure, or difficulty switching between shower and tub modes.
Can I Replace a Bathtub Spout Without Hiring a Professional?
You can definitely replace a bathtub spout without hiring a professional. It’s a great way to save some money and show off your DIY skills. Here are some cost-saving tips and step-by-step instructions to get you started.
Can I Use Any Replacement Spout for My Bathtub, or Do I Need to Buy a Specific Type?
You should buy a specific replacement spout for your bathtub to avoid any compatibility issues. There are various options available, but it’s important to choose one that matches your existing plumbing fixtures.
How Long Does It Typically Take to Replace a Bathtub Spout?
On average, replacing a bathtub spout can take around 30 minutes to an hour. However, the time can vary depending on the specific challenges you encounter, such as rusted or difficult-to-remove parts.
Are There Any Special Precautions I Should Take When Installing a New Bathtub Spout?
When installing a new bathtub spout, safety precautions are essential. Proper installation techniques ensure a secure fit and prevent leaks. Remember to shut off the water supply, use Teflon tape, and tighten connections properly.
Conclusion
Congratulations! You’ve successfully completed the replacement of your bathtub spout. This transformation has turned your bathroom into a symbol of rejuvenation and renewal. With the right tools and materials, careful preparation, and precise installation, you’ve taken a step towards creating a space of comfort and relaxation.
As you test and adjust the spout, you’ll hear the soothing sound of water flowing effortlessly, washing away any worries. Now that the finishing touches and cleanup are complete, take a moment to bask in the satisfaction of a job well done. Your bathtub stands as a testament to your technical prowess.