Are you tired of the constant annoyance of a dripping bathtub faucet? Well, fear not, because I have the solution for you.
In this article, I will guide you through the step-by-step process of stopping that pesky drip. With just a few tools and a little bit of know-how, you’ll be able to fix your faucet and enjoy a quiet and leak-free bathing experience.
So, let’s get started and put an end to that irritating drip once and for all.
Key Takeaways
- Assess the problem and gather the necessary tools such as a screwdriver, plumber’s tape, and replacement parts.
- Shut off the water supply before starting the repair to prevent further water flow.
- Remove the faucet handle and replace the cartridge or washer, depending on the issue.
- Disassemble the faucet, inspect its components, and replace any worn-out parts to ensure a proper seal and prevent leaks.

RP25513 faucet stem assembly Replacement Kit for two handle faucet repair kit with RP24096 Cartridge RP4993 Seats Springs RP24097 1/4 Turn stop, 2 Pack
Package included: Stem*2 , 1/4 Turn stop*2 , Rubber seat*2 , Spring*2 .
As an affiliate, we earn on qualifying purchases.
As an affiliate, we earn on qualifying purchases.
Assess the Problem
You should start by checking if the dripping bathtub faucet is caused by a loose handle or a worn-out washer.
Diagnosing the issue is the first step in troubleshooting any plumbing problem. Begin by examining the faucet handle. If it feels loose or wobbly, the dripping may be due to a loose handle. Tighten it using a screwdriver or an Allen wrench, depending on the type of handle.
If the handle is secure, the next step is to inspect the washer. A worn-out washer is a common cause of faucet drips. To replace the washer, turn off the water supply, remove the handle, and unscrew the valve stem. Replace the old washer with a new one, reassemble the faucet, and turn the water back on.
This simple diagnostic process will help you identify and resolve the dripping bathtub faucet issue.

XBVV 106 PCS Faucet Washer Assortment Kit with Assorted Flat and Beveled Rubber Washers for Outdoor Garden Faucet Stem Leak Worn Replacement Repair
Multiple sizes: 106 Pcs faucet washer kit with assorted different flat beveled common sizes: 3/8, 1/4L, 1/4, 1/4M…
As an affiliate, we earn on qualifying purchases.
As an affiliate, we earn on qualifying purchases.
Gather the Necessary Tools
First, gather the tools you’ll need to fix it. When it comes to bathtub faucet repair, having the right tools on hand is essential for a successful repair. Here is a table outlining the necessary tools for troubleshooting faucet leaks:
| Tools | Purpose |
|---|---|
| Adjustable wrench | To loosen and tighten nuts and bolts |
| Screwdriver | To remove screws and access internal parts |
| Plumber’s tape | To create a watertight seal on threaded fittings |
| Replacement parts | Such as O-rings, washers, or cartridges |
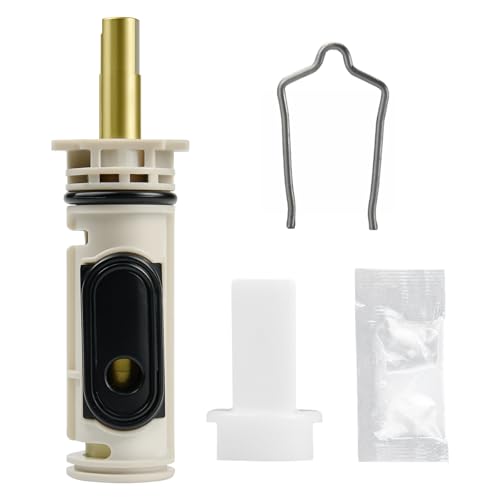
1222 Replacement Cartridge Kit for Moen One Handle Posi Temp Faucet, Compatible with Moen Bathtub & Shower Valve Cartridge, Durable Brass & Plastic Construction
Premium Durability: High-density brass core components + engineering plastics, anti-rust and anti-corrosion design, high-pressure and high-temperature resistance, to…
As an affiliate, we earn on qualifying purchases.
As an affiliate, we earn on qualifying purchases.
Shut Off the Water Supply
To begin, make sure you’ve shut off the water supply before proceeding with the repair.
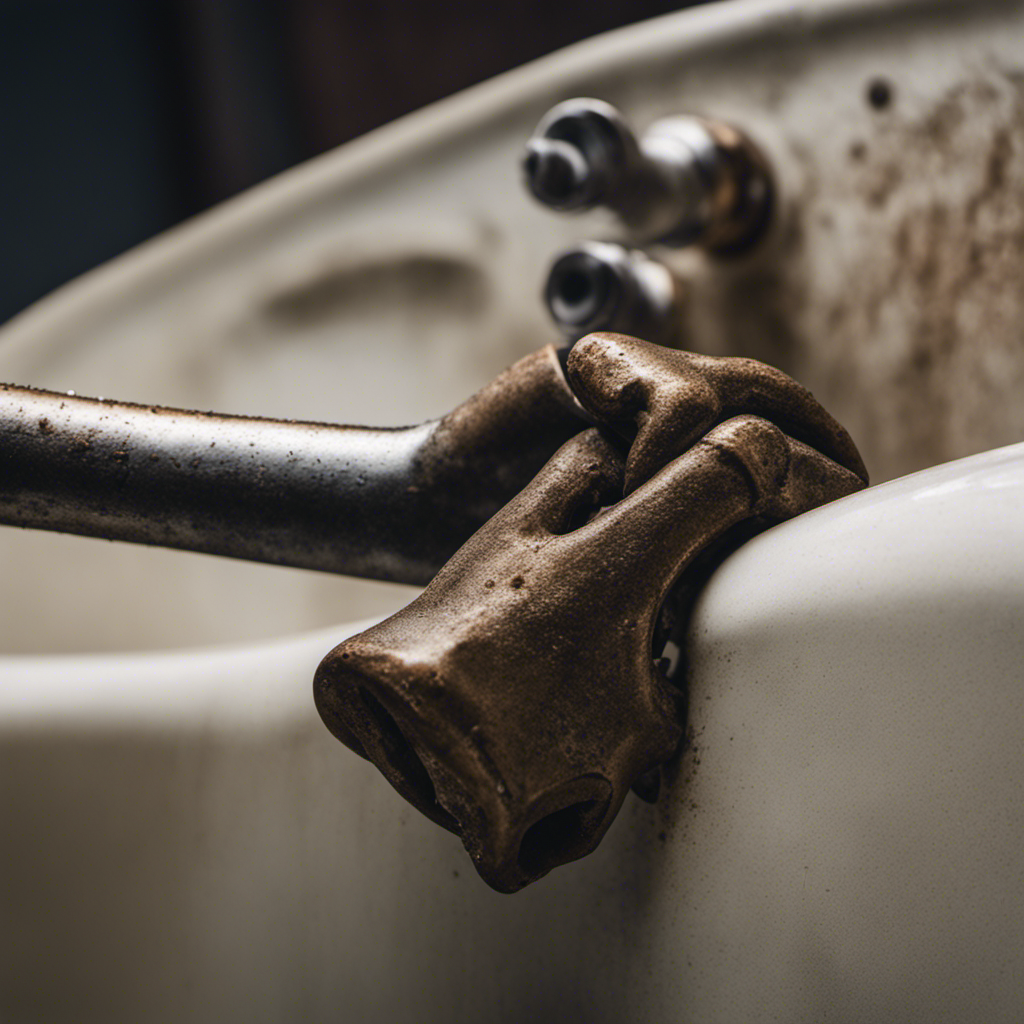
Troubleshooting water leaks is crucial when dealing with a faulty faucet. One of the most common signs of a faulty faucet is a dripping sound, indicating a leak. Not only can a dripping faucet be annoying, but it can also waste a significant amount of water over time.
Shutting off the water supply is the first step in fixing a dripping bathtub faucet. Locate the shut-off valve near the tub and turn it clockwise to close it. This will prevent any further water from flowing and allow you to safely proceed with the repair.
plumber's tape for faucet
As an affiliate, we earn on qualifying purchases.
As an affiliate, we earn on qualifying purchases.
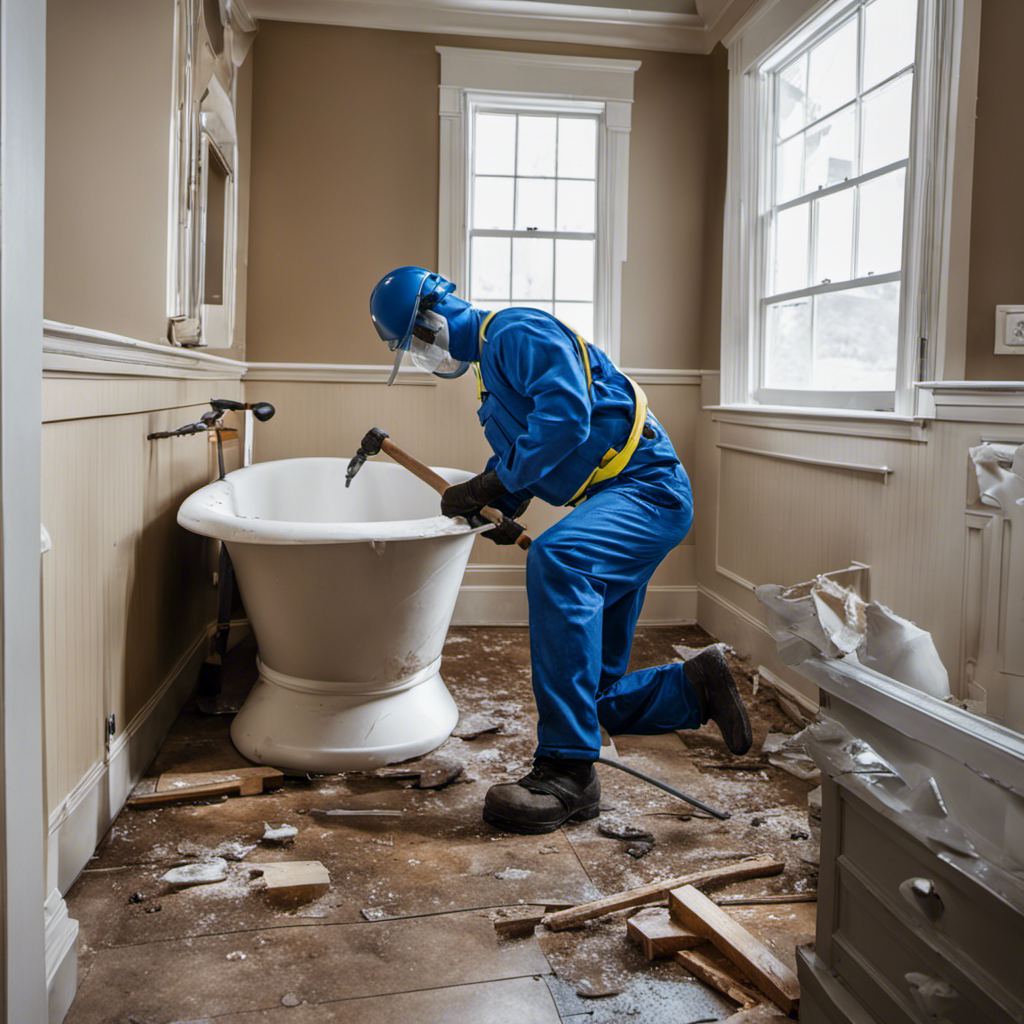
Remove the Faucet Handle
Once the water supply is shut off, it’s time to remove the faucet handle. This is an important step in fixing a dripping bathtub faucet.
To successfully remove the handle, follow these steps:
- Locate the set screw: Look for a small screw on the side or under the handle.
- Use an Allen wrench: Unscrew the set screw using an Allen wrench that fits the screw size.
- Pull off the handle: Once the set screw is loosened, gently pull the handle off the stem.
- Inspect the stem: Check for any signs of damage or wear.
By removing the faucet handle, you gain access to the cartridge or washer that may need replacing to stop the dripping.
Now, let’s move on to the next step of this process: replacing the cartridge or washer.
Replace the Cartridge or Washer
When it comes to replacing a cartridge or washer in a faucet, it’s important to consider which option is more effective.
Both cartridge and washer are essential components that help control the flow of water and prevent leaks.
However, understanding the differences and advantages of each can help determine the best choice for your specific situation.
Cartridge Vs. Washer
If you’re dealing with a dripping bathtub faucet, you should consider whether a cartridge or washer is causing the issue. The choice between a cartridge and a washer depends on the type of faucet you have.
Here are a few key points to consider:
-
Cartridge maintenance: Cartridges are generally more durable and require less frequent maintenance compared to washers. However, they may need occasional cleaning or replacement if they become worn or damaged.
-
Washer replacement: Traditional faucets typically use washers, which can wear out over time and cause leaks. Replacing the washer is a simple and cost-effective solution to fix a dripping faucet.
-
Compatibility: Make sure to choose the correct cartridge or washer that matches your specific faucet model. Refer to the manufacturer’s instructions or consult a professional for guidance.
-
Professional help: If you’re unsure about which part to replace or how to do it, it’s always best to seek the assistance of a licensed plumber.
Which Is More Effective?
Cartridges are generally more effective than washers when it comes to preventing leaks and reducing the need for frequent maintenance. Unlike washers, which can wear out quickly and require regular replacements, cartridges are designed to last longer and provide a better seal.
This means that you won’t have to worry about water dripping from your bathtub faucet as often. Additionally, cartridges offer the advantage of being adjustable, allowing you to control the water pressure to your liking. If you find that your faucet is dripping or the water pressure is too high, simply replacing the cartridge or adjusting it can solve the problem.
Now that we understand why cartridges are superior to washers, let’s move on to the next step: reassembling the faucet handle.
Reassemble the Faucet Handle
When it comes to fixing faucet drips, proper handle reassembly is crucial. After replacing the cartridge or washer, it is important to ensure that the handle is correctly reassembled to prevent any further leaks.
In this discussion, I will guide you through the steps of properly reassembling the faucet handle to effectively fix those persistent drips.
Proper Handle Reassembly
To properly reassemble the handle, make sure you align it with the stem on the faucet. This step is crucial for ensuring the handle functions correctly and prevents any leakage.
Here are some key tips for handle maintenance and troubleshooting techniques:
- Check for any damaged or worn-out parts, such as the O-rings or washer.
- Clean the handle and stem thoroughly to remove any debris or mineral buildup that may affect its performance.
- Apply lubricant to the stem to ensure smooth movement and reduce friction.
- Test the handle after reassembly to ensure it operates smoothly and does not leak.
Fixing Faucet Drips
Now that we’ve properly reassembled the handle, let’s move on to fixing faucet drips.
Dripping faucets are not only annoying but can also waste a significant amount of water over time. It’s important to address leaks promptly to avoid further damage and conserve water.
Common causes of faucet leaks can include worn-out washers, corroded valve seats, faulty O-rings, or damaged cartridge seals. Identifying the source of the leak is crucial in determining the appropriate fix.
To fix a leaky faucet, start by turning off the water supply to the faucet. Then, disassemble the faucet and inspect the components for any signs of damage or wear. Replace any worn-out parts, such as washers or O-rings, and ensure a proper seal is achieved. Finally, reassemble the faucet and test for leaks.
Fixing leaks in your bathtub faucet can help save water and prevent further damage to your plumbing system.
Test for Leaks and Restore Water Supply
You can check for leaks and turn on the water supply again. It is important to identify any leaks before restoring the water supply to avoid further damage.
Here are some steps to troubleshoot the water supply:
-
Inspect the faucet: Look for any visible leaks around the base or handle of the faucet. Check for any loose connections or worn-out parts that may be causing the dripping.
-
Check the water supply lines: Examine the water supply lines connected to the faucet. Make sure they are securely fastened and not damaged. Look for any signs of leaks or corrosion.
-
Test the water pressure: Turn on the water supply and observe the water pressure. Low water pressure could indicate a blockage or a problem with the supply line.
-
Assess the shut-off valves: Ensure that the shut-off valves are fully open. If they are partially closed, it can restrict the water flow and cause dripping.
Conclusion
Well, there you have it – a step-by-step guide on how to stop that pesky dripping bathtub faucet. By following these simple instructions, you can save yourself from the constant annoyance and frustration of a leaky faucet.
Now, you can finally relax and enjoy a peaceful bath without the constant drip, drip, drip. So go ahead, grab your tools and get to work, because a world of tranquility awaits you.
Happy fixing!