
Are you tired of struggling with your bathtub faucet handle? It’s like wrestling with a stubborn opponent, isn’t it?
Well, worry no more! In this article, we will guide you through the step-by-step process of taking off your bathtub faucet handle.
With just a few tools and a little know-how, you’ll be able to tackle this task like a pro.
So, let’s dive in and get that handle off, shall we?
Key Takeaways
- Using the correct tools is essential to avoid damage.
- It is important to turn off the water supply before removing the handle to prevent leakage.
- Applying too much force can result in damage to the screw or surrounding area.
- Keeping the screw in a safe place is necessary for reinstallation.

Plumber's Puller Kit
- Product Type: Plumber's Puller Kit
As an affiliate, we earn on qualifying purchases.
As an affiliate, we earn on qualifying purchases.
Tools and Materials Needed
You’ll need a screwdriver, pliers, and an adjustable wrench to remove the bathtub faucet handle. Before you start, it’s important to know about common mistakes and alternative methods.
One common mistake is using the wrong tools, which can damage the handle or the surrounding area. Another mistake is not turning off the water supply before beginning the process, which can lead to water leakage.
An alternative method is using a handle puller if the handle is stuck and cannot be removed easily.
Now that you know about the tools and materials needed, let’s move on to step 1: removing the decorative cap.
Step 1: Removing the Decorative Cap
To start, unscrew the decorative cap on the bathtub faucet handle. This cap is usually located at the top of the handle and serves as a cover for the retaining screw underneath. You can use a flathead screwdriver or a small Allen wrench to carefully pry off the cap.
Once the cap is removed, you will have access to the retaining screw. This screw holds the handle securely in place and needs to be loosened in order to remove the handle. Use an appropriate screwdriver or Allen wrench to turn the screw counterclockwise until it is completely loosened. Be sure to keep the screw in a safe place, as you will need it when reinstalling the handle.
With the retaining screw loosened, you are now ready to move on to the next step: loosening the retaining screw.
Step 2: Loosening the Retaining Screw
Once the cap is removed, you’ll notice a small retaining screw that needs to be loosened.
To successfully complete this step, it’s important to follow the correct loosening technique and avoid common mistakes.
First, ensure you have the right tools for the job, such as a screwdriver that matches the size and type of the screw.
Place the screwdriver into the screw head and turn it counterclockwise to loosen the screw.
Apply firm and steady pressure, making sure not to strip the screw or damage the surrounding area.
A common mistake is using too much force, which can lead to the screw head becoming rounded or damaged.
Take your time and be patient, allowing the screw to loosen gradually.
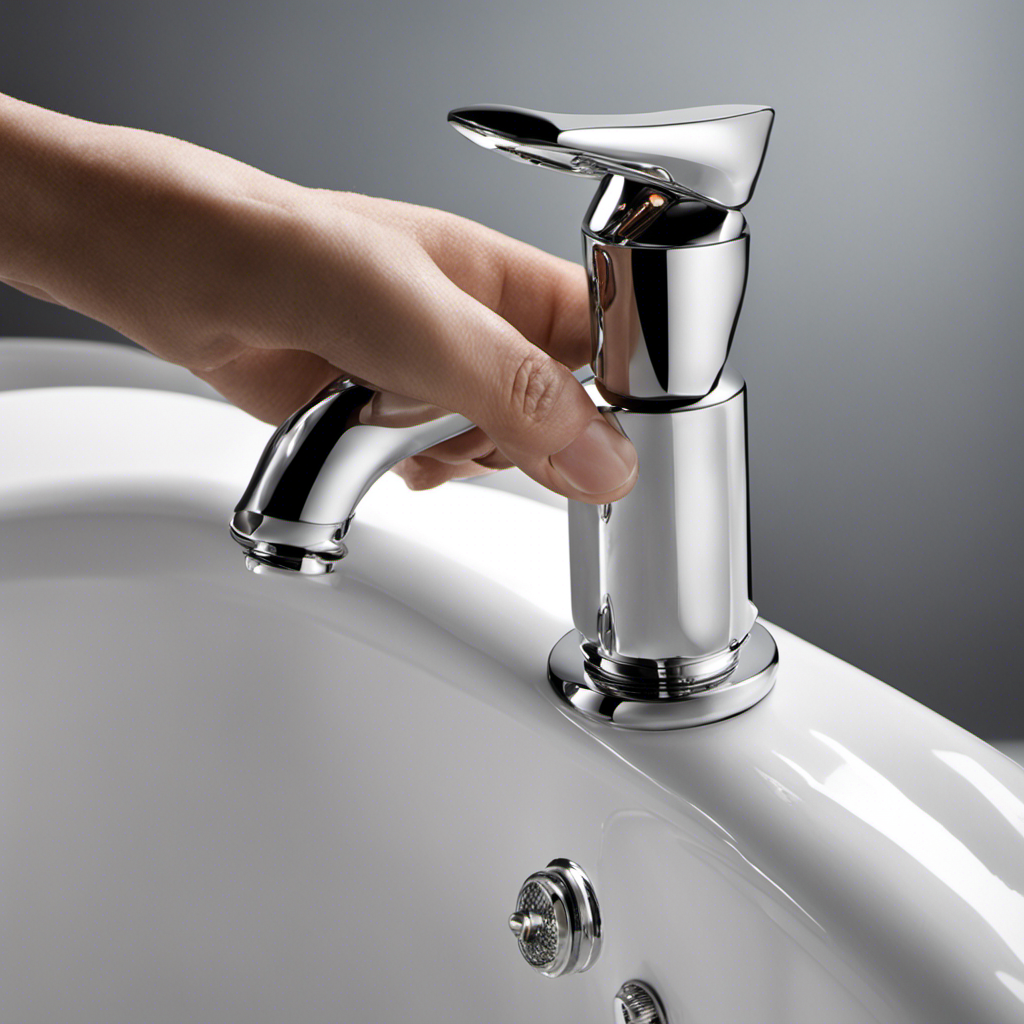
Step 3: Removing the Handle
Make sure you have a wrench that fits the size of the nut on the handle and use it to unscrew the nut counterclockwise. This will allow you to remove the handle from the bathtub faucet.
There are a few different handle removal techniques that you can use, depending on the type of faucet you have. One common method is to carefully pry off the decorative cap on top of the handle using a flathead screwdriver. Once the cap is removed, you may find a screw that needs to be unscrewed in order to release the handle.
Another technique is to locate the set screw on the underside of the handle and use an Allen wrench to loosen and remove it.
Once the handle is off, you can explore handle replacement options if needed.
Now that you have successfully removed the handle, let’s move on to step 4: troubleshooting and tips.
Step 4: Troubleshooting and Tips
Now that the handle has been successfully removed, let’s explore some troubleshooting tips.
Common faucet handle problems can include leaks, difficulty turning the handle, or the handle becoming loose over time.
To address leaks, check the washer inside the handle for signs of damage or wear and replace it if necessary.
If the handle is hard to turn, lubricate the stem with a silicone-based grease to ensure smooth operation.
If the handle is loose, tighten the handle screw or consider replacing it with a new one.
Proper maintenance techniques are essential to prevent these issues from occurring. Regularly clean the handle and surrounding area to remove any dirt or debris. Additionally, check for any signs of rust or corrosion and address them promptly.
Frequently Asked Questions
How Can I Tell if My Bathtub Faucet Handle Is Stuck and Needs to Be Removed?
If your bathtub faucet handle is stuck and needs to be removed, there are a few signs to look out for. You might notice difficulty turning the handle or hearing strange noises. To fix it, follow the steps for troubleshooting a bathtub faucet handle.
Is It Necessary to Turn off the Water Supply Before Removing the Bathtub Faucet Handle?
Before removing the bathtub faucet handle, it’s essential to turn off the water supply to prevent any potential leaks or accidents. Additionally, wearing gloves can provide extra protection while handling the parts.
Can I Use Regular Household Tools to Remove the Bathtub Faucet Handle?
Yes, you can use regular household tools like pliers and a screwdriver to remove the bathtub faucet handle. However, be careful not to damage the handle or the surrounding fixtures. Avoid applying too much force or using inappropriate tools.
What Should I Do if the Retaining Screw Is Stripped and Cannot Be Loosened?
If the retaining screw is stripped and won’t budge, don’t panic. An alternative solution is using pliers to grip the handle and twist it off. If that fails, seek professional assistance to avoid damaging the faucet.
Are There Any Specific Safety Precautions to Take When Removing the Bathtub Faucet Handle?
To ensure your safety when removing the bathtub faucet handle, it’s important to take some precautions. Make sure to turn off the water supply, wear protective gloves, and use the appropriate tools to avoid any accidents.
Conclusion
In conclusion, removing a bathtub faucet handle might seem like a daunting task, but it can be easily accomplished with the right tools and a little know-how. By following the steps outlined in this article, you can successfully take off the handle and troubleshoot any issues that may arise.
Remember, practice makes perfect, so don’t be discouraged if it takes a few tries. With patience and determination, you’ll be able to tackle this DIY project like a pro.
So go ahead, grab those tools and get ready to give your bathtub a fresh new look!