
I’ve always been a handy person around the house, but when it came to connecting my bathtub drain, I found myself feeling overwhelmed. The thought of tackling the plumbing system seemed like an impossible task.
However, with a little research and the right tools, I discovered that connecting a bathtub drain is actually a straightforward process. In this article, I’ll guide you through each step, providing detailed instructions and troubleshooting tips along the way.
So, let’s dive in and get that drain connected with confidence!
Key Takeaways
- The tools and materials needed for connecting a bathtub drain include a drain wrench, plumber’s putty, drain assembly, and silicone caulk.
- Understanding the anatomy of a bathtub drain is important, including the drain stopper, strainer, overflow plate, trip lever, and P-trap.
- Common bathtub drain problems can be prevented by regularly cleaning the strainer, avoiding pouring grease or oil down the drain, and using a drain cover.
- When removing the old drain, locate the drain stopper, unscrew the drain flange, clear out any clogs, and regularly clean the drain.
Tools and Materials Needed for Connecting the Bathtub Drain
You’ll need a few tools and materials to connect the bathtub drain. For bathtub drain installation, you will need a drain wrench, plumber’s putty, drain assembly, and silicone caulk.
The drain wrench is essential for removing the old drain and installing the new one.
Plumber’s putty is used to create a watertight seal between the drain and the bathtub.
The drain assembly includes the drain flange, gasket, and stopper mechanism. It connects the drain to the plumbing system.
Silicone caulk is used to seal any gaps or leaks around the drain.
By having these tools and materials ready, you can ensure a smooth and successful bathtub drain installation.
It is important to address common bathtub drain problems, such as clogs and leaks, during the installation process to avoid future issues.
Understanding the Anatomy of a Bathtub Drain
To understand how the water flows out of your tub, start by familiarizing yourself with the different parts of the drain system. The bathtub drain is comprised of several components that work together to ensure proper drainage. Here is a breakdown of the anatomy of a typical bathtub drain:
| Component | Function |
|---|---|
| Drain stopper | Controls the flow of water by opening and closing the drain |
| Strainer | Collects hair and debris to prevent clogging |
| Overflow plate | Allows excess water to drain if the tub is filled too high |
| Trip lever | Mechanism connected to the drain stopper for easy operation |
| P-trap | U-shaped pipe that prevents sewer gases from entering the bathroom |
Now that you’re familiar with the different parts, let’s discuss common bathtub drain problems and tips for maintaining a bathtub drain. Some common issues include clogs, slow drainage, and foul odors. To prevent these problems, regularly clean the strainer, avoid pouring grease or oil down the drain, and use a drain cover to catch hair and debris. Additionally, periodically flush the drain with hot water and baking soda to eliminate any buildup. Taking these preventive measures will help keep your bathtub drain functioning smoothly.
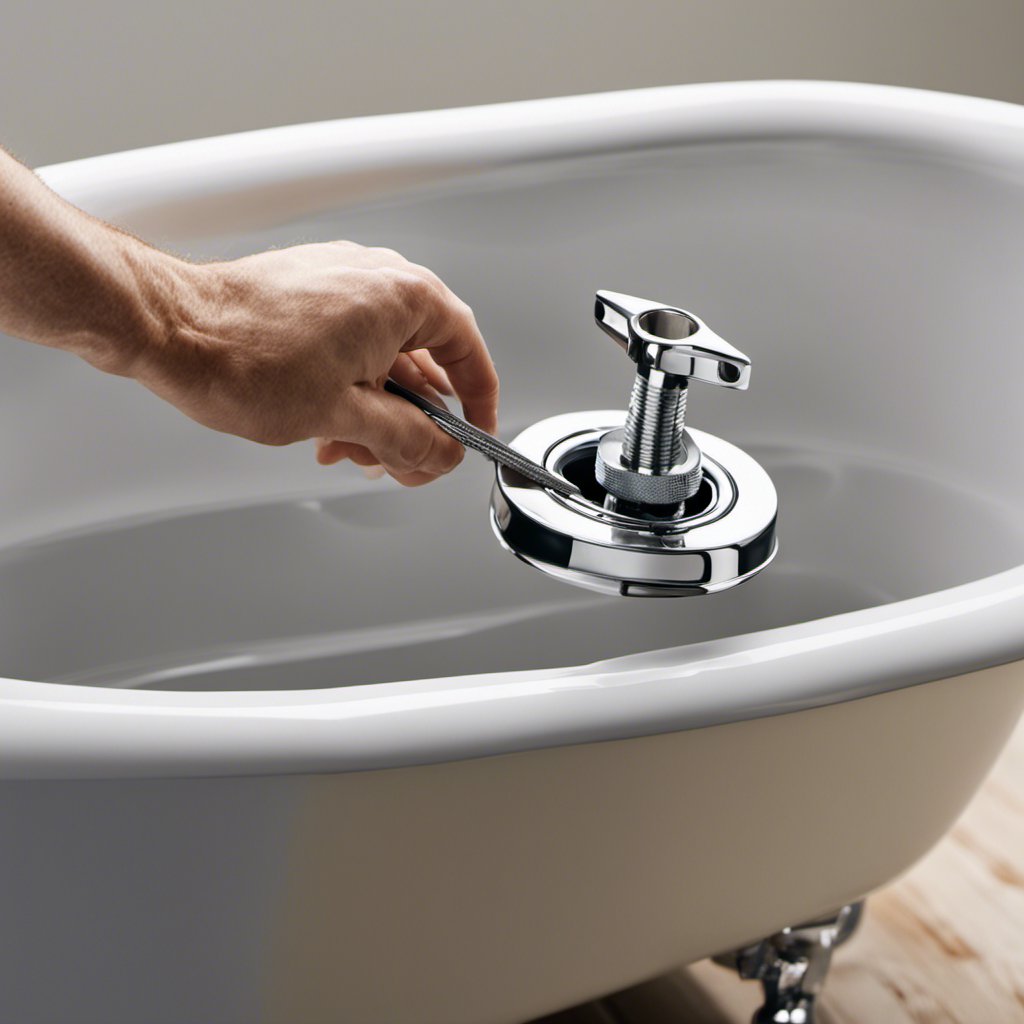
Step-By-Step Guide to Removing the Old Drain
First, let’s start by removing the old drain from your bathtub. Troubleshooting common issues with your bathtub drain can often lead to the need for removal and replacement.
To begin, locate the drain stopper and unscrew it counterclockwise. Next, use a drain key or pliers to unscrew the drain flange. Be sure to hold the drain steady while turning to prevent any damage.
Once the flange is removed, check for any buildup of hair or debris that may have caused the clog. Clear out any obstructions and clean the drain thoroughly.
As for preventing future drain problems, regularly clean the drain and use a drain stopper to catch hair and other debris. By following these simple steps, you can keep your bathtub drain functioning properly.
Now, let’s move on to the next section: installing the new drain – a detailed walkthrough.
Installing the New Drain: a Detailed Walkthrough
Once the old drain is removed, it’s time to start installing the new drain in your bathtub. Installing a pop-up drain can be a straightforward process if done correctly. Here are some important steps to follow:
-
Gather the necessary tools: adjustable wrench, plumber’s putty, Teflon tape, and a screwdriver.
-
Prepare the drain assembly: Apply plumber’s putty around the flange, then insert it into the drain hole and tighten the mounting nut.
-
Make sure the drain is aligned properly and level with the bathtub surface.
-
Apply Teflon tape to the threads of the drain tailpiece.
-
Connect the drain to the waste pipe: Slide the rubber gasket and washer onto the tailpiece, then secure it with a slip nut.
-
Avoid over-tightening, as it can cause leaks.
-
Double-check the connections for any signs of leakage.
Testing and Troubleshooting the Newly Connected Bathtub Drain
Ensure that you thoroughly test the newly connected drain for any potential leaks or issues. Testing the drain is an important step to ensure that it functions properly and doesn’t cause any problems in the future. Common problems with bathtub drains include leaks, slow draining, and foul odors. To fix a leaking bathtub drain, you can try tightening the connections or replacing worn-out gaskets. If the problem persists, you may need to call a professional plumber to assess and repair the issue.
Here is a table that summarizes common problems with bathtub drains and their possible solutions:
| Problem | Possible Solution |
|---|---|
| Leaking drain | Tighten connections or replace gaskets |
| Slow draining | Use a plunger or drain snake to remove clogs |
| Foul odors | Clean the drain using a mixture of baking soda, vinegar, and hot water |
| Gurgling sounds | Clear any blockages in the drain or vent pipes |
| Water backing up into the tub | Check for clogs in the drain or main sewer line and clear them if necessary |
Conclusion
In conclusion, connecting a bathtub drain may seem daunting, but it can be easily accomplished with the right tools and a step-by-step guide.
By understanding the anatomy of the drain and following the instructions for removing the old drain and installing the new one, you can ensure a smooth and functional connection.
Remember, ‘practice makes perfect,’ so don’t be discouraged if you encounter any troubleshooting along the way. With a little patience and perseverance, you’ll have a properly connected bathtub drain in no time.

Liam’s journey with us started as a consumer. Having faced challenges while setting up his own modern bathroom, he delved deep into research.
Recognizing his knack for simplifying complex information and his authentic writing style, we were thrilled to welcome him aboard. Liam’s articles often merge practicality with style, ensuring readers find the perfect fit for their homes. Liam is an avid hiker off-duty and often jokes about finding the best “natural toilets” Mother Earth has to offer.