As a DIY enthusiast, I’ve always loved taking on new projects to transform my home.
And what better way to give your bathroom a fresh look than by painting your own bathtub?
In this article, I’ll guide you through the step-by-step process of how to paint a bathtub yourself.
From selecting the right paint and tools to properly curing and maintaining the finish, I’ll provide you with all the detailed instructions you need to achieve a professional-looking result.
Let’s get started!
Key Takeaways
- Choose bathtub-specific paints for durability and adhesion
- Consider epoxy-based paints for moisture and chemical resistance
- Clean and prepare the surface before painting
- Use a brush or roller to evenly coat the surface
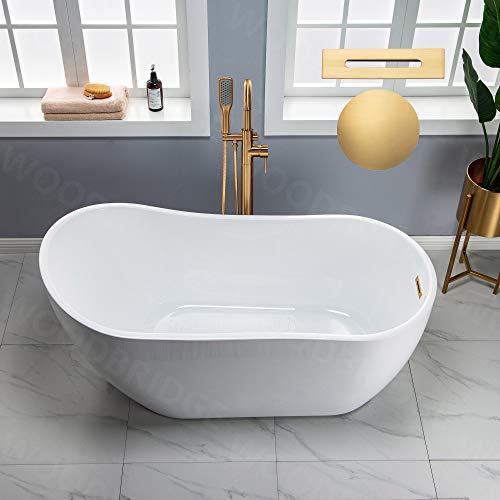
WOODBRIDGE 59" Acrylic Freestanding Bathtub Contemporary Soaking White Tub with Brushed Gold Overflow and Drain, B1530 -BG-Drain &O
[DIMENSIONS AND SPECIFICATIONS]: Exterior Dimension:Exterior Dimension: 59" Long x 28 3/8" Wide x 28 3/8" Deep, White Acrylic...
As an affiliate, we earn on qualifying purchases.
Selecting the Right Paint and Tools
Before you start painting, make sure you have the right paint and tools for the job.
Choosing the right color for your bathtub can make a big difference in the overall look and feel of your bathroom. When it comes to bathtub paint, there are specialized options available that are designed to withstand water and constant use. Look for paints that are specifically labeled for bathtub use, as they will provide better durability and adhesion.
Additionally, consider using epoxy-based paints, as they are known for their resistance to moisture and chemicals.
As for tools, you will need a paintbrush or roller, a paint tray, painter’s tape, and sandpaper for preparing the surface.
With the right paint and tools, you’ll be ready to move on to preparing the bathtub surface for painting.

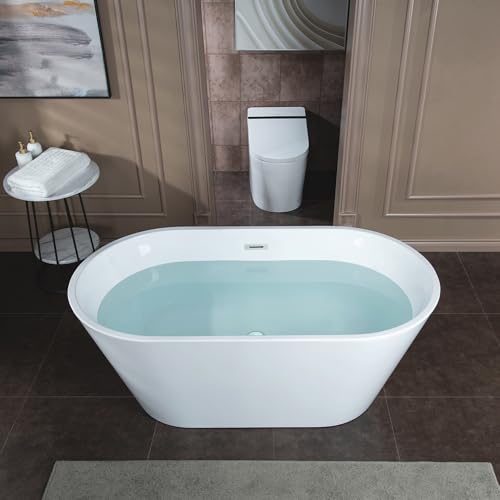
WOODBRIDGE 59" Acrylic Freestanding Bathtub Contemporary Soaking White Tub with Chrome Overflow and Drain
DIMENSIONS – Exterior size: 59" L x 28 3/4" W x 27 1/2" D with a 58-gallon effective...
As an affiliate, we earn on qualifying purchases.
Preparing the Bathtub Surface
To get started, you’ll need to thoroughly clean the surface of the bathtub. Cleaning tips can help ensure a smooth painting process.
First, remove any dirt, soap scum, or grime using a mild bathroom cleaner and a non-abrasive sponge. Rinse thoroughly and dry the tub completely.
Next, use a fine-grit sandpaper to lightly sand the surface. This will help the paint adhere better. Be sure to wear safety goggles and a dust mask to protect yourself from any debris.
After sanding, wipe down the tub again to remove any dust particles.
Finally, apply a primer specifically designed for bathtubs to create a strong base for the paint.
Following these cleaning tips and safety precautions will help you achieve a professional-looking bathtub paint job.

WOODBRIDGE 67" Acrylic Freestanding Bathtub Contemporary Soaking White Tub with Brushed Gold Overflow and Drain,B0010-BG
✅ [DIMENSIONS AND SPECIFICATIONS]: Exterior Dimension: 67" Long x 31 1/2" Wide x 28 3/8" Deep
As an affiliate, we earn on qualifying purchases.
Applying Primer to the Bathtub
After thoroughly cleaning and sanding the surface, it’s time to apply a primer designed specifically for bathtubs. Choosing the right primer is crucial in ensuring a long-lasting and durable finish. Look for a primer that is specifically formulated for use on bathtubs, as it will provide superior adhesion and resistance to water and chemicals. Before applying the primer, make sure the surface is dry and free of any dust or debris. Use a paintbrush or roller to evenly apply the primer in long, smooth strokes, following the manufacturer’s instructions for drying time. A primer not only helps to create a smooth surface for the topcoat, but it also improves the durability and longevity of the paint job. Take your time and apply the primer carefully, ensuring full coverage of the bathtub surface.
| Key Points | |||||
|---|---|---|---|---|---|
| Clean and sand the surface | Choose a primer specifically for bathtubs | Ensure the surface is dry and free of debris | Apply primer evenly with a brush or roller | Follow manufacturer’s instructions for drying time | Primer improves durability and longevity of the paint job |
WOODBRIDGE 59" Acrylic Freestanding Bathtub Contemporary Soaking White Tub with Chrome Overflow and Drain
DIMENSIONS – Exterior size: 59" L x 29 1/2" W x 23 1/4" D with a 55-gallon effective...
As an affiliate, we earn on qualifying purchases.
Painting the Bathtub
When painting the bathtub, make sure you have chosen a high-quality, waterproof paint designed specifically for bathroom fixtures. This is crucial for achieving a long-lasting and durable finish.
Before starting the painting process, it is essential to thoroughly clean and prepare the bathtub surface. Remove any dirt, grime, or old paint using a mild cleaner and a scrub brush.
Once the surface is clean and dry, apply a primer specifically formulated for bathtubs to promote adhesion and enhance the longevity of the paint.
Now, it’s time to apply the paint. Use a brush or roller to evenly coat the entire bathtub surface, following the manufacturer’s instructions. Allow the paint to dry completely before applying a second coat if necessary.
While DIY bathtub painting can be a cost-effective option, it’s important to consider the pros and cons. On the positive side, it allows you to customize the color and save money compared to professional refinishing. However, it can be time-consuming, requires proper preparation, and may not achieve the same professional finish as a professional refinishing service.
Properly Curing and Maintaining the Paint Finish
Maintaining the paint finish on your newly painted bathtub is essential for ensuring its long-lasting durability and longevity. To care for your painted bathtub and avoid paint chipping, follow these steps:
-
Clean gently: Use a non-abrasive cleaner and a soft sponge to clean the bathtub. Avoid using harsh chemicals or abrasive scrubbers that can damage the paint.
-
Avoid sharp objects: Be cautious when using sharp objects in the bathtub, such as razors or metal scrubbers. These can easily chip or scratch the paint.
-
Use a bath mat: Place a non-slip bath mat or adhesive strips in the bathtub to prevent slipping and protect the paint from damage caused by friction.
-
Regular maintenance: Inspect the paint regularly for any signs of wear or chipping. If you notice any issues, touch up the paint as soon as possible to prevent further damage.
Frequently Asked Questions
How Long Does the Paint Typically Last on a Bathtub After It Has Been Painted?
Typically, the lifespan of painted bathtub depends on how well it is maintained. Proper maintenance includes avoiding harsh chemicals, using non-abrasive cleaners, and being gentle when cleaning. Avoiding common mistakes is crucial for a long-lasting paint job.
Can I Use Regular Household Paint for Painting My Bathtub?
Using regular household paint for bathtub painting has pros and cons. While it may be cheaper and more readily available, it may not hold up well to water and cleaning products. Common mistakes to avoid include not properly prepping the surface and using the wrong type of paint.
Is It Necessary to Remove the Old Paint Before Applying a New Coat?
Yes, it is possible to paint a bathtub without removing the old paint, but it is not recommended. To properly prepare a bathtub for painting, the steps include cleaning, sanding, priming, and applying the new coat.
Can I Use the Bathtub Immediately After Painting It?
Yeah, I can totally use the bathtub right after painting it. But hold on, how long does this paint usually last? I need to make sure it doesn’t start peeling off anytime soon.
How Do I Clean the Painted Bathtub Without Damaging the Paint Finish?
To properly maintain a painted bathtub finish, I follow these tips: use non-abrasive cleaners, avoid harsh chemicals, and gently scrub with a soft cloth or sponge. This prevents paint damage and keeps the tub looking great.
Conclusion
In conclusion, painting a bathtub yourself can be a cost-effective and rewarding project. By selecting the right paint and tools, preparing the surface, applying primer, and painting with care, you can transform your bathtub into a beautiful new fixture.
Remember to properly cure and maintain the paint finish for long-lasting results. So go ahead and take the plunge into this DIY adventure – you’ll be swimming in satisfaction!