
So, you’ve decided to tackle the task of finishing a floating floor around your bathtub. Trust me, I understand the frustration that can come with this project. But fear not, my friends, for I am here to guide you through the process with expert knowledge and precision.
In this article, I will show you the exact steps to take, from preparing the bathtub area to sealing and waterproofing the floor edges.
Let’s dive in and get that beautiful floating floor in place!
Key Takeaways
- Properly seal the bathtub’s perimeter to prevent water damage or leakage.
- Choose a bathtub surround option that suits preferences and budget.
- Consider factors like durability and water resistance when choosing bathroom flooring.
- Use vinyl material for installing the floating floor in the bathroom and properly seal and waterproof the edges.
waterproof vinyl flooring for bathroom
As an affiliate, we earn on qualifying purchases.
As an affiliate, we earn on qualifying purchases.
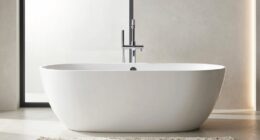
Preparing the Bathtub Area
Before starting, make sure the bathtub’s perimeter is properly sealed. This is crucial to prevent any water damage or leakage.
When it comes to bathtub placement, it is important to consider the layout and the overall design of your bathroom. You want to ensure that the bathtub is positioned in a way that maximizes space and functionality.
Once the placement is determined, you can move on to selecting the bathtub surround options. There are various options available, such as tile, stone, or acrylic surrounds. Each option has its own advantages and considerations, so it is important to choose one that suits your preferences and budget.
Now that the bathtub area is prepared and the surround is chosen, let’s move on to the next step: choosing the right flooring material.
bathtub edge caulk sealant
As an affiliate, we earn on qualifying purchases.
As an affiliate, we earn on qualifying purchases.
Choosing the Right Flooring Material
When choosing the right material for your bathroom, you should consider factors such as durability and water resistance. There are various flooring options available, each with its own pros and cons. Comparing different materials can help you make an informed decision.
One popular choice is ceramic tile, which is known for its strength and water resistance. It is easy to clean and comes in a wide range of colors and styles.
Another option is vinyl flooring, which is affordable and also water resistant. It is a versatile material that can mimic the look of natural stone or wood.
Lastly, there is also laminate flooring, which is durable and easy to install. It is a budget-friendly choice that offers a variety of designs.
bathroom floating floor installation kit
As an affiliate, we earn on qualifying purchases.
As an affiliate, we earn on qualifying purchases.
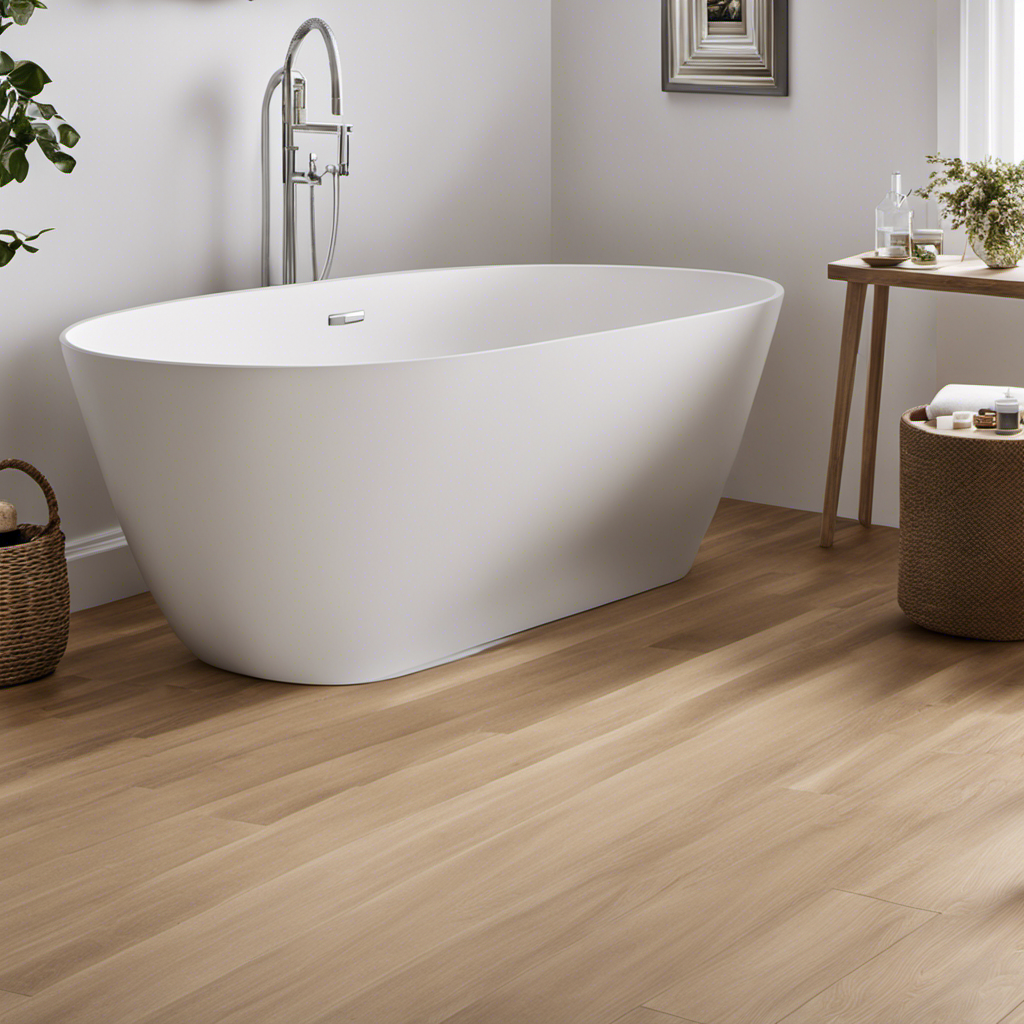
Installing the Floating Floor Around the Bathtub
One option for installing the floating floor in your bathroom is to use vinyl material. Vinyl is a popular choice for bathrooms due to its water resistance and durability.
When installing the floating floor around the bathtub, there are a few important steps to follow:
- Measure and cut the vinyl tiles to fit around the bathtub. This ensures a precise and seamless installation.
- Use a waterproof adhesive to secure the tiles to the subfloor. This will prevent any water from seeping through and causing damage.
- After the tiles are installed, it’s crucial to caulk the edges where the tiles meet the bathtub. This creates a watertight seal and prevents any water from getting underneath the flooring.
bathroom floor waterproofing sealant
As an affiliate, we earn on qualifying purchases.
As an affiliate, we earn on qualifying purchases.
Sealing and Waterproofing the Floor Edges
To properly seal and waterproof the edges of your bathroom’s vinyl tiles, make sure to caulk where the tiles meet the wall and floor. This is an essential step in preventing water damage and maintaining the longevity of your flooring. There are various sealing techniques available that can provide an effective barrier against moisture. One option is using silicone caulk, which is flexible and long-lasting. Another option is using grout, which can be color-matched to your tiles for a seamless look. Both methods require proper application and maintenance to ensure maximum effectiveness. By sealing the edges of your vinyl tiles, you can prevent water from seeping into the subfloor and causing potential damage. Here is a table summarizing the different sealing techniques:
| Technique | Material Used | Benefits |
|---|---|---|
| Silicone Caulk | Flexible, Durable | Long-lasting, Waterproof |
| Grout | Color-matchable, Waterproof | Aesthetic Appeal, Easy to Clean |
Remember to choose the appropriate technique based on your specific needs and preferences.
Finishing Touches and Maintenance Tips
Regular maintenance is crucial for keeping your bathroom’s vinyl tile edges sealed and waterproofed. To ensure the longevity of your floating floor, here are some essential finishing touches and maintenance tips:
-
Cleaning and caring for your floating floor:
-
Use a broom or vacuum with a soft brush attachment to remove dirt and debris regularly.
-
Clean spills immediately using a damp cloth or mild detergent solution.
-
Avoid using abrasive cleaners or scrub brushes that can scratch the surface.
-
Troubleshooting common issues with floating floors:
-
Address any water damage promptly to prevent mold and mildew growth.
-
Repair any loose or damaged tiles by replacing them with new ones.
-
Use felt pads on furniture legs to prevent scratching or denting the floor.
Frequently Asked Questions
Can I Install a Floating Floor Around a Bathtub Without Sealing and Waterproofing the Edges?
I wouldn’t recommend installing a floating floor around a bathtub without sealing and waterproofing the edges. It’s important to protect the floor from moisture to avoid damage and ensure its longevity.
What Are the Common Mistakes to Avoid When Installing a Floating Floor Around a Bathtub?
Common mistakes to avoid when installing a floating floor around a bathtub include not properly sealing and waterproofing the edges, neglecting to leave expansion gaps, and using improper adhesive. Follow these tips for a successful installation.
Can I Use the Same Flooring Material for Both the Bathroom and the Bathtub Area?
Yes, you can use the same flooring material for both the bathroom and the bathtub area. It offers a cohesive look and saves money. However, consider the pros and cons, such as water resistance and durability, before making a decision.
How Long Does It Typically Take to Finish Installing a Floating Floor Around a Bathtub?
On average, it takes about a day to finish installing a floating floor around a bathtub. To ensure a seamless finish, make sure to properly measure and cut the flooring, and use waterproof sealant around the edges.
What Are Some Maintenance Tips to Keep the Floating Floor Around the Bathtub in Good Condition?
To keep the floating floor around the bathtub in good condition, I suggest regular maintenance tips and cleaning techniques. These include sweeping or vacuuming regularly, using a mild detergent for cleaning, and avoiding excessive moisture exposure.
Conclusion
As I stand back and admire the finished floating floor around my bathtub, I can’t help but feel a sense of accomplishment.
This small project not only transformed the look of my bathroom, but it symbolizes the power of perseverance and the beauty that can come from taking the time to do something right.
With the right preparation, materials, and attention to detail, anyone can create a stunning and waterproof floor that will stand the test of time.
So go ahead, take the plunge and give your bathtub the finishing touch it deserves.