
Are you tired of slipping and struggling to get out of the bathtub? It’s time to take matters into your own hands and install bathtub grab bars.
In this step-by-step guide, we’ll show you how to:
- Choose the right grab bars
- Measure and mark the perfect placement
- Prepare the surface
- Securely install the grab bars
Say goodbye to accidents and hello to safety with these easy-to-follow instructions.
Let’s get started!
Key Takeaways
- Consider factors such as material, length, and weight capacity when choosing the right type of grab bar.
- Measure and mark the ideal height, usually between 33 and 36 inches from the floor, and locate studs in the wall for secure installation.
- Prepare the surface by removing dirt and debris, cleaning with mild detergent and warm water, and lightly sanding rough surfaces.
- Install grab bars securely by determining the best location, using a stud finder to locate studs or secure mounting points, and attaching grab bars with screws or anchors.
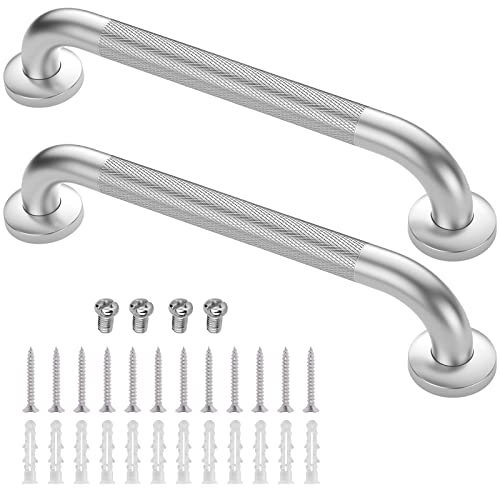
Grab Bars for Shower, 2 Pack 16 Inch Anti-Slip Safety Shower Handle for Senior, Stainless Steel Shower Grab Bars, Handicap Elderly Bathtub and Toilet Bathroom Assist
SUPERB MATERIAL: The shower grab bars for seniors is made of stainless steel which is waterproof, rustproof and…
As an affiliate, we earn on qualifying purchases.
As an affiliate, we earn on qualifying purchases.
Choosing the Right Type of Grab Bar
When choosing the right type of grab bar, you’ll want to consider factors such as the material, length, and weight capacity.
Comparing different materials for grab bars is an important step in finding the right one for your needs. Common materials include stainless steel, chrome, and plastic.
Stainless steel is durable and resistant to rust, making it a popular choice. Chrome offers a sleek and stylish look, but may not be as durable as stainless steel. Plastic grab bars are affordable and easy to clean, but may not be as sturdy.
Additionally, it’s important to explore ADA guidelines for grab bar installation. These guidelines ensure that grab bars are installed at the correct height and distance from walls for maximum safety and accessibility.

AquaChase ADA Compliant Grab Bar, 500lbs Weight Support for Bath Safety (16 inch, Matte Black)
· 500lbs Supoort – This bath safety grab bar is constructed of commercial grade SUS304 stainless steel. 1-1/4"…
As an affiliate, we earn on qualifying purchases.
As an affiliate, we earn on qualifying purchases.
Measuring and Marking the Placement of the Grab Bars
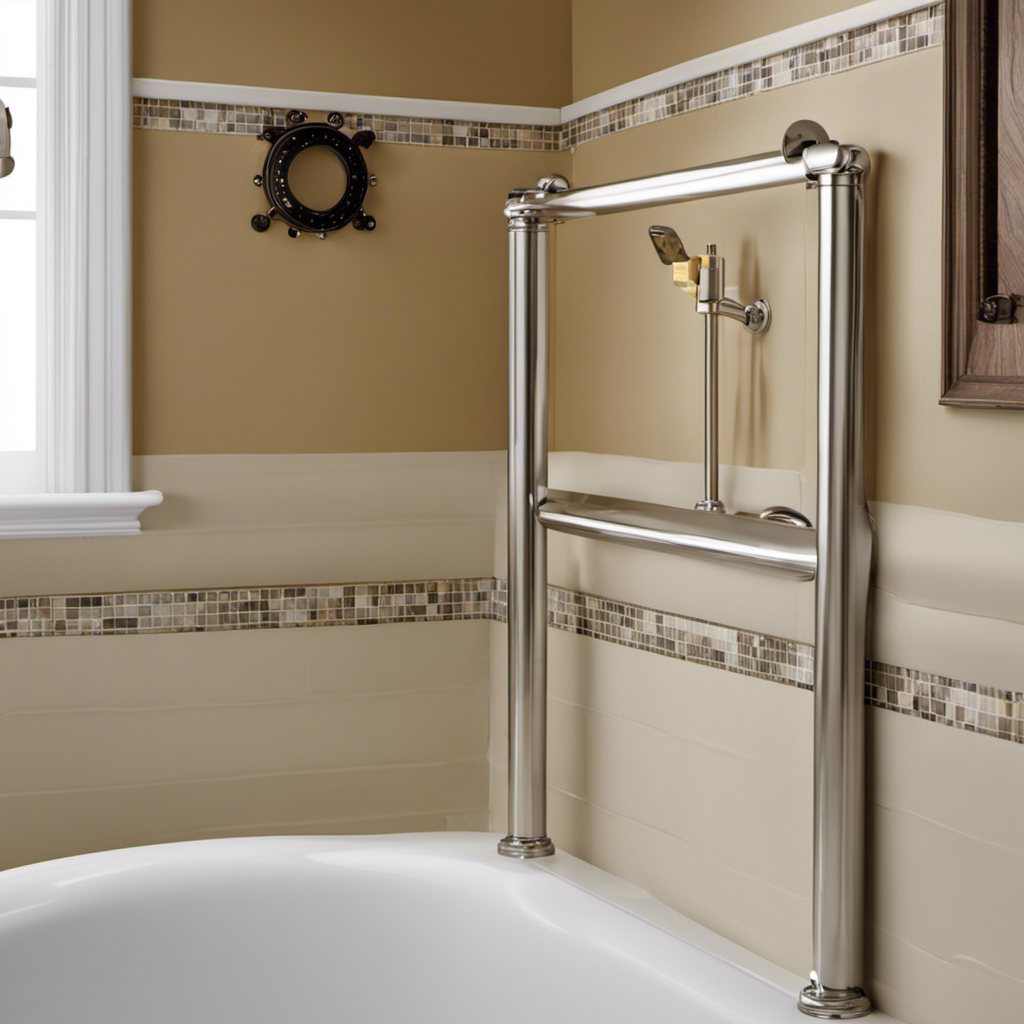
To properly measure and mark the placement of your new grab bars, start by using a tape measure and a pencil. Begin by determining the ideal height for your grab bars. The recommended height is usually between 33 and 36 inches from the floor. Measure and mark this height on the wall with a pencil.
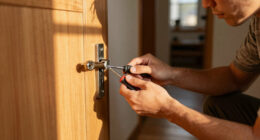
Next, locate the studs in the wall using a stud finder. Once you have found the studs, mark their positions on the wall. This is where you will install your grab bars to ensure they are securely anchored.
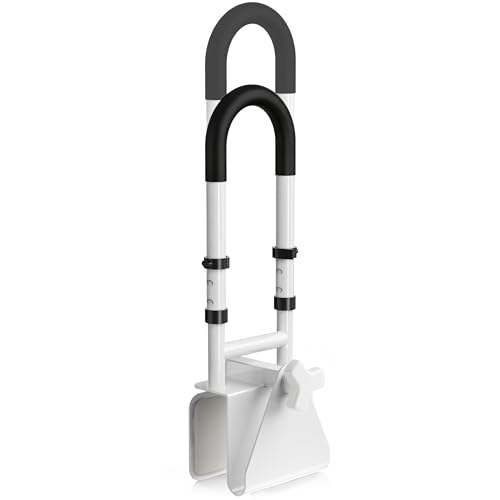
Adjustable Bathtub Safety Rail, Bathtub Handle Grab Bar with Non-Slip Grip for Seniors, Elderly, Fits 3.1 to 6.7 Inch Tub Walls, Supports 300 lbs
Confirm Before Purchase:Check if the edge of your bathtub is smooth and flat. The clamp must be secured…
As an affiliate, we earn on qualifying purchases.
As an affiliate, we earn on qualifying purchases.
Preparing the Surface for Installation
Before beginning the installation process, it’s important to prepare the surface by cleaning it thoroughly. Here are the steps you need to follow:
-
Start by removing any dirt or debris from the surface using a broom or vacuum cleaner.
-
Next, use a mild detergent and warm water to clean the surface. Scrub gently with a sponge or soft brush to remove any stains or grime.
-
After cleaning, rinse the surface thoroughly with clean water to remove any residue from the detergent.
-
If the surface is rough or has imperfections, you may need to sand it lightly to create a smooth and even surface for the grab bar installation.
Grab Bars for Shower, 2 Pack 16 Inch Anti-Slip Safety Shower Handle for Senior, Stainless Steel Shower Grab Bars, Handicap Elderly Bathtub and Toilet Bathroom Assist
SUPERB MATERIAL: The shower grab bars for seniors is made of stainless steel which is waterproof, rustproof and…
As an affiliate, we earn on qualifying purchases.
As an affiliate, we earn on qualifying purchases.
Installing the Grab Bars Securely
Make sure you have a secure and stable surface to attach the grab bars for maximum safety.
Start by determining the best location for the grab bars based on your needs and preferences.
Measure and mark the spots where the bars will be installed.
Next, use a stud finder to locate the wall studs or other secure mounting points.
Attach the grab bars to the studs using screws or anchors provided with the bars.
Ensure proper grip by tightening the screws securely.
After installation, regularly check the grab bars for any signs of looseness or damage.
This will help to ensure their continued stability and safety.
Proper maintenance and care, such as cleaning the bars regularly, will also help to extend their lifespan.
Now, let’s move on to the next section and learn how to test and adjust the grab bars for safety.
Testing and Adjusting the Grab Bars for Safety
Now, let’s see how we can check and modify the grab bars to ensure they are safe to use. Follow these steps to test and adjust the grab bars for maximum safety:
-
Determine the weight capacity: Start by checking the weight capacity of the grab bars. Look for any manufacturer’s labels or specifications to ensure they can support the needed weight.
-
Test the stability: Apply pressure to the grab bars in different directions to ensure they are securely installed. If there is any wobbling or movement, reinforce the installation or seek professional help.
-
Adjust the height: Measure the height of the grab bars to ensure they are within the recommended range. They should be positioned at a comfortable height for the user to reach and support themselves.
-
Test the grip: Check the grip of the grab bars by holding onto them firmly. If they feel slippery or uncomfortable, consider adding grip-enhancing covers or replacing them with ones that offer better traction.
Frequently Asked Questions
How Do I Determine the Weight Capacity of a Grab Bar?
To determine the weight capacity of a grab bar, check the manufacturer’s specifications or look for a label on the product. Make sure the bar is securely installed according to grab bar installation tips.
Can I Install Grab Bars on a Fiberglass or Acrylic Bathtub?
Yes, you can install grab bars on fiberglass or acrylic bathtubs. Start by determining the best location for the bars. Use a drill to create pilot holes, then attach the bars securely with screws.
Are There Specific Building Codes or Regulations I Need to Follow When Installing Grab Bars?
When installing grab bars, it’s important to follow building code requirements. Common mistakes to avoid include incorrect placement and inadequate support. Ensure proper installation by consulting local regulations and hiring a professional if needed.
Can I Install Grab Bars on Tile Walls?
Yes, you can install grab bars on tile walls. However, it’s important to note that drilling into tile can be challenging. An alternative option is to use adhesive grab bars specifically designed for tile.
Are There Any Specific Tools or Materials I Need to Install Grab Bars?
To install grab bars, you’ll need specific tools like a drill and screws, as well as materials like grab bars and wall anchors. Follow the installation process step-by-step, and remember to take safety precautions.
Conclusion
In conclusion, installing bathtub grab bars is a simple and crucial step towards creating a safer bathroom environment.
By following the step-by-step guide provided, you can easily choose the right type of grab bar, measure and mark its placement, prepare the surface, and securely install it.
Just like a lifeline in rough waters, these grab bars will provide stability and support, ensuring your safety as you navigate your way in and out of the bathtub.
Don’t wait any longer, make your bathroom a safer place today.