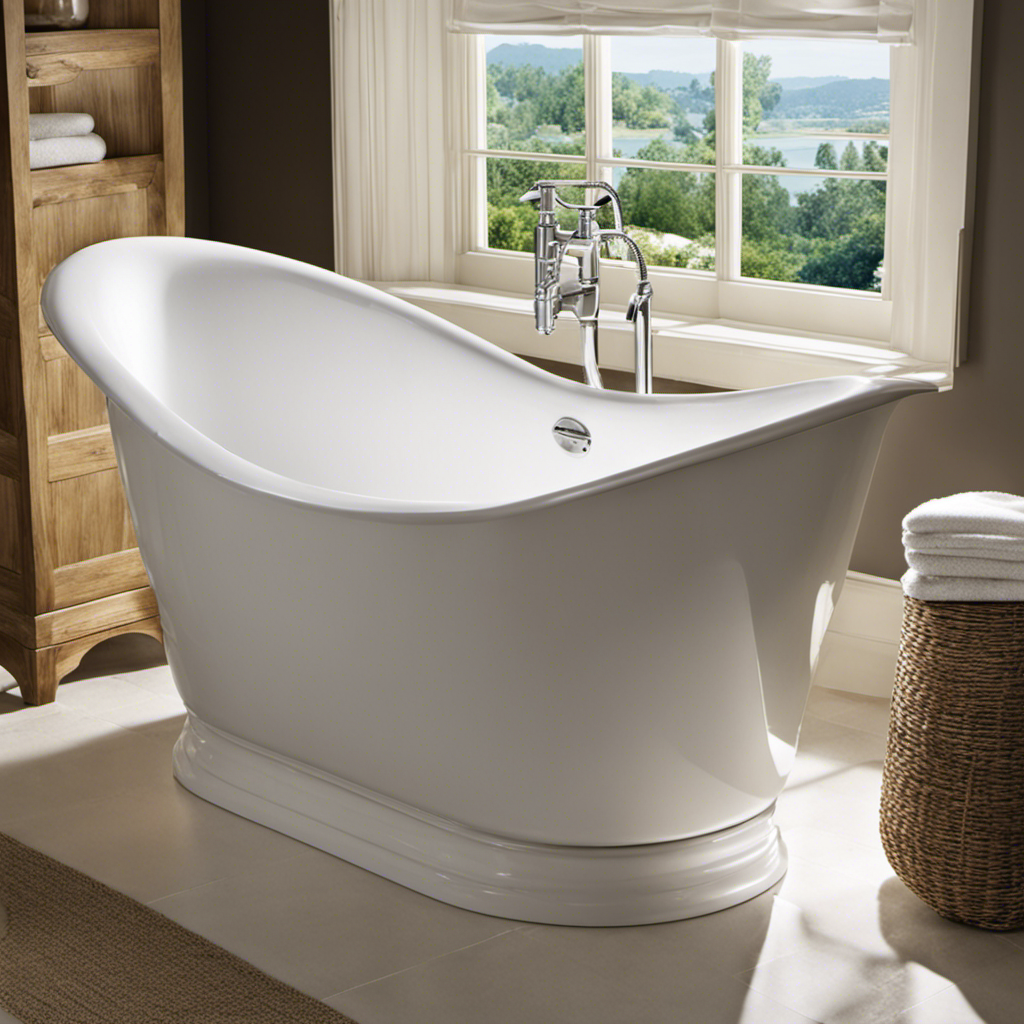
Like a skilled handyman, you can easily tackle that wide gap in your bathtub and restore its pristine look.
In this article, we’ll guide you through the step-by-step process of caulking your bathtub, ensuring a watertight seal that keeps moisture at bay.
From assessing the gap to applying the perfect caulk, we’ll provide you with the knowledge and practical tips you need to complete this task with confidence.
Get ready to make your bathtub shine again!
Key Takeaways
- Accurately measure the length and depth of the gap before applying caulk.
- Clean the surface thoroughly and remove any old caulk or debris before applying new caulk.
- Choose the right type of caulk for the specific needs of the surface and its material.
- Smooth the caulk before it dries to achieve a seamless finish.
Assessing the Gap
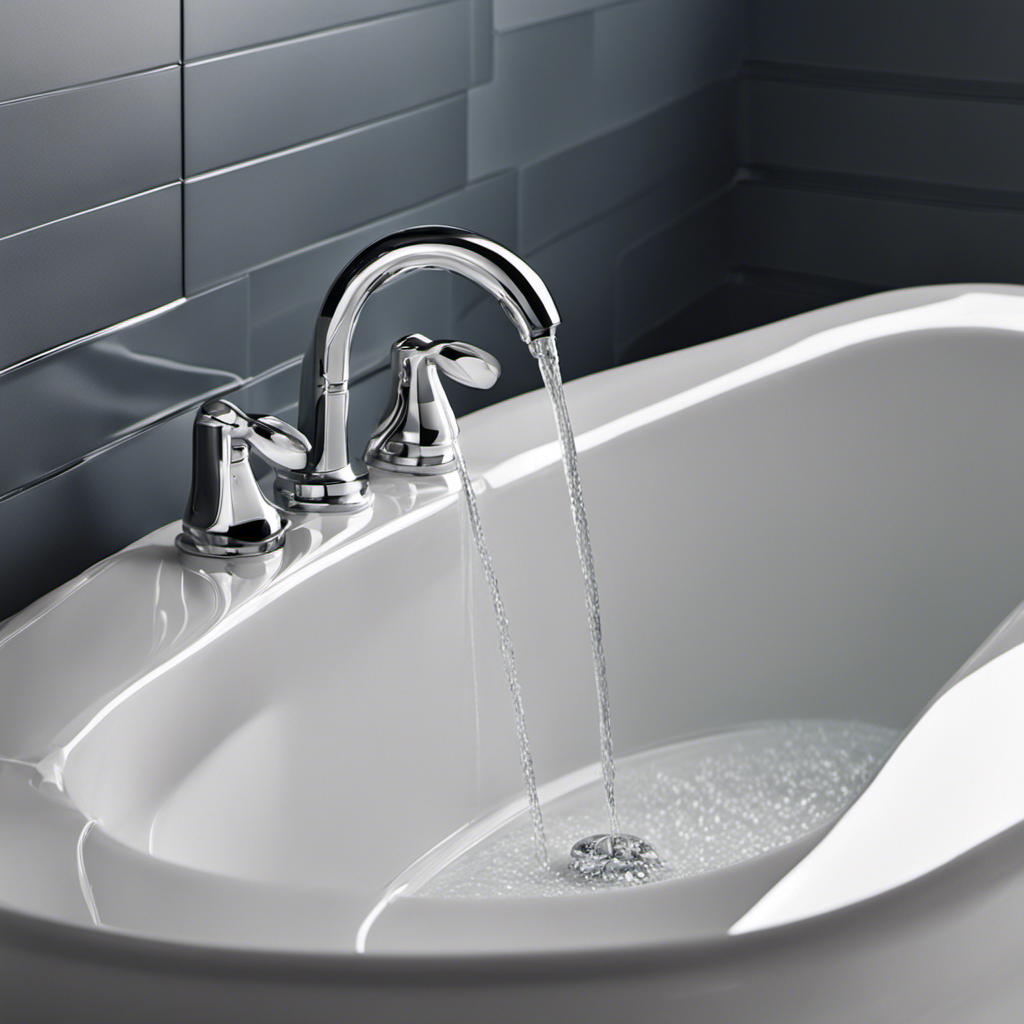
Now, you’ll want to take a closer look at the size of the gap between your bathtub and the wall. Properly measuring the gap is essential in determining the amount of caulk needed for the job.
To do this, grab a measuring tape and measure the length of the gap from one end to the other. Make sure to measure at multiple points along the gap, as it may not be consistent throughout. Additionally, take note of the depth of the gap. This will help you choose the appropriate caulk for the job.
If the gap is too large to be sealed with caulk alone, you may need to consider alternative solutions such as using foam backer rod or installing a bathtub gap filler.
Once you have assessed the size of the gap, you can move on to preparing the surface for caulking.
Preparing the Surface
Before you begin, make sure the surface is clean and free of any debris. This is crucial for achieving a proper seal when applying new caulk.
To prepare the surface for caulking, follow these steps:
-
Start by cleaning the area thoroughly with a mild soap and water solution. This will remove any dirt, grime, or soap residue that may be present.
-
Next, use a caulk remover tool or a putty knife to carefully scrape away any old caulk. Be gentle to avoid damaging the surface.
-
After removing the old caulk, use a clean cloth or sponge to wipe down the area and ensure it is completely dry.
-
Finally, inspect the surface for any remaining debris or loose materials. Use a vacuum or a brush to remove any remaining particles.
Choosing the Right Caulk
To choose the right caulk for your project, consider the specific needs of the surface you are working on and the type of material it is made of. When it comes to caulking tools, you have a few options to choose from.
The most common types are caulk guns and squeeze tubes. Caulk guns are ideal for larger projects and provide a more precise application, while squeeze tubes are great for smaller jobs and offer easier control.
Now, let’s talk about the pros and cons of different caulk materials. Silicone caulk is flexible and waterproof, making it perfect for areas that are exposed to water. However, it can be difficult to apply and requires a longer drying time.
On the other hand, acrylic latex caulk is easy to work with and dries quickly, but it may not be as durable as silicone. Ultimately, it’s important to consider the specific needs of your project and choose the caulk material that best suits your needs.
Applying the Caulk
Applying caulk in a smooth and steady motion is essential for achieving a professional-looking finish. To ensure you get the best results when caulking a bathtub wide gap, follow these proper techniques:
-
Start by preparing the area: Clean the surface thoroughly, removing any old caulk or debris. Use a mildew cleaner to eliminate any mold or mildew.
-
Use the right caulk: Choose a caulk specifically designed for bathroom use, such as silicone caulk. This will provide a waterproof seal and prevent water damage.
-
Apply the caulk evenly: Hold the caulk gun at a 45-degree angle and apply steady pressure while moving along the gap. Keep a consistent flow to avoid gaps or uneven application.
Avoid these common mistakes when caulking:
-
Rushing the process: Take your time to ensure a neat and tidy finish. Rushing can lead to uneven application and messy results.
-
Overfilling the gap: Applying too much caulk can create a bulky appearance and make it difficult to achieve a smooth finish.
-
Neglecting to smooth the caulk: Use a caulk smoothing tool or your finger to smooth the caulk before it dries. This will create a seamless finish and improve the overall appearance.
Finishing Touches and Maintenance
For a polished final result, make sure you regularly clean and inspect the caulked area to prevent any potential issues.
The importance of regular cleaning cannot be overstated when it comes to maintaining the longevity and effectiveness of your caulk. Over time, dirt, grime, and moisture can accumulate on the surface, leading to mold and mildew growth.
To remove old caulk, start by using a utility knife or caulk removal tool to cut along the edges of the caulk. Then, use a scraper or putty knife to gently pry off the old caulk. Be careful not to damage the surrounding surfaces.
Once the old caulk is removed, thoroughly clean the area with a mildew remover or a mixture of bleach and water. Allow the area to dry completely before applying new caulk.
Regular cleaning and maintenance will help ensure that your caulked area remains in excellent condition for years to come.
Frequently Asked Questions
Can I Use Caulk to Fill a Gap Between the Bathtub and the Floor Tiles?
Yes, you can use caulk to fill a gap between the bathtub and floor tiles. It’s a simple and effective solution. There are various caulk color options available, and if you prefer alternatives, you can consider using grout or silicone.
How Long Does It Take for Caulk to Dry Before I Can Use the Bathtub Again?
To speed up caulk drying time, choose the right type of caulk. Silicone caulk can take up to 24 hours, while acrylic caulk dries faster in around 2-4 hours. Make sure to follow the manufacturer’s instructions for best results.
Can I Use the Same Caulk for Both the Inside and Outside of the Bathtub?
Yes, you can use silicone caulk for both the inside and outside of the bathtub. It provides a durable, waterproof seal. However, acrylic caulk is not recommended for the outside as it may not hold up well to moisture.
Is It Necessary to Remove Old Caulk Before Applying a New Layer?
Removing old caulk before applying a new layer is necessary for a proper seal. However, there are alternative methods to remove caulk, such as using a caulk removal tool or a combination of scraping and chemical solvents.
What Should I Do if the Caulk Starts to Crack or Peel After a Few Months?
If caulk starts to crack or peel after a few months, you can try a few alternatives for bathtub caulking. To prevent cracking and peeling, make sure to clean and dry the surface before applying new caulk.
Conclusion
In conclusion, you’ve successfully caulked your bathtub wide gap and restored its beauty and functionality. By assessing the gap, preparing the surface, and choosing the right caulk, you’ve taken the first important steps. Applying the caulk with precision and adding those finishing touches have helped you achieve a professional-looking result.
Remember to regularly inspect and maintain the caulk to ensure its longevity. With these simple steps, you’ve transformed your bathtub into a stunning focal point of your bathroom. So go ahead, relax, and enjoy a well-deserved soak in your newly caulked bathtub. You deserve it!
