
So, you’ve noticed that the caulk in your bathtub is looking a little worse for wear. Trust me, I’ve been there. But fear not, because I’m here to guide you through the process of replacing bathtub caulk like a pro.
In this article, I’ll share with you my tried and true method that will have your bathtub looking as good as new in no time. So grab your caulking gun and let’s get started!
Key Takeaways
- Thoroughly clean and dry the bathtub before replacing the caulk.
- Use appropriate techniques to remove old caulk, such as scoring and scraping.
- Clean the surface with warm soapy water and a scrub brush to remove dirt and residue.
- Apply a thin, even line of high-quality silicone caulk along the joint, using a caulk gun and adjusting the angle for corners or curves.

iSpring Whole House Water Filter System, Highly Reduces Sediment, Taste, Odor, and up to 99% Chlorine, 3-Stage w/ 20-Inch Sediment and Carbon Block Filters, Model: WGB32B, 1" Inlet/Outlet
Chlorine-Free, Pure Water: Shield your family and appliances with the WGB32B whole house water filter—eradicating up to 99%...
As an affiliate, we earn on qualifying purchases.
Preparing the Bathtub
Before you can start replacing the bathtub caulk, you’ll need to make sure the bathtub is thoroughly cleaned and dried. Proper preparation is crucial for a successful bathtub repair.
To begin, gather all the necessary tools, including a caulk removal tool, a utility knife, and a cleaning solution. Start by removing any old caulk using the caulk removal techniques that work best for your bathtub. This may involve scoring the caulk with a utility knife and using a caulk removal tool to scrape it away.
Once the old caulk is removed, clean the bathtub thoroughly with a cleaning solution to remove any dirt, grime, or soap residue. This step is crucial to ensure proper adhesion of the new caulk.
With the bathtub clean and dry, you are now ready to move on to the next step of removing the old caulk.

Waterdrop Whole House Water Filter System, with Carbon Filter and Sediment Filter, 5-Stage Filtration, Highly Reduce Lead, Chlorine, Odor and Taste, 2-Stage 5 Micron WD-WHF21-PG, 1" Inlet/Outlet
【Efficient filtration】The impressive 10” x 4.5” PP filter and GAC filter combination achieves a 5-stage filtration, effectively reducing...
As an affiliate, we earn on qualifying purchases.
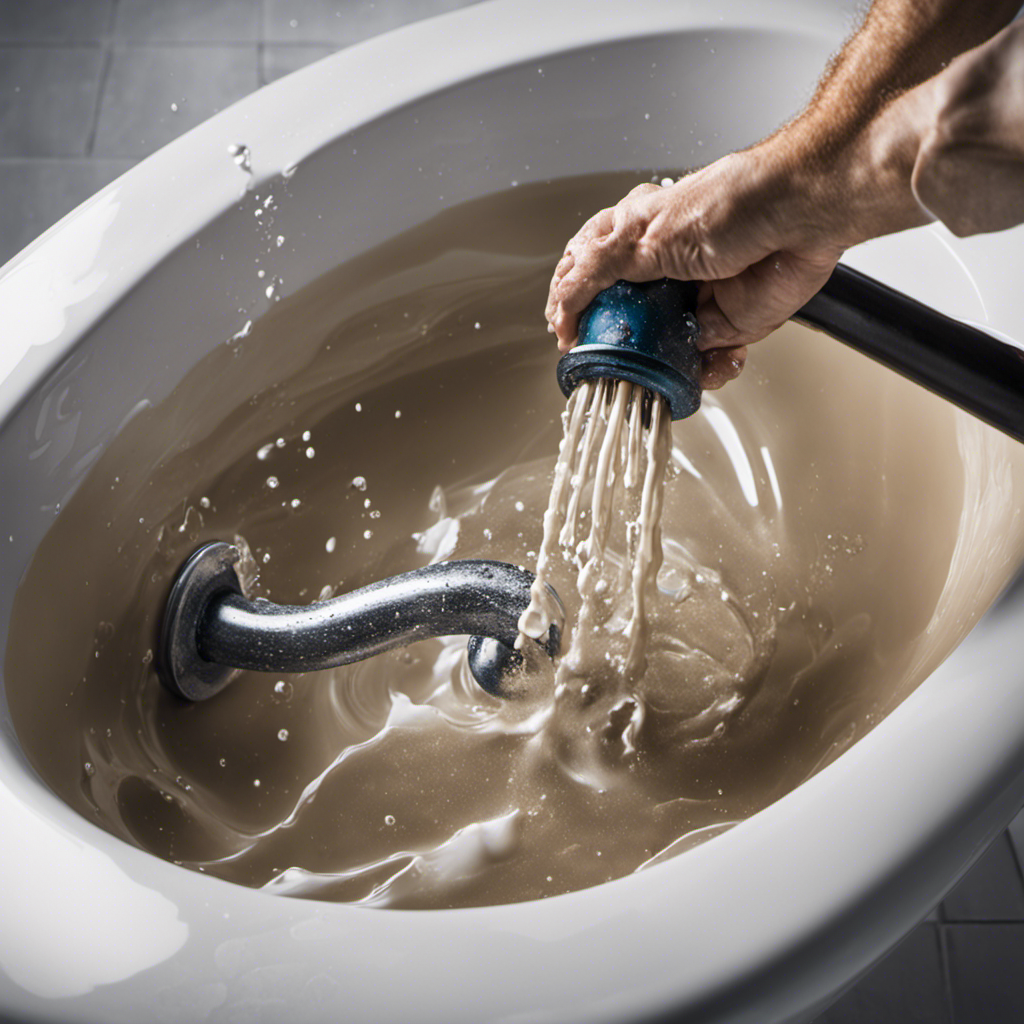
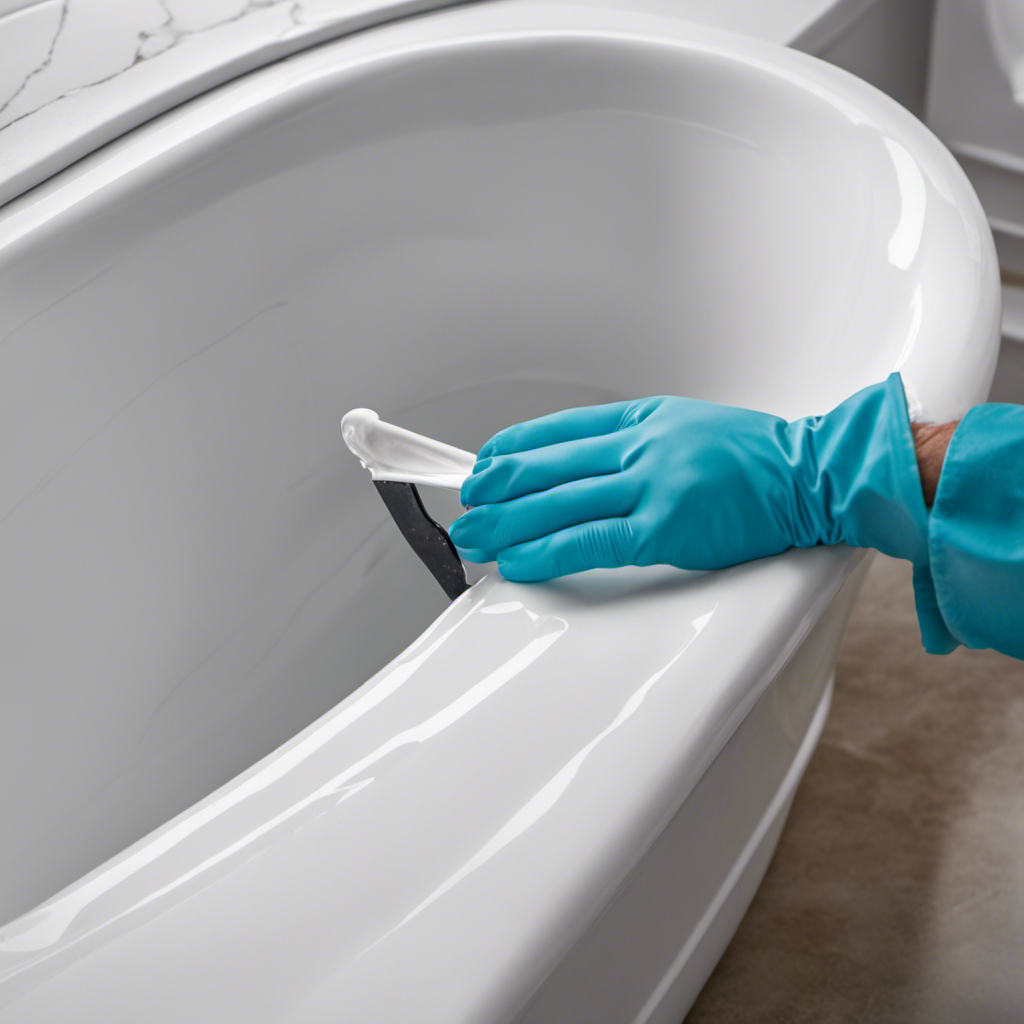
Removing the Old Caulk
Once you’ve scraped off the old caulk, it’s time to clean the surface thoroughly. To do this, you’ll need a few tools: a plastic scraper, a utility knife, a bucket of warm soapy water, and a scrub brush.
Start by using the plastic scraper to remove any leftover caulk or adhesive. Be careful not to scratch the surface of the bathtub.
Next, take the utility knife and gently cut away any stubborn caulk that didn’t come off with the scraper.
Once all the caulk is removed, fill the bucket with warm soapy water and dip the scrub brush in it. Scrub the entire surface of the bathtub to remove any dirt or grime.
Rinse the bathtub with clean water and dry it thoroughly before applying the new caulk.
Common mistakes to avoid during this process include using a metal scraper, which can damage the tub, and not thoroughly cleaning the surface, which can prevent the new caulk from adhering properly.

Waterdrop 3-Stage Whole House Water Filter System,with Carbon Filter&Sediment Filter,7-Stage Filtration Highly Reduce Lead,Chlorine,Odor and Taste,5 Micron WHF3T-PG,1" Inlet/Outlet
𝟗𝟕.𝟕𝟐% 𝐂𝐡𝐥𝐨𝐫𝐢𝐧𝐞 𝐑𝐞𝐝𝐮𝐜𝐭𝐢𝐨𝐧:Our water filter with a KDF composite filter and an GAC filter covered with high-quality carbon...
As an affiliate, we earn on qualifying purchases.
Cleaning and Drying the Surface
To clean and dry the surface, you’ll want to make sure you thoroughly scrub the entire area with warm soapy water and a scrub brush. This step is crucial in ensuring a clean and mold-free surface for your new caulk.
Here are four important things to keep in mind while cleaning and drying:
-
Start by removing any loose debris or old caulk using a scraper or putty knife. This will create a smooth surface for the new caulk to adhere to.
-
Use a mixture of warm water and a mild soap to create a soapy solution. Dip the scrub brush into the solution and scrub the area in circular motions, paying special attention to any visible mold or mildew.
-
Rinse the area thoroughly with clean water to remove any soap residue. This will help prevent any potential damage to the new caulk.
-
Allow the surface to completely dry before applying the new caulk. This will ensure proper adhesion and prevent moisture from getting trapped underneath.

Waterdrop 3-Stage Whole House Water Filter System,Reduce Iron&Manganese,with Carbon &Sediment Filters,7-Stage Filtration,Reduce Lead,Chlorine,Odor,5 Micron WHF3T-FG,1" Inlet/Outlet
𝐒𝐆𝐒 𝐓𝐞𝐬𝐭𝐞𝐝 𝐚𝐧𝐝 𝐂𝐞𝐫𝐭𝐢𝐟𝐢𝐞𝐝:Tested by SGS, Waterdrop whole house water filter system effectively reduces 95.9% of iron、99.7% of...
As an affiliate, we earn on qualifying purchases.
Applying the New Caulk
Now, you’ll want to squeeze a thin, even line of caulk along the joint, making sure to fill any gaps or cracks.
To achieve a smooth caulk line, it is crucial to use a steady hand and apply consistent pressure on the caulk gun.
Start at one end of the joint and slowly move along, keeping the caulk line as straight as possible.
If you encounter any obstacles like corners or curves, take your time and adjust the angle of the caulk gun accordingly.
To troubleshoot common caulk application issues, such as air bubbles or uneven lines, try using a caulk smoothing tool or a damp cloth to smooth out the surface.
If the caulk starts to dry too quickly, mist it lightly with water to keep it workable.
Finishing Touches and Maintenance
For best results, regularly clean and inspect the caulked areas to ensure they remain in good condition. Proper maintenance is key to preserving the integrity and longevity of your bathtub caulk. Here are some essential maintenance tips to keep in mind:
-
Keep it clean: Regularly clean the caulked areas using a mild soap and water solution. This will help prevent the build-up of dirt, grime, and soap scum, which can deteriorate the caulk over time.
-
Check for cracks: Inspect the caulked areas for any signs of cracks or gaps. These can be potential entry points for water, leading to mold and mildew growth. If you notice any damage, promptly repair or replace the caulk.
-
Maintain proper ventilation: Good ventilation is vital in preventing excess moisture in your bathroom. Use exhaust fans or open windows during and after showers to reduce humidity levels and minimize the risk of caulk damage.
-
Choose the right caulk: When replacing caulk, ensure you select a high-quality silicone caulk that is specifically designed for bathroom use. This will provide better resistance against water, mold, and mildew.
Following these maintenance tips and choosing the right caulk will help keep your bathtub caulk in excellent condition and prevent future issues.
Conclusion
So there you have it, folks! Replacing bathtub caulk may seem like a daunting task, but with a little know-how and some elbow grease, you can easily transform your bathroom into a sanctuary of cleanliness and beauty.
Just like a skilled artist meticulously brushes paint onto a canvas, you too can become a master of caulk application.
Remember, the key is in the preparation, removal, cleaning, and application.
So go ahead, unleash your inner DIY guru and let your bathtub shine like a gem in the crown of your bathroom!
Happy caulking!