I know what you’re thinking – changing the color of a bathtub sounds like a daunting task. But let me assure you, it’s not as complicated as it may seem.
In this article, I will guide you through the step-by-step process of transforming the color of your bathtub.
From preparing the surface to choosing the right paint and applying a protective top coat, I will provide you with all the precise and detailed instructions you need to achieve a stunning new look for your bathtub.
Key Takeaways
- Thoroughly clean the bathtub using a mild detergent and scrub brush before starting the color change process.
- Choose the right type of paint, such as epoxy or acrylic-based paints, that offer durability and water resistance in wet environments.
- Use the appropriate cleaning products and sand the bathtub surface with fine-grit sandpaper in circular motions to prepare it for painting.
- Apply a primer coat to create a strong bond between the old surface and the new paint, and follow the manufacturer’s instructions for mixing and application.

Rust-Oleum 384165 Tub And Tile Refinishing 2-Part Kit, 32 oz, Gloss White
- Fast Surface Preparation: Prepare and paint in one day
- Durable Epoxy Formula: Resists moisture and corrosion
- Easy Mixing Instructions: Mix parts A and B thoroughly
As an affiliate, we earn on qualifying purchases.
As an affiliate, we earn on qualifying purchases.
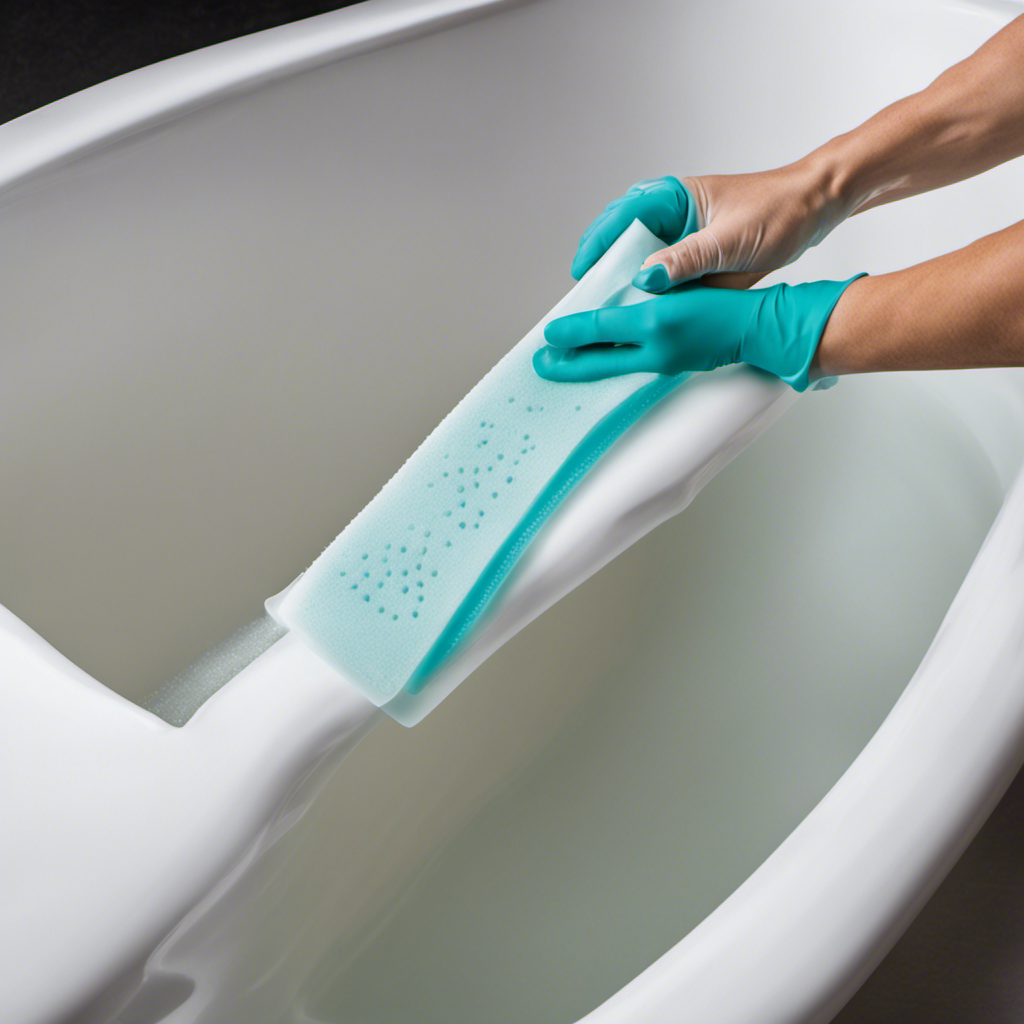
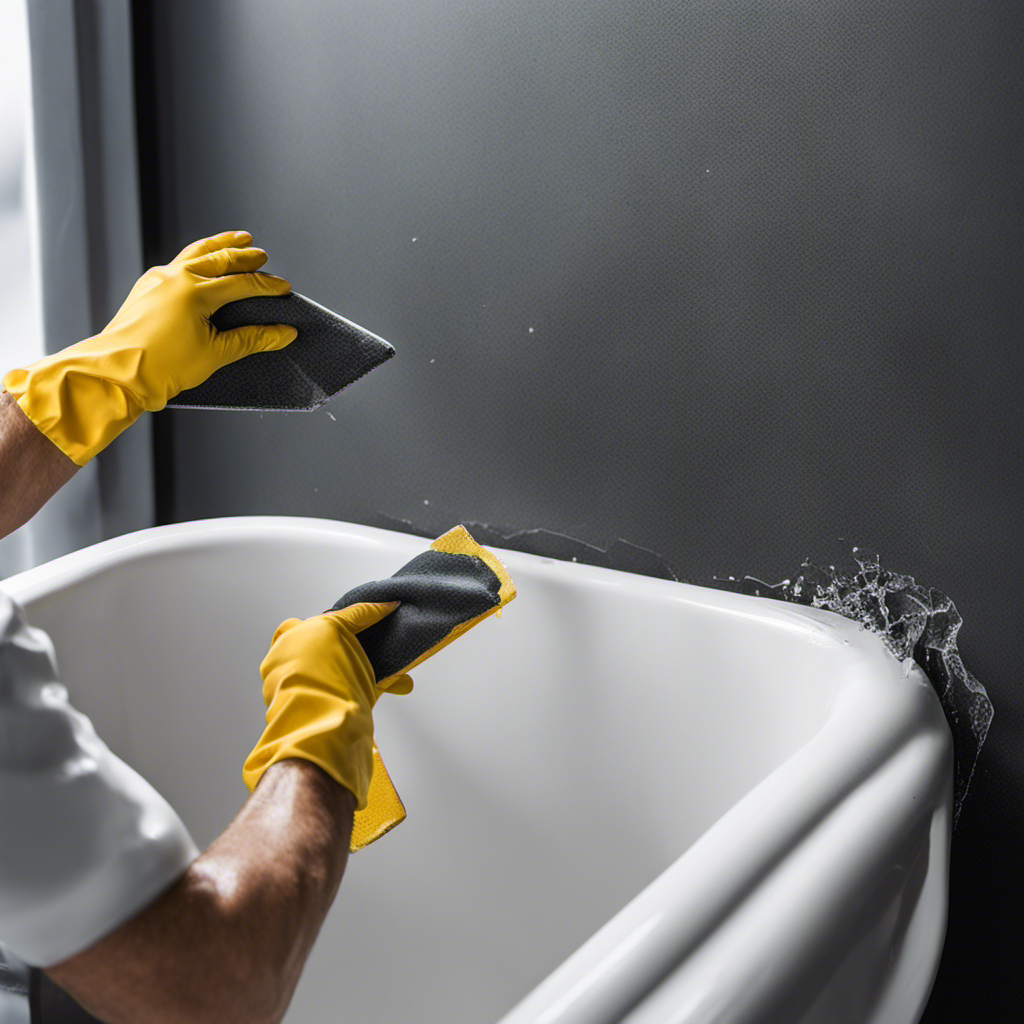
Preparing the Bathtub Surface
Before you can change the color of your bathtub, you’ll need to start by preparing the surface. This is an essential step in the bathtub refinishing or resurfacing process.
To begin, thoroughly clean the bathtub using a mild detergent and scrub brush. Remove any dirt, grime, or soap scum that may be present.
Next, use sandpaper or a sanding block to roughen the surface of the bathtub. This will help the new coating adhere properly. Make sure to sand evenly and remove any glossy areas.
After sanding, wipe down the bathtub with a clean cloth to remove any dust or debris.
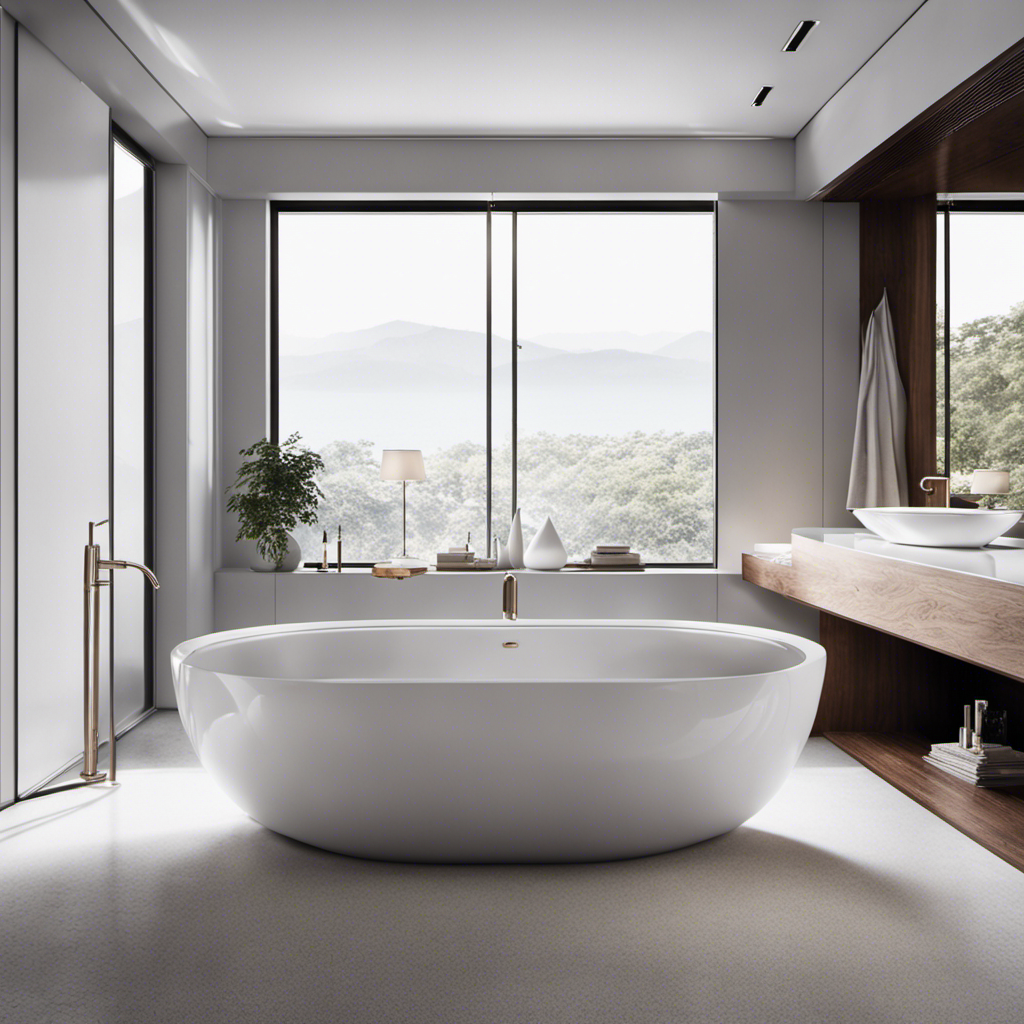
Choosing the Right Type of Paint
To choose the right type of paint for your bathtub, you’ll want to consider factors like durability and water resistance. When it comes to painting supplies, there are specific paints designed for use in bathrooms that offer superior performance in wet environments. Look for epoxy or acrylic-based paints, as they are known for their durability and ability to withstand moisture. These paints also provide excellent adhesion to the bathtub surface, ensuring a long-lasting finish.
As for color options, there are numerous choices available to suit your personal style and bathroom decor. From classic white to bold and vibrant hues, you can find a paint color that will transform your bathtub into a stunning focal point. Just make sure to select a paint that is specifically formulated for use on bathtubs to ensure the best results.
Cleaning and Sanding the Bathtub
When cleaning and sanding your bathtub, you’ll need to gather the necessary supplies such as a scrub brush, sandpaper, and a cleaner specifically designed for removing dirt and grime. It is important to use the right cleaning products to ensure a successful refinishing process. I recommend using a mild cleaner that is safe for your bathtub’s surface. Avoid using harsh chemicals or abrasive cleaners as they can damage the finish. To make the cleaning process easier, I have provided a table below with recommended cleaning products for different types of bathtubs:
| Bathtub Material | Recommended Cleaner |
|---|---|
| Porcelain | White vinegar |
| Acrylic | Mild dish soap |
| Fiberglass | Baking soda paste |
After cleaning, it is crucial to sand the bathtub surface to create a smooth and even foundation for the new color. Use fine-grit sandpaper and work in circular motions to remove any remaining residue and roughen the surface slightly. Remember to wipe away any dust before proceeding with the refinishing process.
Applying a Primer Coat
Once you’ve finished cleaning and sanding, it’s important to apply a primer coat to ensure proper adhesion of the new finish. Primer application techniques are crucial in achieving a smooth and long-lasting result.
First, make sure to choose the right primer for your bathtub material. There are specific primers available for different surfaces such as porcelain, acrylic, or cast iron. Follow the manufacturer’s instructions for mixing and application.
Start by applying a thin, even coat of primer using a brush or roller. Make sure to cover the entire surface and allow it to dry completely before proceeding. This step is essential as it creates a strong bond between the old surface and the new paint.
With the primer applied, you are now ready to move on to applying the new color of paint, which will transform your bathtub into a fresh, vibrant space.
Applying the New Color of Paint
When it comes to applying a new color of paint, there are several key points to consider.
First, the paint application technique is crucial in achieving a smooth and professional finish. I will discuss the different techniques and provide tips on how to achieve the best results.
Secondly, choosing the right color is important as it can greatly impact the overall look and feel of a space. I will provide guidance on selecting colors that complement the existing décor and create the desired atmosphere.
Lastly, the drying and curing process plays a vital role in ensuring that the paint adheres properly and lasts for a long time. I will explain the importance of allowing sufficient drying time and provide recommendations on how to properly care for the painted surface during the curing process.
Paint Application Techniques
To achieve a smooth and even finish, it’s important to use proper paint application techniques when changing the color of your bathtub. Here are some tips to help you get the best results:
-
Prep the surface: Clean the bathtub thoroughly and remove any old paint or residue. Sand the surface to create a smooth base for the new color.
-
Use a primer: Apply a high-quality primer designed for use on bathtubs. This will help the new paint adhere properly and provide a durable finish.
-
Choose the right paint: Opt for a paint specifically formulated for use on bathtubs. These paints are designed to withstand moisture and frequent cleaning.
-
Apply multiple thin coats: Rather than applying one thick coat, it’s better to apply several thin coats of paint. This will ensure even coverage and reduce the risk of drips or streaks.
-
Allow for proper drying time: Follow the manufacturer’s instructions for drying time between coats and before using the bathtub again.
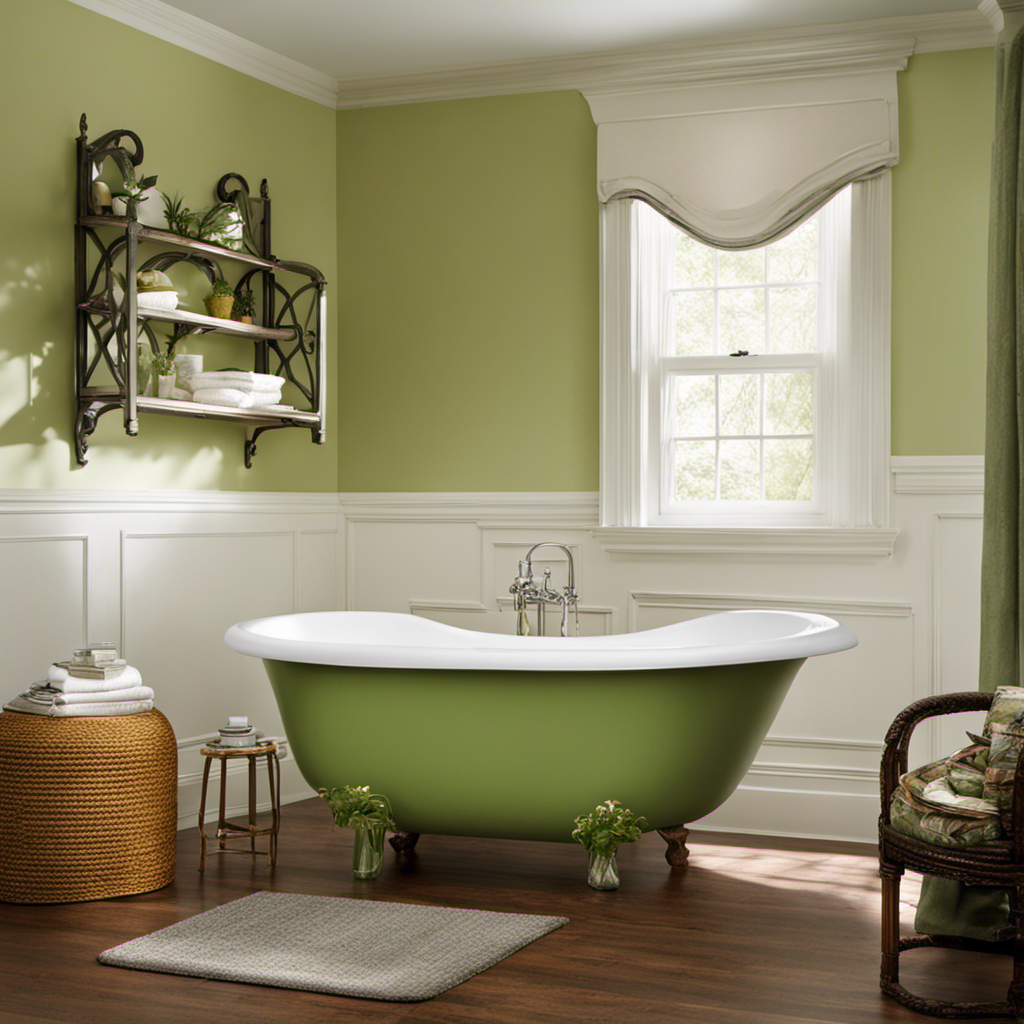
Choosing the Right Color
To choose the right color for your tub, consider your personal style and the overall aesthetic of your bathroom. Color selection plays a crucial role in creating the desired ambiance and mood in any space, including your bathroom.
When it comes to color psychology, certain hues can evoke specific emotions and feelings. For instance, if you prefer a calming and serene atmosphere, shades of blue or green would be ideal. On the other hand, if you want to create a bold and energetic vibe, vibrant colors like red or orange can do the trick.
It’s important to also consider the existing color scheme of your bathroom to ensure a cohesive and harmonious look. By understanding color psychology and your personal style, you can make an informed decision and choose the perfect color for your bathtub.
Drying and Curing Process
The drying and curing process for the bathtub involves allowing the paint to dry completely and harden, which typically takes a few days. During this time, it is essential to follow proper drying techniques to ensure an even and long-lasting finish.
To prevent color fading and achieve the best results, here are some important steps to consider:
-
Avoid exposing the freshly painted bathtub to direct sunlight, as this can cause the paint to dry too quickly and result in uneven color.
-
Maintain proper ventilation in the room to allow for adequate air circulation, which aids in the drying process.
-
Handle the bathtub with care during the drying period to avoid smudging or damaging the paint.
-
Keep the surface clean and free from moisture to prevent any potential issues with the paint drying or curing.
-
Use a high-quality paint that is specifically designed for use on bathtubs to ensure better durability and resistance to color fading over time.
Adding a Protective Top Coat
Adding a protective top coat to your bathtub not only enhances its appearance, but also provides numerous benefits. A top coat acts as a barrier against stains, chipping, and discoloration, ensuring your bathtub stays in top condition for longer.
When it comes to applying the top coat, it’s important to use the right techniques to achieve a smooth and even finish. Additionally, understanding the drying and curing time is crucial to avoid any damage or premature use of the bathtub.
Top Coat Benefits
You’ll love the benefits of applying a top coat to your bathtub to change its color. Here are some reasons why:
-
Enhanced durability: A top coat provides a protective layer that helps prevent scratches, chips, and fading, ensuring the longevity of your bathtub’s new color.
-
Easy maintenance: The top coat makes it easier to clean your bathtub, as it repels dirt, grime, and stains, requiring less effort and time for maintenance.
-
Water resistance: With a top coat, your bathtub becomes more resistant to water damage, reducing the risk of mold and mildew growth.
-
UV protection: The top coat acts as a shield against harmful UV rays, preventing color fading and discoloration over time.
-
Versatile finish options: You can choose from a variety of finishes, such as glossy, matte, or textured, to achieve the desired look for your bathtub.
By applying a top coat, you not only change the color of your bathtub but also enjoy its numerous benefits.
Now, let’s explore some application techniques to ensure a successful transformation.
Application Techniques
Applying a top coat to your bathtub offers a range of benefits, and now let’s delve into the various techniques to ensure a successful transformation. When it comes to bathtub refinishing, one crucial aspect is selecting the right color for your desired aesthetic. To help you make an informed decision, consider the following factors:
| Factors | Considerations | Tips |
|---|---|---|
| Lighting | Natural and artificial lighting can impact how colors appear in your bathroom. Test samples in different lighting conditions to find the perfect shade. | Take swatches near windows and under bathroom lighting to get an accurate representation. |
| Bathroom Style | Consider the overall style and theme of your bathroom. Choose a color that complements the existing decor and creates a cohesive look. | If you have a traditional bathroom, earthy tones or classic white may be a good choice. For a modern bathroom, bold or neutral colors can work well. |
| Personal Preference | Ultimately, choose a color that you love and that reflects your personality. | Trust your instincts and select a color that brings you joy and relaxation. |
Drying and Curing Time?
The drying and curing time for the top coat is crucial to achieve a long-lasting and durable finish. Properly allowing the paint to dry and cure ensures that it will adhere well to the bathtub surface and withstand regular use. Here are some key points to consider regarding drying time and the curing process:
-
Drying Time:
-
Factors such as temperature and humidity can affect drying time.
-
It’s important to follow the manufacturer’s instructions for the specific paint product being used.
-
Typically, the initial drying time can range from a few hours to overnight.
-
Avoid using the bathtub until the paint is completely dry to prevent smudging or damage.
-
Curing Process:
-
Curing is the process of the paint fully hardening and reaching its maximum durability.
-
It usually takes about 7-10 days for the paint to fully cure.
-
During this time, it’s essential to avoid any harsh chemicals or abrasive cleaning methods.
-
Regular use of the bathtub should be limited during the curing process to allow the paint to fully set.
Curing and Maintaining the New Color
To maintain the new color of your bathtub, make sure you regularly clean and dry the surface. This is crucial for maintaining color longevity and preventing color fading.
After each use, wipe down the bathtub with a non-abrasive cleaner and a soft cloth. Avoid using harsh chemicals or abrasive scrubbers, as these can damage the color finish.
It’s also important to avoid leaving standing water in the bathtub for extended periods of time, as this can cause the color to fade or become discolored.
To dry the surface, use a clean towel or a squeegee to remove any excess moisture.
Conclusion
In conclusion, changing the color of your bathtub is a detailed process that requires careful preparation and the right materials. By following the steps outlined in this article, you can successfully transform the appearance of your bathtub.
Just imagine, like a painter creating a masterpiece, you can turn your dull bathtub into a vibrant and eye-catching focal point in your bathroom.
With proper curing and maintenance, your new bathtub color will last for years to come.
So go ahead and give your bathroom a fresh and vibrant look!