
Patching a bathtub is like mending a broken heart – it takes time, effort, and the right tools.
In this article, I will guide you through the steps to successfully patch your bathtub, ensuring a smooth and seamless finish.
From selecting the right patching material to finishing and sealing the patched area, I will provide you with detailed instructions to help you restore your bathtub to its former glory.
So let’s dive in and get started on this bathtub repair journey together!
Key Takeaways
- Epoxy-based fillers offer excellent adhesion and durability for patching bathtubs.
- Acrylic-based fillers provide a smooth finish and are easy to work with.
- Silicone-based fillers are flexible and water-resistant, ideal for sealing gaps in bathtubs.
- Thoroughly clean and dry the surface of the bathtub before patching to ensure proper adhesion and prevent moisture-related issues.

Tub Repair Kit White, Bathtub Repair Kit for Enamel, Fiberglass, Acrylic
- Instantly Restores Glossy White Finish: Covers chips, cracks, and scratches seamlessly
- Strong, Durable Coverage: Resists scratches, rust, and high temperatures
- Waterproof, Stain-Resistant Finish: Prevents yellowing and stains over time
As an affiliate, we earn on qualifying purchases.
As an affiliate, we earn on qualifying purchases.
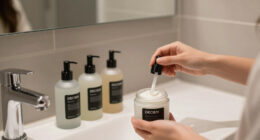
Select the Right Patching Material
You’ll want to make sure you’re selecting the right patching material for your bathtub. Choosing the right filler is crucial to ensure a successful and long-lasting repair.
When it comes to patching material options, there are a few to consider. One popular choice is epoxy-based fillers, which offer excellent adhesion and durability. These fillers are perfect for repairing cracks and chips in your bathtub.
Another option is acrylic-based fillers, which are easy to work with and provide a smooth finish. They are ideal for smaller repairs and can be easily sanded and painted over.
Lastly, silicone-based fillers are great for sealing gaps and preventing leaks. They are flexible and water-resistant, making them suitable for areas prone to moisture.
Consider the specific needs of your bathtub and choose the patching material that best suits your requirements.
Prepare the Bathtub Surface
When preparing the bathtub surface for patching, there are three key points to keep in mind: cleaning the surface, filling in cracks, and smoothing the patch.
First, it’s important to thoroughly clean the surface using a mild cleaner and a scrub brush to remove any dirt, grime, or soap scum.
Next, inspect the surface for any cracks or chips and fill them in using a bathtub repair kit or epoxy filler.
Cleaning the Surface
To clean the surface, use a sponge or scrub brush and a mild cleaner. It is important to regularly clean your bathtub to maintain its appearance and prevent future damage.
Start by wetting the sponge or brush and applying the mild cleaner to it. Gently scrub the entire surface of the bathtub, paying close attention to any areas with dirt or stains. Rinse the surface thoroughly with water to remove any residue from the cleaner.
Cleaning the surface not only keeps your bathtub looking clean and fresh but also helps to prevent the buildup of grime and mold, which can lead to more serious damage in the long run.
Regular maintenance is key to ensuring the longevity of your bathtub.
Filling in Cracks
Using a waterproof caulk, I seal any cracks found on the surface of my tub. Repairing cracks is an essential part of bathtub maintenance to prevent water leakage and further damage.
First, I thoroughly clean the area surrounding the crack, removing any dirt or debris.
Next, I apply the waterproof caulk directly into the crack, making sure to fill it completely. I use a caulk gun for precise and controlled application.
After applying the caulk, I smooth it out with a putty knife, ensuring a seamless finish. This step is crucial to achieve a professional-looking repair.
Once the caulk is dry, I can move on to the next step of smoothing the patch, ensuring a smooth and level surface for my bathtub.
Smoothing the Patch
After the caulk dries, I’ll need to make sure the surface is smooth and level. This is an important step in patching bathtub cracks, as it ensures a seamless finish.
To achieve this, there are a few patching techniques and tools for smoothing that I can use.
One common technique is sanding. I’ll start by using coarse sandpaper to smooth out any rough patches or high spots on the patched area. Then, I’ll switch to finer grit sandpaper to further refine the surface, creating a smooth and even finish.
Another useful tool for smoothing is a putty knife. By gently scraping the patched area with a putty knife, I can remove any excess caulk or filler, ensuring a level surface. It’s important to use a light touch to avoid damaging the patch or surrounding area.
Overall, by employing these patching techniques and utilizing the right tools for smoothing, I can achieve a professional-looking result in patching my bathtub.
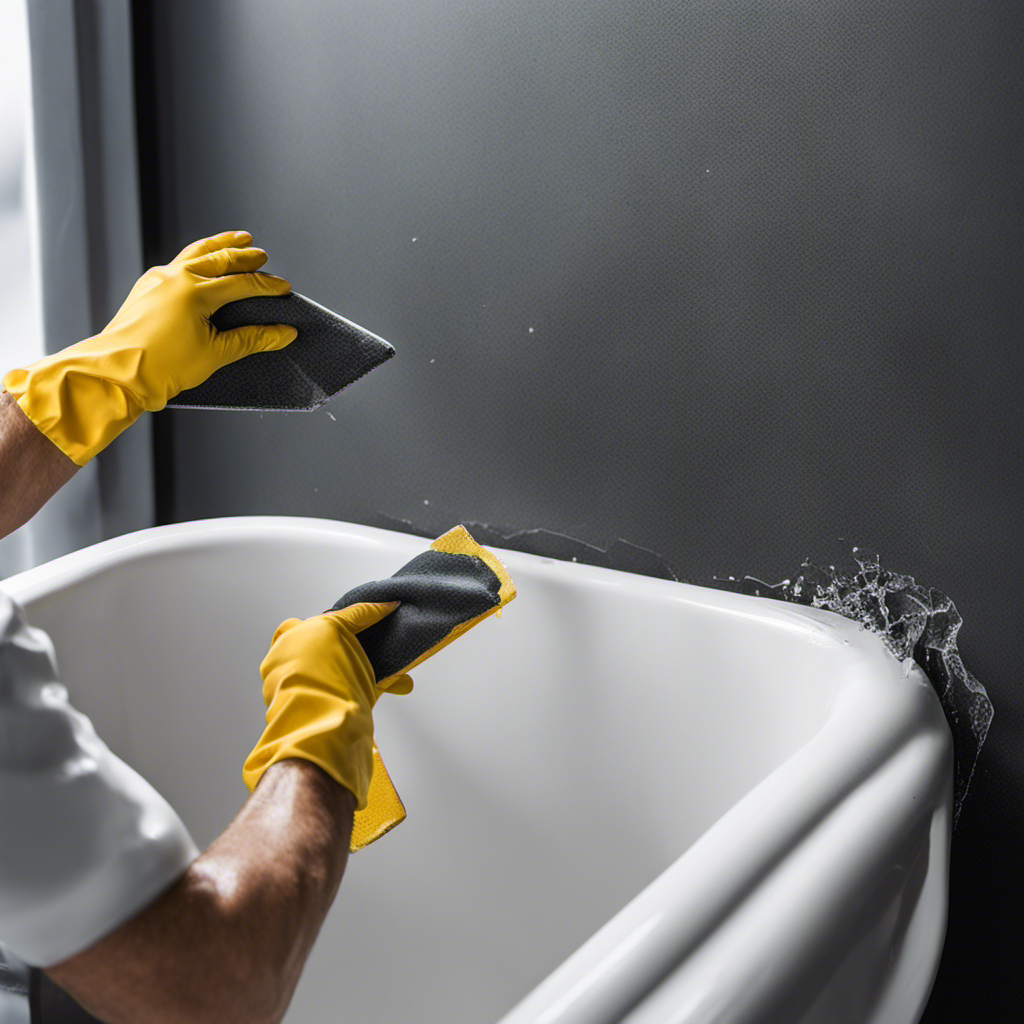
Clean and Dry the Area to Be Patched
When it comes to preparing the surface for a bathtub patch, there are several techniques that can be used. These include sanding down any rough patches, filling in any cracks or holes, and ensuring that the surface is clean and dry.
It is important to remove any moisture before applying the patch, as this can affect its adhesion and overall effectiveness. To achieve this, it is recommended to use cleaning products specifically designed for removing dirt, grime, and moisture from the bathtub surface.
Surface Preparation Techniques
Before you begin, make sure you’ve thoroughly cleaned and dried the surface of the bathtub. This is an important step to ensure proper adhesion of the patching material. Once the surface is clean and dry, you can proceed with surface repair techniques to fix common bathtub damages.
Here are four techniques to consider:
-
Sanding: Use fine-grit sandpaper to smooth out any rough areas or remove old paint and caulk. This will create a smooth surface for the patching material to adhere to.
-
Filling: If there are deep scratches or gouges, use a bathtub filler compound to fill in the damaged areas. Apply the filler according to the manufacturer’s instructions and allow it to dry completely.
-
Priming: Before applying the patching material, it’s essential to prime the repaired area. This will help the patching material bond securely to the surface and prevent future damage.
-
Applying Patching Material: Choose a patching compound specifically designed for bathtubs. Follow the instructions on the packaging to mix and apply the compound to the damaged areas. Smooth it out evenly with a putty knife and allow it to dry thoroughly.
Importance of Removing Moisture
When it comes to patching a bathtub, it’s important to not only prepare the surface but also to remove excess moisture. Moisture can seep into cracks and crevices, leading to the growth of mold and mildew. To prevent this, it is crucial to ensure that the bathtub is completely dry before applying any patching materials.
One effective way to remove excess moisture is by using a dehumidifier or fan to circulate the air and speed up the drying process. Additionally, you can use a clean, dry cloth to wipe down the bathtub and absorb any remaining moisture.
By taking the time to remove excess moisture, you can prevent the growth of mold and ensure that your bathtub patching job lasts longer. Remember, a dry surface is key to a successful repair.
To further understand the importance of removing excess moisture, take a look at the table below:
| Excess Moisture | Effects |
|---|---|
| Mold and Mildew | Can cause health issues and damage to the bathtub |
| Weakened Patch | Moisture can compromise the strength of the patching material |
| Unpleasant Odors | Dampness can lead to unpleasant smells in the bathroom |
| Reduced Lifespan | Excess moisture can cause the patch to deteriorate faster |
| Aesthetically Unappealing | Mold and mildew can ruin the appearance of the patched area |
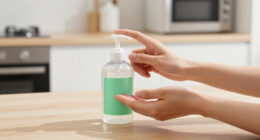
Recommended Cleaning Products
To effectively clean your bathtub, try using a multipurpose cleaner that is specifically formulated to tackle soap scum and grime. Here are some of the best cleaning techniques and eco-friendly cleaning options to keep your bathtub looking spotless:
-
Use a vinegar and water solution: Mix equal parts white vinegar and water in a spray bottle. Spray the solution onto the surfaces of your bathtub and let it sit for a few minutes before scrubbing with a brush or sponge. Rinse thoroughly with water.
-
Baking soda paste: Make a paste using baking soda and water. Apply the paste to the stained areas of your bathtub and let it sit for about 15 minutes. Scrub with a brush or sponge and rinse well.
-
Lemon juice: Cut a lemon in half and rub it directly onto the stains. The natural acidity of the lemon helps to break down soap scum and grime.
-
Eco-friendly cleaning products: Look for cleaning products that are labeled as environmentally friendly. These products are usually made with natural ingredients and do not contain harsh chemicals.
By following these cleaning techniques and using eco-friendly options, you can ensure that your bathtub stays clean and free from soap scum and grime.
Now, let’s move on to applying the patching material for any necessary repairs.
Apply the Patching Material
You’ll need to use a putty knife to smooth out the patching material.
When it comes to applying techniques for repairing a bathtub, there are a few methods you can try. One popular method is using a fiberglass repair kit. These kits typically include a patching material, a hardener, and a fiberglass mesh.
To start, you’ll want to clean the damaged area with a mild detergent and let it dry completely. Next, mix the patching material and hardener according to the instructions on the kit. Apply the mixture to the damaged area, ensuring it covers the entire surface.
Then, use the putty knife to smooth out the patching material, making it level with the rest of the bathtub. Allow it to dry thoroughly before using the bathtub again.
Smooth and Shape the Patch
After mixing the patching material and hardener, I use the putty knife to smooth and shape it. Here are four patching techniques to help you achieve a seamless finish:
- Start by applying a thin layer of the patching material over the damaged area, ensuring it is evenly spread.
- Use the putty knife to feather the edges of the patch, gradually blending it into the surrounding surface.
- To achieve a smooth finish, lightly sand the patched area using fine-grit sandpaper. This will help to remove any roughness and create a seamless transition between the patch and the rest of the bathtub.
- After sanding, wipe away any dust or debris and assess the patched area. If necessary, repeat the process of applying, smoothing, and sanding until you are satisfied with the result.
Allow the Patch to Dry and Cure
Once the patching material is applied, give it enough time to dry and cure completely. The drying time and curing process can vary depending on the type of patching material used. It is important to follow the manufacturer’s instructions for the specific product you are using. Typically, the drying time can range from a few hours to overnight. During this time, it is crucial to avoid any contact or use of the patched area to ensure proper curing.
To help you understand the different drying times and curing processes of common patching materials, here is a table outlining some examples:
| Patching Material | Drying Time | Curing Process |
|---|---|---|
| Epoxy | 4-6 hours | 24-48 hours |
| Acrylic | 1-2 hours | 24 hours |
| Silicone | 30 minutes | 12-24 hours |
Once the patch has fully dried and cured, you can proceed to the next step of finishing and sealing the patched area, ensuring a durable and seamless repair.
Finish and Seal the Patched Area
Now that the patch has dried and cured, it’s time to finish and seal the repaired area for a long-lasting and seamless result. Here are four sealing techniques that will help maintain the patched area:
-
Sanding: Start by sanding the patched area to ensure a smooth surface. Use fine-grit sandpaper and gently sand the edges of the patch to blend it with the surrounding bathtub surface.
-
Cleaning: Thoroughly clean the area by removing any dust or debris. Use a damp cloth or sponge to wipe the surface and ensure it is free from any dirt or residue.
-
Priming: Apply a primer specifically designed for bathtub repairs. This will help the sealant adhere properly to the surface and ensure a strong bond.
-
Sealing: Finally, apply a high-quality bathtub sealant over the patched area. Use a caulk gun to evenly distribute the sealant and create a waterproof barrier that will protect the repair and prevent future damage.
Conclusion
So there you have it, a step-by-step guide on how to patch your bathtub.
It may seem like a daunting task, but with the right materials and a little bit of patience, you can easily fix any cracks or holes in your tub.
Remember, practice makes perfect, so don’t be discouraged if your first attempt isn’t perfect. Just keep at it and soon enough, you’ll have a beautifully patched bathtub that looks as good as new.
Happy patching!