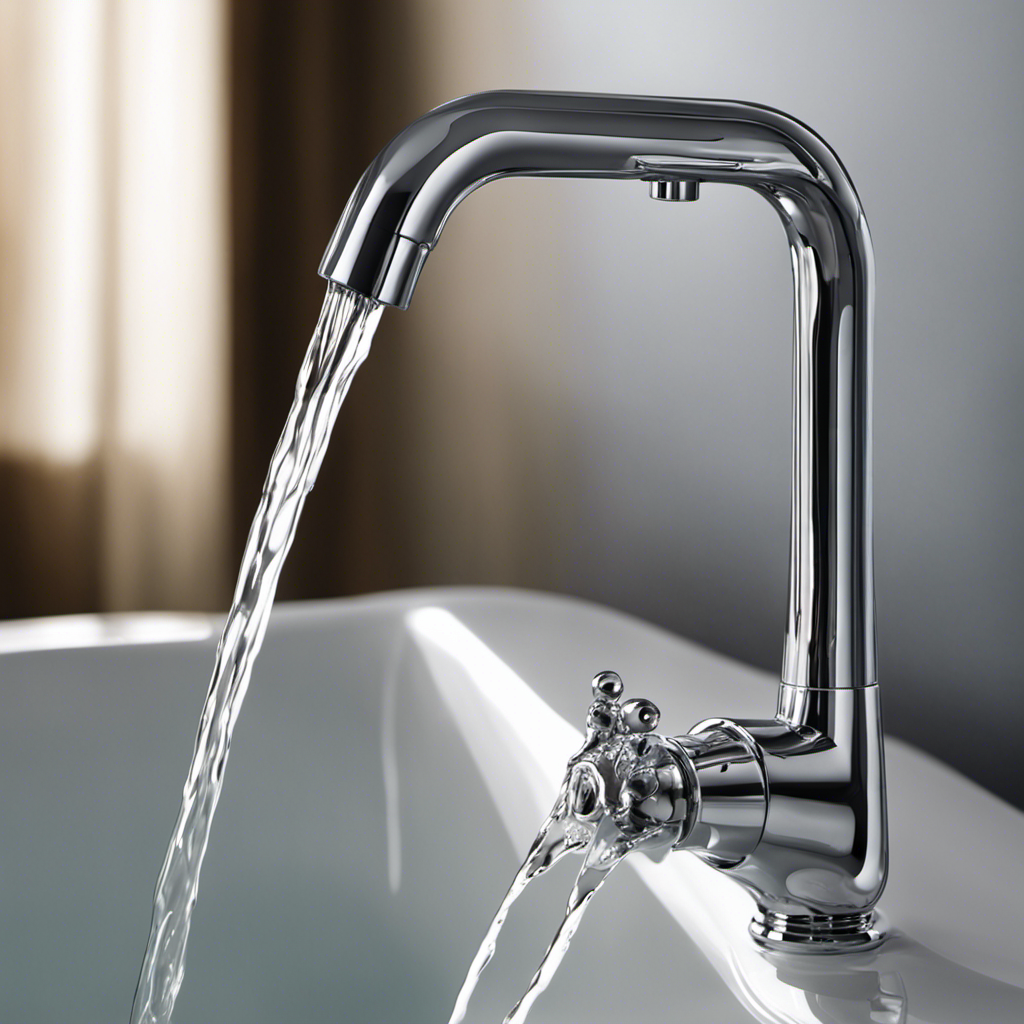
Fixing a leaky Delta bathtub faucet can be frustrating, but fear not! I’m here to help you tackle this plumbing predicament.
In this guide, I’ll walk you through the step-by-step process of:
- Identifying the source of the leak
- Gathering the necessary tools and materials
- Disassembling the faucet
- Repairing or replacing the faulty components
With a little know-how and some elbow grease, you’ll have your faucet functioning flawlessly in no time.
Let’s dive in and get to work!
Key Takeaways
- Check the faucet for visible signs of leakage and inspect the cartridge or valve assembly if the leak is not apparent
- Gather the necessary tools and materials such as an adjustable wrench, screwdriver, replacement parts, plumber’s tape, and silicone caulk
- Disassemble the Delta bathtub faucet by turning off the water supply, removing the handle, trim sleeve, and cartridge
- Repair or replace faulty components like the cartridge, seats, and springs, using the appropriate tools and materials
Identifying the Source of the Leak
To start fixing the leaky Delta bathtub faucet, you’ll need to figure out where the leak is coming from. This step is crucial in order to properly address the issue.
First, check the faucet itself for any visible signs of leakage, such as dripping water or wet areas. If the leak is not apparent, you may need to remove the handle and inspect the cartridge or valve assembly.
Look for any cracks, worn-out parts, or loose connections that could be causing the leak. If you are unsure about how to proceed or if the issue seems complex, it is advisable to seek professional help. They have the expertise and tools to accurately diagnose and fix the problem.
Additionally, to prevent future leaks, ensure that all connections are secure and regularly check for any signs of wear or damage.
Gathering the Necessary Tools and Materials
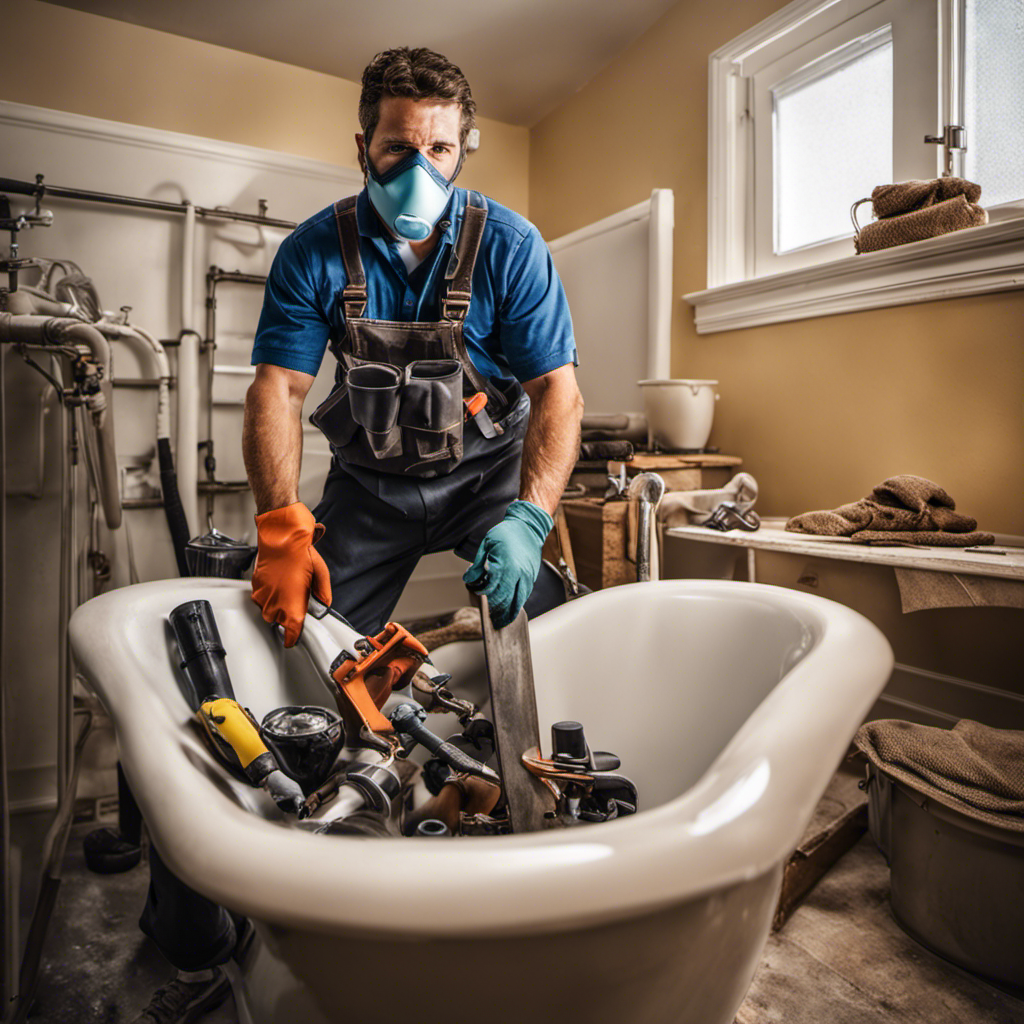
First, you’ll need a few tools and materials to get started on repairing the leak in your bathtub faucet. It’s important to gather everything you need before beginning the repair process. Here is a list of the necessary tools and materials:
| Tools | Materials |
|---|---|
| Adjustable wrench | Replacement parts |
| Screwdriver | Plumbers tape |
| Allen wrench | Silicone caulk |
Choosing the right replacement parts is crucial for a successful repair. Make sure to check the model number of your faucet and purchase the corresponding replacement parts. This will ensure a proper fit and functionality. Additionally, using plumbers tape when reassembling the faucet can help prevent future leaks. Apply a few wraps of tape around the threads to create a tight seal. Lastly, after completing the repair, it’s a good idea to inspect the rest of your plumbing system for any potential leaks and address them promptly to prevent any further issues.
Disassembling the Delta Bathtub Faucet
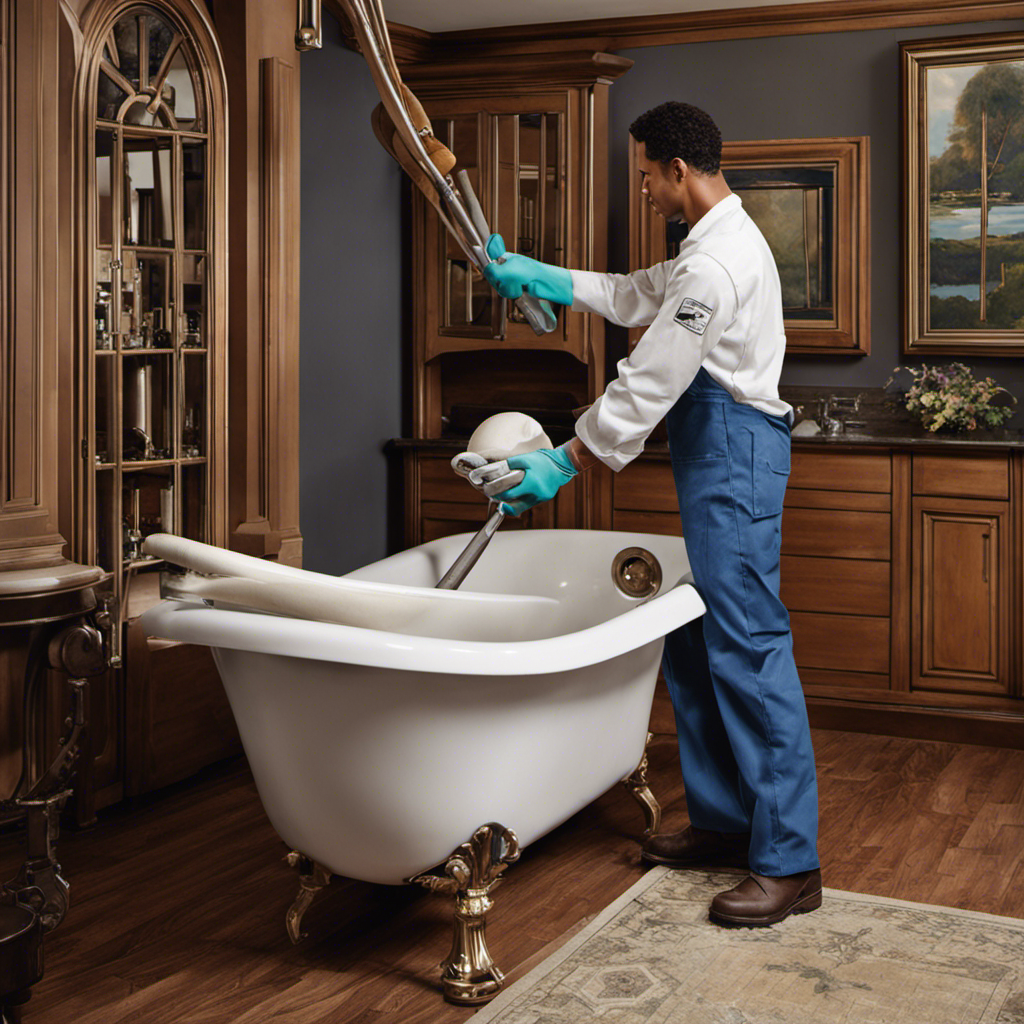
Make sure you have all the necessary tools and materials nearby before you start disassembling the bathtub faucet. The disassembling process of a Delta bathtub faucet requires attention to detail and a systematic approach. Here are the steps to follow:
- Turn off the water supply: Locate the shut-off valves and turn them clockwise to stop the water flow.
- Remove the handle: Use a screwdriver or Allen wrench to loosen and remove the handle screw. Then, carefully pull off the handle.
- Take off the trim and cartridge: Unscrew the trim sleeve and remove it. Next, use pliers to pull out the cartridge.
- Inspect for common problems: Look for signs of wear, corrosion, or damage on the cartridge and other components.
Repairing or Replacing Faulty Components
Before starting the repair or replacement of faulty components, ensure you have the necessary replacement parts readily available. It’s important to have the right tools and materials on hand to avoid any delays or frustration during the process. When it comes to repairing a leaky Delta bathtub faucet, there are a few common components that may need attention. These include the cartridge, seats, and springs. The table below outlines the purpose and troubleshooting tips for each component:
| Component | Purpose | Troubleshooting Tips |
|---|---|---|
| Cartridge | Controls water flow and temperature | Check for any signs of wear or damage. Replace if necessary. |
| Seats | Help create a watertight seal | Inspect for any cracks or pitting. Replace if needed. |
| Springs | Assist the seats in creating a seal | Ensure they are properly aligned and not worn out. Replace if required. |
Reassembling and Testing the Faucet
Once you have reassembled the components, it’s time to test the faucet for any leaks or issues. Here are a few important steps to follow in order to ensure a thorough and effective testing process:
-
Inspect for Leaks: Turn on the water supply and carefully examine the faucet for any signs of leakage. Pay close attention to the base of the faucet, the handles, and the spout.
-
Check Water Pressure: Turn the faucet on fully and observe the water pressure. It should be consistent and strong. If the water pressure seems low, there may be an issue with the water supply or the faucet itself.
-
Replace Worn Out Gaskets: If you notice any leaks during the testing process, it may be necessary to replace worn out gaskets. These can often be found in faucet repair kits and are relatively easy to replace.
-
Re-test for Leaks: After replacing any worn out gaskets, re-test the faucet for leaks to ensure that the issue has been resolved.
Conclusion
In conclusion, fixing a leaky Delta bathtub faucet requires careful identification of the source of the leak. It also involves gathering the necessary tools and materials. Once you have these, you can proceed to disassemble the faucet to repair or replace faulty components.
By following the step-by-step process outlined in this article, you can successfully fix your leaky faucet and prevent further water damage.
For example, I recently helped a friend fix their Delta bathtub faucet by replacing a worn-out O-ring. This simple fix solved the leak issue and restored the faucet’s functionality.
Remember to always take your time and be thorough when working on plumbing repairs. This will ensure long-lasting results.
