
So, you’ve noticed a little problem with your bathtub faucet, huh? Well, no need to panic. I’m here to help you fix that pesky water leak in no time.
In this article, I’ll guide you through the step-by-step process of assessing the issue, gathering the necessary tools, disassembling the faucet, and repairing or replacing any faulty parts.
By the time we’re done, your bathtub faucet will be as good as new. Let’s get started, shall we?
Key Takeaways
- Assess the faucet and surrounding area for visible signs of dripping or pooling water.
- Gather necessary tools such as a wrench and pliers, and choose high-quality replacement parts.
- Disassemble the bathtub faucet by turning off the water supply, removing the handle and retaining nut, and accessing internal components.
- Repair or replace faulty parts such as O-rings, cartridge or valve stem, washer, and seat, and test for leaks after reassembling the faucet.

RP25513 faucet stem assembly Replacement Kit for two handle faucet repair kit with RP24096 Cartridge RP4993 Seats Springs RP24097 1/4 Turn stop, 2 Pack
Package included: Stem*2 , 1/4 Turn stop*2 , Rubber seat*2 , Spring*2 .
As an affiliate, we earn on qualifying purchases.
As an affiliate, we earn on qualifying purchases.
Assessing the Water Leak
Before you can fix the water leak in your bathtub faucet, you’ll need to assess the severity of the leak. Identifying the source of the leak is crucial in determining the necessary steps for repair.
Start by examining the faucet and the surrounding area for any visible signs of dripping or pooling water. Check the handles, spout, and any connections for potential leaks. It’s also important to listen for any unusual sounds, such as hissing or dripping noises, which could indicate a hidden leak.
Once you have identified the source, you can then determine the severity of the leak. Assess the rate at which water is leaking and take note of any damage or water stains. This information will help you decide the appropriate measures to take in order to fix the leak effectively.

360 Pcs O Ring Assortment Kit,Rubber Washer Orings, Black 24 Sizes Pressure Washer O Ring Kit for Faucet, Hose, Automotive, Air Gas Plumbing Sealing Repair O Rings
Premium Material: These assorted o rings are made of outstanding rubber material with good air tightness and high…
As an affiliate, we earn on qualifying purchases.
As an affiliate, we earn on qualifying purchases.
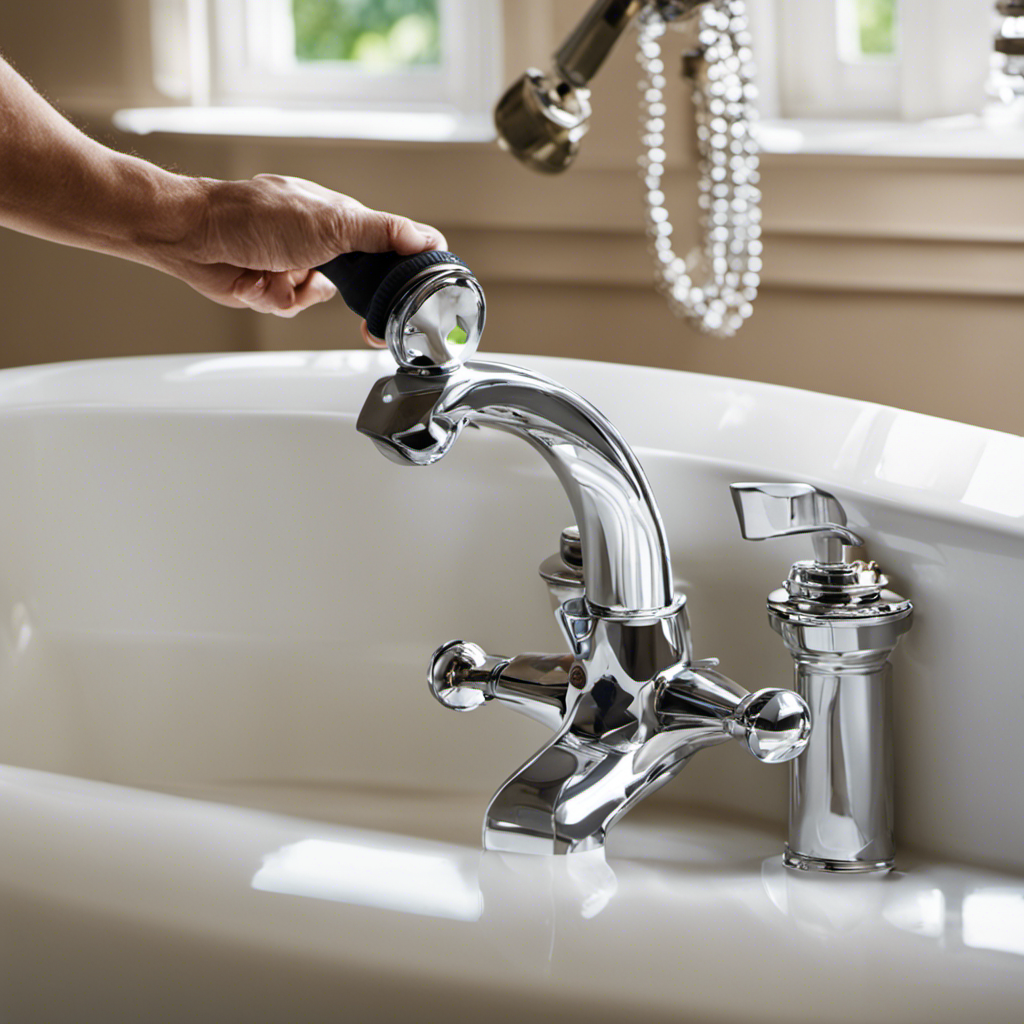
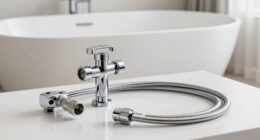
Gathering the Necessary Tools
To gather the necessary tools, you’ll want to grab a wrench and a pair of pliers. These tools are essential for fixing a water leak in a bathtub faucet.
When it comes to preventing future water leaks, it’s important to choose the right replacement parts. Look for high-quality materials that are durable and long-lasting. Additionally, consider the specific type of bathtub faucet you have and make sure to select replacement parts that are compatible. This will ensure a proper fit and prevent any further leaks.
Take the time to research and find reputable brands that offer reliable replacement parts. By choosing the right parts, you can fix the water leak effectively and prevent any future issues from arising.

RP46074 Compatible with Delta 13/14 Series Bath Tub Shower Faucet Single Handle Universal MultiChoice Rough-in Valve Monitor Cartridge Repair Assembly Plumbing Parts
Compatibility –Our RP46074 cartridge assembly replacement for Monitor rough-in valves (R10000, R1100, R1800, R2200, etc.) and most single-handle…
As an affiliate, we earn on qualifying purchases.
As an affiliate, we earn on qualifying purchases.
Disassembling the Bathtub Faucet
When disassembling your bathtub faucet, you’ll need a screwdriver to remove the handle and expose the internal components. To troubleshoot common bathtub faucet issues and understand the inner workings of a bathtub faucet, follow these steps:
- Turn off the water supply to the faucet by shutting off the main water valve.
- Use a screwdriver to remove the handle by unscrewing the screws holding it in place.
- Locate the retaining nut and use an adjustable wrench to loosen and remove it.
- Gently pull out the cartridge or valve stem to access the internal components of the faucet.
Understanding how the different parts of your bathtub faucet work together is crucial in identifying and resolving any issues. Now that you have disassembled the faucet, let’s move on to repairing or replacing faulty parts.

RP4993 Replacement Seats and Springs RP4993 Faucet Repair Seat Spring Kit Faucet Stem Assembly Repair Kit Compatible with Faucet Repair Kit (8 Pieces)
Package includes: you will get 4 pieces of RP4993 seats and 4 pieces of springs, totally 8 pieces…
As an affiliate, we earn on qualifying purchases.
As an affiliate, we earn on qualifying purchases.
Repairing or Replacing Faulty Parts
Now that you’ve taken apart the faucet, it’s time to check the internal components for any issues.
To repair a water leak in a bathtub faucet, you will need to identify the faulty parts and either fix or replace them.
Start by inspecting the O-rings, which are responsible for creating a watertight seal. If they are worn or damaged, replace them with new ones.
Next, examine the cartridge or valve stem for any cracks or corrosion. If necessary, replace the entire cartridge or just the damaged parts.
Additionally, check the washer and seat for any signs of wear or damage. If they are worn out, replace them with new ones.
Finally, reassemble the faucet and test for any leaks.
These repairing techniques, along with thorough troubleshooting tips, will help you fix the water leak in your bathtub faucet.
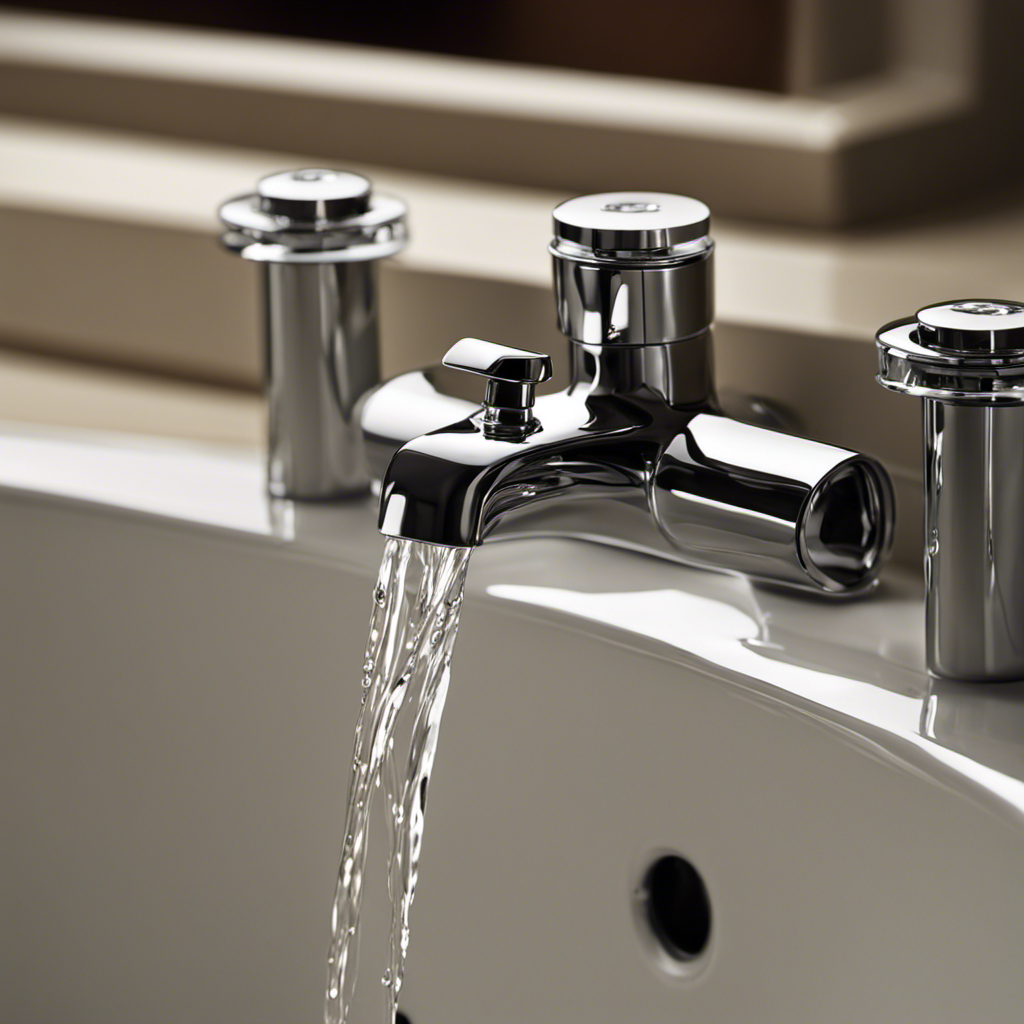
Reassembling and Testing the Faucet
After inspecting and replacing any faulty parts, it’s time to reassemble the faucet and test for any leaks. Here are the steps to follow:
-
Reattach the spout:
- Slide the spout back onto the faucet body.
- Secure it using the retaining nut.
- Make sure it is aligned properly.
- Tighten the nut using a wrench.
-
Install the handle:
- Place the handle back on the faucet stem.
- Secure it with the set screw.
- Tighten the screw using a screwdriver.
-
Connect the water supply lines:
- Reconnect the water supply lines to the appropriate valves.
- Use a wrench to tighten the connections.
- Ensure they are snug but not over-tightened.
-
Test for leaks:
- Turn on the water supply.
- Slowly open the faucet.
- Check for any leaks around the handle, spout, or connections.
- If you notice any leaks, tighten the connections further or consider replacing the faulty parts.
Conclusion
In conclusion, fixing a water leak in a bathtub faucet requires careful assessment, the right tools, and disassembling and repairing or replacing faulty parts.
By following these steps, you can successfully fix the leak and ensure that your bathtub faucet functions properly.
For example, imagine a homeowner named Sarah who noticed a small drip coming from her bathtub faucet. By using the outlined steps, she was able to identify and replace a worn-out washer, stopping the leak and saving water in the process.