
Hey there! Ever had trouble closing the drain in your bathtub? Well, fear not, because I’m here to help you out.
In this article, I’ll walk you through the steps to effectively close the drain using a stopper. We’ll start by identifying the drain mechanism and gathering the necessary tools and materials.
Then, we’ll remove the drain cover and proceed to close the drain with the stopper. Finally, we’ll test the drain closure to ensure it’s working perfectly.
So, let’s get started and say goodbye to those pesky drain problems!
Key Takeaways
- Identify the type of drain mechanism in your bathtub
- Choose a stopper that fits the size and type of your drain
- Remove the drain cover carefully to access the drain
- Insert the stopper into the drain, ensuring a snug fit and watertight seal

GIOTOHUN Cat Water Fountain Filter Replacement: 12 Cat Fountain Filter - 12 Pet Fountain Filter - 6 Carbon Filters & 6 Foam Filters - Suitable for GIOTOHUN Stainless Steel Cat Fountain S11
- Compatible with GIOTOHUN Stainless Steel Fountain: Fits GIOTOHUN 2.2L cat water dispenser
- Set of 12 Filters: Includes 6 carbon and 6 sponge filters
- Long-lasting Filters: Suitable for 3-6 months of use
As an affiliate, we earn on qualifying purchases.
Identifying the Drain Mechanism
To identify the drain mechanism, you’ll need to look for a lever or knob near the bathtub. Common problems with bathtub drains can include clogs, leaks, or issues with the drain stopper not closing properly.
There are different types of drain mechanisms in bathtubs, each with its own way of operating. The most common type is the lever-operated drain mechanism. This mechanism uses a lever located near the overflow drain to control the opening and closing of the drain.
Another type is the push-pull drain mechanism, which requires you to push or pull on the stopper to open or close the drain. Some bathtubs may also have a twist-and-turn drain mechanism, where you twist the stopper to open or close the drain.
It’s important to understand the type of drain mechanism in your bathtub to properly close the drain.
Preparing the Tools and Materials
First, you’ll need to gather the necessary tools and materials for the task at hand.
When choosing the right stopper for your bathtub drain, it’s important to consider the size and type of drain you have. Measure the diameter of the drain to ensure a proper fit. Look for stoppers that are made of durable materials, such as rubber or silicone, to ensure longevity. Additionally, make sure the stopper has a good seal to prevent any water leakage.
Common mistakes to avoid when choosing a stopper include selecting the wrong size or type, which can result in a poor fit or ineffective seal.
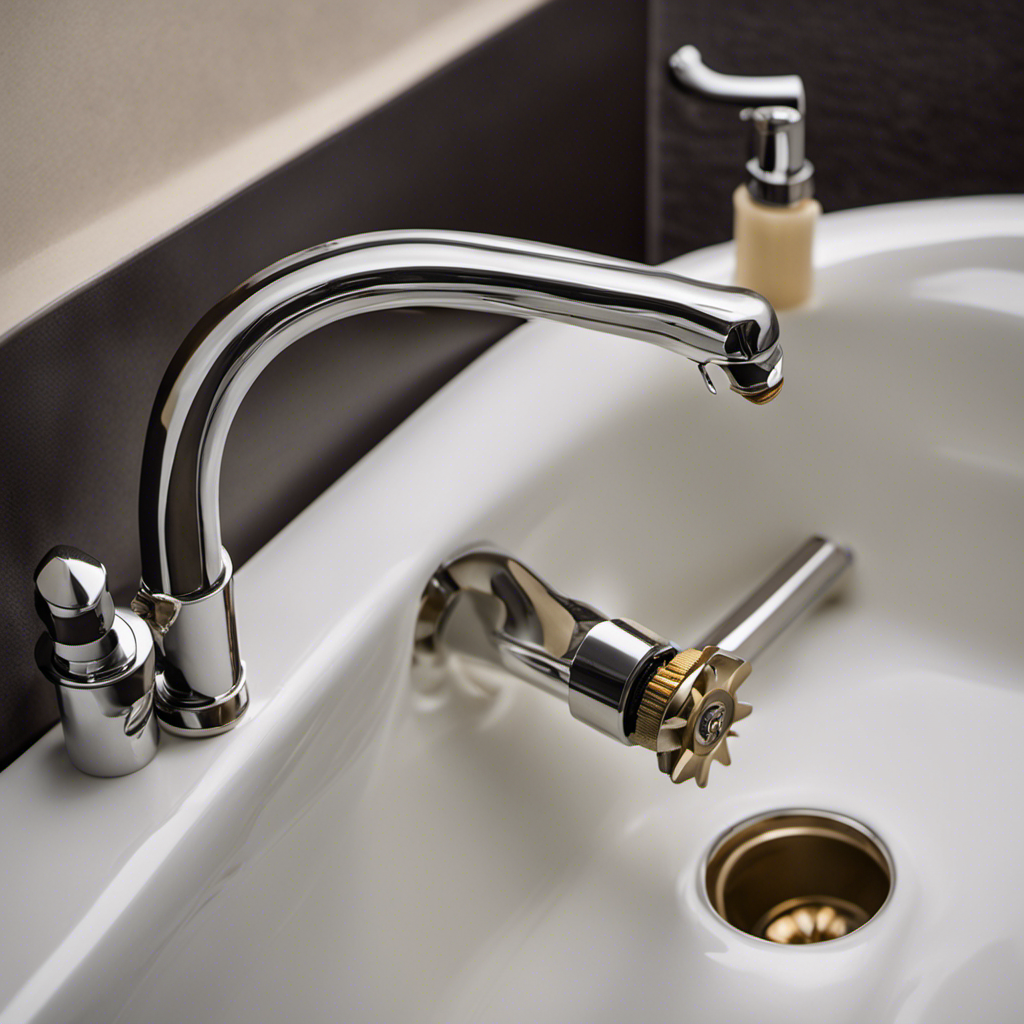
Removing the Drain Cover
When you’re removing the drain cover, be careful not to damage the surrounding area. There are different types of drain covers available, each with its own pros and cons.
The most common types include snap-on covers, screw-on covers, and lift-and-turn covers. Snap-on covers are easy to install and remove, but they may not provide a tight seal. Screw-on covers offer a secure fit, but they can be challenging to remove. Lift-and-turn covers require a twisting motion to open and close, providing a reliable seal.
To clean and maintain the drain cover, regularly remove any debris or hair buildup using a brush or tweezers. It’s important to keep the cover free from clogs to ensure proper drainage.
Now that you’ve successfully removed the drain cover, let’s move on to closing the drain with a stopper.
Closing the Drain With a Stopper
Now that you’ve successfully removed the drain cover, it’s time to place the stopper in the bathtub. Here are the steps to install a bathtub stopper and troubleshoot drain closure issues:
-
Step 1: Choose the right stopper – There are various types of stoppers available, such as push-pull, twist and lock, and pop-up. Select the one that matches your bathtub and personal preference.
-
Step 2: Insert the stopper – Take the stopper and insert it into the drain. Ensure it fits snugly and creates a watertight seal.
-
Step 3: Test the closure – Fill the bathtub with a small amount of water and check if the stopper effectively closes the drain. If the water drains slowly or doesn’t stay in the tub, there may be a closure issue.
-
Step 4: Troubleshoot closure issues – If you’re experiencing closure problems, make sure the stopper is clean and free from debris. Adjust or tighten any parts that may be loose. If the issue persists, consider replacing the stopper or consulting a professional plumber.
With these steps, you can easily install a bathtub stopper and troubleshoot any drain closure issues. Enjoy a relaxing bath without worrying about water draining away!
Testing the Drain Closure
To test if the water stays in, fill the tub with a small amount of water and see if the stopper effectively seals it. Evaluating the effectiveness of the drain closure is crucial to ensuring a properly functioning bathtub.
When troubleshooting common issues related to the stopper, there are a few key factors to consider.
First, check if the stopper is securely placed in the drain and if it forms a tight seal. If the water drains out, the stopper may be worn or damaged and should be replaced.
Another common issue is debris or hair accumulation around the stopper, which can prevent it from sealing properly. Cleaning the stopper and the surrounding area should resolve this problem.
Additionally, check if the stopper mechanism is working correctly by operating the lever or knob.
Conclusion
In conclusion, closing the drain in your bathtub is a simple yet crucial task that can prevent water from leaking and keep your bathroom dry.
By identifying the drain mechanism, preparing the necessary tools and materials, removing the drain cover, and closing the drain with a stopper, you can effectively control the water flow.
Testing the drain closure ensures that everything is functioning properly.
So go ahead, take charge of your bath time experience, and keep the watery chaos at bay!