I’ve always been fascinated by the intricate workings of plumbing systems. There’s something satisfying about connecting pipes and fixtures to create a functional and efficient bathroom.
In this article, I’ll guide you through the steps of plumbing a bathtub shower, from choosing the right materials to testing and troubleshooting the installation.
Get ready to dive into the world of plumbing and discover the secrets behind a perfectly functioning bathtub shower.
Key Takeaways
- Choose plumbing materials that are durable, compatible, and designed for hot water to ensure a reliable and long-lasting bathtub shower system.
- Install fixtures securely at a comfortable height and apply waterproofing measures like a membrane and shower pan liner to prevent water damage.
- Connect water supply lines properly and ensure a tight connection to maintain a steady flow of water and prevent leaks.
- Properly seal drain fittings, ensure a proper slope for effective drainage, and secure drain pipes in place to prevent leaks and promote efficient drainage.

Faucet Floor-Mount Freestanding Tub Filler Rough-In Valve,Compatible with Delta Freestanding Tub Fillers R4700-FL
1.Application:Floor-Mount Freestanding Tub Filler Rough-In Valve is compatible with freestanding tub filler trim kits such as T4579-fl、T4759-FL、T4768-FL、T4774-FL、T4767-FL、T4752-FL、T4797-FL、T4759-FL、T4797‑SSFL‑LHP and...
As an affiliate, we earn on qualifying purchases.
Choosing the Right Plumbing Materials
To choose the right plumbing materials for your bathtub shower, you’ll need to consider factors like durability and compatibility. When comparing different types of plumbing materials for bathtub showers, there are some common mistakes to avoid.
One mistake is choosing materials that are not suitable for the specific needs of your shower, such as using regular PVC pipes instead of CPVC pipes, which are designed for hot water. Another mistake is using low-quality materials that may deteriorate quickly and cause leaks or other issues.
It’s important to prioritize quality and choose materials that are resistant to corrosion and can withstand the demands of daily use. By selecting the right plumbing materials, you can ensure a reliable and long-lasting bathtub shower system.
Now, let’s move on to installing the bathtub and shower fixtures.

R4700-FL Floor-Mount Rough-in Valve for Freestanding Tub Filler, Stainless Steel Tub Filler Rough-in Valve Compatible with Delta Tub & Shower Faucets
Perfect Fit – Engineered exclusively for Delta floor-mount tub & shower faucets; drops straight in with zero guesswork
As an affiliate, we earn on qualifying purchases.
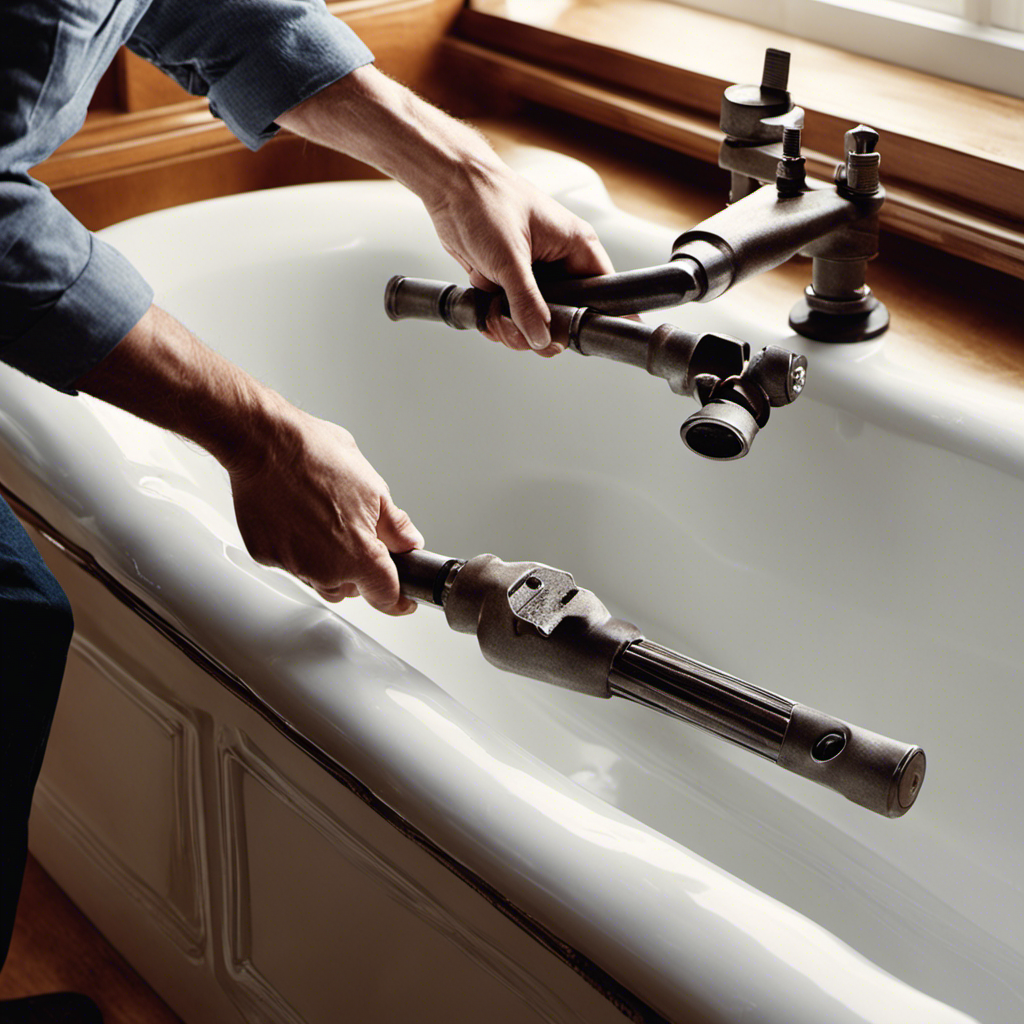
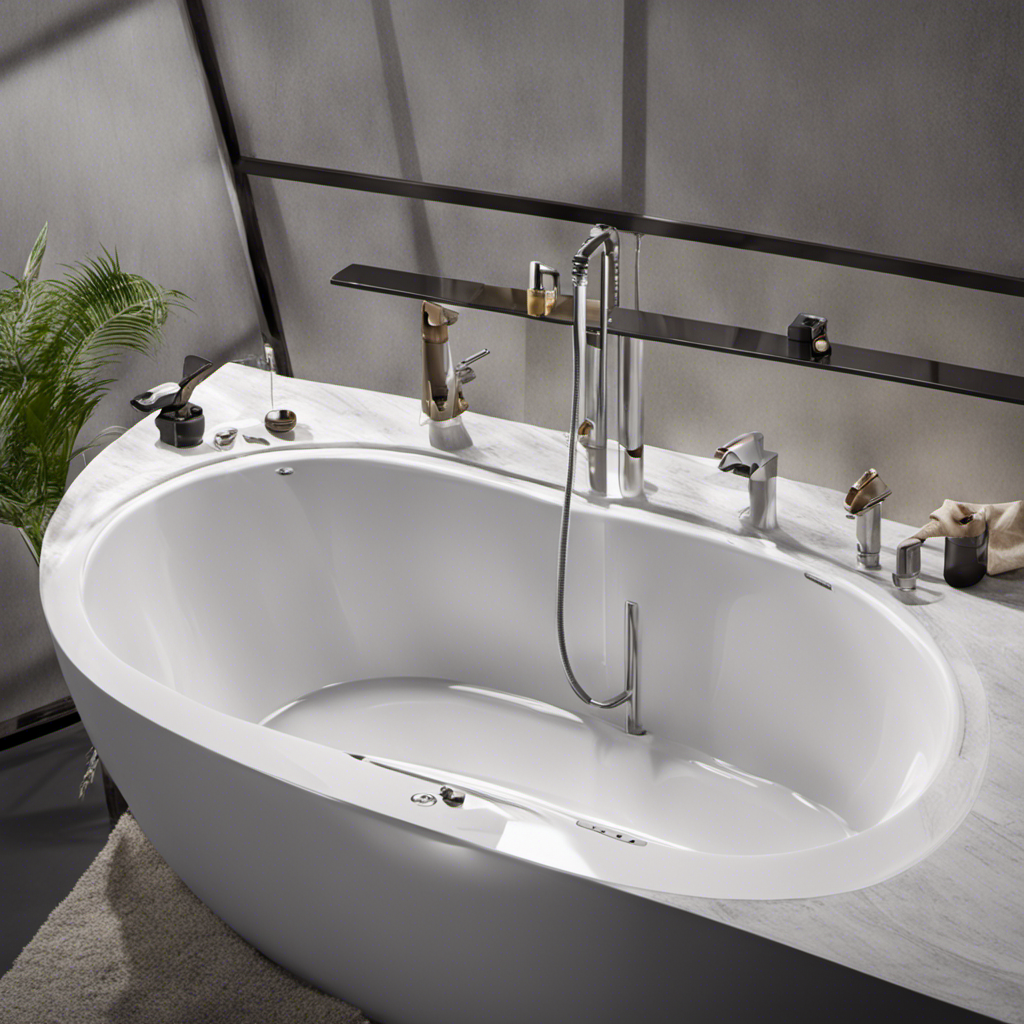
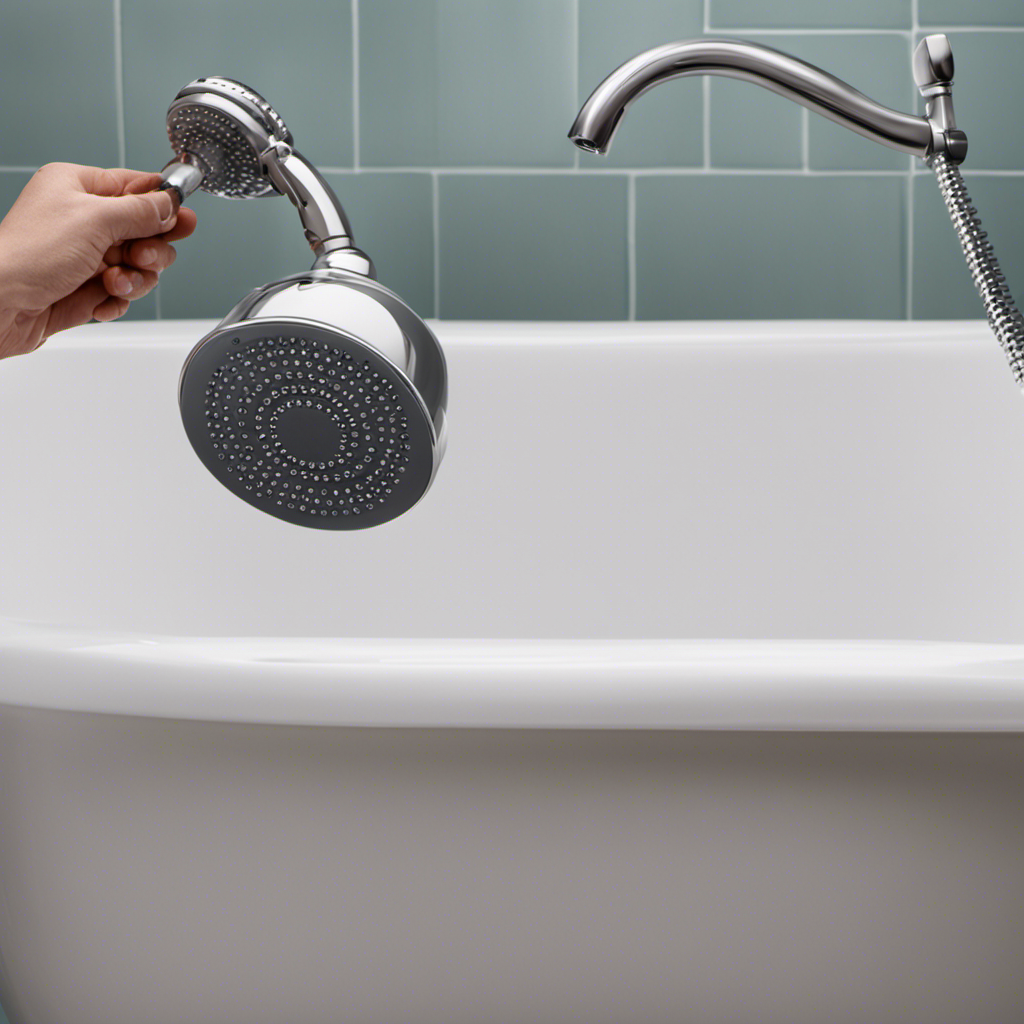
Installing the Bathtub and Shower Fixtures
Attach the fixtures securely to the wall and make sure they are at a comfortable height for you to use.
Proper waterproofing techniques are crucial to prevent any water damage. Start by applying a waterproofing membrane to the walls around the shower area. Be thorough and ensure that all seams and corners are properly sealed.
Next, install a shower pan liner to create a watertight barrier.
When it comes to adjusting water temperature and pressure, consider installing a thermostatic valve. This will allow you to set a desired temperature and maintain it throughout your shower.
Additionally, installing a pressure-balancing valve will help regulate the water pressure, preventing sudden temperature fluctuations.
Connecting the water supply lines is the next step in the process of plumbing a bathtub shower, ensuring a functional and enjoyable bathing experience.

R4700-FL Floor-Mount Freestanding Tub Filler Rough-in Valve Compatible with Delta Freestanding Tub Fillers
Perfect Fitment – Compatible with Delta freestanding bathtub and shower faucets.
As an affiliate, we earn on qualifying purchases.
Connecting the Water Supply Lines
Make sure the water supply lines are connected securely to ensure a steady flow of water.
When connecting the water supply lines for your bathtub shower, it is essential to consider the water pressure and the hot water connection.
Firstly, check the water pressure in your home to ensure it meets the manufacturer’s requirements for the fixtures. This can be done using a pressure gauge. If the pressure is too high, you may need to install a pressure-reducing valve.
Secondly, when connecting the hot water supply line, make sure to use the correct fittings and ensure a tight connection. A leak in the hot water connection can result in reduced water temperature or even no hot water at all.
Properly connecting the water supply lines is crucial for a functional and efficient bathtub shower system.

Rough-in Valve Replacement for R4700-FLWS, Compatible with D Floor-Mount Freestanding Tub Filler(with Screwdriver Stops)
Solid brass construction ensures durability and dependability
As an affiliate, we earn on qualifying purchases.
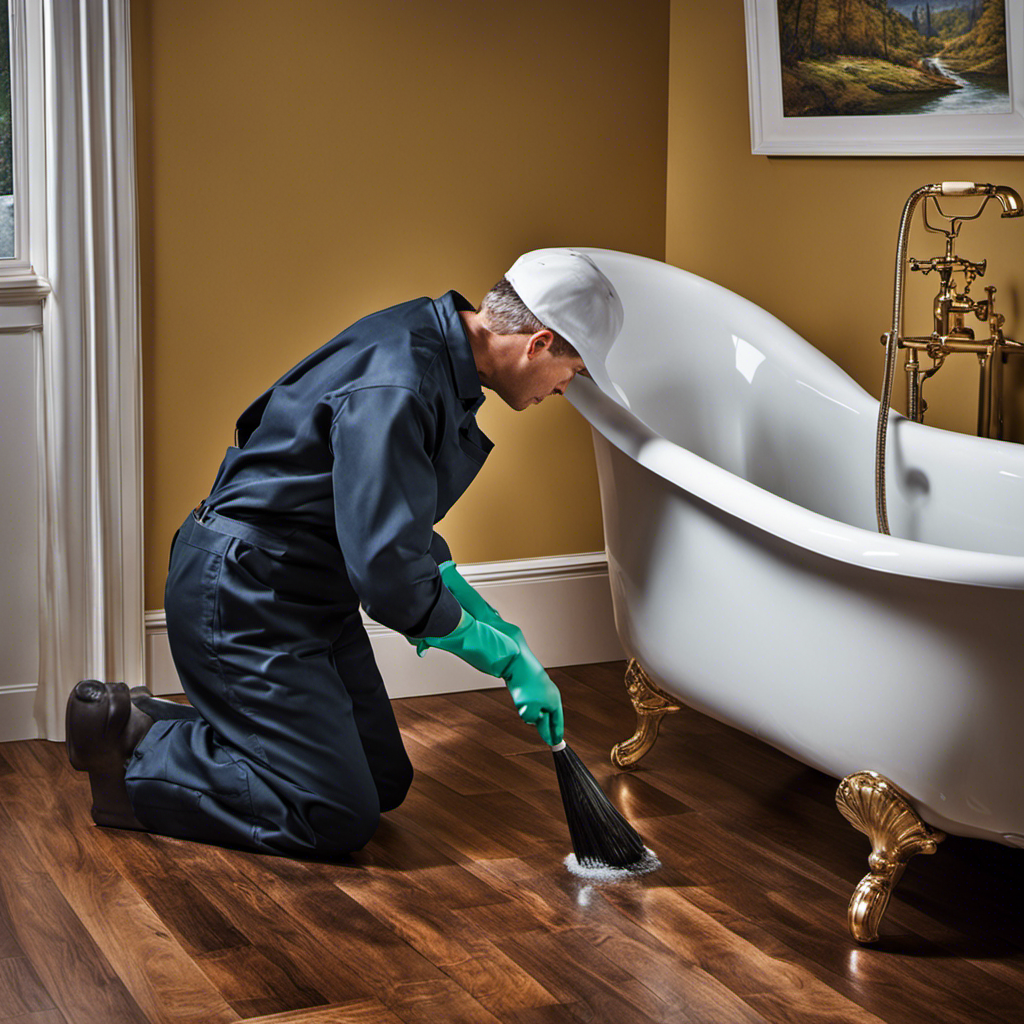
Installing the Drain System
When installing the drain system, it’s important to ensure a proper connection to prevent any leaks or drainage issues. To achieve this, follow these steps:
-
Properly sealing the drain fittings: Apply plumber’s putty or silicone sealant around the drain flange before installing it into the drain hole. This will create a watertight seal and prevent any water from leaking out.
-
Ensuring proper slope for effective drainage: The drain pipe should be sloped downwards towards the main drain line to allow water to flow freely. Use a level to ensure a consistent and gradual slope. This will prevent water from pooling and promote efficient drainage.
-
Securing the drain pipes: Use pipe straps or clamps to secure the drain pipes in place. This will prevent any movement or disconnection that could lead to leaks or blockages.
Testing and Troubleshooting the Plumbing Installation
To check if the plumbing installation is working correctly, you should run water through the drain system and observe for any leaks or drainage issues. Start by filling the bathtub with water and allowing it to drain completely. Keep an eye out for any water leakage around the drain or any slow drainage. If there are leaks, you may need to tighten the connections or apply plumber’s tape. Additionally, if you notice slow drainage, it could be due to a clog in the pipes. Use a plunger or a drain snake to clear any blockages.
Another aspect to consider is adjusting water pressure. If the water flow is too weak, you can adjust the pressure by locating the water pressure regulator and turning it clockwise to increase the pressure. On the other hand, if the pressure is too high, turning the regulator counterclockwise will decrease it. It’s important to find the perfect balance to ensure efficient water flow without risking any leaks or damage to the plumbing system.
| Issue | Possible Causes | Solutions |
|---|---|---|
| Water leakage | Loose connections, worn-out seals | Tighten connections, replace seals |
| Slow drainage | Clogged pipes, blockages | Use plunger or drain snake |
| Low water pressure | Faulty pressure regulator | Adjust pressure regulator as needed |
Conclusion
Well, that’s a wrap on our bathtub shower plumbing adventure! We’ve covered everything from choosing the perfect plumbing materials to installing the fixtures and connecting the water supply lines.
We even tackled the drain system and made sure everything was in tip-top shape. Now, all that’s left is to test and troubleshoot our plumbing installation.
So grab your tool belt and get ready to enjoy the luxurious experience of a perfectly plumbed bathtub shower.
Happy plumbing!