I’ve always been a fan of DIY home improvement projects, and one task that can really transform the look of a bathroom is replacing the bathtub tile.
If you’re tired of that outdated design or just want to freshen up the space, this guide will walk you through the process step by step.
From prepping the surface to grouting and adding those finishing touches, I’ll share all the tips and tricks you need to successfully tackle this project and create a stunning new look for your bathroom.
Key Takeaways
- Properly prepare the bathtub surface by removing old tiles and cleaning it thoroughly.
- Take appropriate safety precautions when removing old tiles, such as using a heat gun or chemical removers.
- Choose the right type of tiles and gather the necessary materials for installation.
- Follow proper grouting techniques and finish the project by cleaning up and sealing the grout.
Preparing the Bathtub Surface
Before you can start replacing the bathtub tile, you’ll need to prepare the surface by removing any old tiles or grout. This is an essential step to ensure a smooth and durable tile installation.
To begin, gather your cleaning products and tools. You’ll need a tile scraper, grout saw, and a bucket of warm water.
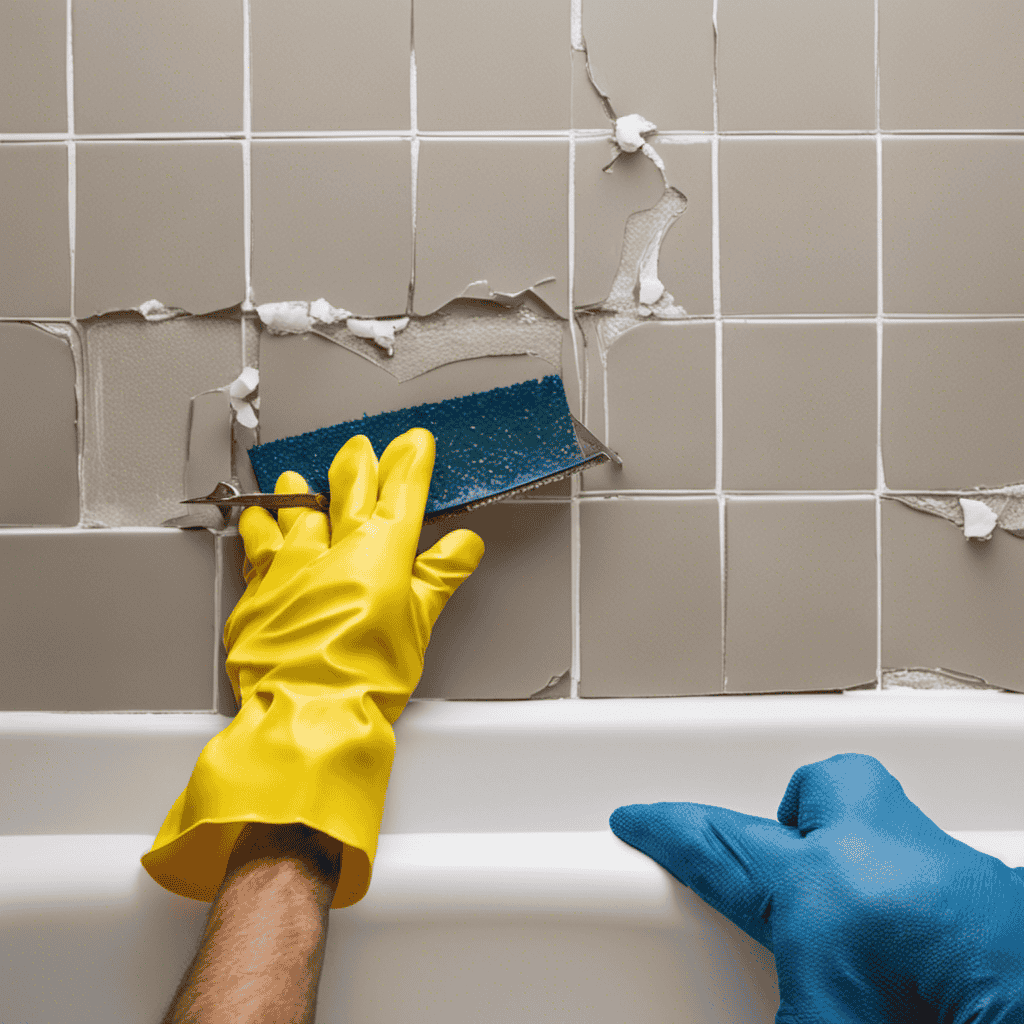
Start by using the grout saw to carefully remove the old grout between the tiles. Once the grout is removed, use the tile scraper to gently pry off the old tiles. Be cautious not to damage the bathtub surface.
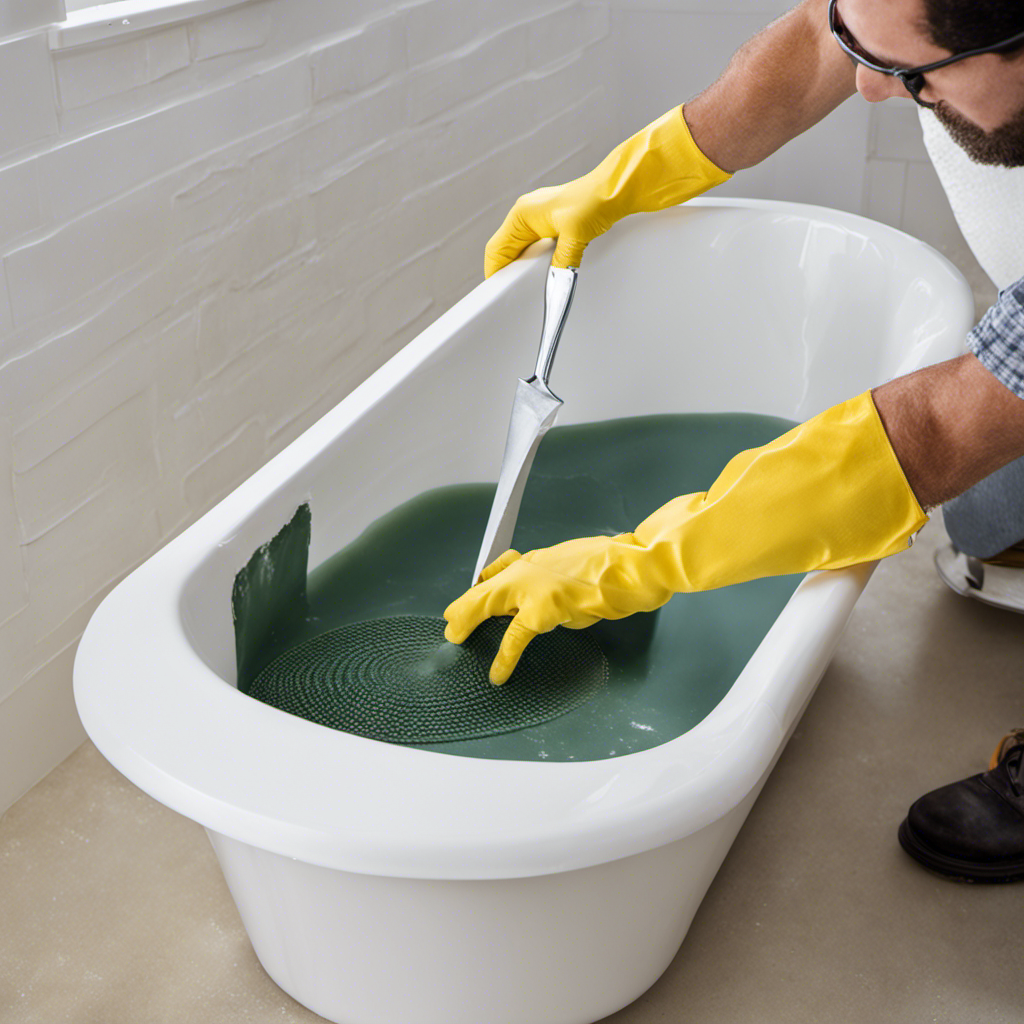
Once the old tiles are removed, thoroughly clean the surface using a mild cleaning solution and warm water. This will ensure proper adhesion of the new tiles.
Removing the Old Tiles
To start, you’ll want to carefully pry off the old tiles using a putty knife. This is an essential step in the demolition process of replacing bathtub tiles. It’s important to use proper tile removal techniques to avoid damaging the underlying surface. Here are some key techniques to consider:
| Technique | Description |
|---|---|
| Manual Removal | Gently pry off the tiles one by one using a putty knife or a chisel. Be cautious not to apply too much force to prevent any cracks or chips. |
| Heat Gun | Apply heat to the tiles using a heat gun to soften the adhesive. This will make it easier to remove the tiles without causing any damage. |
| Chemical Removers | Use a chemical remover to dissolve the adhesive holding the tiles. Follow the manufacturer’s instructions and take appropriate safety precautions. |
Installing New Tiles
Once you’ve removed the old tiles, it’s time to start installing the new ones. When choosing tile options, consider the style, color, and material that best suits your bathroom decor.
Ceramic, porcelain, and natural stone are popular choices for bathtub tiles.
To install new tiles, you’ll need the following tools and materials:
- Tile adhesive: This is necessary for securely attaching the tiles to the wall.
- Notched trowel: Used to spread the adhesive evenly on the wall.
- Tile spacers: These ensure a consistent gap between the tiles for grouting.
- Grout: Used to fill the gaps between tiles and prevent moisture penetration.
It’s important to have these items ready before starting the installation process. By carefully selecting the right tile options and having the necessary tools and materials on hand, you’ll be well-prepared to install beautiful new tiles for your bathtub.
Grouting the Tiles
Make sure you have the right kind of grout and a grout float handy for filling in the gaps between your newly installed tiles.
Choosing the right grout color is crucial for achieving a professional-looking finish. Consider the overall aesthetic of your bathroom and the color scheme you have in mind. If you want a seamless look, choose a grout color that closely matches your tile color. On the other hand, if you want to make a statement, contrasting grout colors can add visual interest.
When applying the grout, make sure to follow the manufacturer’s instructions and work in small sections. Use the grout float to spread the grout evenly and remove any excess. Wipe away any excess grout with a damp sponge, being careful not to remove too much.
Once the grout is dry, you can move on to the finishing touches and cleaning up, ensuring a beautifully tiled bathtub.
Finishing Touches and Cleaning Up
After the grout is dry, you can start wiping away any excess and adding the finishing touches to achieve a beautifully tiled bathroom. It’s important to clean up properly to ensure a polished look and longevity of your new tiles.
Here are some steps to follow:
-
Use a damp sponge or cloth to gently wipe away any remaining grout residue on the tiles. Be careful not to disturb the freshly set grout.
-
To remove any haze or film on the tiles, use a mild cleaning solution specifically designed for tile surfaces. Avoid using harsh chemicals that may damage the tiles.
-
Once the tiles are clean, it’s crucial to seal the grout to protect it from stains and moisture. Choose a high-quality grout sealer and carefully apply it according to the manufacturer’s instructions.
Conclusion
In conclusion, replacing bathtub tiles can be a daunting task, but with the right preparation and steps, it can be accomplished successfully.
By carefully preparing the bathtub surface, removing the old tiles, installing new ones, and grouting them properly, you can achieve a beautiful and durable tile replacement.
Don’t forget the finishing touches and cleaning up to ensure a polished final result.
Remember, Rome wasn’t built in a day, and neither is a perfectly tiled bathtub. So take your time and enjoy the process of transforming your bathroom oasis.
