
Imagine stepping into your bathtub after a long day, only to find that the water won’t drain. Frustration sets in as you realize it’s time to tackle the task of removing the drain plug.
Fear not, as this guide will equip you with the knowledge and tools needed to conquer this seemingly daunting task. With a few simple steps, you’ll be able to successfully remove the drain plug from your bathtub, ensuring smooth and hassle-free drainage in no time.
Key Takeaways
- Assess the condition of the drain plug before removal to avoid damage
- Gather the necessary tools, such as an adjustable wrench and plumber’s putty
- Remove the drain plug by unscrewing it counterclockwise with a screwdriver and wrench
- Clean and maintain the drain regularly to prevent clogs and ensure proper drainage
Assessing the Drain Plug
Now, you’ll need to take a close look at the drain plug to assess its condition and determine the best approach for removing it.
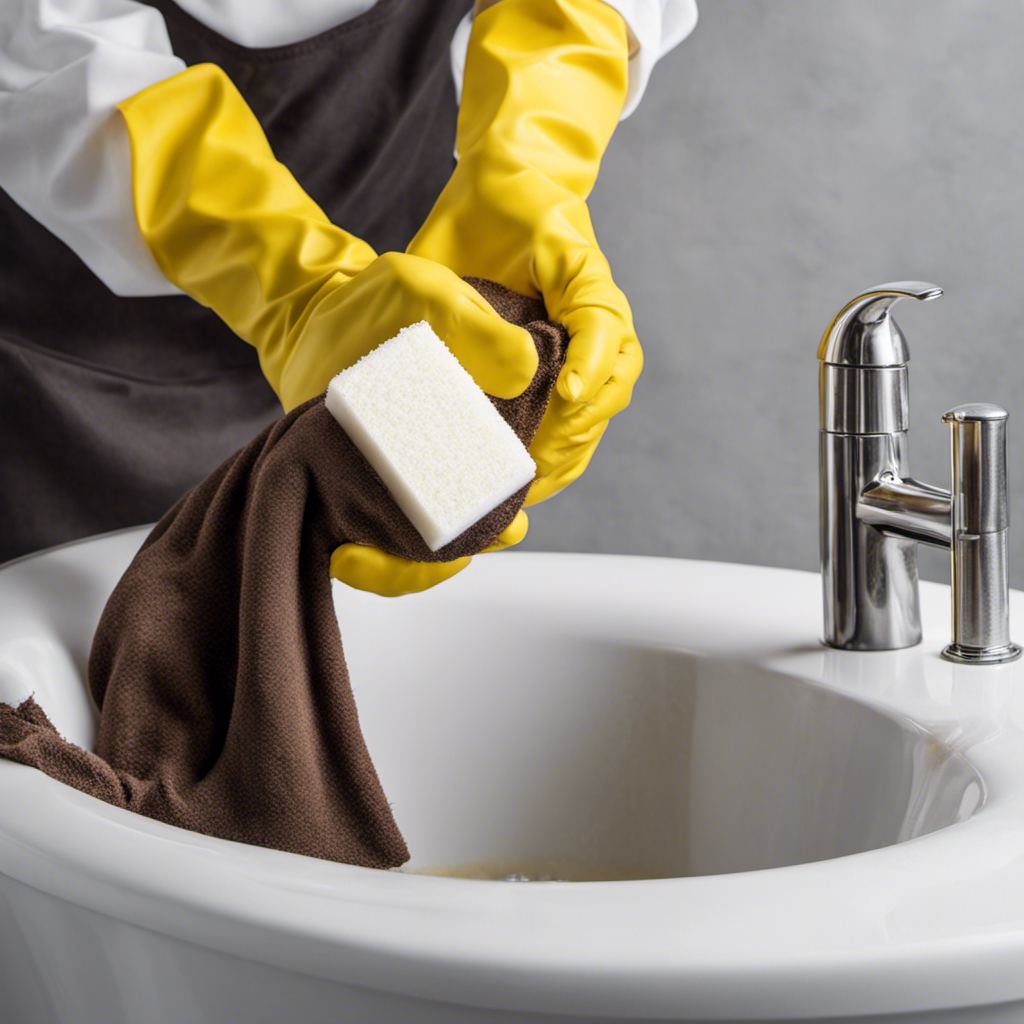
Evaluating the condition of the drain plug is crucial in order to avoid any potential damage or complications during the removal process. Start by examining the plug for any signs of wear, such as cracks or corrosion.
If the plug appears to be in good condition, you can proceed with the removal process. However, if you notice any blockages, such as hair or debris, it’s important to first clear them out using a pair of tweezers or a small brush.
This will ensure a smooth and hassle-free removal of the drain plug, without causing any further damage to your bathtub.
Gathering the Necessary Tools
First, you’ll need to gather the necessary tools for this task. To successfully repair leaks or replace the drain plug, you’ll require the following items:
-
Adjustable wrench: This tool will help you loosen and tighten the drain plug without causing any damage.
-
Plumber’s putty: This waterproof sealant will prevent any leaks from occurring once the drain plug is replaced.
-
Screwdriver: You may need this tool to remove any screws or covers that are keeping the drain plug in place.
Having these tools at your disposal will ensure that you can effectively complete the task of repairing leaks or replacing the drain plug.
With the necessary tools in hand, you can now move on to the next step of removing the drain plug.
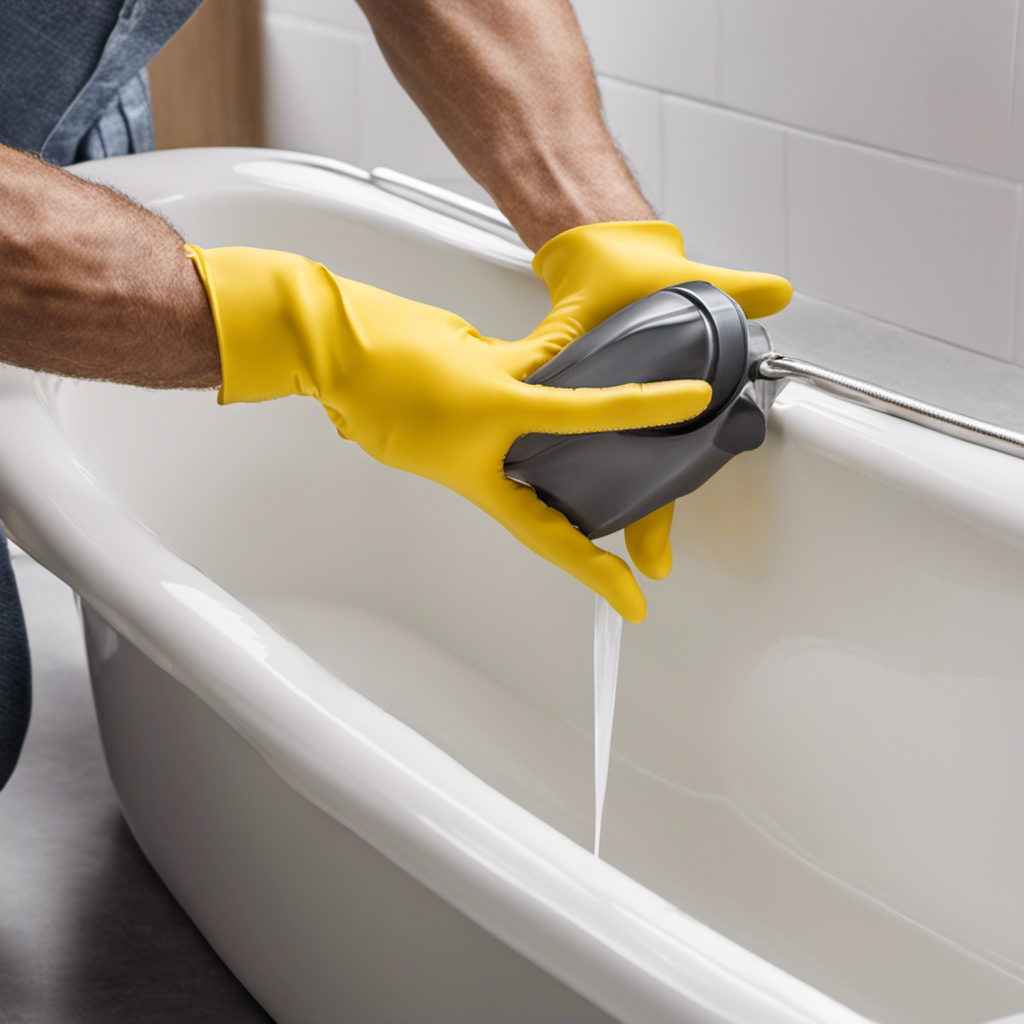
Removing the Drain Plug
To remove the drain plug, you’ll simply need to unscrew it counterclockwise using the screwdriver and adjustable wrench. This straightforward process allows you to access the drain and solve any issues such as fixing leaks or installing a replacement plug. It’s important to have the right tools on hand to ensure a smooth removal. Here is a table that outlines the necessary tools:
| Tool | Description |
|---|---|
| Screwdriver | Used to unscrew plug |
| Adjustable wrench | Provides leverage for removal |
Cleaning and Maintaining the Drain
Regularly cleaning and maintaining the drain is essential for preventing clogs and ensuring proper drainage. Here are three key steps to keep your drain clean and clog-free:
-
Use the right cleaning products: Choose a drain cleaner specifically designed for your type of drain. Look for products that are safe for your plumbing system and effective in removing buildup and debris.
-
Establish a cleaning routine: Make it a habit to clean your drain at least once a month. This will help prevent the accumulation of hair, soap scum, and other materials that can lead to clogs.
-
Take preventive measures: Use drain screens or stoppers to catch hair and large particles before they enter the drain. Avoid pouring grease, oil, or food scraps down the drain, as they can solidify and cause blockages.
Troubleshooting Common Issues
If you’re experiencing a clog in your bathroom sink, try using a plunger to dislodge the blockage. However, if the clog persists, you may need to employ other troubleshooting techniques to resolve the issue.
One of the best practices is to remove the drain plug and inspect it for any debris or buildup. Start by locating the drain plug beneath the sink and unscrewing it counterclockwise. Once removed, check for any hair, soap scum, or other materials that may be causing the clog. Use a wire hanger or a small brush to gently remove any obstructions.
After cleaning the drain plug, reattach it by screwing it back in clockwise. This simple troubleshooting technique can often solve common clogs and help maintain a properly functioning bathroom sink.
Frequently Asked Questions
How Can I Prevent My Drain Plug From Getting Stuck in the Future?
To prevent your drain plug from getting stuck in the future, there are a few steps you can take. Regularly clean the plug to remove any debris, avoid pouring substances that can clog the drain, and troubleshoot common drain plug issues promptly.
Is It Possible to Replace the Drain Plug With a Different Style or Material?
You can enhance the replaceability and durability of your drain plug by exploring different styles or materials. Consider options that offer long-lasting performance and easy installation, ensuring a hassle-free bathing experience.
What Should I Do if the Drain Plug Is Damaged or Broken While Trying to Remove It?
If the drain plug is damaged or broken while removing it, you need to be cautious. First, turn off the water supply and use pliers or a drain wrench to carefully remove the remaining pieces. Consider replacing the drain plug if necessary.
How Often Should I Clean the Drain Plug to Prevent Clogs and Build-Up?
To prevent clogs and build-up, it’s important to clean your drain plug regularly. Effective ways include using a mixture of vinegar and baking soda or a drain cleaner solution.
Can I Use Any Household Cleaning Products to Clean the Drain Plug, or Are There Specific Ones I Should Avoid?
You can use various household cleaning products to maintain your drain plug. However, it is crucial to avoid using abrasive or corrosive substances that could damage the plug or cause harm to the plumbing system.
Conclusion
In conclusion, you’ve successfully embarked on a journey through the depths of bathtub drain plug removal. Armed with your trusty tools, you navigated the treacherous waters of clogs and debris. You freed your bathtub from the clutches of stagnation. With each twist and turn, you cleansed your sacred space, restoring harmony and tranquility to your bathing sanctuary.
Remember, maintenance is key to preventing future blockages and ensuring a smooth flow. May your drains remain forever clear, symbolizing a life free from the burdens of a clogged bathtub.

Liam’s journey with us started as a consumer. Having faced challenges while setting up his own modern bathroom, he delved deep into research.
Recognizing his knack for simplifying complex information and his authentic writing style, we were thrilled to welcome him aboard. Liam’s articles often merge practicality with style, ensuring readers find the perfect fit for their homes. Liam is an avid hiker off-duty and often jokes about finding the best “natural toilets” Mother Earth has to offer.