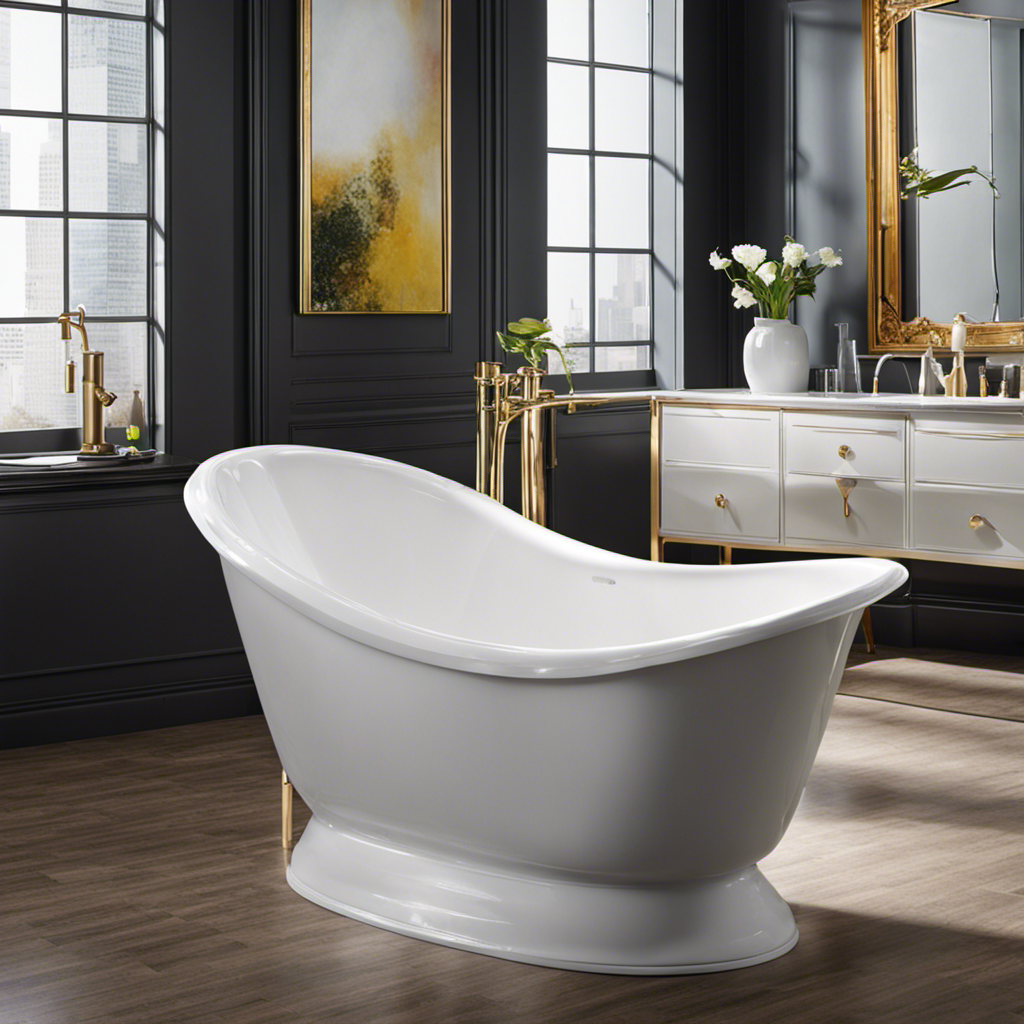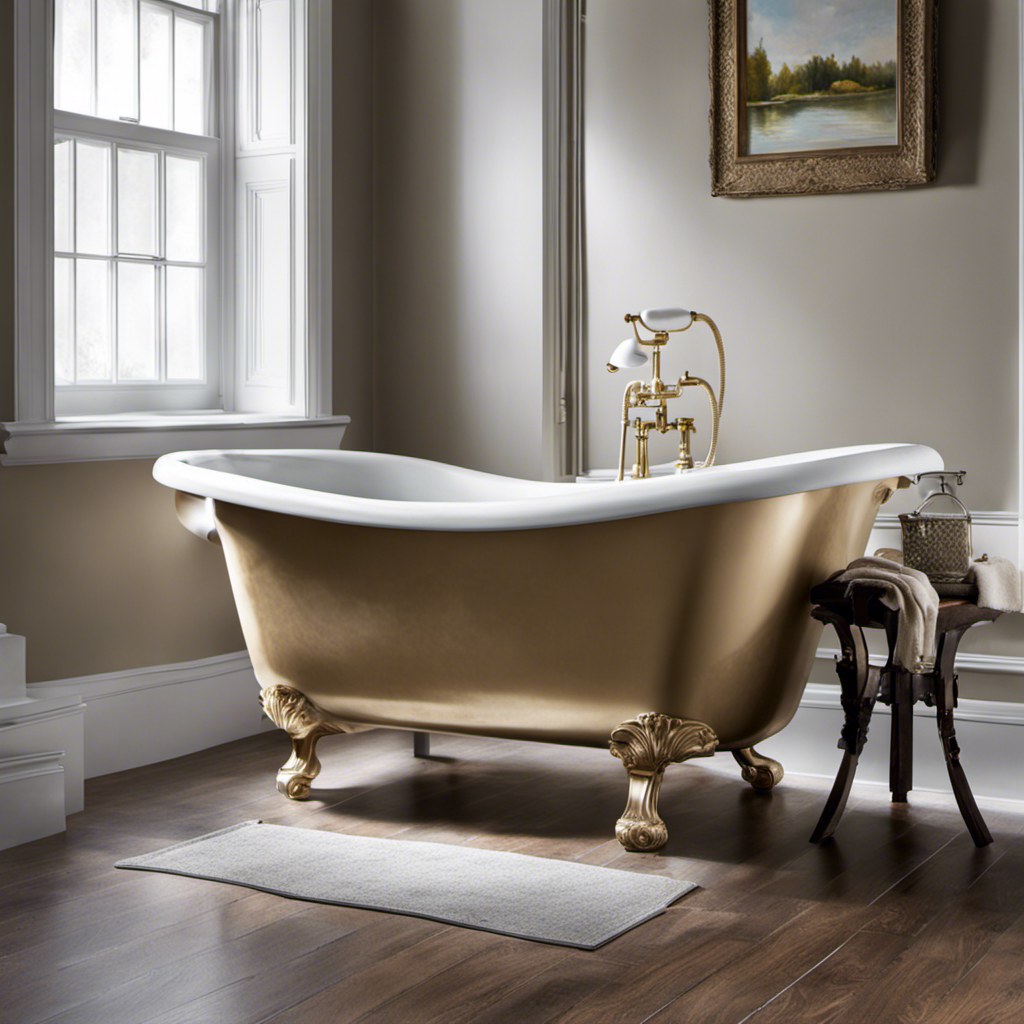

Are you tired of staring at that worn-out, dull bathtub in your bathroom? Well, buckle up because we’ve got the ultimate solution for you.
In this guide, we’ll show you how to refinish your old bathtub and give it a new lease on life. With just a few simple steps, some handy tools, and a little bit of elbow grease, you’ll have a sparkling, like-new bathtub that will leave your guests in awe.
Trust us, this is a game-changer you don’t want to miss.
Key Takeaways
- Assess the condition and cost of refinishing versus replacing the old bathtub.
- Gather the necessary tools, materials, and protective gear before starting the refinishing process.
- Prepare the bathtub surface by cleaning it with a mild cleanser and avoiding harsh chemicals or abrasive scrubbers.
- Apply the refinishing solution in even strokes, allowing each coat to dry completely before applying another if needed.

Rust-Oleum 384165 Tub And Tile Refinishing 2-Part Kit, 32 oz, Gloss White
- Fast Surface Preparation: Prepare and paint in one day
- Durable Epoxy Formula: Resists moisture and corrosion
- Easy Mixing Instructions: Mix parts A and B thoroughly
As an affiliate, we earn on qualifying purchases.
As an affiliate, we earn on qualifying purchases.
Assessing the Condition of the Bathtub
Before you start refinishing, it’s important to assess the current condition of the bathtub. Evaluating the cost and determining the best time to refinish are crucial steps in this process.
Begin by examining the bathtub for any visible damage, such as cracks, chips, or discoloration. Look closely at the surface to identify any rough areas or peeling paint. Consider the age of the bathtub and its overall condition. Is it still structurally sound?
Next, calculate the cost of refinishing versus replacing the bathtub. Take into account the materials needed, labor costs, and any additional expenses.
Finally, determine the best time to refinish based on your schedule and availability. Make sure you have enough time to complete the project without rushing.
Gathering the Necessary Tools and Materials
To get started, you’ll need to gather all the tools and materials you’ll need for the bathtub refinishing project.
First and foremost, you should choose the right bathtub refinishing product. Look for a product that is specifically designed for refinishing bathtubs and is compatible with the material of your bathtub.
Safety precautions during the refinishing process are crucial. Make sure to wear protective gear, such as gloves and goggles, to protect yourself from any chemicals or fumes. Additionally, ensure that the area is well-ventilated by opening windows or using fans. It’s also important to have proper ventilation masks to avoid inhaling any harmful fumes.
Preparing the Bathtub for Refinishing
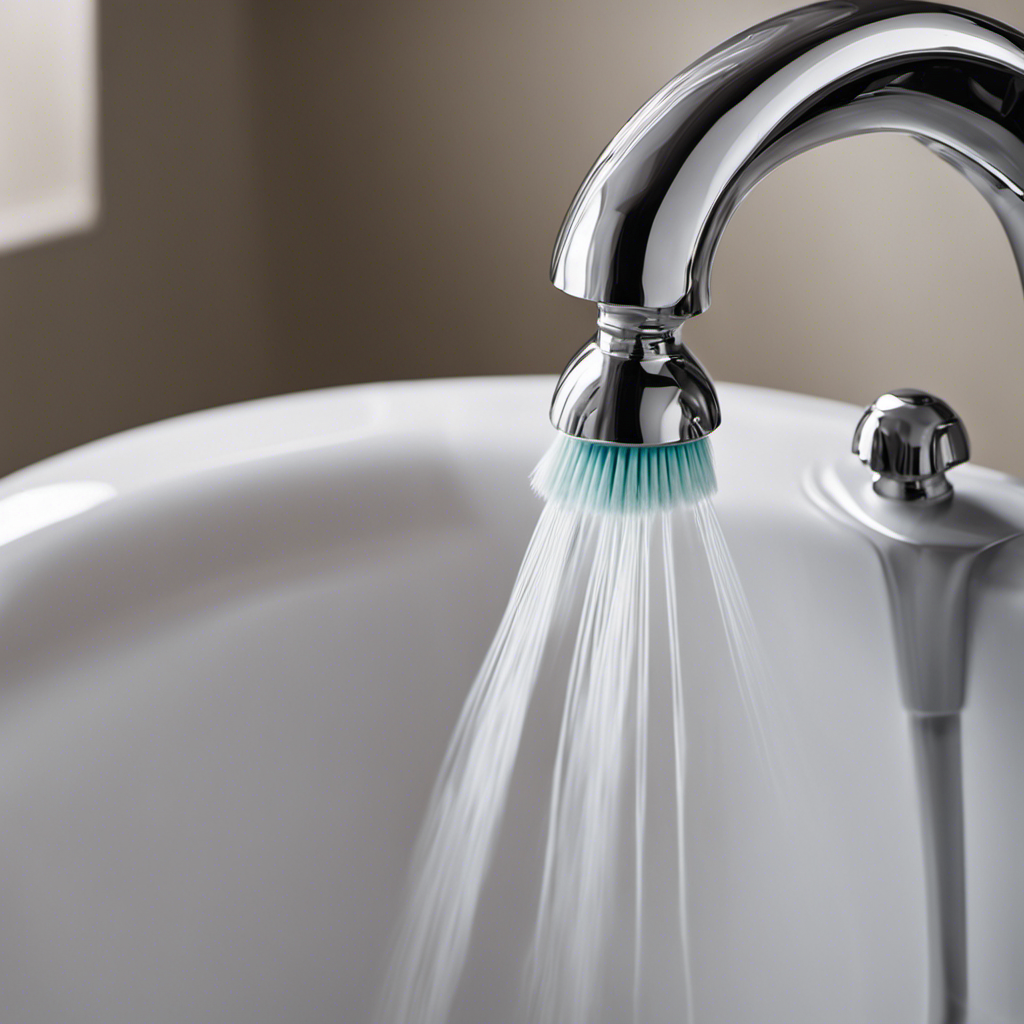
Now, it’s time to start by thoroughly cleaning the surface of your bathtub using a mild cleanser and a scrub brush. This step is crucial in ensuring a smooth and long-lasting refinishing job.
Here are some cleaning techniques and safety precautions you should keep in mind:
-
Use a mild cleanser: Opt for a non-abrasive cleaner that is specifically formulated for bathtub surfaces. Avoid using harsh chemicals or abrasive scrubbers, as they can damage the finish of your bathtub.
-
Scrub gently: Use a soft scrub brush or sponge to scrub away dirt and grime. Apply gentle pressure and circular motions to avoid scratching the surface.
-
Rinse thoroughly: After scrubbing, rinse the bathtub thoroughly with warm water to remove any residue from the cleanser.
Applying the Refinishing Solution
After thoroughly cleaning the surface, it’s time to apply the refinishing solution to your bathtub. This step is crucial in achieving a smooth and flawless finish.
To begin, make sure you have all the necessary tools and materials at hand, such as a high-quality brush or sprayer, gloves, and a well-ventilated area.
Start by applying the solution in even strokes, working from one end of the tub to the other. Be careful not to apply too thick of a coat, as it can lead to drips and an uneven finish.
Allow the first coat to dry completely before applying a second coat, if needed. Remember to follow the manufacturer’s instructions for drying time.
Common mistakes to avoid during the application process include rushing the drying time, not mixing the solution properly, and applying the solution in a dusty or humid environment.
Taking your time and following these tips will ensure a professional-looking result.
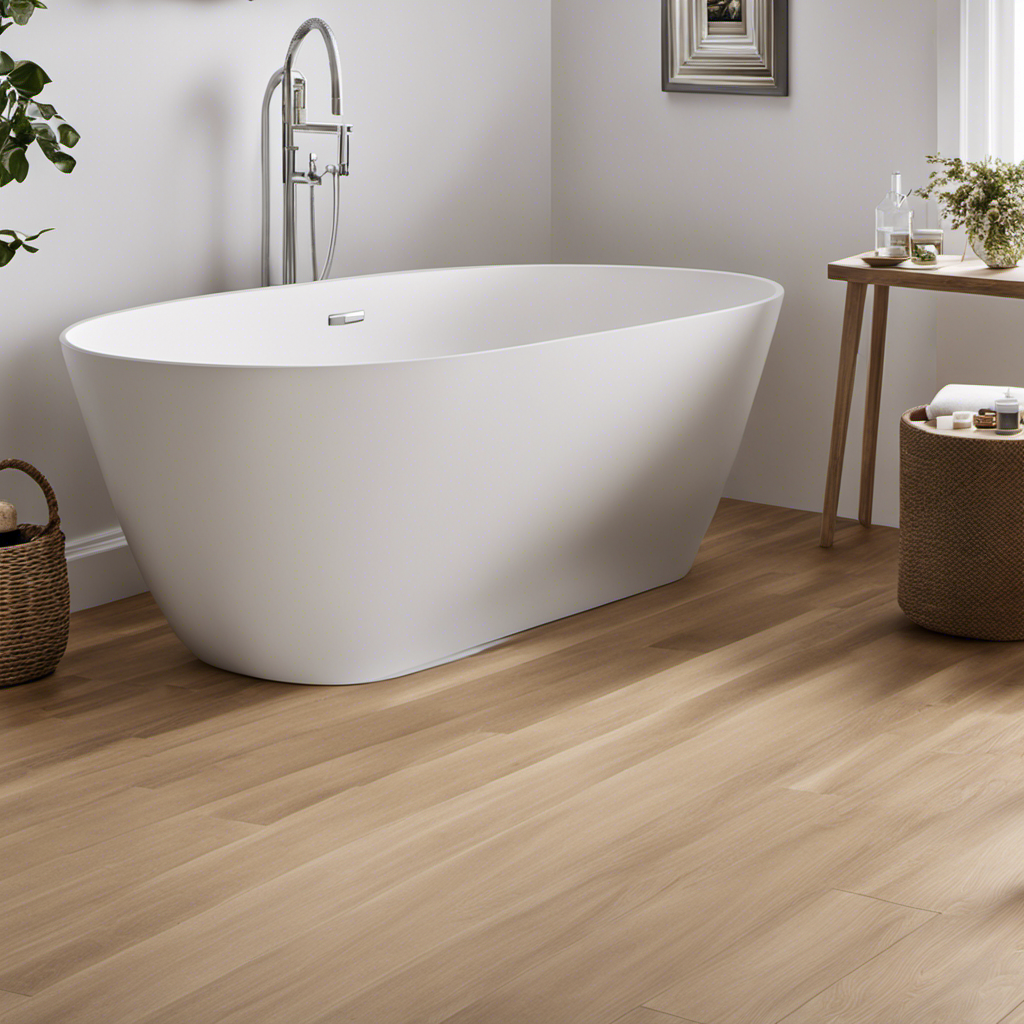
Finishing Touches and Maintenance Tips
For a polished and long-lasting result, remember to regularly clean and maintain your newly refinished bathtub. Here are some maintenance techniques to keep your bathtub looking its best:
-
Use a non-abrasive cleaner: Avoid harsh chemicals or abrasive scrubbers that can damage the finish. Instead, opt for a gentle, non-abrasive cleaner that is specifically designed for bathtubs.
-
Avoid harsh chemicals: Certain cleaning products, such as bleach or ammonia-based cleaners, can strip away the finish of your bathtub. Stick to mild, non-toxic cleaners to preserve the finish.
-
Apply a protective wax: To further protect the finish of your bathtub, apply a coat of high-quality wax every few months. This will help to maintain the shine and prevent scratches.
Choosing the right finish is crucial for the longevity of your newly refinished bathtub. Opt for a high-quality, durable finish that is designed for bathtubs. This will ensure that your bathtub stays beautiful for years to come.
Frequently Asked Questions
How Long Does It Typically Take to Refinish an Old Bathtub?
To refinish an old bathtub, first prepare it by cleaning and sanding the surface. Then, gather materials such as epoxy primer, refinishing paint, and a roller or brush. The process typically takes a few days to complete.
Can I Refinish a Bathtub With Chips or Cracks?
If your bathtub has chips or cracks, fear not! You can indeed refinish it. Start by repairing the cracks and filling the chips. With some knowledge and experience, you’ll have a beautifully refinished bathtub in no time.
Is It Possible to Change the Color of My Bathtub During the Refinishing Process?
Yes, it is possible to change the color of your bathtub during the refinishing process. There are various bathtub refinishing techniques that can be used to achieve the desired color change.
What Safety Precautions Should I Take When Refinishing a Bathtub?
To ensure your safety while refinishing a bathtub, it’s crucial to take proper precautions. Use respiratory protection like a mask, and ensure proper ventilation in the area to minimize exposure to harmful fumes.
Can I Use the Bathtub Immediately After Refinishing It, or Is There a Curing Time?
After refinishing your old bathtub, it’s important to allow for curing time before using it. While the specific time may vary based on the product used, it’s generally recommended to wait at least 24-48 hours for the finish to fully cure for immediate use.
Conclusion
In conclusion, refinishing an old bathtub can be a rewarding DIY project that can give your bathroom a fresh new look. By following the steps outlined in this article, you can transform your worn-out bathtub into a sparkling centerpiece.
Did you know that according to a survey conducted by a leading home improvement website, refinishing a bathtub can save you up to 80% of the cost of replacing it? So why not give it a try and enjoy the benefits of a beautifully restored bathtub at a fraction of the cost?