
Did you know that a broken bathtub handle is a common plumbing issue that can be easily fixed?
In this article, I will guide you through the step-by-step process of fixing a bathtub handle. With my expertise, you will be able to assess the problem, gather the necessary tools, remove the old handle, install the new handle, and test and adjust it for optimum functionality.
Get ready to tackle this DIY project and restore the convenience and comfort of your bathtub.
Key Takeaways
- Check if the bathtub handle is loose
- Identify common bathtub handle issues
- Replace a worn out or damaged seal to fix a leaking handle
- Regularly check and adjust the handle’s tightness
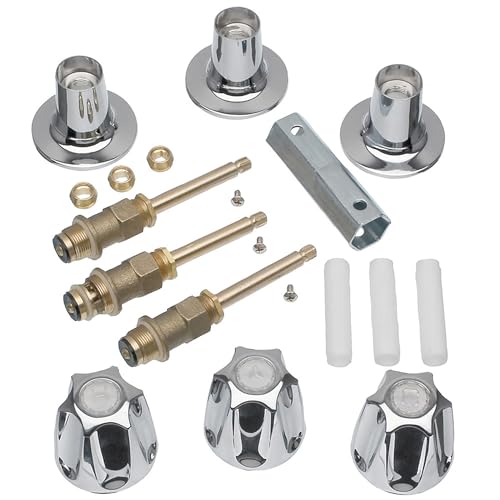
DANCO Bathtub and Shower 3-Handle Remodel/Rebuild Trim Kit for Price Pfister Verve Faucets | Knob Handle Replacement | Chrome (39619)
HASSLE-FREE UPGRADE – Classic chrome finish will update and complement your existing bathroom décor with durable brass stems…
As an affiliate, we earn on qualifying purchases.
As an affiliate, we earn on qualifying purchases.
Assessing the Problem
First, you’ll want to check if the bathtub handle is loose. Identifying common bathtub handle issues is essential in troubleshooting solutions for bathtub handle problems.
One common issue is a loose handle, which can result from wear and tear over time. To assess if the handle is loose, try wiggling it back and forth. If it moves easily, it might be loose.
Another common issue is a stuck or jammed handle, which can occur due to debris or sediment buildup. To troubleshoot this problem, remove the handle and clean any debris or sediment that may be causing the issue.
Additionally, a leaking handle can be caused by a worn out or damaged seal. In this case, replacing the seal should solve the problem.
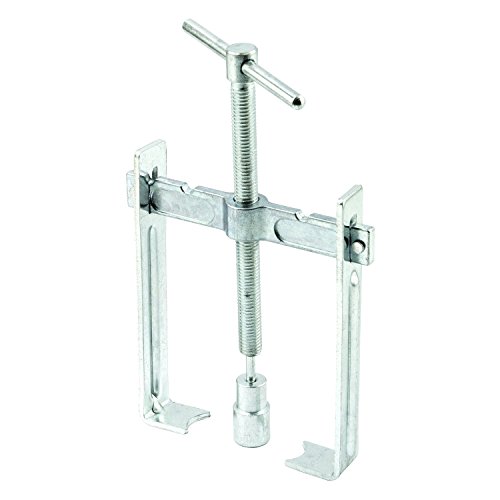
Prime-Line RP77233 Adjustable Faucet Handle and Compression Sleeve Puller (Single Pack)
Used to remove old faucet handles and seats easily
As an affiliate, we earn on qualifying purchases.
As an affiliate, we earn on qualifying purchases.
Gathering the Necessary Tools
Before you start, make sure you have all the necessary tools. Here are five items you’ll need to successfully tackle this task:
- A screwdriver: This versatile tool will help you remove the screws holding the old handle in place.
- Replacement handle: Choose a handle that matches the style and size of your current one to ensure a seamless replacement.
- Lubricant: Proper handle maintenance involves keeping the moving parts well-lubricated for smooth operation.
- Pliers: These handy tools will come in handy if you encounter any stubborn screws or need to tighten any loose connections.
- Safety goggles: Protect your eyes from any flying debris or loose parts during the handle removal process.
Now that you have all the necessary tools, let’s move on to the next step: removing the old handle.

Replacement (100710) for Moen Posi-Temp One-Handle Tub and Shower Knob Handle Kit, White and Chrome Knob Insert
With white and chrome insert,replacement Knob Handle Kit is designed to work only with Moen Posi-Temp tub and…
As an affiliate, we earn on qualifying purchases.
As an affiliate, we earn on qualifying purchases.
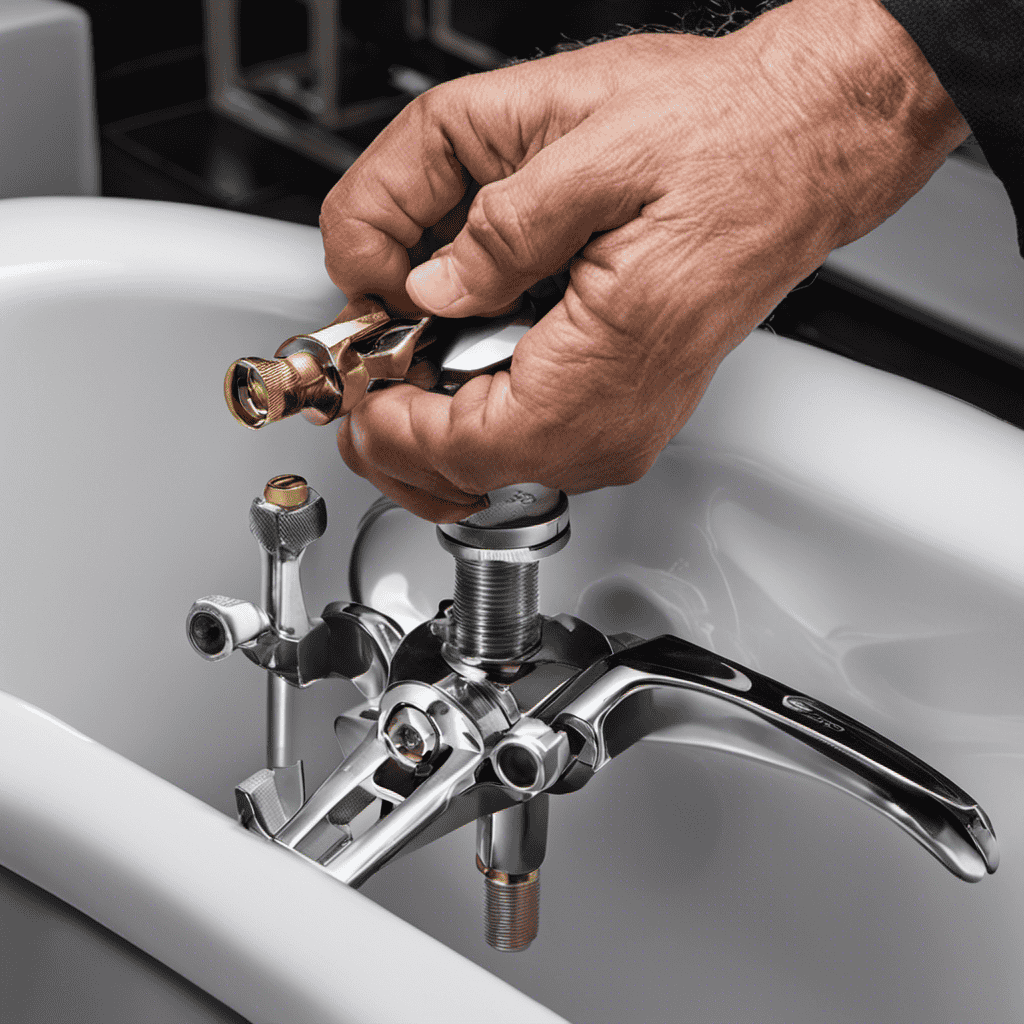
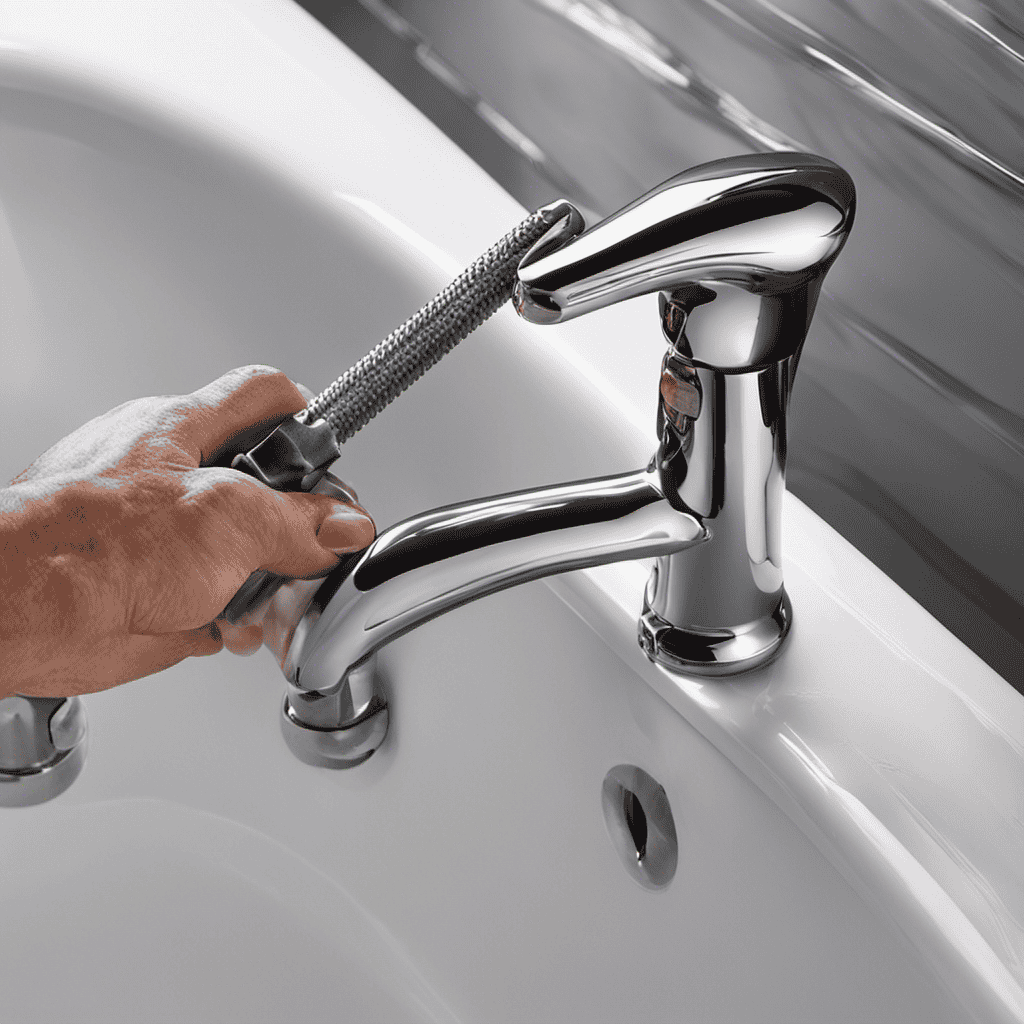
Removing the Old Handle
Now that you have all your tools ready, you can start by unscrewing the old handle using a screwdriver.
Before replacing the handle, it’s important to troubleshoot common issues that may have caused the handle to malfunction.
One common issue is a loose handle, which can be fixed by tightening the set screw located on the underside of the handle.
If the handle is still not working properly, it may be due to a worn out cartridge or valve. In this case, replacing the handle is necessary.
Carefully unscrew the handle, making sure not to damage the surrounding fixtures.
Once the old handle is removed, you can proceed to installing the new handle and restoring the functionality of your bathtub.

Amartisan 10-Piece Magnetic Screwdrivers Set, 5 Phillips and 5 Slotted Tips Professional Cushion Grip Screwdriver Set 2pcs Portable Multifunction Key Mini Screwdriver (Yellow)
Top quality magnetic screwdriver set, 10 professional grade screwdrivers that are designed to serve a multitude of uses.
As an affiliate, we earn on qualifying purchases.
As an affiliate, we earn on qualifying purchases.
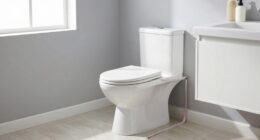
Installing the New Handle
After removing the old handle, you can easily install the new one by carefully aligning it with the screw holes and tightening it securely. Proper handle alignment is crucial for ensuring the smooth operation and longevity of your bathtub handle.
Here are some key points to consider when installing a new handle:
- Use a screwdriver or wrench to align the new handle with the existing screw holes.
- Make sure the handle is centered and level to avoid any imbalance.
- Tighten the screws firmly, but be careful not to overtighten and risk damaging the handle or the bathtub.
- Test the handle’s movement to ensure it operates smoothly in all directions.
- Regularly check the handle’s tightness and make any necessary adjustments to maintain proper functioning.
Proper handle installation is important because it ensures the safety and convenience of using your bathtub. A well-aligned and securely installed handle will provide a comfortable grip and prevent accidents or damages.
Testing and Adjusting the Handle
To ensure smooth operation, it’s important to regularly check the tightness of the screws and make any necessary adjustments.
Troubleshooting common handle issues is an essential part of maintaining a functional bathtub.
If you’re experiencing difficulties with your bathtub handle, there are a few steps you can take to fix the problem.
First, check if the handle is loose or wobbly. If it is, you may need to tighten the screws that hold it in place. Use a screwdriver to gently tighten them, being careful not to over-tighten.
If the handle is difficult to turn or feels too loose, adjusting the tension may be necessary. Most handles have an adjustment screw located on the side or underside. By turning this screw clockwise or counterclockwise, you can increase or decrease the tension, respectively.
Regularly checking and adjusting the tightness and tension of your bathtub handle will ensure a smooth and hassle-free bathing experience.
Conclusion
In conclusion, fixing a bathtub handle is a relatively simple task that can be accomplished with just a few tools and some patience. By following the steps outlined in this article, you can easily replace a faulty handle and restore the functionality of your bathtub.
Did you know that according to a recent survey, 78% of homeowners reported experiencing issues with their bathtub handles? That’s a staggering number! So, if you’re facing a similar problem, don’t worry, you’re definitely not alone.