
I’ve got a secret to share with you – did you know that your toilet could be leaking without you even realizing it? It’s true! A leaky toilet can waste gallons of water and cause damage to your home.
But don’t worry, I’m here to help you uncover the mystery and show you how to check for a leaky toilet. With just a few simple steps, you’ll be able to detect any hidden leaks and save yourself from unnecessary water bills and repairs.
So, let’s dive in and become leak detectives together!
Key Takeaways
- Leaky toilets waste gallons of water and can cause damage to homes.
- Faulty flapper valves and loose or worn out fill valves are common causes of leaks.
- Fixing a leaky toilet can save money and prevent further damage.
- Promptly addressing leaks ensures efficient toilet functioning and reduces water wastage.

New Resources Group Toilet Leak Detection Dye Tablets (Detect Silent Leaks) Blue 20 Pack
Detect Silent Leaks in your toilet. 20 Packets (2 Blue Tablets per Packet good for 40 tests)
As an affiliate, we earn on qualifying purchases.
As an affiliate, we earn on qualifying purchases.
Understanding the Signs of a Leaky Toilet
Understanding the signs of a leaky toilet can help you identify and fix the problem quickly.
A leaky toilet can waste a significant amount of water, leading to higher water bills and potential damage to your home.
One of the most common causes of a leaky toilet is a faulty flapper valve. This valve is responsible for sealing the tank and preventing water from continuously flowing into the bowl.
Another common cause is a loose or worn out fill valve. This valve controls the water level in the tank and can cause water to continuously run if it is not functioning properly.
Fixing a leaky toilet can be a simple task that can save you money and prevent further damage. By identifying the signs and addressing the issue promptly, you can ensure the efficient functioning of your toilet and reduce water wastage.

Fluidmaster 400AKRP10 Universal, All In One, Complete Toilet Tank Repair Kit For 2-Inch Flush Valve Toilets
RESTORES OVERALL TOILET PERFORMANCE: All in one toilet repair kit replaces inefficient fill and flush valves, leaky flappers,…
As an affiliate, we earn on qualifying purchases.
As an affiliate, we earn on qualifying purchases.
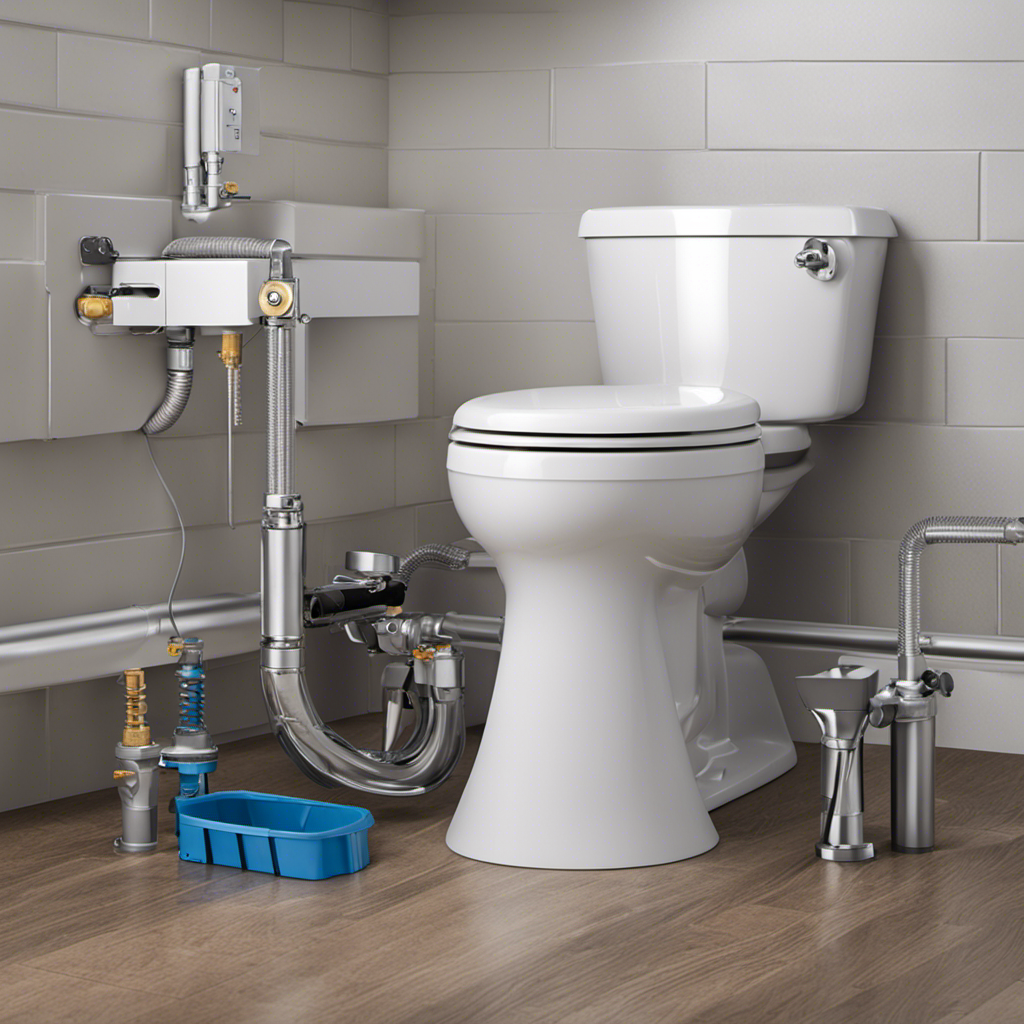
Gathering the Necessary Tools for Inspection
To gather the necessary tools for inspection, you’ll need a wrench, a bucket, and some dye tablets. These tools are essential for conducting a thorough toilet inspection and detecting any leaks.
The wrench will help you loosen and tighten any nuts or bolts that may need adjustment during the inspection process.
The bucket is useful for collecting any water that may spill or overflow during the inspection.
Lastly, the dye tablets are crucial for leak detection. By placing a dye tablet in the toilet tank, you can identify if there is a leak by checking if the water in the bowl changes color.
These tools are readily available at most hardware stores and will enable you to effectively inspect your toilet for any potential leaks.

Korky Ultra Standard 2-Inch Universal Toilet Flapper – Long Lasting Rubber – Easy to Install – Made in USA, 100BP
TOILET FLAPPER VALVE FITS MOST POPULAR 2 inch toilet brands including, but not limited to: American Standard, Kohler,…
As an affiliate, we earn on qualifying purchases.
As an affiliate, we earn on qualifying purchases.
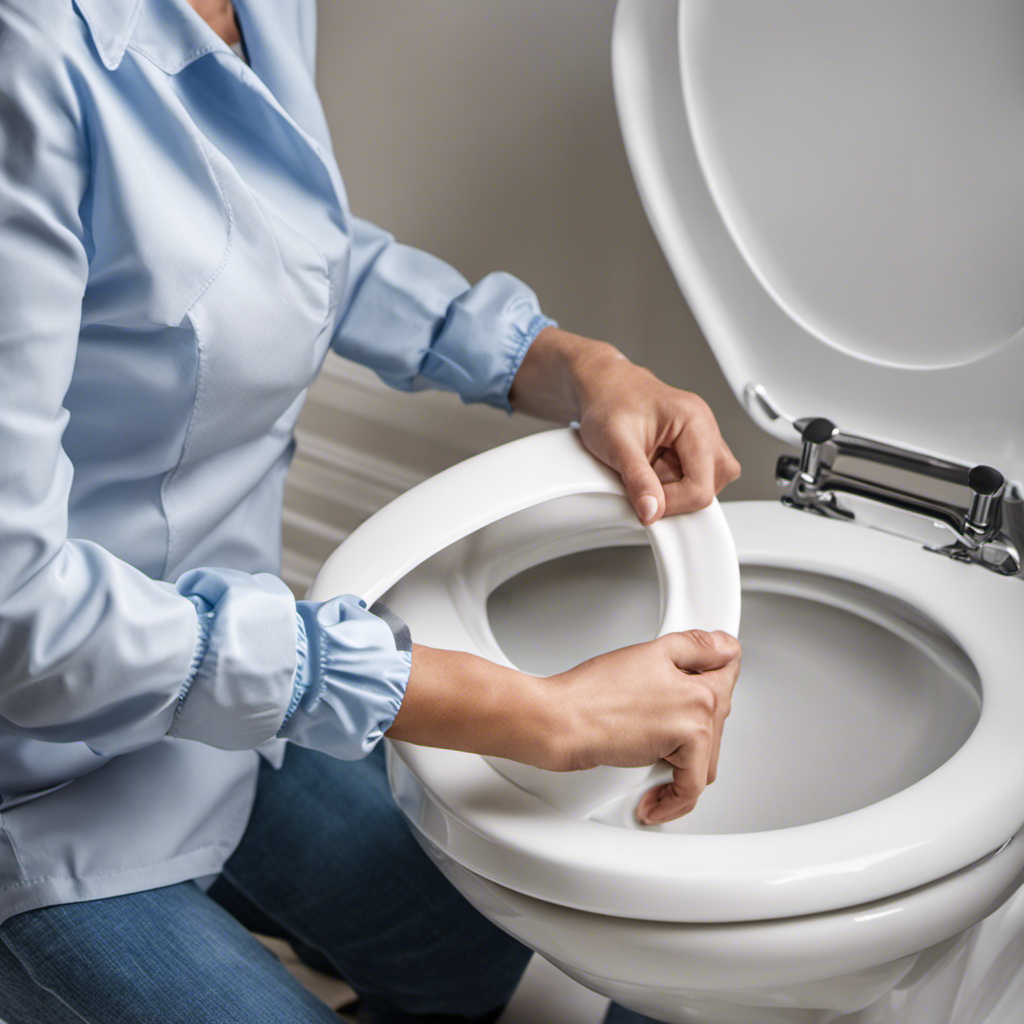
Checking for Water Seepage Around the Base of the Toilet
You’ll want to start by examining the area around the base of the toilet for any signs of water seepage. This is an important step in detecting hidden leaks and troubleshooting toilet leaks.
To do this, get down on your hands and knees and take a close look at the floor around the base of the toilet. Look for any wet spots, discoloration, or water stains. If you notice any of these signs, it could indicate a leak.
Additionally, run your hand along the base of the toilet to check for any moisture. If you feel any dampness, it is likely that there is a leak.
Taking the time to carefully inspect the area around the base of the toilet can help you identify and resolve any potential leaks, preventing further damage and saving you money on water bills.

Fluidmaster 400H-002 Performax Universal Toilet Fill Valve High Performance Tank and Bowl Water Control, 1-Pack, Multicolor
Fix noisy, or slow filling fill valves with the quietest, most powerful toilet fill valve available
As an affiliate, we earn on qualifying purchases.
As an affiliate, we earn on qualifying purchases.
Testing the Toilet Flapper for Leaks
First, make sure you turn off the water supply to the toilet before testing the flapper for leaks.
To check for a leaky flapper, there are a few testing methods you can try.
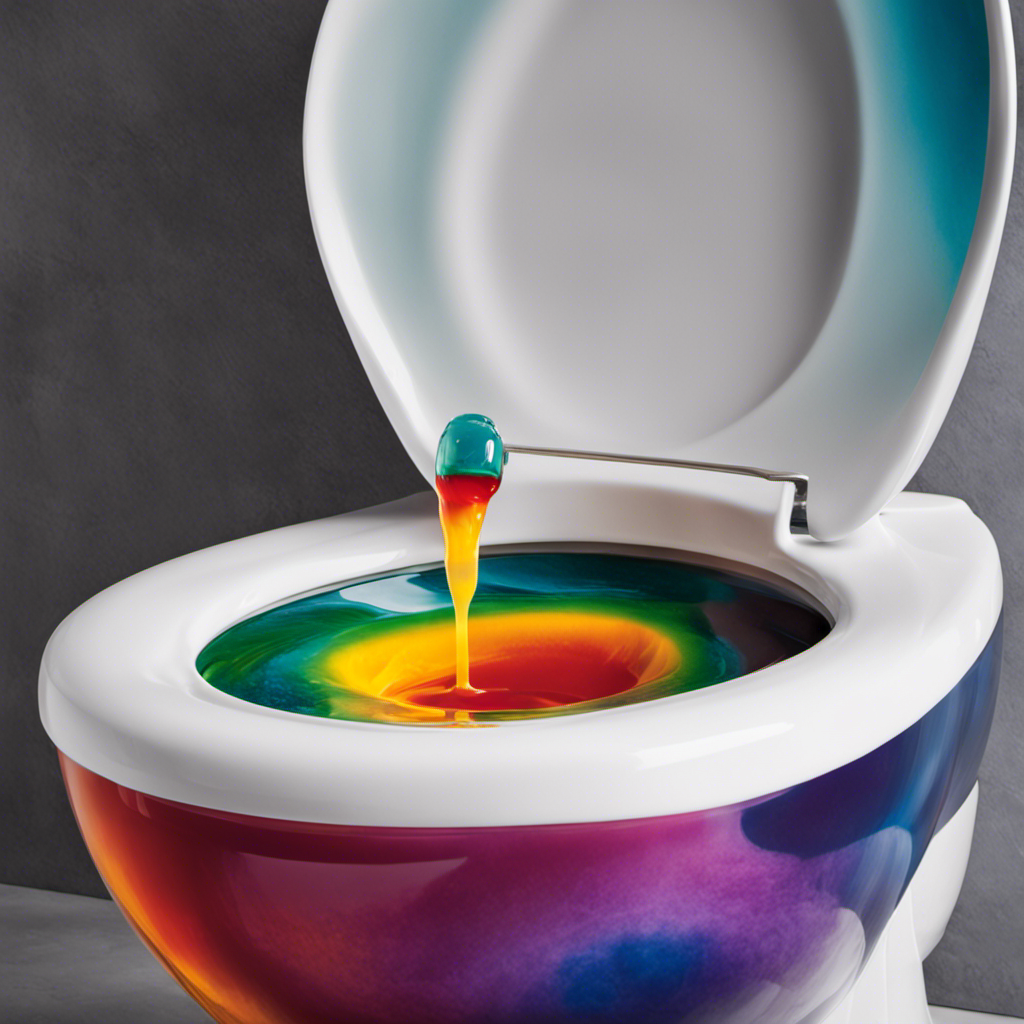
One common method is the dye test. Drop a few drops of food coloring into the toilet tank and wait for about 15 minutes. If the colored water seeps into the toilet bowl, it means the flapper is leaking and needs to be replaced.
Another method is the listening test. Flush the toilet and listen for any continuous water flow. If you hear water trickling, it indicates a leaky flapper.
Troubleshooting tips include checking the flapper for wear and tear, cleaning any debris, and adjusting the chain length for proper flapper movement.
Regularly testing and maintaining the flapper will help prevent water wastage and keep your toilet functioning efficiently.
Examining the Water Level in the Toilet Tank
One way to assess the water level in your toilet tank is by observing if it reaches the fill line. This is important because a properly filled tank ensures the toilet functions correctly and efficiently.
Here are some key steps to take when examining the water level in your toilet tank:
-
Check the toilet bowl for water stains: If you notice water stains around the base of the toilet bowl, it could indicate a problem with the water level in the tank. Stains may suggest that water is overflowing onto the floor, which requires immediate attention.
-
Inspect the toilet fill valve: The fill valve controls the water level in the tank. Ensure it is functioning properly by checking for any leaks or signs of damage. A faulty fill valve can result in inconsistent or inadequate water levels.
-
Adjust the water level if necessary: If the water level does not reach the fill line, you may need to adjust the float or the fill valve. This can usually be done by turning the adjustment screw or knob on the valve.
-
Test the flush: After making any adjustments, flush the toilet to see if the water level is now at the appropriate level. Repeat the process until the desired water level is achieved.
-
Regular maintenance: It’s important to periodically check the water level in your toilet tank to ensure it remains at the correct level. This will help prevent any potential issues or leaks that may arise.
Conclusion
In conclusion, checking for a leaky toilet is a simple task that can save you from costly repairs and water wastage. By understanding the signs and gathering the necessary tools, you can easily identify any leaks.
Some may argue that hiring a professional plumber is a better option, but with the right knowledge and tools, you can confidently tackle this issue yourself. By following the steps mentioned, you can ensure that your toilet is functioning properly, saving you money and promoting water conservation.