As I stood in my bathroom, staring down at the broken toilet flange, a wave of frustration washed over me. But I refused to let this setback defeat me. With the right tools and a little know-how, I was determined to fix it myself.
In this article, I will guide you through the step-by-step process of repairing a broken toilet flange. So roll up your sleeves and let’s get started on this plumbing adventure together.
Key Takeaways
- Assess the visible cracks, chips, or signs of wear on the flange.
- Check for water leakage around the base of the toilet.
- Determine if the damage is minor and can be fixed with a wax ring or repair kit.
- Consider seeking professional help for extensive damage or uncertainty about repairs.

Gerber ReadySet Universal Toilet Bowl Installation Kit, G0099295 – Tool-Free Install, 2 Star Bolt Sizes, Extra-Tall Guides, Low-Profile Caps – Complete Kit (Wax Ring Sold Separately)
Toilet Flange Bowl Installation Kit: Complete toilet mounting bolt kit includes two bolt lengths to fit most above-floor,...
As an affiliate, we earn on qualifying purchases.
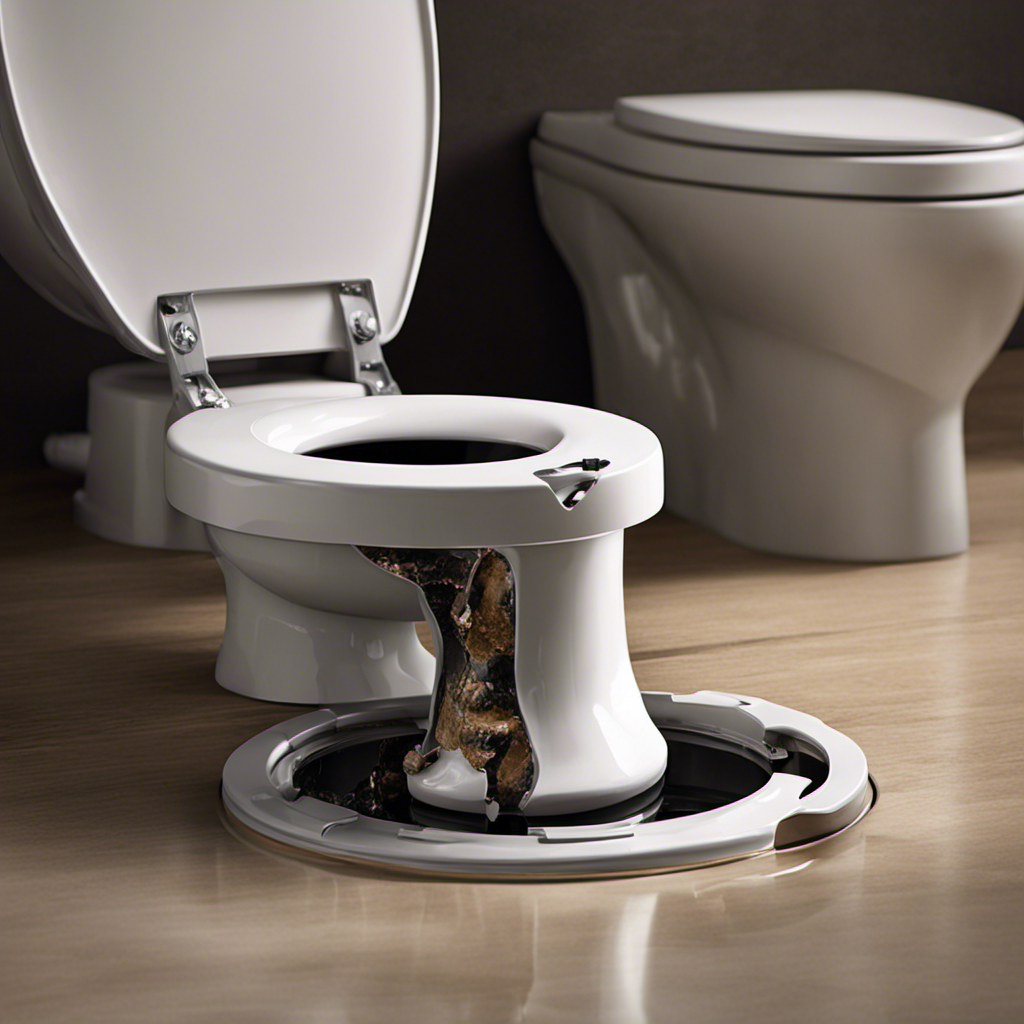
Assessing the Damage
Before you can fix the broken toilet flange, you’ll need to assess the damage.
Evaluating the cost and seeking professional help are crucial steps in determining the best course of action.
Start by inspecting the flange for any visible cracks, chips, or signs of wear.
Look for any water leakage around the base of the toilet and check if it wobbles or feels unstable.
If the damage is minor, you may be able to fix it yourself by replacing the wax ring or using a repair kit.
However, if the damage is extensive or if you’re unsure about the repairs, it’s recommended to seek professional help.
A plumber can provide a thorough assessment, offer guidance, and ensure that the repair is done correctly to prevent further damage.

DANCO All-in-One Toilet Installation Kit, Perfect Seal Wax Ring & Zero Cut Bolts, Toilet Repair, Wax-Free, Mounting Toilet Bolts (10879X)
NO MESS: Perfect Seal has a hidden wax ring which causes no mess and 3X's stronger seal than...
As an affiliate, we earn on qualifying purchases.
Gathering the Necessary Tools
First, you’ll need a few tools to get started on the repair. Proper toilet flange maintenance is essential to avoid any future damage. Signs of a damaged toilet flange may include leaks, wobbling toilet, or difficulty flushing. To fix a broken toilet flange, you will need the following tools:
| Tools | Purpose |
|---|---|
| Adjustable wrench | To loosen and tighten bolts |
| Screwdriver | To remove screws |
| Hacksaw | To cut through old flange |
| Putty knife | To remove old wax ring and debris |
| Pipe cutter | To cut and resize the PVC pipe, if needed |
Having these tools handy will make the repair process smoother and more efficient. Additionally, it’s important to prioritize proper toilet flange maintenance to prevent future damage and costly repairs.

ZMJH 102 Smart Bidet Toilet Seat Installation Hardware Kit, Replacement Mounting Parts (ZMJH 102 Installation Kit)
【ZMJH Specific Fit】This hardware kit is designed exclusively for ZMJH smart bidet toilet seats, ensuring a perfect match...
As an affiliate, we earn on qualifying purchases.
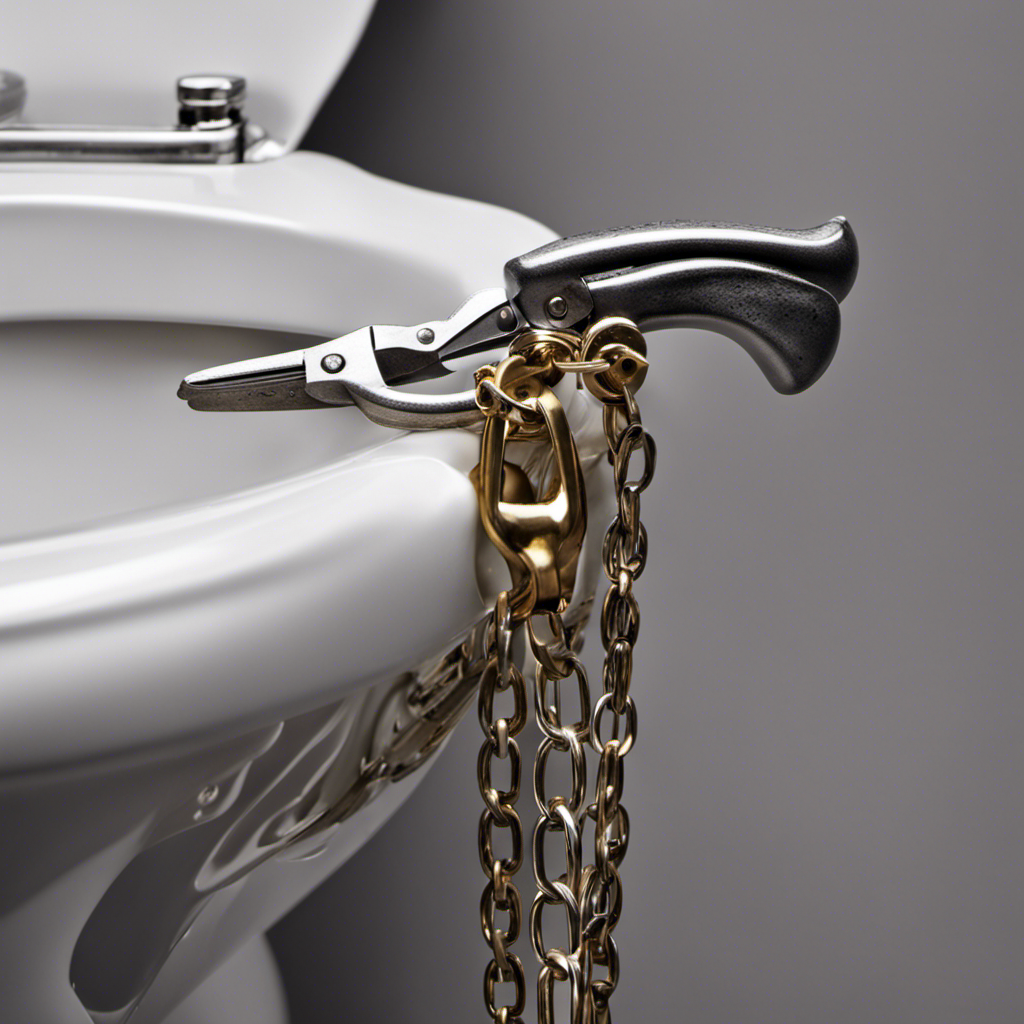
Removing the Broken Flange
To remove the damaged flange, you’ll need to use an adjustable wrench to loosen and remove the bolts. This step is crucial to ensure a successful repair.
One common mistake that people make is not using the proper tools, such as a wrench that is adjustable. This can lead to difficulty in loosening the bolts and potentially damaging the surrounding area.
Once the bolts are completely removed, gently lift the broken flange out of the floor. Be careful not to apply too much force, as this can cause further damage.
It is important to inspect the area underneath the flange for any signs of water damage or corrosion. This will help determine if additional repairs are needed before installing a new flange.
Installing a New Flange
Once you have inspected the area for any signs of damage, you’ll want to position the new flange over the existing drain pipe. This is a critical step in the process of repairing leaks and troubleshooting installation issues with a broken toilet flange.
Here are three key points to keep in mind during this step:
-
Ensure that the new flange is aligned properly with the drain pipe to ensure a secure and leak-free fit. Misalignment can lead to future problems and leaks.
-
Use a wrench or pliers to tighten the bolts that secure the flange to the floor. This will help provide stability and prevent any movement or shifting.
-
Apply a generous amount of plumber’s putty around the edges of the flange to create a watertight seal. This will further prevent leaks and ensure a reliable installation.
Ensuring a Secure and Leak-Free Connection
When aligning the new flange with the drain pipe, make sure it is properly positioned to achieve a secure and leak-free connection. This step is crucial in ensuring the longevity and efficiency of your toilet repair.
To achieve a secure connection, start by cleaning the area where the flange will be placed. Remove any debris or old wax residue to guarantee a smooth surface.
Next, apply a generous amount of plumber’s putty or silicone sealant to the underside of the flange. This will create a watertight seal and prevent future leaks.
Once the flange is in position, use stainless steel screws to secure it firmly to the floor.
Lastly, check for any gaps or misalignment and make necessary adjustments. Following these repair techniques will not only fix the broken flange but also prevent future damage, ensuring a reliable and efficient toilet system.
Frequently Asked Questions
How Long Does It Usually Take to Fix a Broken Toilet Flange?
On average, fixing a broken toilet flange takes about 1-2 hours. The necessary tools include a wrench, screwdriver, and replacement flange. It’s important to carefully follow the steps to ensure a proper repair.
Can I Use Any Type of Toilet Flange for the Replacement?
Yes, you can’t use any type of toilet flange for the replacement. It’s important to consider the materials and different types available. Knowing which one is compatible with your toilet is crucial for a successful repair.
Is It Possible to Fix a Broken Flange Without Removing the Toilet?
Sure, it’s possible to fix a broken flange without removing the toilet. There are alternative methods like using a repair kit or epoxy. However, replacing the entire flange has its pros and cons.
What Should I Do if the Toilet Flange Is Completely Rusted or Corroded?
If the toilet flange is completely rusted or corroded, it is essential to replace it to avoid further damage. Signs of a broken toilet flange include a loose or wobbly toilet and water leakage.
Are There Any Common Mistakes I Should Avoid When Installing a New Flange?
When installing a new flange, it’s important to avoid common mistakes. Make sure to properly align and secure the flange to the floor, use the correct sealant, and tighten the bolts evenly.
Conclusion
In conclusion, fixing a broken toilet flange may seem daunting, but it can be easily accomplished with the right tools and knowledge.
Remember to assess the damage, gather the necessary tools, remove the broken flange, and install a new one securely. By following these steps, you can ensure a leak-free connection and restore the functionality of your toilet.
Did you know that approximately 20% of toilet flange failures are caused by improper installation? Taking the time to fix it correctly can save you from future headaches.