
Do you often find yourself dealing with a frustratingly low water level in your toilet bowl? You’re not alone. In fact, studies show that 1 in 5 households experience this issue at some point.
But fear not, because adding more water to your toilet bowl is a simple fix that you can tackle on your own. In this article, we will guide you through the step-by-step process of checking the water supply valve, adjusting the water level, and troubleshooting common problems.
Get ready to say goodbye to a constantly low water level and hello to a fully functioning toilet bowl.
Key Takeaways
- Check the water supply line for obstructions and clear them if necessary.
- Regularly inspect and maintain the water supply valve for any damage or leaks.
- Troubleshoot water supply issues by checking if the valve and main water line are fully open.
- Adjust the water level in the toilet tank to ensure proper functionality and prevent clogs.
Amazon Product B0G4L1X68K
As an affiliate, we earn on qualifying purchases.
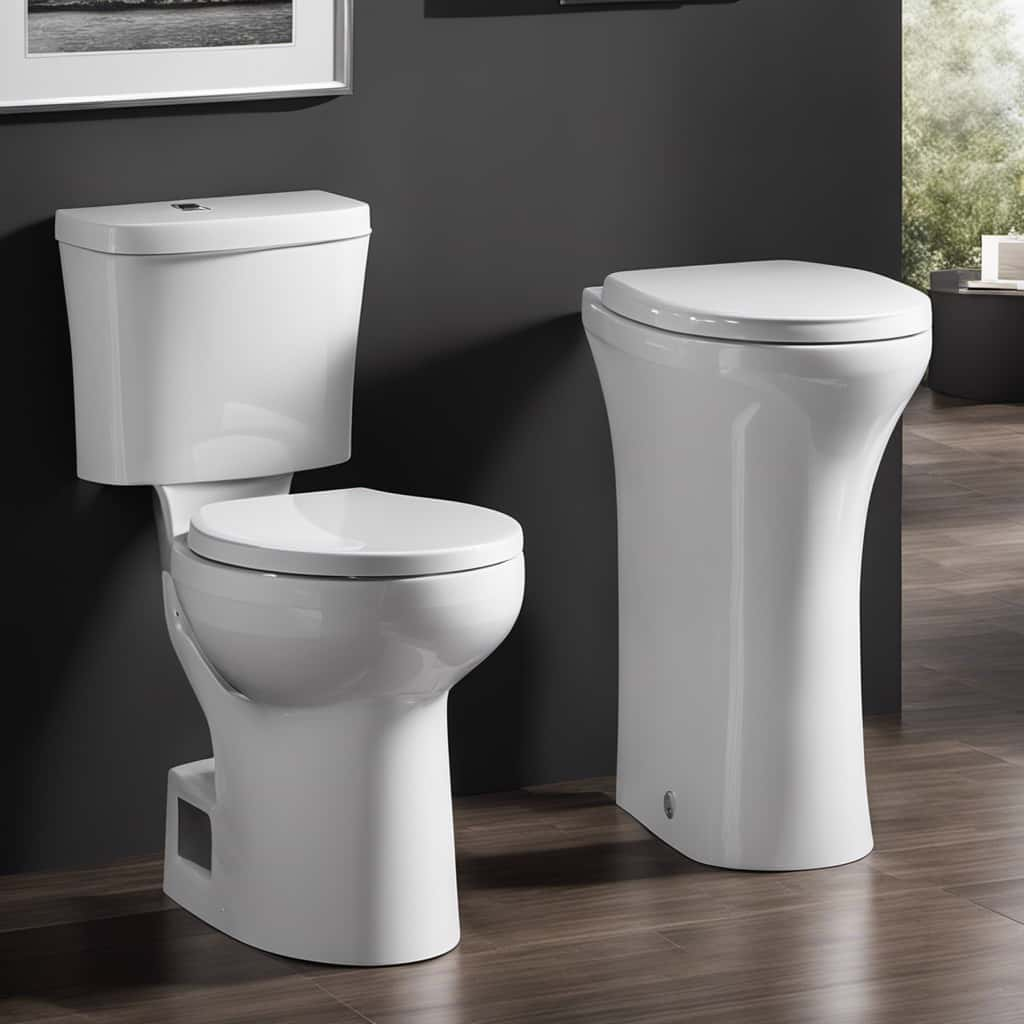
Reasons for Low Water Level in Toilet Bowl
One of the reasons for the low water level in the toilet bowl could be a clogged or partially blocked water supply line. This can happen when debris such as sediment, mineral deposits, or foreign objects obstruct the flow of water into the toilet.
To troubleshoot this issue, start by turning off the water supply valve located behind the toilet. Next, disconnect the water supply line from the toilet tank and check for any obstructions or blockages. If you find any, you can attempt to clear them using a wire hanger or a small brush.
Additionally, you can try flushing the water supply line with water or using a vinegar solution to dissolve any mineral deposits. Once the line is clear, reconnect it and turn on the water supply valve. This should restore the water level in the toilet bowl.

Keurig K-Mini Single Serve K-Cup Pod Coffee Maker, 6 to 12oz Brew size, with Cord Storage, Perfect for Small Spaces, Black
FITS ANYWHERE: Less than 5 inches wide, perfect for small spaces.
As an affiliate, we earn on qualifying purchases.
Checking the Water Supply Valve
To ensure proper functionality and maintenance of your water supply valve, it is important to understand its key points.
Firstly, the valve is responsible for controlling the flow of water into your toilet bowl, and it is crucial to regularly inspect it for any signs of damage or leaks.
Secondly, troubleshooting water supply issues requires a systematic approach. This includes checking for blockages in the valve or supply line, adjusting the water pressure, and ensuring that the valve is fully open.
Valve Functionality and Maintenance
Make sure you understand how the valve works and how to maintain it for optimal functionality.
The water supply valve is a crucial component in controlling the flow of water to your toilet bowl. It is important to regularly check and maintain the valve to prevent any issues with water pressure or valve repair.
Here are some key points to consider:
-
Regular Inspection: Inspect the valve for any signs of leaks, cracks, or corrosion. This will help identify potential problems early on and prevent water damage.
-
Cleaning: Keep the valve clean by removing any debris or sediment that may accumulate over time. This will ensure smooth operation and prevent clogs.
-
Lubrication: Apply a thin layer of lubricant to the valve stem to reduce friction and allow for easier turning. This will help prevent the valve from getting stuck or difficult to operate.
Troubleshooting Water Supply
Check if the valve is fully open to ensure proper water flow to the toilet.
If the water pressure seems low, there are a few steps you can take to troubleshoot the water supply.
First, check the main water line to ensure it is fully open and supplying water to the toilet.
If the main line is open and the water pressure is still low, you may need to clean the water supply line or replace it if it is damaged or clogged.
Another common issue that can affect water pressure is a faulty fill valve. Inspect the fill valve for any leaks or blockages and replace it if necessary.
By fixing water pressure issues and troubleshooting the water supply, you can ensure that the toilet bowl is receiving enough water for proper flushing.
Now, let’s move on to adjusting the water level in the toilet tank.

My K-Cup® Reusable Coffee Filter
BREW WITH GROUND COFFEE: Brew a single cup using your own favorite ground coffee
As an affiliate, we earn on qualifying purchases.
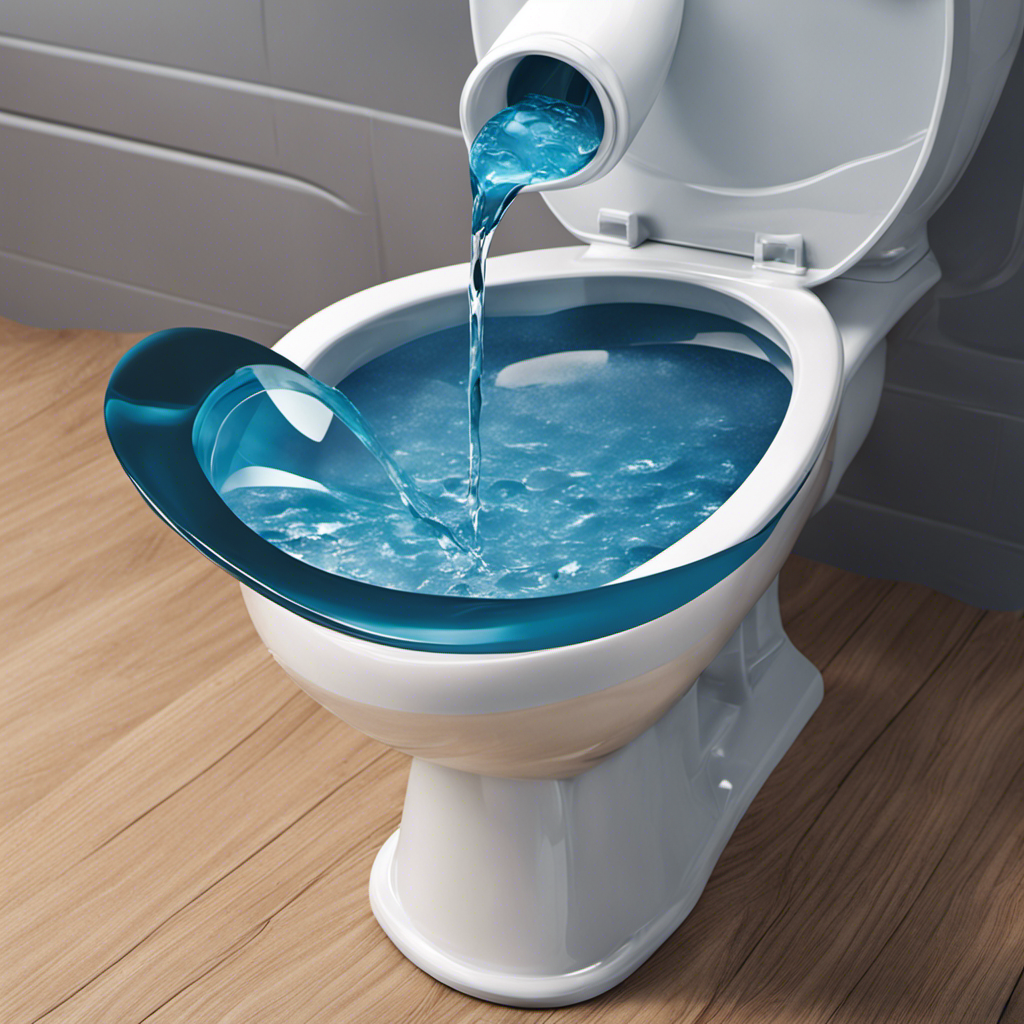
Adjusting the Water Level in the Toilet Tank
To ensure proper functionality of your toilet, it’s important to adjust the water level in the tank to the optimal level. The optimal water level should be set so that it reaches just below the overflow tube.
If the water level is too low, you may experience issues with flushing power, while a water level that is too high can result in constant water running or even overflowing.
In this discussion, we will explore how to adjust the water level to the optimal point and troubleshoot common issues that may arise.
Optimal Water Level
You can easily adjust the water level in the toilet bowl to ensure it is at the optimal height. Maintaining the proper water level is crucial for the toilet’s functionality and efficiency. Here are some key points to consider:
-
Water pressure: Adequate water pressure is necessary to create a strong flush and prevent clogs. Adjusting the water level allows you to optimize the pressure and ensure a powerful flush every time.
-
Water level indicators: Most toilets have a water level indicator, usually marked as a line or a float. This indicator helps you determine if the water level is too high or too low. Adjust the water level accordingly to keep it within the recommended range.
-
Proper sealing: The water level should be high enough to create a good seal between the toilet bowl and the trap, preventing any odors from escaping. Adjusting the water level ensures a tight seal and eliminates any potential leakage.
Troubleshooting Common Issues
If there’s an issue with the water level in your toilet, it could be due to a faulty float valve. The float valve is responsible for regulating the water level in your toilet bowl. When it malfunctions, it can lead to a low water level, causing problems such as toilet bowl stains and difficulty in unclogging the toilet.
To troubleshoot this issue, start by checking the float valve for any signs of damage or debris. Clean it thoroughly and ensure it moves freely. If the problem persists, consider replacing the float valve with a new one. This should help restore the water level in your toilet bowl and alleviate any related issues you may be experiencing.

Cosori 9-in-1 TurboBlaze Air Fryer 6 Qt, Smart Control, 90°–450°F, Shake Reminders, Precise Heating for Even Results, Air Fry, Roast, Bake, Broil, Dry, Frozen, Proof, Reheat, Keep Warm, 120V, Cream
𝘼𝙞𝙧 𝙁𝙧𝙮𝙚𝙧 𝙐𝙥𝙜𝙧𝙖𝙙𝙚: Innovative TurboBlaze Technology delivers a powerful 3600 rpm fan speed and temperatures up to 450℉,...
As an affiliate, we earn on qualifying purchases.
Cleaning the Toilet Bowl and Flush Holes
First, start by cleaning the toilet bowl and flush holes with a toilet brush and cleaner. This is an essential step in maintaining a clean and hygienic toilet. Proper cleaning techniques not only remove dirt and grime but also help prevent stains from forming. Here are three important tips to keep in mind:
- Use a toilet brush with stiff bristles to scrub the inside of the bowl thoroughly.
- Apply a toilet cleaner that contains bleach or other disinfectants to kill germs and bacteria.
- Pay special attention to the flush holes, as they can become clogged with mineral deposits over time. Use a small brush or toothbrush to clean them.
By following these cleaning techniques, you can ensure a sparkling clean toilet bowl and prevent unsightly stains from developing.
Now, let’s move on to inspecting and replacing the flapper valve.
Inspecting and Replacing the Flapper Valve
To inspect and replace the flapper valve, start by turning off the water supply to the toilet. This is an important step to ensure your safety and prevent any water leakage.
Once the water supply is turned off, you can proceed with the maintenance of the flapper valve. Start by removing the lid of the toilet tank and locate the flapper valve, which is usually located at the bottom of the tank.
Inspect the flapper valve for any signs of wear and tear, such as cracks or tears. If you notice any damage, it is time to replace the flapper valve.
Troubleshooting the flapper valve involves checking the chain length and adjusting it if necessary, as well as ensuring that the flapper valve is properly aligned and sealing the flush valve opening.
Regular flapper valve maintenance is crucial for a properly functioning toilet and to prevent any water wastage.
Troubleshooting the Fill Valve
Check the water level in the toilet tank and ensure that the fill valve is functioning properly. If you’re experiencing a leak or low water level in your toilet bowl, it could be due to a faulty fill valve. Troubleshooting fill valve leaks is essential to maintain a properly functioning toilet.
Here are some steps to follow:
-
Inspect the fill valve: Look for any visible signs of damage or wear, such as cracks or corrosion.
-
Adjust the fill valve height: The fill valve should be adjusted to allow enough water to enter the toilet bowl. Follow the manufacturer’s instructions for adjusting the height.
-
Check for leaks: Listen for any hissing or dripping sounds coming from the fill valve. This could indicate a leak that needs to be addressed.
Seeking Professional Help for Persistent Low Water Level Issues
If you’re still experiencing persistent low water level issues in your toilet, it may be time to seek professional help.
While plumbing DIY projects can be a cost-effective solution for many common household problems, low water level issues in toilets can be tricky to diagnose and fix.
A professional plumber has the expertise and specialized tools to accurately identify the root cause of the problem and recommend the most effective solution. They can check for any blockages or leaks in the pipes, inspect the fill valve, and ensure that the water conservation features are functioning properly.
Moreover, professional plumbers are well-versed in water conservation techniques and can provide valuable advice on how to optimize your toilet’s water usage.
Don’t hesitate to call in the experts when it comes to persistent low water level issues in your toilet.
Conclusion
In conclusion, by following these simple steps, you can effectively add more water to your toilet bowl.
- Check the water supply valve to ensure it’s fully open.
- Adjust the water level in the toilet tank if necessary.
Clean the toilet bowl and flush holes to remove any blockages that may be causing the low water level.
- Inspect and replace the flapper valve if needed.
- Troubleshoot the fill valve for any issues.
If problems persist, don’t hesitate to seek professional help.
Keep your toilet bowl filled with the proper amount of water for optimal performance.