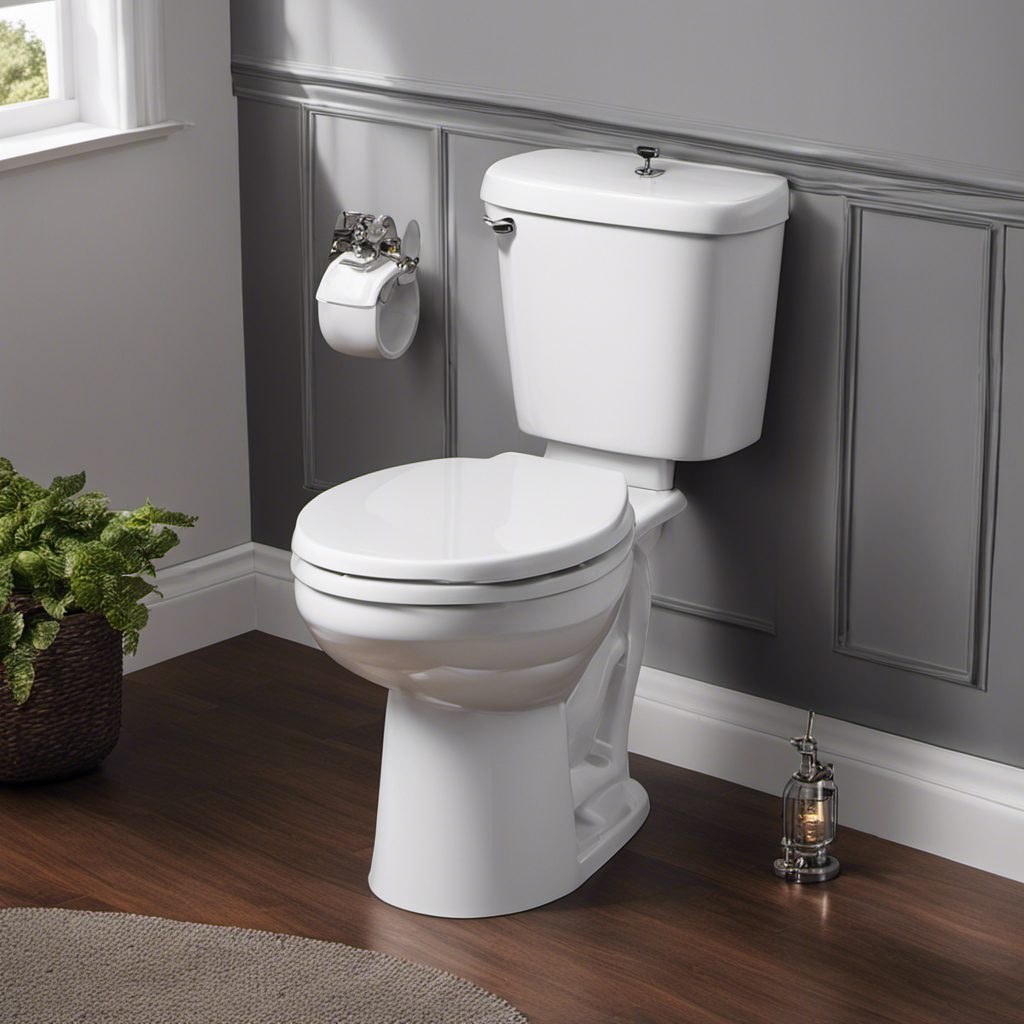
As I step into the bathroom, I notice the constant sound of water dripping into the toilet bowl.
It’s time to change the fill valve and put a stop to this wastefulness.
In this article, I will guide you through the process of replacing your toilet fill valve, ensuring a smooth and efficient operation.
With just a few simple steps and the right tools, you’ll be able to tackle this task with confidence and restore peace to your bathroom.
Key Takeaways
- Proper maintenance of the fill valve is crucial for a well-functioning toilet.
- Troubleshooting can help identify and resolve fill valve problems.
- Shutting off the water supply is necessary before removing or installing the fill valve.
- Installing the new fill valve requires steps like placing a rubber gasket, tightening the lock nut, and reconnecting the water supply line.

Fluidmaster 400H-002 Performax Universal Toilet Fill Valve High Performance Tank and Bowl Water Control, 1-Pack, Multicolor
Fix noisy, or slow filling fill valves with the quietest, most powerful toilet fill valve available
As an affiliate, we earn on qualifying purchases.
As an affiliate, we earn on qualifying purchases.
Understanding the Toilet Fill Valve
The toilet fill valve controls the water flow into the toilet tank. It is an essential component of the toilet’s flushing system. Proper toilet fill valve maintenance is crucial to ensure a well-functioning toilet.
If you’re experiencing issues with your fill valve, troubleshooting can help identify and resolve the problem. Common fill valve issues include slow or noisy filling, water running constantly, or no water filling the tank at all.
To troubleshoot these problems, check for any blockages or debris in the fill valve mechanism, adjust the water level, or replace the fill valve if necessary.
By understanding how the toilet fill valve works and troubleshooting any issues, you can ensure a properly functioning toilet.
Now, let’s move on to gathering the necessary tools and materials for the replacement process.

Sehfupoye 8 Inch Adjustable Wrench Aluminum Alloy Spanner Shank Plumber Large Opening Bathroom Wrenche Wide Jaw 6-68mm
【Aluminum Alloy Material】The Bathroom Spanner are made of lightweight aluminum alloy material, Weight: 195g. Overall heating treatment, good…
As an affiliate, we earn on qualifying purchases.
As an affiliate, we earn on qualifying purchases.
Gathering the Necessary Tools and Materials
When it comes to changing a toilet fill valve, there are a few common tools that you’ll need to have on hand. These include an adjustable wrench, pliers, and a screwdriver.
In addition to the tools, you’ll also need to gather the necessary materials for the replacement. This typically includes a new fill valve, a replacement flapper, and some Teflon tape.
Common Tools Needed
You’ll need a few common tools to change the toilet fill valve. When it comes to troubleshooting fill valve issues or addressing toilet fill valve problems, having the right tools can make the job much easier. Here are the essential tools you’ll need:
| Tools | Purpose |
|---|---|
| Adjustable wrench | For loosening and tightening nuts and bolts. |
| Screwdriver | To remove screws and access the fill valve. |
| Pliers | Useful for gripping and turning small parts. |
| Bucket | To catch any water that may spill during the process. |
| Towel | For wiping up any excess water or moisture. |
Having these tools on hand will ensure that you are well-prepared to tackle the task of changing your toilet fill valve. Now, let’s move on to the required materials for replacement.
Required Materials for Replacement
To replace the toilet fill valve, you’ll need a few materials:
- Adjustable wrench
- Screwdriver
- Replacement fill valve assembly
Troubleshooting and repairing a toilet fill valve can be a common household task. When the toilet tank doesn’t fill properly or continuously runs, it could be a sign that the fill valve needs to be replaced. By following these steps, you can easily replace the fill valve and restore proper functioning to your toilet.
First, gather the necessary materials mentioned above. Then, shut off the water supply to the toilet by turning the valve clockwise. Flush the toilet to drain the tank and remove any remaining water with a sponge or towel.
Now, you’re ready to proceed with replacing the fill valve.
Fluidmaster 400H-002 Performax Universal Toilet Fill Valve High Performance Tank and Bowl Water Control, 1-Pack, Multicolor
Fix noisy, or slow filling fill valves with the quietest, most powerful toilet fill valve available
As an affiliate, we earn on qualifying purchases.
As an affiliate, we earn on qualifying purchases.
Shutting off the Water Supply
Before starting the repair, make sure the water supply is shut off. This step is crucial to avoid any potential water damage or accidents. Shutting off the water properly ensures that no water will flow into the toilet tank while you are replacing the fill valve. There are a few different techniques you can use to shut off the water supply. The most common method is to locate the shut-off valve, usually located on the wall behind the toilet, and turn it clockwise until it is fully closed. Another technique is to shut off the main water supply to your house. This can be done by locating the main shut-off valve, usually found in the basement or utility room, and turning it clockwise. Whichever technique you choose, it is important to shut off the water completely to avoid any potential water damage or accidents during the repair process.
| Water Supply Techniques | Importance of Shutting Off Water Properly |
|---|---|
| Locate shut-off valve | Prevents water damage |
| Turn valve clockwise | Avoids accidents |
| Shut off main supply | Ensures a smooth repair process |
Fluidmaster 400H-002 Performax Universal Toilet Fill Valve High Performance Tank and Bowl Water Control, 1-Pack, Multicolor
Fix noisy, or slow filling fill valves with the quietest, most powerful toilet fill valve available
As an affiliate, we earn on qualifying purchases.
As an affiliate, we earn on qualifying purchases.
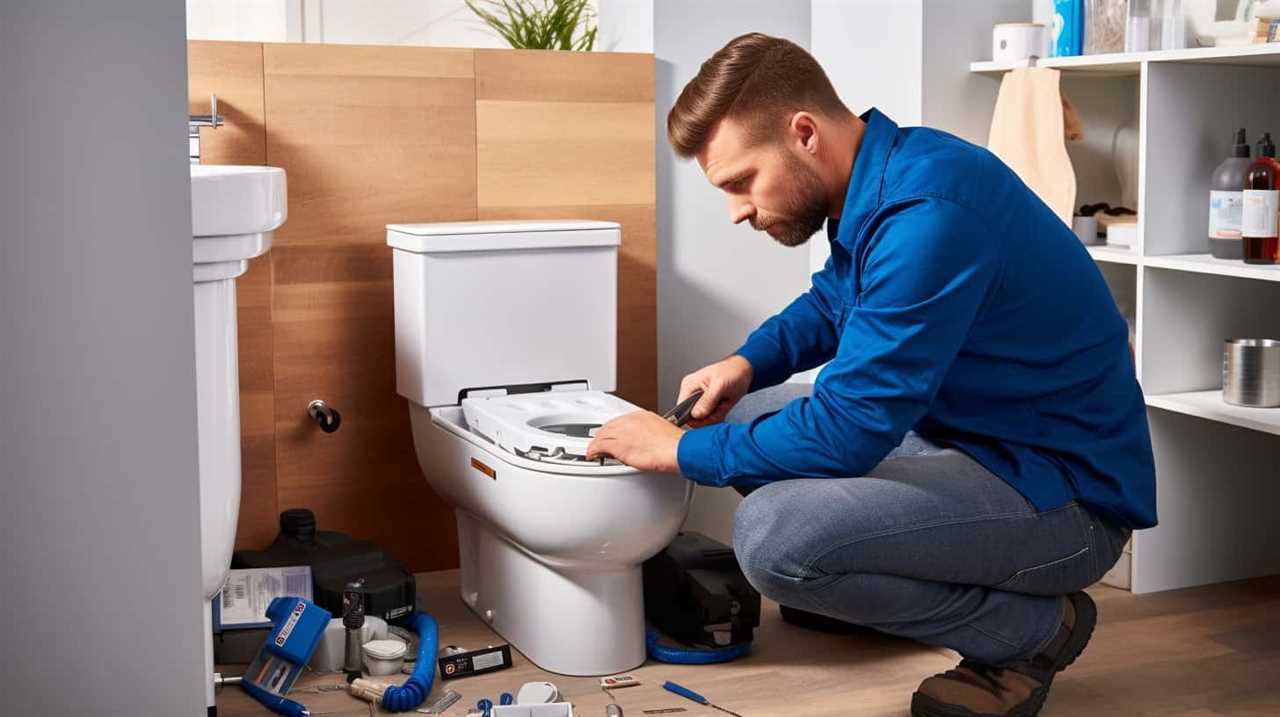
Removing the Old Fill Valve
Once the water supply is shut off, it’s time to remove the old fill valve. To do this, follow these steps:
-
Start by disconnecting the water supply line from the bottom of the fill valve. Use an adjustable wrench to loosen and remove the nut connecting the supply line.
-
Next, remove the lock nut that holds the fill valve in place. This can usually be done by turning it counterclockwise with pliers or a wrench.
-
Once the lock nut is removed, carefully lift the old fill valve out of the toilet tank.
-
If the fill valve is stuck or difficult to remove, try troubleshooting solutions such as lubricating the lock nut or using a pair of pliers to gently twist and loosen it.
-
Inspect the fill valve for any signs of damage or wear. If necessary, replace it with a new fill valve that is compatible with your toilet model.
-
Finally, clean the area around the fill valve opening and prepare to install the new fill valve.
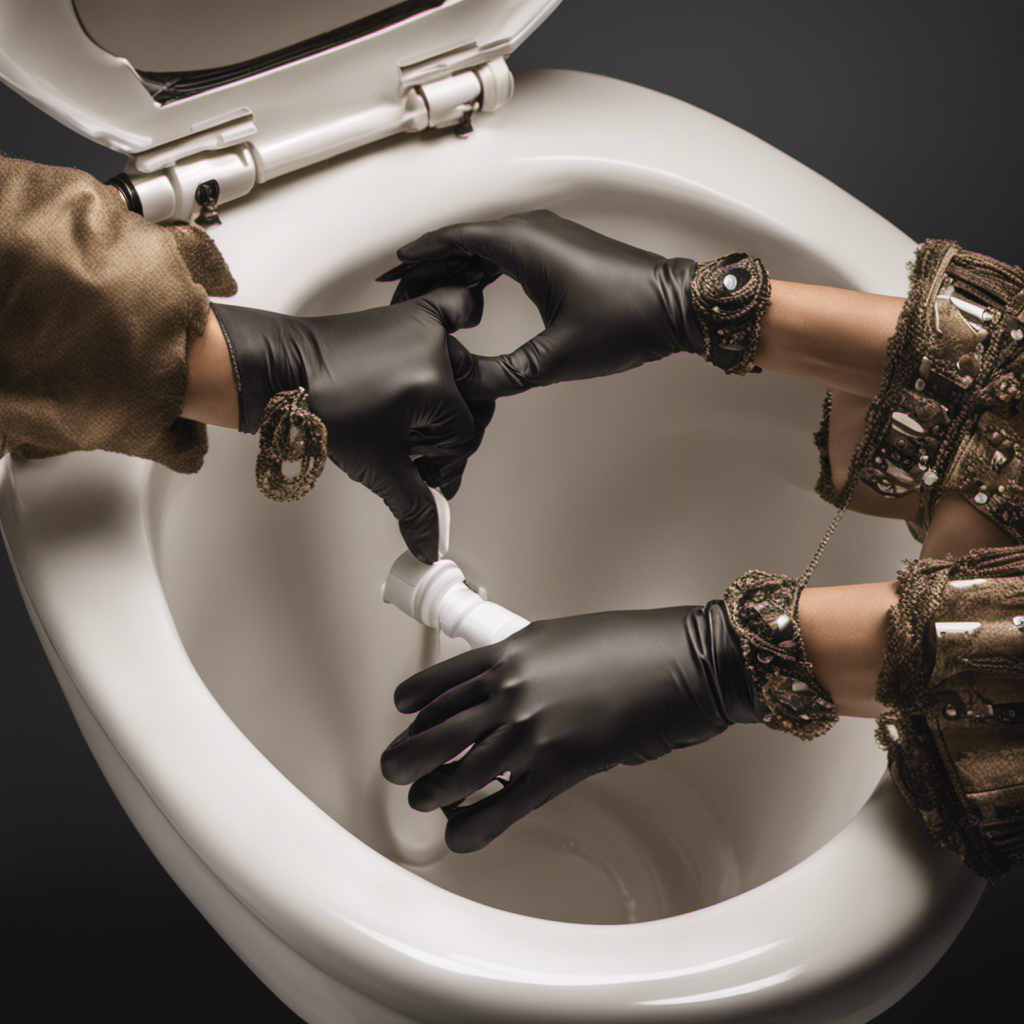
Installing the New Fill Valve
Now that I’ve successfully removed the old fill valve, it’s time to install the new one. This step is crucial to ensure that my toilet functions properly and doesn’t have any leaks.
To make the installation process easier, I have some helpful techniques and troubleshooting tips to share.
First, I’ll start by placing the rubber gasket onto the bottom of the fill valve. Then, I’ll insert the fill valve into the fill valve opening on the bottom of the toilet tank. Once inserted, I’ll secure it by tightening the lock nut underneath the tank.
To ensure a tight seal and prevent leaks, I’ll make sure not to overtighten the lock nut, as it can damage the fill valve or the tank. Additionally, I’ll check that the float arm is properly positioned and adjust it if necessary.
If I encounter any issues during the installation process, such as a leak or the toilet not filling properly, I’ll troubleshoot by checking for loose connections, adjusting the water level, or ensuring that the water supply is turned on.
Adjusting the Fill Valve Height
To achieve the proper water level in your tank, you’ll need to adjust the height of the fill valve. This step is crucial for proper fill valve maintenance and to troubleshoot fill valve leaks.
Here are some key points to keep in mind:
- First, locate the adjustment screw on the fill valve. It is usually located on top or near the top of the valve.
- Use a screwdriver to turn the adjustment screw clockwise to lower the water level or counterclockwise to raise it.
- Make small adjustments and test the water level after each adjustment. This will help you find the perfect height for your fill valve.
By following these steps and making necessary adjustments, you can ensure that your fill valve is properly maintaining the water level in your toilet tank.
Now, let’s move on to the next step: testing and troubleshooting the new fill valve.
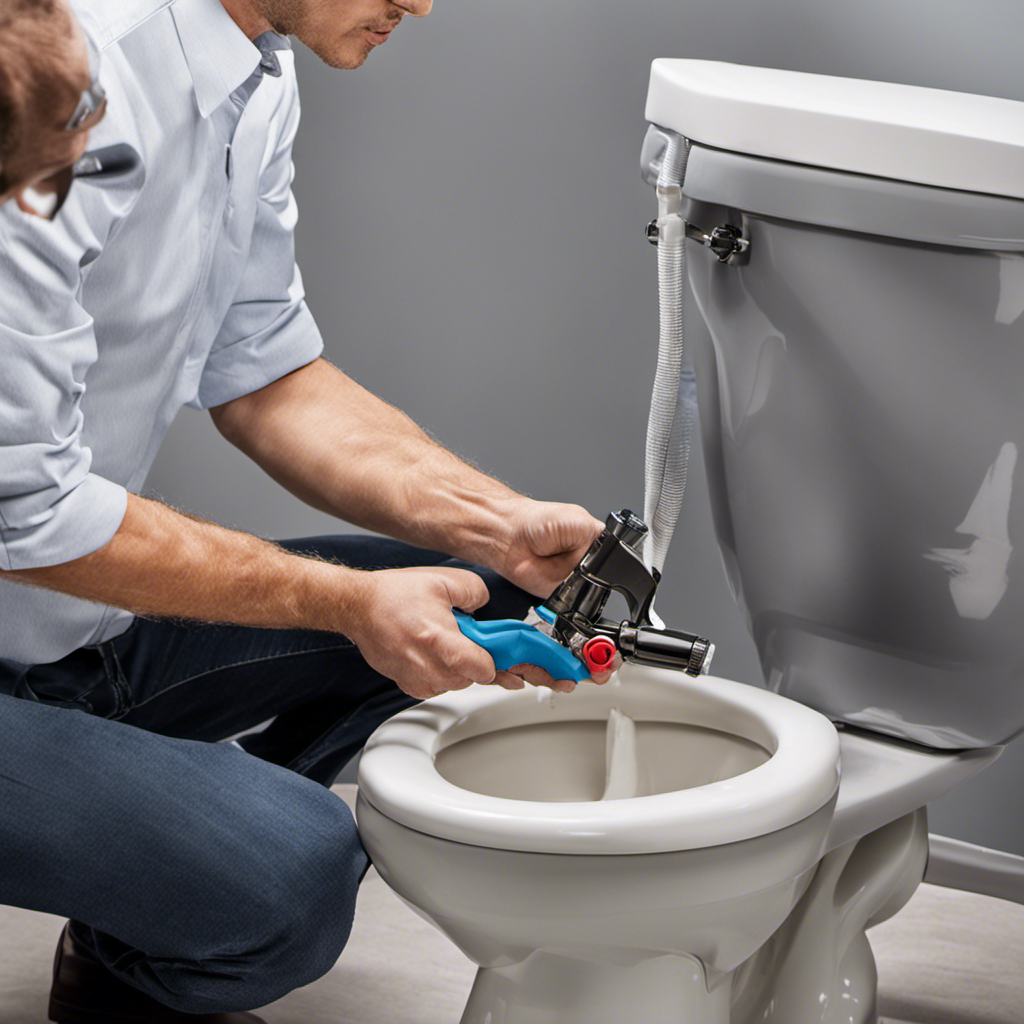
Testing and Troubleshooting the New Fill Valve
To test and troubleshoot the new fill valve, you’ll want to check for any leaks or irregular water flow in your toilet tank. Ensuring proper water flow is essential for the fill valve to function correctly.
Start by inspecting the tank for any visible leaks or water seepage around the fill valve. If you notice any leaks, tighten the connections or replace the faulty parts.
Next, check the water flow by flushing the toilet and observing how quickly the tank refills. If the water flow seems slow or inconsistent, there may be a blockage or debris in the fill valve. In this case, remove the fill valve cap or cover and clean out any obstructions.
Frequently Asked Questions
How Do I Know if My Toilet Fill Valve Needs to Be Replaced?
If my toilet isn’t filling properly or keeps running, it could be a sign of a faulty fill valve. I’ll need to troubleshoot common issues before determining if it needs to be replaced.
Can I Use Any Type of Fill Valve for My Toilet?
Yes, you can use different types of fill valves for your toilet. Each type has its own advantages and disadvantages. It’s important to consider factors like water pressure and compatibility with your toilet before choosing the right fill valve.
Is It Necessary to Shut off the Water Supply Before Replacing the Fill Valve?
Do I need to shut off the water supply before replacing the fill valve? Yes, it’s crucial for safety. When replacing the fill valve, always turn off the water supply to prevent any potential flooding or accidents.
How Often Should the Fill Valve Be Replaced?
How often is fill valve replacement necessary? Signs of a faulty fill valve include constant running water, low water pressure, and a toilet that won’t fill up properly. It’s important to regularly check and replace the fill valve to avoid potential plumbing issues.
What Should I Do if the New Fill Valve Is Not Filling the Toilet Tank Properly?
If the new fill valve isn’t filling the toilet tank properly, there are a few troubleshooting tips you can try. Check the water supply line, adjust the float, or consider alternative solutions like installing a different type of fill valve.
Conclusion
In conclusion, changing a toilet fill valve is a straightforward task that can be easily accomplished with the right tools and materials. By shutting off the water supply, removing the old fill valve, and installing a new one, you can ensure a properly functioning toilet.
Adjusting the fill valve height and testing for any issues is also essential for optimal performance. So, don’t hesitate to tackle this DIY project and enjoy a flawlessly operating toilet in no time.