I’ve been there – a leaky, outdated toilet that needs replacing. But fear not, because I’m here to guide you through the process of changing your toilet.
In this article, I’ll walk you through the necessary steps, from assessing the current toilet to connecting the plumbing. With the right tools and a little know-how, you’ll be able to tackle this project and have a brand new toilet in no time.
Let’s get started!
Key Takeaways
- Assess the current toilet for cracks, leaks, and damage before starting the replacement process.
- Properly remove the old toilet by turning off the water supply, disconnecting the supply line, and removing the nuts securing it to the floor.
- When installing the new toilet, ensure proper alignment with the flange, use a level to balance it, and make secure connections to prevent leaks.
- Test for leaks in the toilet tank using food coloring, troubleshoot common toilet problems like chain length and flapper valve issues, and seek professional help if needed.

Fluidmaster K-400H-039 High Performance Toilet Fill Valve with 2-Inch Adjustable Toilet Flapper Kit
The PerforMAX fill valve and 2 in. Flapper Kit is the premium solution to make your 2 in….
As an affiliate, we earn on qualifying purchases.
As an affiliate, we earn on qualifying purchases.
Tools and Materials Needed
To change the toilet, you’ll need a few tools and materials. Here are some toilet installation tips and common toilet problems to consider.
First, gather the necessary tools: a wrench, pliers, a putty knife, and a screwdriver. You’ll also need a new wax ring, bolts, and a flexible water supply line.
Start by shutting off the water supply and draining the tank. Remove the old toilet by disconnecting the water supply line and unscrewing the bolts at the base. Use a putty knife to scrape off the old wax ring.
Next, install the new wax ring and position the new toilet in place. Secure it with bolts, reconnect the water supply line, and turn on the water. Test for leaks and ensure the toilet is properly sealed.
These tips will help you successfully change your toilet and avoid common problems.

Hibbent Extra Thick Toilet Wax Ring Replacement Kit, Universal Toilet Seal Ring with Brass Toilet Floor Bolts and Retainer Washers, PE Flange Fits 3 Inch and 4 Inch Drain Pipes
Universal Toilet Wax Ring: The Hibbent toilet flange is compatible with 3-inch and 4-inch waste lines, suitable for…
As an affiliate, we earn on qualifying purchases.
As an affiliate, we earn on qualifying purchases.
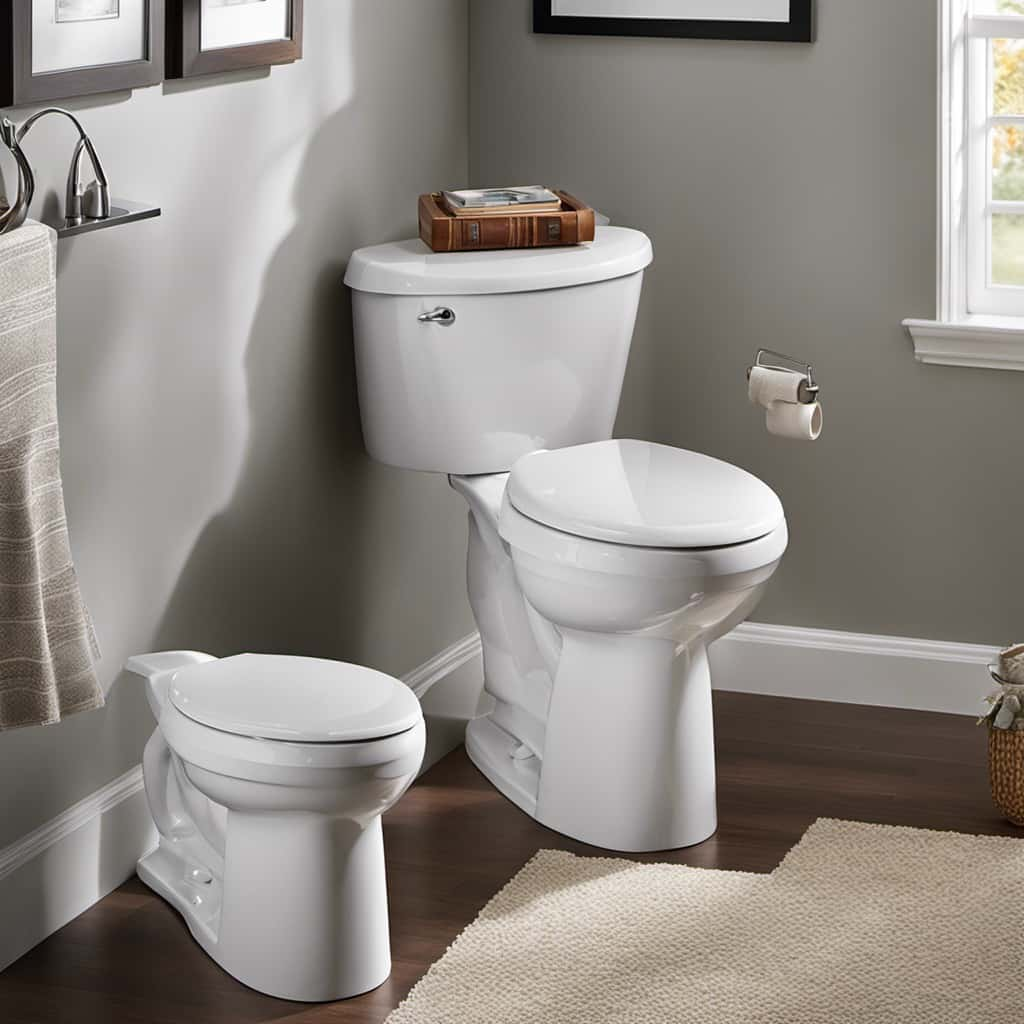
Assessing the Current Toilet
The toilet’s condition needs to be evaluated before making any changes. To assess its condition, start by checking for any cracks, leaks, or damage in the porcelain bowl and tank. Look for signs of water stains or discoloration around the base, which could indicate a faulty seal.
Check the flushing mechanism, ensuring it operates smoothly and effectively. Measure the dimensions of the toilet, including the rough-in distance, which is the distance from the wall to the center of the drainpipe. This measurement is crucial to ensure the new toilet will fit properly.
Additionally, evaluate the overall style and design of the current toilet to determine if it aligns with your preferences. Taking these steps will help you make an informed decision when choosing a new toilet.

Gerber ReadySet Universal Toilet Bowl Installation Kit, G0099295 – Tool-Free Install, 2 Star Bolt Sizes, Extra-Tall Guides, Low-Profile Caps – Complete Kit (Wax Ring Sold Separately)
Toilet Flange Bowl Installation Kit: Complete toilet mounting bolt kit includes two bolt lengths to fit most above-floor,…
As an affiliate, we earn on qualifying purchases.
As an affiliate, we earn on qualifying purchases.
Removing the Old Toilet
Start by gathering the necessary tools, such as a wrench and a bucket, to remove the old toilet.
To begin the toilet removal process, turn off the water supply valve located behind the toilet. Flush the toilet to drain as much water as possible.
Next, disconnect the supply line that connects the toilet tank to the water supply valve. Use a wrench to loosen the nuts and remove them.
Once the supply line is disconnected, remove the nuts securing the toilet to the floor. Gently rock the toilet back and forth to break the seal between the toilet and the floor.
Carefully lift the toilet off the floor and place it on a towel or old newspapers to prevent any water spillage.
Dispose of the old wax ring and inspect the flange on the floor for any damage.
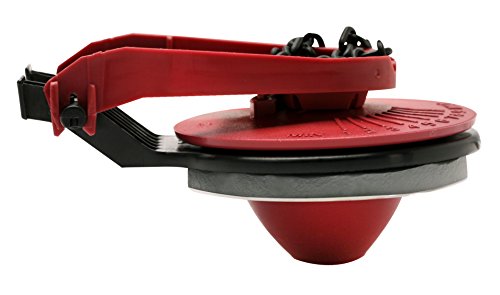
Fluidmaster 555CRP8 Universal PerforMAX 5 Minute Toilet Flush Valve Repair Kit 2 In.
Universal Design, fast and easy-to-install
As an affiliate, we earn on qualifying purchases.
As an affiliate, we earn on qualifying purchases.
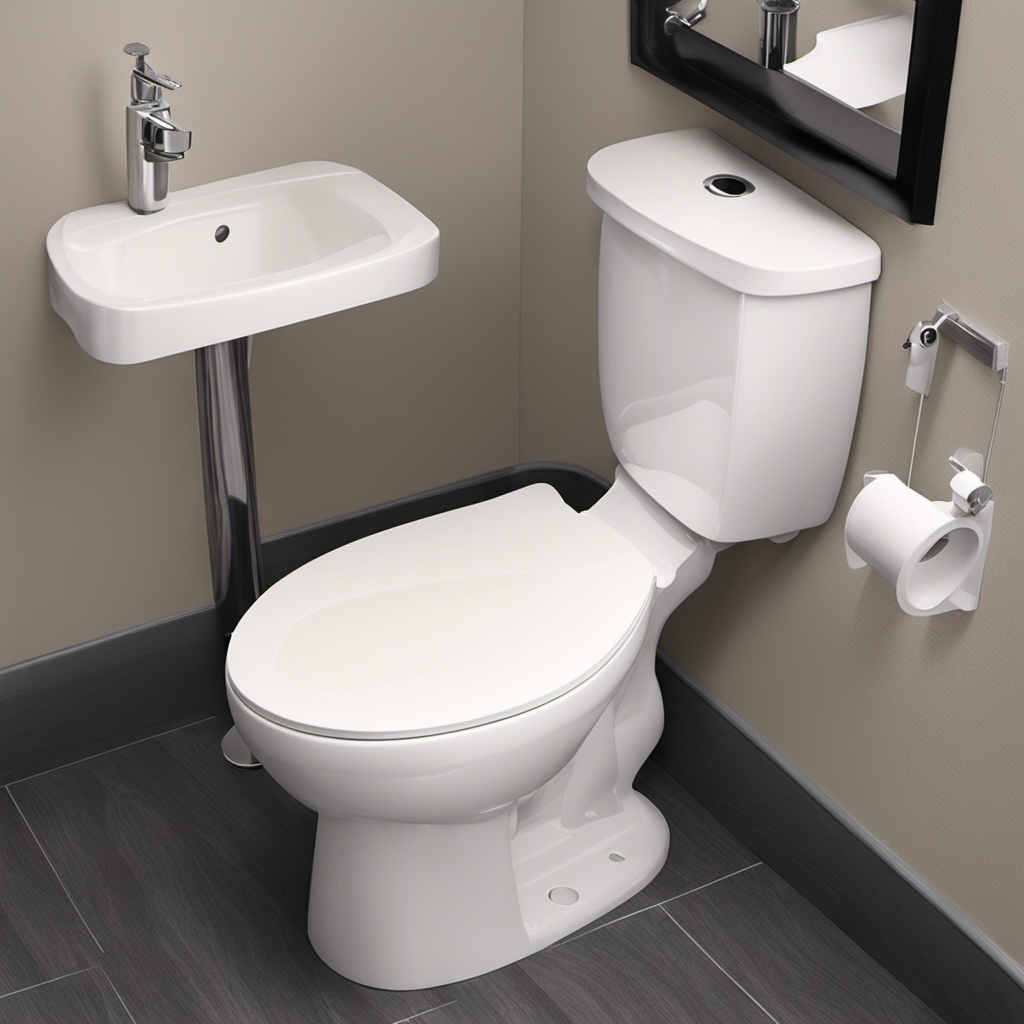
Installing the New Toilet
Once you have gathered all the necessary tools, make sure to carefully position the new toilet over the flange on the floor. This is an important step in installing the toilet properly.
Here are some key things to keep in mind:
- Ensure that the toilet bowl is aligned with the flange and sits evenly on the floor.
- Double-check that the flushing mechanism is facing the right direction and properly aligned with the water supply line.
- Use a level to make sure the toilet is balanced and not leaning in any direction.
Taking the time to position the new toilet correctly will prevent any future issues and ensure a proper and efficient installation.
Now, let’s move on to connecting the plumbing and completing the installation process.
Connecting the Plumbing
When it comes to connecting the plumbing for a new toilet, two key points to consider are pipe alignment and connections, as well as proper sealing techniques.
Ensuring that the pipes are properly aligned and connected is crucial for the overall functionality and efficiency of the plumbing system.
Additionally, using the right sealing techniques will help prevent any leaks or water damage, providing a durable and long-lasting solution.
Pipe Alignment and Connections
To ensure proper pipe alignment and connections, you’ll need to carefully measure and align the pipes before making any connections. This step is crucial in ensuring that the pipes fit together properly and that there are no leaks or other issues with the installation.
Here are some troubleshooting techniques to help you with pipe alignment and connections:
- Use a level to ensure that the pipes are straight and level before making any connections.
- Measure the pipes carefully to ensure that they are the correct length and will fit together properly.
- Use pipe clamps or straps to secure the pipes in place and prevent any movement or shifting.
Proper Sealing Techniques
Proper sealing techniques are essential for preventing leaks and ensuring the integrity of the pipe connections.
When it comes to preventing water damage, a reliable seal is crucial. One common issue is an improperly seated gasket or O-ring. To troubleshoot this, check if the gasket or O-ring is correctly positioned and not damaged.
Another common problem is overtightening the connections. This can cause the seal to fail or even crack the pipes. To avoid this, use a wrench to tighten the connections just enough to create a secure seal without overdoing it.
Additionally, using the right type of sealant, such as plumber’s tape or thread sealant, can also prevent leaks.
Testing for Leaks
You can easily test for leaks by adding a few drops of food coloring to the toilet tank water. This simple technique can help you identify any leaks and prevent potential water damage in your bathroom.
Here’s how you can do it:
- Add a few drops of food coloring to the toilet tank water.
- Wait for about 15-20 minutes without flushing the toilet.
- Check the toilet bowl for any color change.
- If you notice the water in the bowl has changed color, it indicates a leak in the toilet tank or flapper valve.
- To troubleshoot common toilet problems, you can try adjusting the chain length or replacing the flapper valve.
- If the leak persists, it’s recommended to seek professional help to prevent further water damage and ensure the proper functioning of your toilet.
Finishing Touches and Clean Up
After identifying a leak in the toilet tank or flapper valve, troubleshoot common issues by adjusting the chain length or replacing the flapper valve. Once you have fixed the leak, it’s time to make some final adjustments and clean up.
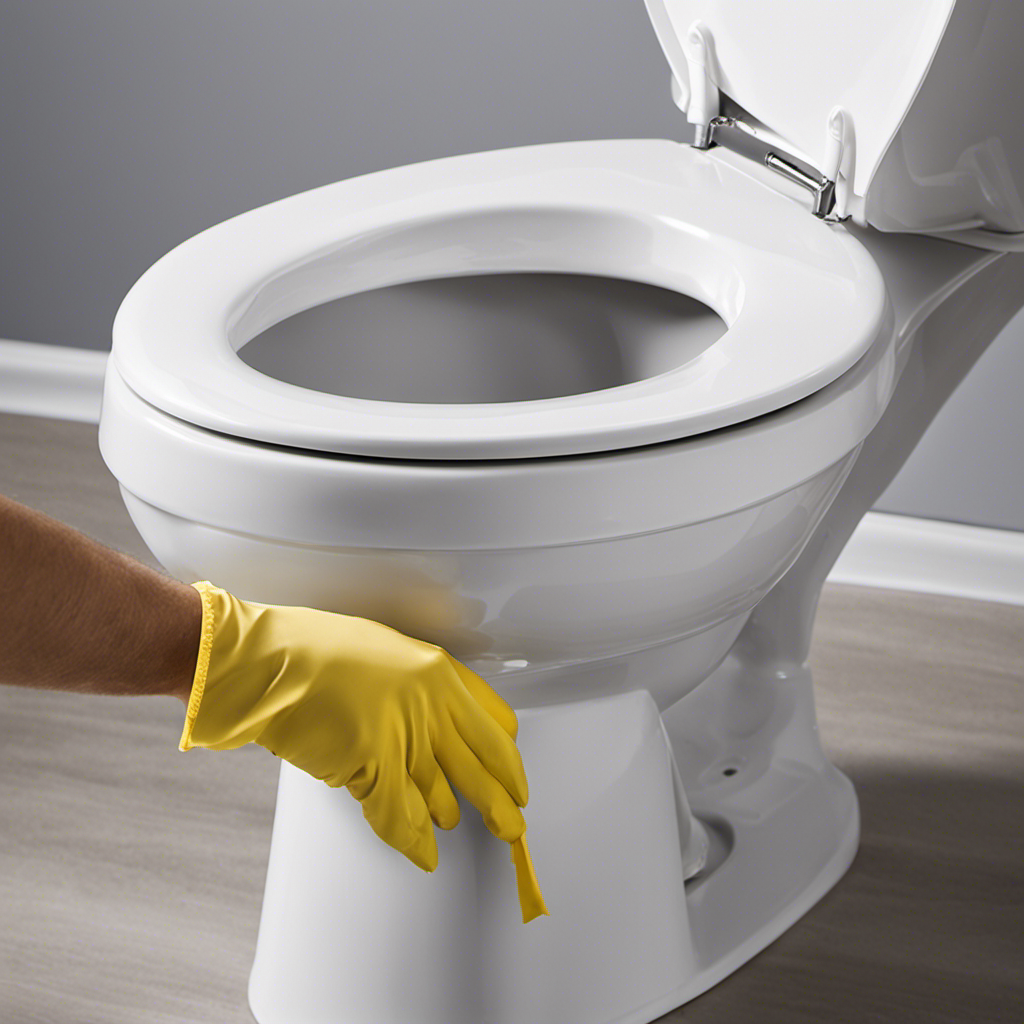
First, gather your cleaning supplies, including a toilet brush, disinfectant cleaner, and gloves. Use the toilet brush to scrub the inside of the bowl, paying special attention to any stains or residue.
Next, wipe down the exterior of the toilet with a disinfectant cleaner to ensure it is clean and germ-free.
Conclusion
In conclusion, changing a toilet may seem like a daunting task, but with the right tools and a little know-how, it can be easily accomplished. By following the step-by-step guide provided, you can successfully remove the old toilet, install a new one, and connect the plumbing with minimal effort.
While some may argue that hiring a professional plumber is the best option to avoid any potential mistakes, taking the time to learn and complete this task yourself can save you money and give you a sense of accomplishment.
So don’t be afraid to take on this DIY project and enjoy the satisfaction of a job well done.