Hey there! So, you’re dealing with a little issue in the bathroom, huh? Don’t worry, I’ve got you covered.
In this article, I’m going to walk you through the steps to fix a toilet that’s not flushing. Trust me, it’s not as complicated as it sounds.
We’ll dive into common causes, check for clogs, fix faulty flapper valves, adjust water levels, clear blocked pipes, and even troubleshoot weak flushes.
So, let’s get started and get that toilet back in working order!
Key Takeaways
- A clogged drain is a common cause of a toilet not flushing.
- Blockages can occur in the trapway, toilet bowl, or drainpipe, impeding water flow and preventing proper flushing.
- Issues with the flapper valve can cause continuous water leakage into the bowl, leading to a faulty flush.
- Regular cleaning, maintenance, and proper use of the toilet can help prevent flushing problems.
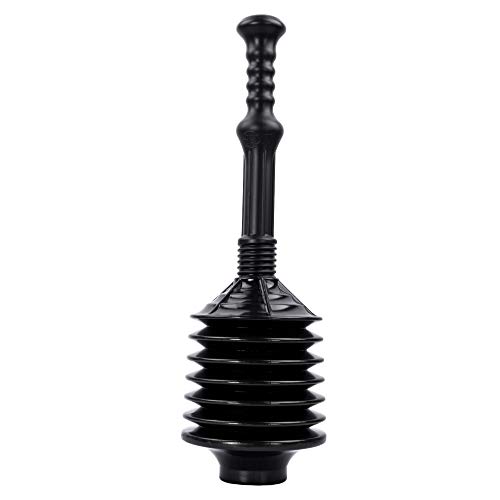
JS Jackson Supplies Professional Bellows Accordion Toilet Plunger, High Pressure Thrust Plunge Removes Heavy Duty Clogs from Clogged Bathroom Toilets, All Purpose Power Plungers for Bathrooms, Black
OPTIMAL PRESSURE: You'll be amazed at how well your new professional bellows plunger works. This plunger specializes at…
As an affiliate, we earn on qualifying purchases.
As an affiliate, we earn on qualifying purchases.
Common Causes of a Toilet Not Flushing
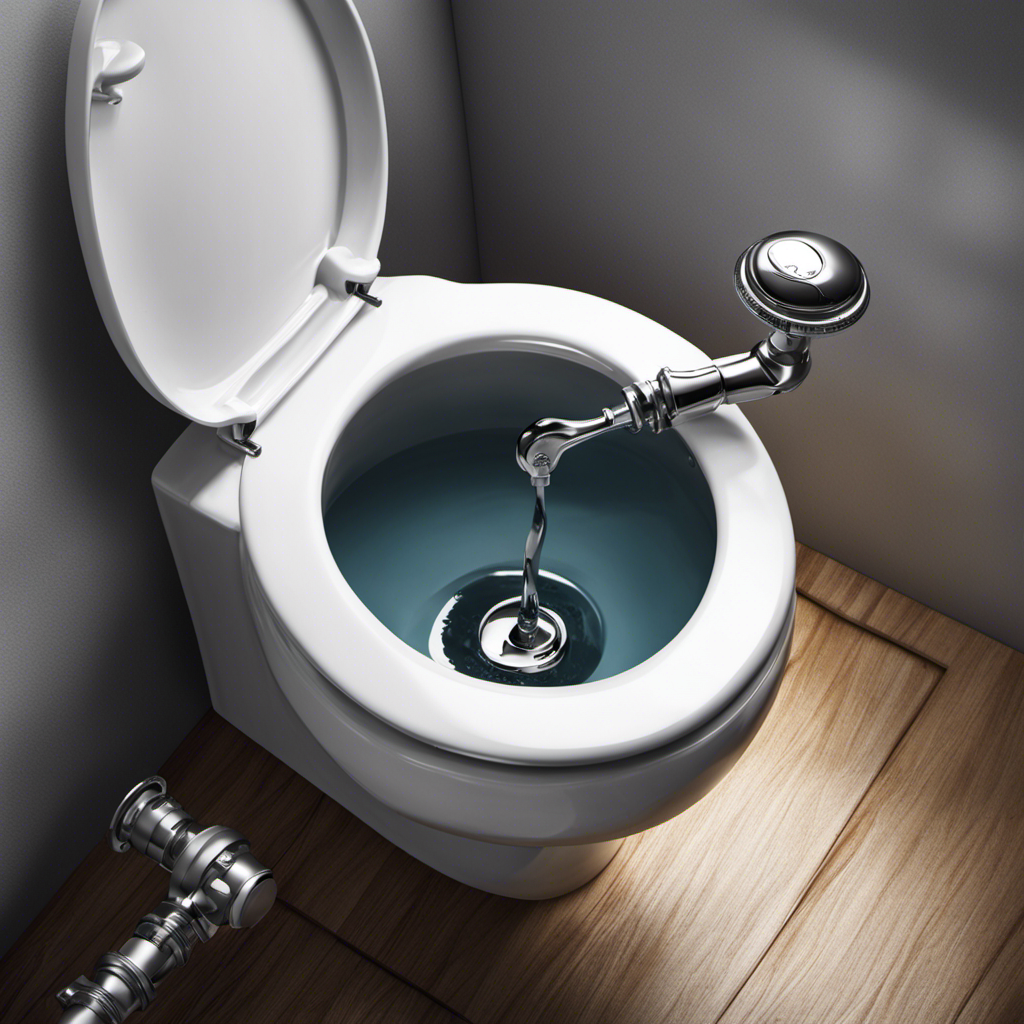
One of the most common causes of a toilet not flushing is a clogged drain. When the drain is blocked, water cannot flow through it, resulting in a weak or non-existent flush.
To understand why a clogged drain affects the flushing mechanism, we need to look at how a toilet works. The toilet tank holds water that is released into the bowl when you flush. This water creates pressure, pushing waste down the drain and out of the toilet. However, if the drain is clogged, the water pressure cannot build up, leading to a weak flush or no flush at all.
Now that we understand the importance of a clear drain, let’s move on to checking for a clogged toilet bowl.

Fluidmaster K-400H-039 High Performance Toilet Fill Valve with 2-Inch Adjustable Toilet Flapper Kit
The PerforMAX fill valve and 2 in. Flapper Kit is the premium solution to make your 2 in….
As an affiliate, we earn on qualifying purchases.
As an affiliate, we earn on qualifying purchases.
Checking for Clogged Toilet Bowl
When it comes to a clogged toilet bowl, it’s important to know the possible blockage locations and how to troubleshoot common issues.
Understanding where the blockage might be located, such as in the trap, drain line, or even the sewer line, will help in determining the best course of action.
Possible Blockage Locations
Toilet not flushing?
The most common blockage locations are the trapway, the toilet bowl, and the drainpipe.
When it comes to toilet bowl maintenance, it’s crucial to address any clogs promptly. The trapway, located at the base of the toilet, is a common area for blockages to occur. This passage connects the toilet bowl to the drainpipe, which leads to the sewer or septic system. Blockages in the trapway can impede the flow of water and prevent proper flushing.
Additionally, the toilet bowl itself can become clogged with debris or waste, causing a backup.
Finally, the drainpipe, which carries waste away from the toilet, can also become obstructed. Understanding these possible blockage locations is essential for effectively unclogging toilet drains.
Now, let’s move on to troubleshooting common issues and finding solutions.
Troubleshooting Common Issues
If you’re experiencing issues with your toilet, a few common troubleshooting tips can help identify the problem.
When it comes to toilet tank maintenance, the first thing you should check is the water level. If it’s too low, adjust the float valve to increase the water level.
Another common issue is a faulty flapper valve, which can cause water to continuously leak into the bowl. In this case, replacing the flapper valve should solve the problem.
As for toilet bowl cleaning techniques, regular cleaning with a toilet brush and a cleaning solution specifically designed for toilets is recommended. Additionally, using a toilet bowl cleaner with bleach can help remove stubborn stains and kill bacteria.

RIDGID 59787 Model K-3 Toilet Auger with Unclogging 3-Foot Snake and Bulb Head
K-3 TOILET AUGER: Provides fast, efficient, and safe clearing of even the toughest blockages in your toilet and…
As an affiliate, we earn on qualifying purchases.
As an affiliate, we earn on qualifying purchases.
Fixing a Faulty Flapper Valve
When it comes to troubleshooting and repairing a faulty flapper valve, there are a few key points to keep in mind.
First, it’s important to understand how the flapper valve works and what can go wrong with it. Common issues include a flapper that doesn’t seal properly, a flapper that won’t stay open, or a flapper that won’t close completely.
Flapper Valve Troubleshooting
One common issue with a toilet not flushing properly is a worn-out flapper valve that needs replacing. The flapper valve is an essential component of the toilet mechanism that controls the flow of water from the tank into the bowl. Over time, the flapper valve can become worn out or damaged, causing it to leak or not seal properly.
To troubleshoot and address this problem, follow these steps:
- Inspect the flapper valve for any signs of wear or damage, such as cracks or warping.
- Clean the flapper valve and the surrounding area to remove any debris or buildup that may be affecting its performance.
- Adjust the chain length connecting the flapper valve to the flush handle to ensure proper alignment and operation.
- If necessary, replace the flapper valve entirely with a new one to restore proper flushing functionality.
Regular flapper valve maintenance, such as cleaning and checking for wear, can help prevent future issues and extend the lifespan of this crucial toilet component.
Repairing a Faulty Flapper
In the previous section, I discussed the troubleshooting of a faulty flapper valve. Now, let’s dive into the next step: repairing a faulty flapper. Flapper valve maintenance is essential to ensure proper flushing and prevent leaks. If your flapper valve is damaged beyond repair, flapper valve replacement is necessary.
To help you understand the process more easily, here is a simple table outlining the steps for both flapper valve maintenance and replacement:
| Flapper Valve Maintenance | Flapper Valve Replacement |
|---|---|
| Inspect for damage or wear | Shut off the water supply |
| Clean or replace the flapper | Remove the old flapper |
| Check and adjust chain length | Install the new flapper |
| Test flush and adjust as needed | Test flush and adjust as needed |
Clorox Under-Rim Toilet Bowl Brush with Corner Storage Caddy, 16 x 5 x 5.5 in
TOILET BOWL BRUSH AND HOLDER SET: Includes an under-rim bowl brush and coordinating caddy for convenient access and…
As an affiliate, we earn on qualifying purchases.
As an affiliate, we earn on qualifying purchases.
Adjusting the Water Level in the Tank
To adjust the water level in the tank, you’ll need to locate the fill valve and turn the adjustment screw counterclockwise. This will allow you to control the water pressure and ensure that the tank fills to the appropriate level.
Here’s a step-by-step guide to help you adjust the water level effectively:
-
Locate the fill valve: The fill valve is usually located on the left side of the tank, connected to the float arm.
-
Turn off the water supply: Before making any adjustments, it’s important to turn off the water supply to the toilet. This can usually be done by turning the valve clockwise.
-
Adjust the water level: Using a screwdriver, turn the adjustment screw counterclockwise to lower the water level or clockwise to raise it. Make small adjustments and test the flush each time until you achieve the desired water level.
-
Test and monitor: Once you’ve made the necessary adjustments, turn on the water supply and flush the toilet to ensure that the water level is now properly adjusted.
Clearing Blocked Drain Pipes
If your drain pipes are blocked, try using a plunger to clear the clog. A plunger is a simple yet effective tool for clearing clogged pipes. It works by creating a vacuum seal and using pressure to dislodge the blockage.
To use a plunger effectively, follow these steps:
- Position the plunger over the drain opening, ensuring a tight seal.
- Push down firmly and then pull up quickly, repeating this motion several times.
- Check if the water starts to drain. If it does, continue plunging until the clog is completely cleared.
- If the blockage persists, try using a plumbing snake or calling a professional plumber for assistance.
Using a plunger correctly can save you time, money, and the hassle of dealing with a clogged drain. Remember to wear gloves and take necessary safety precautions when attempting to clear a clog yourself.
Replacing a Broken Flush Handle
You can easily replace a broken flush handle by unscrewing the old one and attaching the new one in its place. Here are the steps to follow:
-
Shut off the water supply to the toilet by turning the valve clockwise.
-
Remove the tank lid and locate the flush handle assembly.
-
Use a screwdriver to remove the screws holding the old handle in place.
-
Take note of the orientation of the old handle before removing it.
-
Attach the new handle by aligning it with the mounting holes and tightening the screws.
-
Turn the water supply back on and test the flush handle to ensure it is working properly.
-
If the flush is still stuck, check the chain or flapper for any obstructions or damage.
Troubleshooting a Weak Flush
After successfully replacing the broken flush handle, I moved on to troubleshooting a weak flush, a common problem that affects toilet water flow.
To improve the flow, I began by checking the water level in the tank. If it was too low, I adjusted the fill valve to increase the water level.
Next, I inspected the flapper and made sure it was sealing properly. If it was worn or damaged, I replaced it with a new one.
I also checked the flush valve and cleaned any debris that might be obstructing it. Additionally, I examined the water supply line to ensure it was fully open.
Frequently Asked Questions
Can a Toilet Not Flushing Be Caused by a Faulty Water Supply Valve?
Yes, a faulty water supply valve can cause a toilet not to flush. It is one of the common issues that require toilet repair services. Troubleshooting toilet issues often involves checking the water supply valve for any problems.
How Can I Determine if the Toilet Bowl Is Clogged or if There Is a Problem With the Drain Pipes?
To determine if the toilet bowl is clogged or if there is a problem with the drain pipes, I would perform toilet bowl maintenance and troubleshoot the toilet flush. This involves checking for blockages and ensuring proper water flow.
Is It Necessary to Completely Remove the Toilet From the Floor to Fix a Faulty Flapper Valve?
No, it is not necessary to completely remove the toilet from the floor to fix a faulty flapper valve. There are methods to replace the valve and fix the toilet without removing it entirely.
Can Adjusting the Water Level in the Tank Help Improve the Flushing Power of the Toilet?
Adjusting the water level in the tank can improve the flushing power of the toilet. By increasing the pressure, it helps to clear any blockages. If this doesn’t work, using a plunger might be necessary.
What Are Some Signs That Indicate a Broken Flush Handle Needs to Be Replaced?
When a flush handle is broken, there are clear signs indicating the need for replacement. To fix this issue, I will explain how to properly replace a broken flush handle.
Conclusion
After exploring the various causes and solutions for a toilet not flushing, it is clear that there are several potential issues that can hinder its functionality.
From checking for a clogged toilet bowl to fixing a faulty flapper valve, adjusting the water level in the tank, clearing blocked drain pipes, and replacing a broken flush handle, troubleshooting a weak flush requires technical knowledge and precision.
By investigating the truth of a theory, we can gain a deeper understanding of the problem and engage the audience with our expertise.