Do you ever hear an annoying whistling sound coming from your toilet? Don’t worry, I’ve got you covered.
In this article, I’ll show you exactly how to fix that whistling toilet and restore peace and quiet to your bathroom.
We’ll dive into the root causes of the problem, check for water pressure issues, and make necessary adjustments to the fill valve and flush valve.
So let’s get started and put an end to that pesky whistling once and for all.
Key Takeaways
- A faulty fill valve or worn-out flapper can cause a whistling sound in a toilet.
- Checking the water pressure in other faucets can help identify if the issue is localized or a main water supply problem.
- Adjusting the fill valve by replacing the float or adjusting the water level can help resolve the whistling noise.
- Replacing the flapper, which can cause water leakage and strange noises, can also help fix the issue.
Top picks for "whistl toilet"
Open Amazon search results for this keyword.
As an affiliate, we earn on qualifying purchases.
Understanding the Whistling Sound
The whistling sound in a toilet is often caused by a faulty fill valve or a worn-out flapper. When the fill valve is not working properly, it can create a high-pitched noise as water flows through it. Similarly, a worn-out flapper can cause the whistling sound by not sealing properly, allowing air to escape and create a whistling noise.
To troubleshoot the issue, start by checking the fill valve for any signs of damage or wear. If you notice any issues, it may be necessary to replace the fill valve with a new one. Next, inspect the flapper for any cracks or deterioration. If you find any, replacing the flapper will ensure a proper seal.
Remember to turn off the water supply before performing any repairs. By addressing these common causes and following these troubleshooting tips, you will be able to fix the whistling sound in your toilet.
Checking for Water Pressure Issues
To check for water pressure issues, you should start by turning on the water in other faucets and observing if the pressure is consistent. This is an important step in diagnosing leaks and understanding the overall water pressure in your plumbing system.
Begin by turning on the water in your kitchen sink and bathroom faucets. Make sure to take note of any fluctuations or drops in pressure.
If you notice that the pressure is consistently low in all faucets, it may indicate a problem with your main water supply or a clog in the pipes. On the other hand, if the pressure is only low in specific faucets, it could suggest a localized issue, such as a clogged aerator or a faulty valve.
Testing the water pressure is an essential part of troubleshooting and resolving any water pressure issues you may encounter.
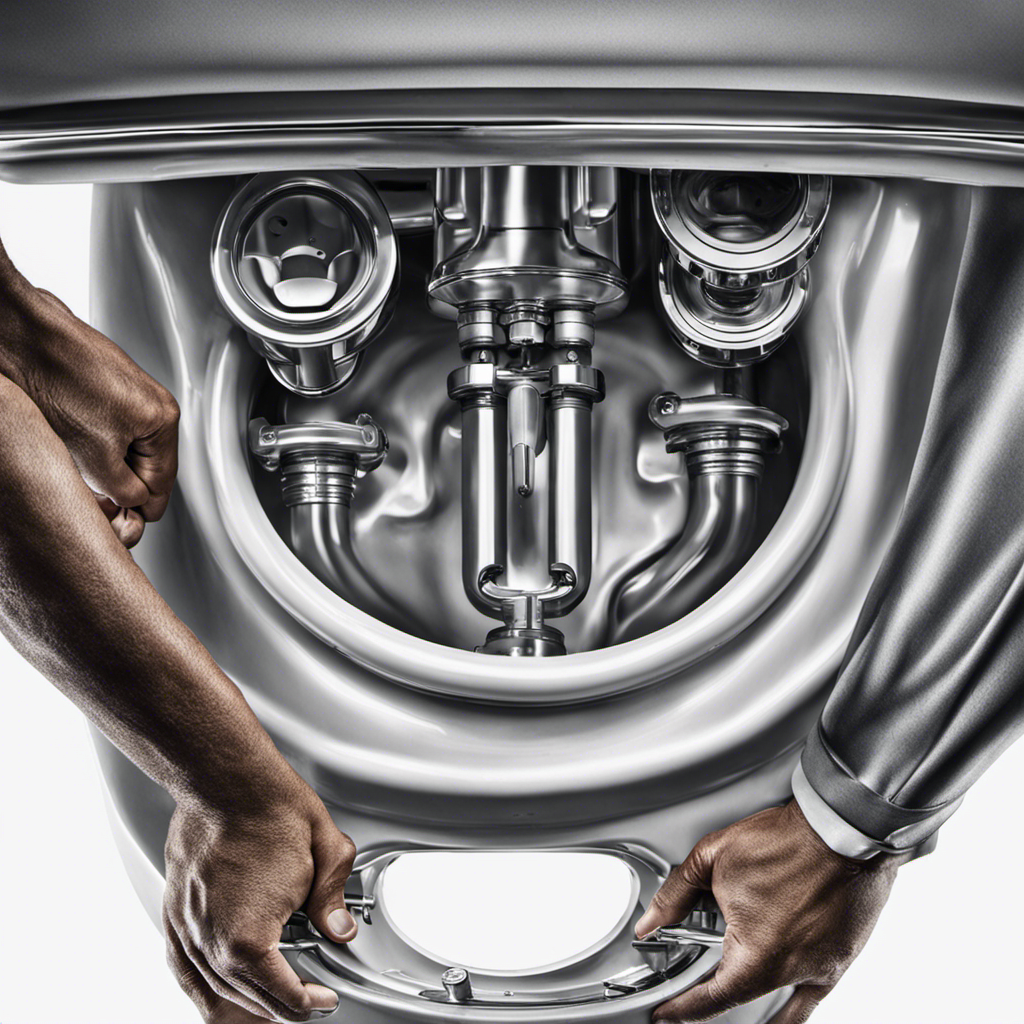
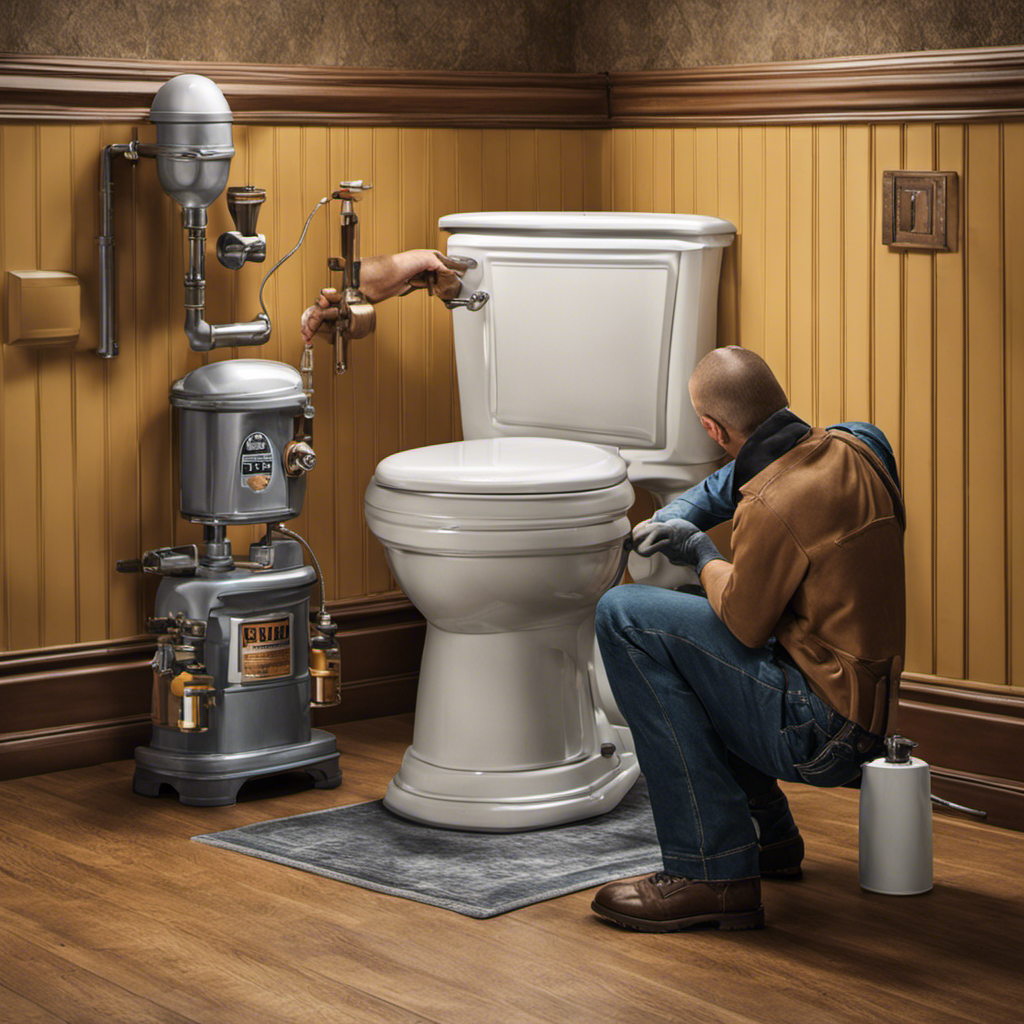
Adjusting the Fill Valve
If you’re experiencing inconsistent water flow in your toilet, you might need to adjust the fill valve. The fill valve is responsible for controlling the water level in the tank and ensuring a proper flush.
To adjust the fill valve, start by locating it in the toilet tank. You may need to remove the tank lid for better access. Look for a float attached to the fill valve and check if it is damaged or malfunctioning. If so, consider replacing the float.
To adjust the water level, locate the screw on top of the fill valve and turn it clockwise to decrease the water level or counterclockwise to increase it. Make small adjustments and test the water flow until you achieve the desired level.
Fixing the Flush Valve
When fixing the flush valve, start by turning off the water supply to the toilet. This is important to prevent any water leakage while working on the valve. Once the water supply is shut off, you can proceed with replacing the gasket and cleaning the float. The gasket is responsible for creating a watertight seal between the tank and the bowl, so if it is damaged or worn out, it can cause leaks and whistling noises. To replace the gasket, carefully remove the old one and replace it with a new one, making sure it is properly seated. Cleaning the float is also crucial as a dirty float can affect the water level in the tank and cause whistling. Simply remove the float, clean it with water or vinegar, and reinstall it. Remember to turn the water supply back on once you have completed these steps.
Here is a table to help you understand the steps involved:
| Steps | Actions |
|---|---|
| 1 | Turn off the water supply to the toilet |
| 2 | Remove the old gasket |
| 3 | Replace with a new gasket |
| 4 | Clean the float |
| 5 | Reinstall the float |
| 6 | Turn on the water supply |
Replacing the Flapper
Replacing the flapper is a simple task that can help resolve any water leakage issues in your toilet. If you’re experiencing problems with your toilet, such as constant running water or strange noises, the flapper may be the culprit.
To replace the flapper, start by turning off the water supply to the toilet. Flush the toilet to drain the tank and remove any remaining water. Next, detach the old flapper from the flush valve. Take note of its size and style, as this will help you find the right replacement.
Install the new flapper by following the manufacturer’s instructions. Ensure a proper fit and adjust the chain length if necessary. Finally, turn the water supply back on and test the toilet for any leaks or unusual noises.
These simple flapper replacement tips can help troubleshoot toilet noises and restore proper functionality to your toilet.
Frequently Asked Questions
Can a Whistling Toilet Be Fixed Without Replacing Any Parts?
Yes, a whistling toilet can be fixed without replacing any parts. There are alternative methods for fixing it, such as adjusting the water level, checking the fill valve, or tightening loose connections.
Can a Whistling Toilet Be Caused by a Faulty Water Supply Line?
Yes, a whistling toilet can be caused by a faulty water supply line. If the line is damaged or not properly connected, it can create a high-pitched noise when water flows through the toilet valve.
Is It Possible for the Whistling Sound to Be Caused by a Blockage in the Toilet Drain?
It’s possible for a whistling sound in a toilet to be caused by a blockage in the drain. To diagnose the cause of the whistle, I would check for any obstructions in the toilet’s drain pipe.
Are There Any Temporary Solutions to Stop the Whistling Sound Until a Permanent Fix Can Be Made?
Sure, there are temporary solutions to stop the whistling sound. I can share some troubleshooting steps with you. Let’s fix this annoying noise before we find a permanent solution.
Can the Whistling Sound Be a Result of a Malfunctioning Wax Ring or Seal?
Yes, a faulty flapper valve can cause a whistling sound in a toilet. If the flapper valve is not sealing properly, it can create a high-pitched noise when water flows through it.
Conclusion
In conclusion, fixing a whistling toilet is a relatively simple task that can be done by anyone.
By understanding the whistling sound and checking for water pressure issues, adjusting the fill valve, fixing the flush valve, and replacing the flapper, you can easily resolve the problem.
As the saying goes, ‘A stitch in time saves nine,’ taking prompt action will prevent further damage and ensure a quieter and more efficient toilet.
So don’t hesitate, follow these steps and bid farewell to the annoying whistling sound.