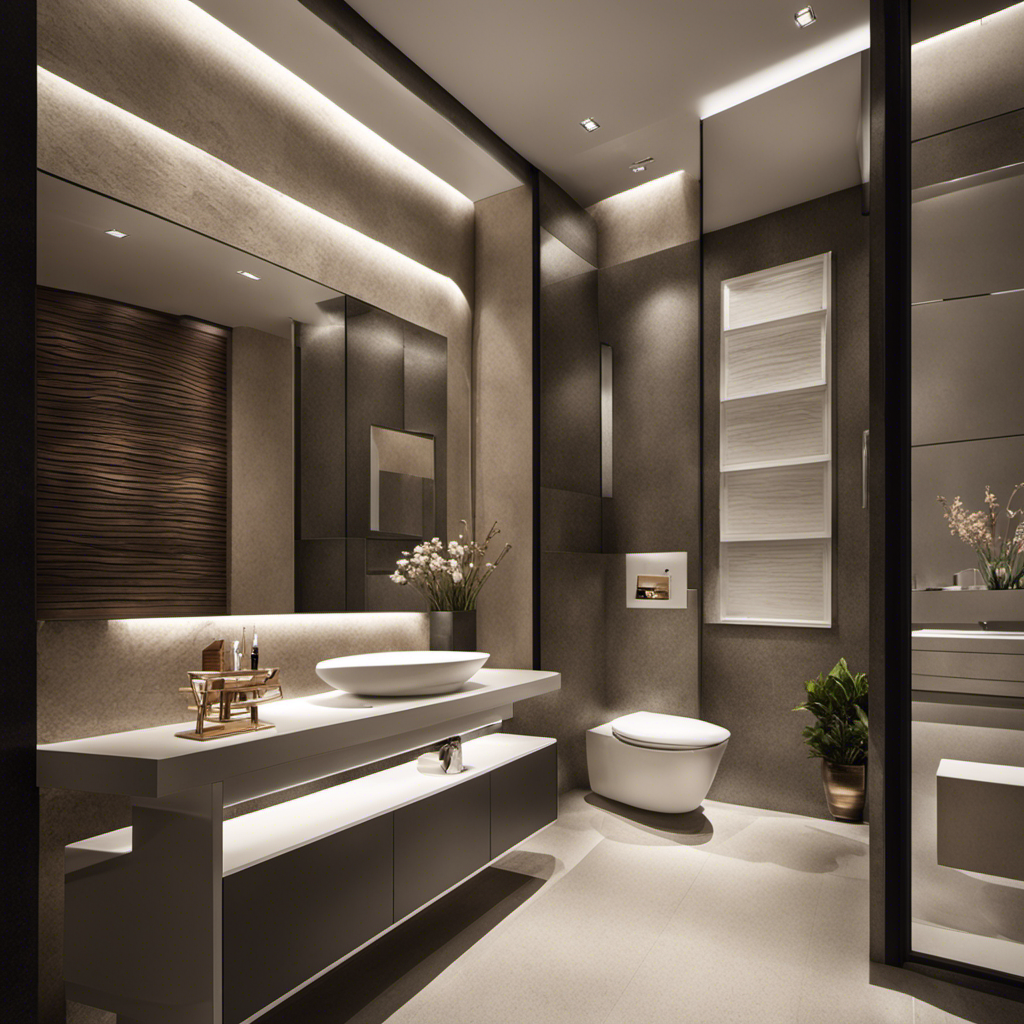
So, you want to paint behind the toilet? Trust me, I’ve been there. It may seem like a difficult task, but with the right tools and techniques, you can easily transform that overlooked space.
In this article, I will guide you through the process step by step, from assessing the area to choosing the perfect paint.
Get ready to give your bathroom a fresh new look, starting from behind the throne.
Key Takeaways
- Assess the area and prepare it by checking for enough space to maneuver, cleaning the surface, inspecting for damage, and evaluating accessibility.
- Choose the right paint by considering color options and finish types, taking into account personal preference and desired aesthetic.
- Use the proper tools and techniques, such as gathering painting equipment, using protection like drop cloths and painter’s tape, applying thin, even coats of paint, and using high-quality paint formulated for bathrooms.
- Follow tips for a smooth finish, including having cleaning supplies on hand, opting for lighter shades of paint, taking your time with smooth brush strokes, and applying multiple thin coats of paint.
Assessing the Area
Before you begin, make sure you’re assessing the area behind the toilet. Evaluating accessibility and cleaning the surface are crucial steps in preparing to paint.
First, check if there is enough space to comfortably maneuver. You don’t want to be cramped while painting, as it can affect the quality of your work.
Next, ensure that the surface is clean and free from any dust, dirt, or grime. Use a mild detergent and a soft cloth to wipe down the walls, paying extra attention to the area around the toilet. This will help the paint adhere better and result in a smoother finish.
Additionally, inspect for any cracks or damage that may need to be repaired before painting. Taking the time to properly assess the area will ensure a successful painting experience.
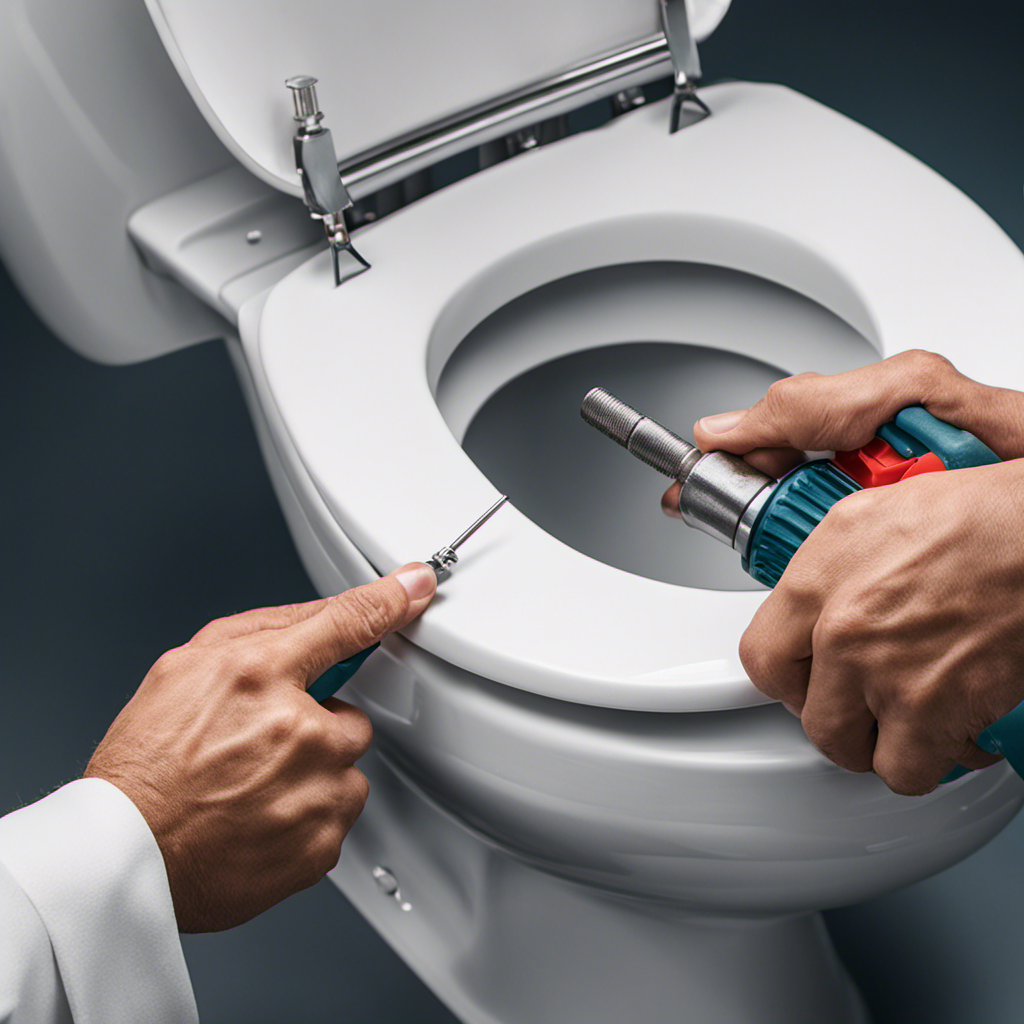
Preparing the Toilet
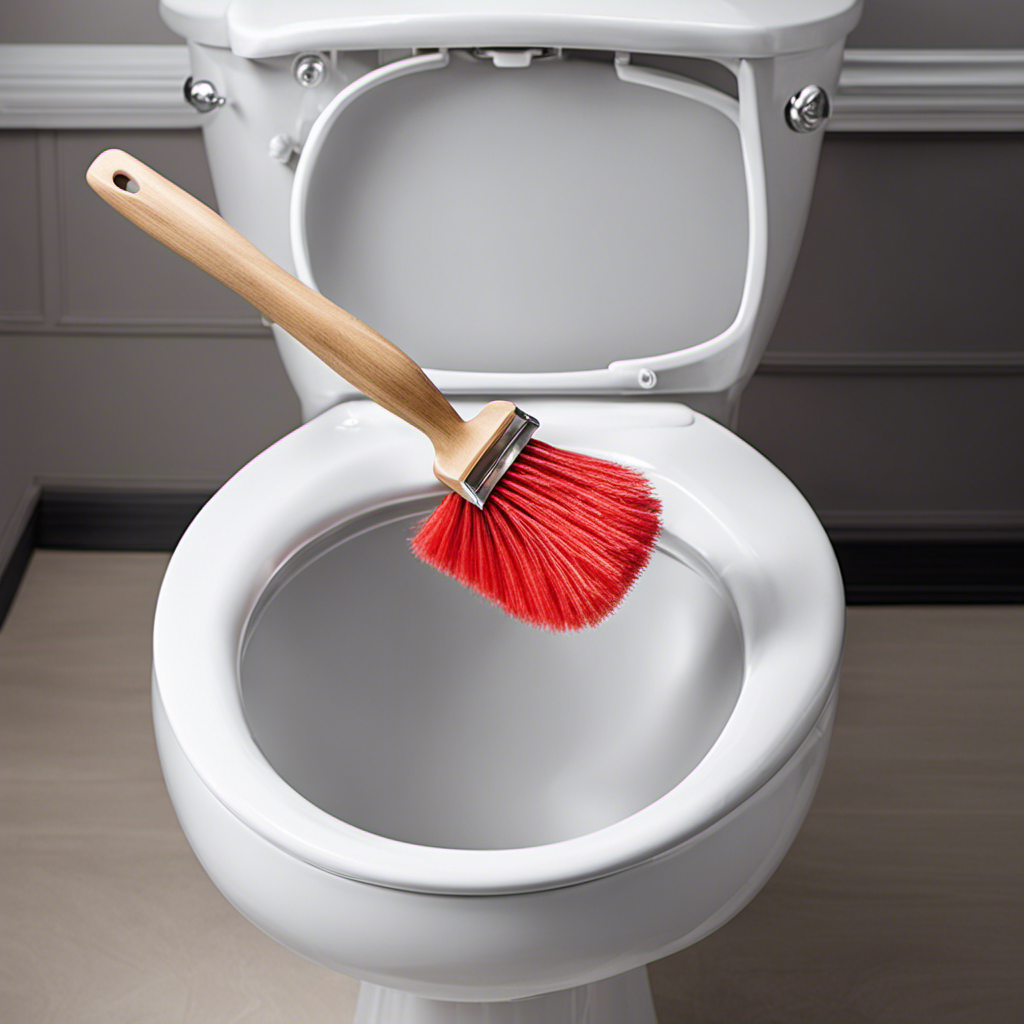
Start by making sure you’ve cleaned and moved any objects near the toilet. Cleaning the toilet before painting is essential to ensure a smooth and long-lasting finish. Use a toilet cleaner and scrub away any dirt or grime.
Don’t forget to protect the surrounding area from paint splatters. Cover the floor with a drop cloth or old newspapers to prevent any accidental spills. You can also use painter’s tape to protect the walls and other fixtures from paint drips.
Once the area is clean and protected, you are ready to move on to choosing the right paint.
Choosing the Right Paint
To ensure a successful toilet painting project, you should carefully consider the type of paint you want to use.
When it comes to paint color options, you have a wide range to choose from. If you want to keep it simple and classic, you can go for a neutral color like white or beige. If you’re feeling bold and adventurous, you can opt for vibrant colors like blue or green to add a pop of personality to your bathroom.
As for the paint finish types, there are a few options to consider. A satin finish is popular for its durability and easy cleaning. A semi-gloss finish is also a good choice as it provides both durability and a subtle sheen.
Ultimately, the choice of paint color and finish will depend on your personal preference and the overall aesthetic you want to achieve in your bathroom.
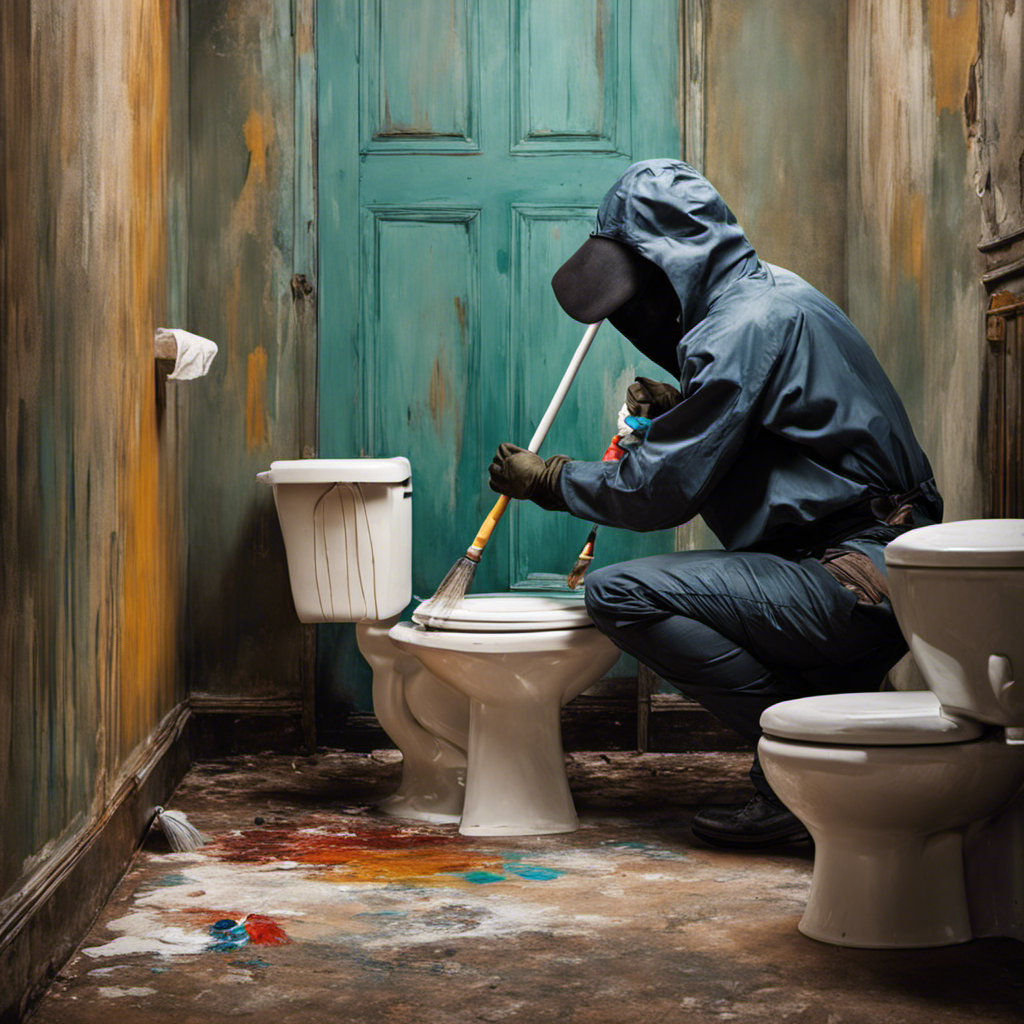
Tools and Techniques
Using the right tools and techniques, you can achieve a professional-looking paint job in your bathroom. Here are some tips to help you get started:
-
Gather the necessary painting equipment:
-
Paintbrushes, rollers, and trays
-
Painter’s tape
-
Drop cloths or plastic sheeting
-
Paint primer and paint
-
Troubleshooting common issues:
-
To prevent drips and streaks, make sure to apply thin, even coats of paint.
-
If you encounter brush marks or roller lines, lightly sand the surface and apply another coat.
-
Use a high-quality paint that is specifically formulated for bathrooms to prevent mold and mildew growth.
Tips for a Smooth Finish
Now that we have covered the necessary tools and techniques, let’s explore some tips for achieving a smooth finish in your bathroom paint job.
When it comes to cleaning supplies, it’s essential to have a few on hand. A bucket, sponge, mild detergent, and clean cloths will help you remove any dirt, grease, or grime from the walls before you start painting.
Additionally, color selection plays a significant role in achieving a smooth finish. Opt for lighter shades, as they tend to hide imperfections better than darker colors. Lighter colors also create an illusion of a larger space, which is perfect for smaller bathrooms.
Remember to take your time, use smooth brush strokes, and apply multiple thin coats for a flawless finish.
Frequently Asked Questions
Can I Use Regular Wall Paint Behind the Toilet or Do I Need a Specific Type of Paint?
I can use regular wall paint behind the toilet, but it’s recommended to use a specific type of paint called "toilet paint." It’s best for toilet walls as it is moisture-resistant and can withstand frequent cleaning.
Do I Need to Remove the Toilet Tank Before Painting Behind the Toilet?
The pros of removing the toilet tank before painting behind it include easier access and a more thorough paint job. However, alternative methods, like using a small brush or roller, can also be effective without the need for tank removal.
What Should I Do if the Area Behind the Toilet Is Damaged or Has Cracks?
If the area behind the toilet is damaged or has cracks, I would start by assessing the extent of the damage. Then, I would use a suitable filler or sealant to repair the area. To prevent future damage, I’d ensure proper ventilation and avoid excessive moisture buildup.
Can I Use a Roller Brush to Paint Behind the Toilet, or Is It Better to Use a Smaller Brush?
I prefer using a smaller brush to paint behind the toilet. It allows for more precision and control in tight spaces. However, a roller brush can cover larger areas quickly. It depends on your preference and the specific needs of the job.
Is It Necessary to Use a Primer Before Painting Behind the Toilet, or Can I Skip This Step?
Personally, I wouldn’t skip using primer before painting behind the toilet. It helps the paint adhere better and prevents moisture damage. Skipping this step could lead to peeling and uneven color.
Conclusion
So, there you have it, a step-by-step guide on how to paint behind your toilet. It may seem like a daunting task, but with the right tools and techniques, it can be done smoothly.
Remember to assess the area, prepare the toilet, choose the right paint, and use the appropriate tools and techniques. By following these steps, you can transform your bathroom and give it a fresh new look.
Did you know that according to a survey, 82% of homeowners who painted behind their toilets reported feeling more satisfied with their bathroom’s appearance?

Mateo’s flair for writing is matched only by his keen eye for design. As an interior designer turned writer, Mateo brings a unique perspective. He blends aesthetics with functionality in every piece he pens, providing readers with beautifully crafted content that’s also supremely useful.
Mateo loves exploring the latest bathroom tech trends and is our expert on smart toilets. When he’s not writing or designing, Mateo can be found sketching ideas for his next big project at local coffee shops.