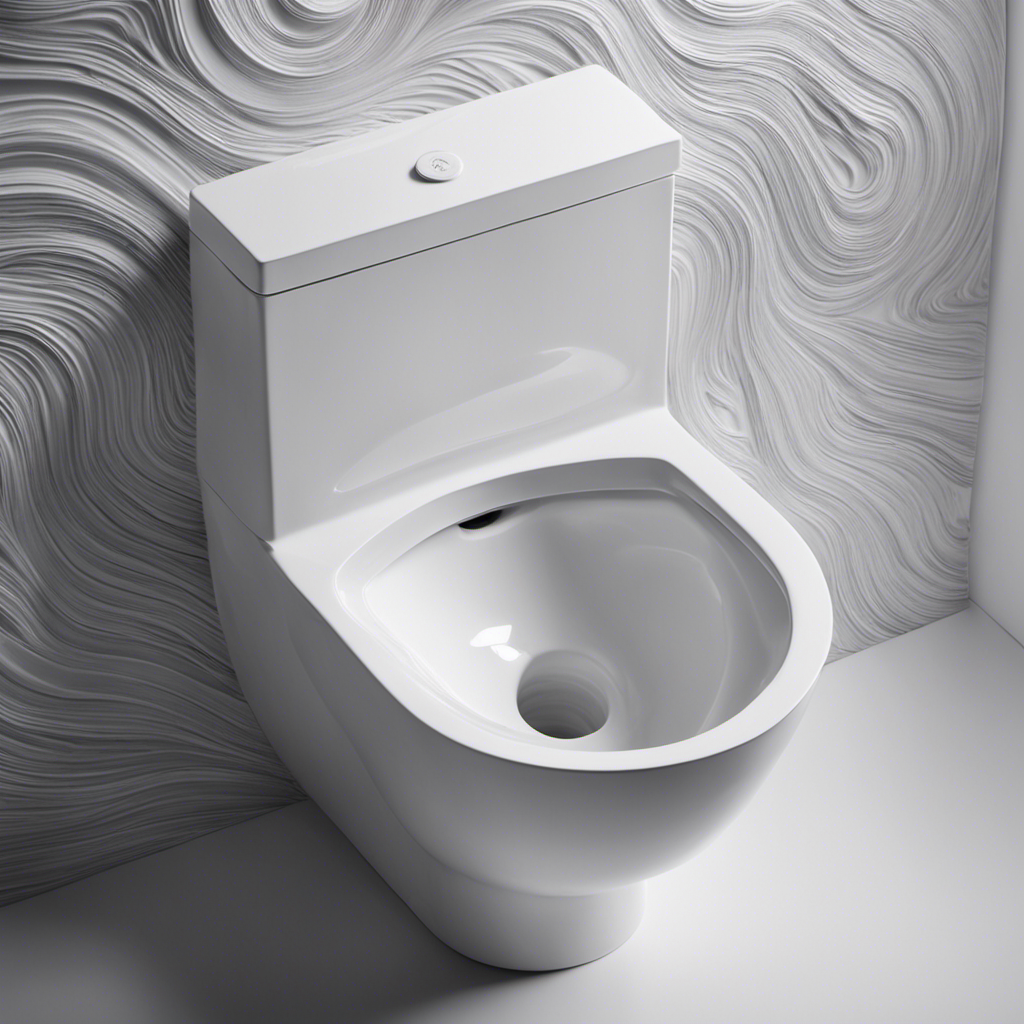

So picture this: you walk into your bathroom, ready to take care of business, only to find that your toilet is on its last legs. It’s time for a replacement.
But don’t worry, because I’m here to guide you through every step of the process. In this article, I’ll show you how to put a toilet in, from gathering the necessary tools and materials to testing and finishing touches.
Let’s get started!
Key Takeaways
- Choose a toilet that fits your bathroom’s measurements and complements its style
- Measure the rough-in distance correctly to ensure proper installation
- Use a wax ring of appropriate thickness to prevent leaks and odors
- Ensure the water supply is properly connected and the tank is securely fastened to the bowl

HOROW Compact Wall Hung Toilet Combo Set, Concealed In-Wall Toilet Tank Carrier System, Adjustable Wall Mounted Toilet Bowl with Soft-Close Seat, 1.1GPF/1.6 GPF Dual Flush Push Buttons Included, White
Package Included: The In-Wall Toilet Combo Set includes an HR-TG03W toilet bowl, a soft-close toilet seat, a concealed...
As an affiliate, we earn on qualifying purchases.
Gathering the Necessary Tools and Materials
Before starting the installation process, make sure you have all the necessary tools and materials. Choosing the right toilet is crucial. Look for one that fits your bathroom’s measurements and complements its style. Consider factors like water efficiency and ease of cleaning.
Now, let’s discuss common mistakes to avoid. One mistake is not measuring the rough-in distance correctly. This distance measures the space between the wall and the center of the toilet flange. Another mistake is not using a wax ring or using one that is too thin. This can cause leaks and unpleasant odors.
Lastly, make sure you have all the necessary tools, such as a wrench, screwdriver, and plunger, to make the installation process smoother.
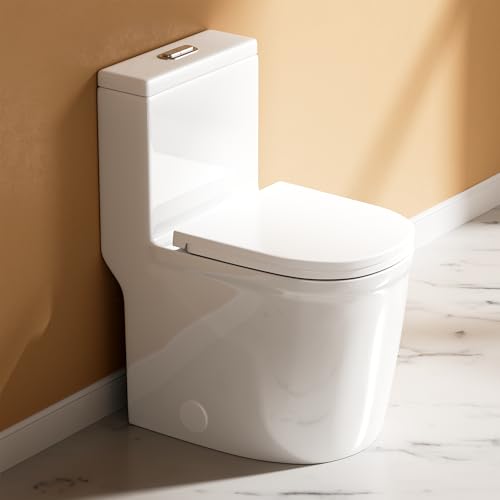
WinZo Compact One Piece Toilet 22.8" Depth Modern Short Design Dual Flush for Small Tiny Mini Bathroom 12" Rough-in,White (WZ5079)
♦ VERY SHORT DESIGN: Compact space saving design protrudes just 22.8 inches from the wall. Perfect for small...
As an affiliate, we earn on qualifying purchases.
Removing the Old Toilet
First, you’ll need to disconnect the water supply and remove the old toilet. Begin by turning off the water valve located behind the toilet. Then, flush the toilet to drain any remaining water. Using a wrench, disconnect the water supply line from the bottom of the tank.
Next, remove the nuts securing the toilet to the floor bolts. Carefully lift the toilet off the wax ring and set it aside.
Now, let’s discuss disposal options for the old toilet. If the toilet is in good condition, consider donating it to a local charity or selling it online. However, if it’s damaged or beyond repair, you can take it to a recycling center or contact your local waste management facility for proper disposal.
Common issues during this process include stubborn nuts, rusted bolts, and a stuck toilet. In these cases, applying penetrating oil, using a hacksaw, or seeking professional help may be necessary.
With the old toilet removed, we can move on to preparing the area for installation.

Comfort & Elongated Wall Hung Toilet System, Los Flexi Wall Mounted Toilet with Adjustable Floating Toilet Bowl, Durable In-Wall Toilet Tank Carrier, Soft-Close Seat & Dual-Flush Push Plate Included
Ergonomic Design for Maximum Comfort: The wall hung toilet with tank features an elongated bowl, offering a comfortable,...
As an affiliate, we earn on qualifying purchases.
Preparing the Area for Installation
To properly prepare the area for installation, you’ll need to ensure that the flange is clean and free of any debris.
Before installing a new toilet, it is important to measure the dimensions of the bathroom to ensure a proper fit. Measure the distance between the wall and the flange, as well as the rough-in distance, which is the distance between the wall and the center of the flange. This will help you choose the correct size toilet for your space.
Additionally, proper ventilation is crucial in a bathroom to prevent moisture buildup and potential damage. Make sure there is adequate airflow by installing a vent or exhaust fan. This will help keep the bathroom fresh and prevent any unpleasant odors.

VEVOR Macerating Toilet System with Powerful 700W Macerator Pump, Rear Discharge and Upflush Toilet For Basement, Dual Flush Water Disposal, Macerating Toilet System Kit with 3-Inlet, Space Saving
Powerful Transportation Power: Designed specifically for homes without pre-set drainage pipes, this macerating toilet system features a durable...
As an affiliate, we earn on qualifying purchases.
Installing the New Toilet
Make sure you’ve cleared the area and have all the necessary tools ready for the installation. Now that everything is set, it’s time to install the new toilet.
Follow these steps to ensure a proper and secure installation:
- Begin by placing the wax ring on the flange, making sure it is centered properly.
- Carefully lower the toilet onto the flange, aligning the bolt holes with the bolts on the flange.
- Gently press down on the toilet to compress the wax ring and create a watertight seal.
- Apply even pressure to ensure the toilet is level and properly aligned.
- Tighten the nuts onto the bolts, but be careful not to overtighten as it may crack the toilet base.
- Finally, test the toilet by flushing and checking for any leaks.
Testing and Finishing Touches
Once you have tightened the nuts onto the bolts, be sure to check for any leaks by flushing the toilet. This is an important step in testing your newly installed toilet. If you notice any leaks, you may need to tighten the nuts further or replace the wax ring.
Troubleshooting common toilet installation issues such as leaks, wobbling, or improper flushing can save you time and frustration. Make sure the water supply is properly connected and the tank is securely fastened to the bowl.
Additionally, choosing the right toilet seat for your bathroom is essential for comfort and style. Consider factors such as shape, material, and features like soft-closing hinges. Take measurements to ensure a proper fit and select a seat that complements your bathroom decor.
Conclusion
So there you have it, folks – the complete guide on how to put a toilet in! By following these steps and using the right tools, you can easily remove your old toilet and install a new one.
Remember to prepare the area properly, ensuring a secure and stable installation.
Test your new toilet thoroughly to ensure it’s working perfectly, and add those finishing touches to give it a polished look.
With these tips, you’ll be able to tackle this task with confidence and ease! Happy toilet installing!