As a seasoned DIY enthusiast, I’ve encountered my fair share of plumbing challenges. One particular task that can cause frustration is removing a stubborn toilet flange. But fear not! With a few simple steps, you’ll be able to tackle this task like a pro.
In this article, I’ll guide you through the process of removing a toilet flange, providing you with the knowledge and expertise needed to get the job done efficiently and effectively.
So let’s roll up our sleeves and dive into this hands-on project!
Key Takeaways
- Assess and inspect the toilet flange for damage, wear, and proper alignment.
- Gather the necessary tools and supplies, such as wrenches, pliers, putty knife, and a new toilet flange.
- Shut off the water supply and remove the toilet bowl carefully to prevent water leakage.
- Detach the toilet flange from the floor using proper techniques and tools, and clean up any residue or debris.

Elongated One Piece Toilet with Comfort Chair Seat ADA Height 17.33", Powerful Dual Flush 0.8/1.28 GPF Compact Toilet, MAP 1000g, Standard White Toilet Bowl, 12'' Rough-in
[Modern Toilets for Bathrooms]: Full skirt design elongated one-piece toilet, not only is it beautiful and elegant, it's...
As an affiliate, we earn on qualifying purchases.
Assessing the Toilet Flange
Now, you’ll need to take a close look at the toilet flange to assess its condition and determine if it needs to be replaced. Assessing the flange condition is crucial to troubleshooting any flange issues.
Start by checking for any signs of damage or wear. Look for cracks, corrosion, or any loose or broken parts. A damaged flange can cause leaks and instability, so it’s important to address any issues promptly.
Additionally, check the flange alignment to ensure it is properly seated on the floor. A misaligned flange can cause leaks and make it difficult to install a new wax ring.

HOROW HR-ST076WD Dual Flush Elongated Toilet with Soft Close Seat, High-Efficiency Supply, Standard Bathroom Toilet 12" Rough-In, White Finish
Dual Flush Modern Design: Our elongated toilet is a more classic style, with smooth shape and one-piece molding....
As an affiliate, we earn on qualifying purchases.
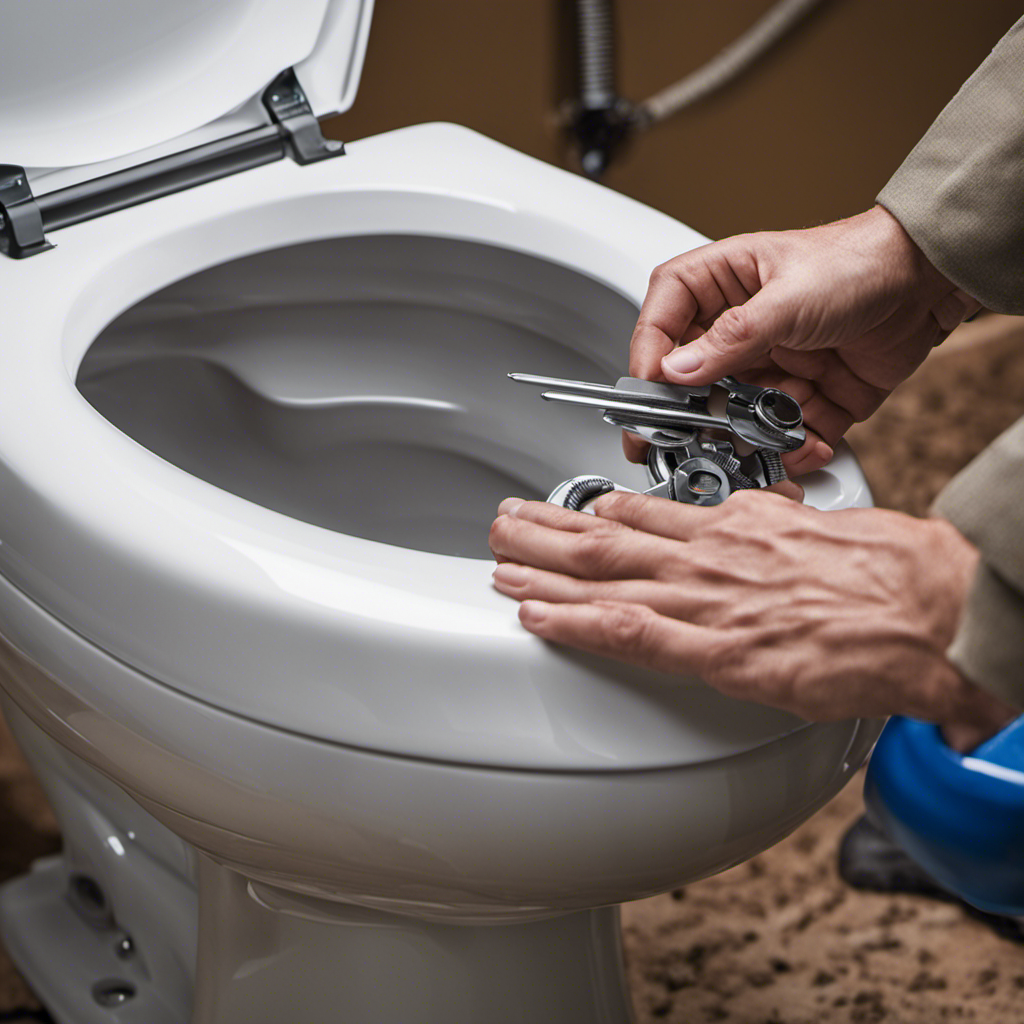
Gathering the Necessary Tools and Supplies
Before starting, make sure you have all the necessary tools and supplies for fixing a broken toilet flange.
To successfully replace a toilet flange, you will need a few specific items. First, you’ll need a wrench or pliers to remove the nuts securing the toilet to the flange.
Next, gather a putty knife or scraper to remove any old wax or debris from the flange. Additionally, you’ll need a new toilet flange, which can be purchased at your local hardware store.
Make sure to choose a flange that matches the size and shape of your existing one. Lastly, don’t forget to have a new wax ring on hand to create a seal between the toilet and the flange.
With these tools and supplies ready, you’ll be well-prepared to tackle the task of replacing a toilet flange.

DeerValley Compact One Piece Toilet with Comfortable Seat Height Modern Standard Toilet for Small Bathroom Dual Flush 1.1/1.6 GPF Powerful & Quiet 12'' Rough-In Skirted Toilets
Space-Saving Compact Toilet: Compact toilet (24½"L×13⅜"W×28⅜"H) with standard round bowl fits tight spaces, providing ergonomic seating up to...
As an affiliate, we earn on qualifying purchases.
Shutting Off the Water Supply
To start the process, you’ll want to shut off the water supply to the toilet. This is an important step to prevent any water leakage or accidents during the removal of the toilet flange. Locate the shut-off valve near the base of the toilet and turn it clockwise until it is fully closed. This will stop the flow of water to the toilet.
Next, flush the toilet to drain any remaining water in the tank and bowl. This will make it easier to work with the toilet without any water splashing around.
Once the water supply is shut off and the toilet is flushed, you can proceed to the next step of removing the toilet bowl.

DeerValley One Piece Toilet Elongated Toilet with Soft-Close Seat Powerful 1.1/1.6 GPF Dual Flush Standard Height Toilets Skirted Design 12" Rough-In DV-1F026
Modern & Comfortable One-Piece Toilet: Dimensions: 28.75" L x 14" W x 28" H. Enjoy sleek style and...
As an affiliate, we earn on qualifying purchases.
Removing the Toilet Bowl
Once you’ve shut off the water supply and flushed the toilet, it’s time to proceed with taking off the bowl.
Start by removing the toilet seat, if necessary, by unscrewing the bolts at the back of the seat.
Next, locate the bolts that connect the toilet bowl to the floor and remove the nuts using a wrench.
Once the nuts are off, carefully lift the bowl straight up and set it aside. Remember to be cautious as the bowl can be heavy.
Now that the bowl is removed, you need to properly dispose of the old toilet. Check with your local waste management facility for guidelines on how to do this.
With the bowl out of the way, you can now move on to detaching the toilet flange from the floor.
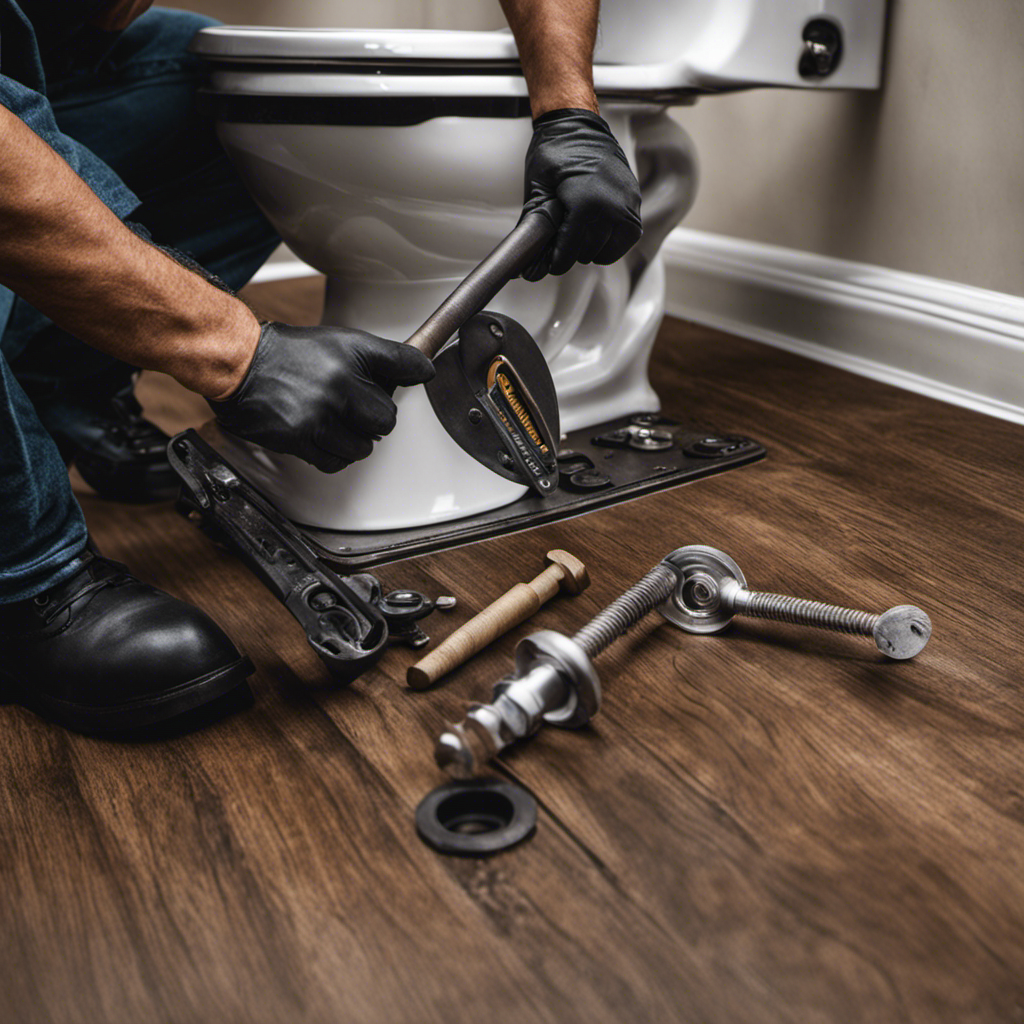
Detaching the Toilet Flange From the Floor
When it comes to removing a toilet flange, it’s important to follow proper techniques to avoid any damage or complications. Using the right tools, such as a wrench or pliers, can make the removal process much easier and efficient.
However, there may be potential challenges faced, such as stubborn or corroded flanges. In these cases, additional techniques or tools may be required to overcome the difficulties.
Proper Flange Removal
You’ll need a few tools to properly remove the toilet flange. When it comes to flange replacement or repair, it’s important to have the right equipment on hand.
First, grab a wrench or pliers to loosen the bolts securing the toilet to the flange.
Next, use a scraper or putty knife to remove any wax or adhesive residue around the flange.
Once that’s done, take a screwdriver and remove the screws holding the flange in place. If the flange is stubborn, you might need a hammer and chisel to carefully chip away at it.
Finally, use a vacuum or brush to clean up any debris left behind.
With these tools and techniques, you’ll be well-prepared to tackle the next step of flange removal.
Tools and Techniques
Now that we’ve discussed the proper removal of a toilet flange, let’s move on to the tools and techniques you’ll need for a successful toilet flange replacement or repair.
First, gather these essential tools:
- Adjustable wrench
- Screwdriver
- Hacksaw
- Putty knife
Next, follow these steps for a smooth replacement or repair process:
-
Remove the old wax ring and clean the area around the flange thoroughly.
-
Inspect the flange for any cracks or damage. If it’s in good condition, you can proceed with the repair. Otherwise, replacement may be necessary.
-
Use the hacksaw to cut off any corroded or broken bolts.
-
Install the new flange or repair the existing one, ensuring a secure fit.
Potential Challenges Faced
If you encounter any difficulties during the replacement or repair process, don’t hesitate to seek professional assistance.
Dealing with rusty flanges or removing stubborn ones can be a challenge, but with the right approach, it can be done.
When faced with a rusty flange, it’s important to first try using penetrating oil to loosen the rust and make it easier to remove. Let the oil sit for a few hours before attempting to remove the flange.
If the flange is still stubborn, you may need to use a hammer and chisel to carefully break it apart. Remember to wear protective gloves and eyewear while doing this to avoid any injuries.
In some cases, you may need to call a professional plumber to tackle the job safely and effectively.
Cleaning and Preparing for Installation
Before starting the installation process, it’s important to thoroughly clean and prepare the toilet flange. This ensures a proper and secure fit for the new flange. Here are some cleaning techniques and installation tips to help you get started:
-
Scrubbing: Use a toilet brush and a mild cleaner to scrub away any dirt, grime, or residue from the flange.
-
Inspecting: Check the flange for any cracks, damage, or corrosion. Replace the flange if necessary to avoid future problems.
-
Removing old wax ring: Carefully remove the old wax ring using a putty knife. Make sure to clean any remaining wax from the flange.
-
Applying new wax ring: Place a new wax ring onto the flange, ensuring it is centered and level. This will create a watertight seal between the toilet and the flange.
Frequently Asked Questions
How Long Does It Typically Take to Remove a Toilet Flange?
Removing a toilet flange without causing damage can be a time-consuming task. However, with some tips, it is possible to remove even stubborn toilet flanges. Patience and proper tools are key to a successful removal process.
Can I Remove a Toilet Flange Without Shutting off the Water Supply?
Sure, I can remove a toilet flange without shutting off the water supply. There are alternatives like using a plug or a bypass valve. It’s a practical solution that saves time and hassle.
What Are the Common Tools Required for Removing a Toilet Flange?
Toilet flange removal requires a few common tools. You’ll need a wrench to loosen the bolts, a scraper to remove any wax or debris, and a plunger to create suction for a smooth removal process.
Is It Necessary to Clean the Toilet Flange Before Reinstalling It?
Cleaning the toilet flange before reinstalling is crucial for proper sanitation. Lubricating it enhances the installation process. To achieve this, follow these steps: clean thoroughly, disinfect, and ensure it is dry before applying lubricant.
Can I Reuse the Same Wax Ring After Removing the Toilet Flange?
Yes, you can reuse the same wax ring after removing the toilet flange. However, it is recommended to replace it to ensure a proper seal. There are alternative sealing methods available as well.
Conclusion
In conclusion, removing a toilet flange may seem like a daunting task, but with the right tools and a little know-how, it can be done easily.
By assessing the flange, shutting off the water supply, and detaching the toilet bowl, you can safely remove the flange from the floor.
Remember to clean and prepare the area before installing a new flange.
So don’t fret, my friend, you’ve got this! Happy plumbing!