Are you tired of struggling with a stubborn toilet handle? Well, fret no more! In this informative guide, we will show you how to remove that pesky handle like a pro.
With just a few simple steps, you’ll be able to tackle this task with ease. So, grab your toolkit, turn off the water supply, and let’s get started on fixing that toilet handle once and for all!
Key Takeaways
- Pliers and a screwdriver are needed to remove the nut and screws/bolts securing the handle.
- The water supply must be shut off before removing the handle to avoid any spills or leaks.
- The tank lid should be carefully removed to access the handle.
- The chain or rod connecting the handle should be disconnected, and replacement options can be explored if needed.

GIOTOHUN Cat Water Fountain Filter Replacement: 12 Cat Fountain Filter - 12 Pet Fountain Filter - 6 Carbon Filters & 6 Foam Filters - Suitable for GIOTOHUN Stainless Steel Cat Fountain S11
- Compatible with GIOTOHUN Stainless Steel Fountain: Fits GIOTOHUN 2.2L cat water dispenser
- Set of 12 Filters: Includes 6 carbon and 6 sponge filters
- Long-lasting Filters: Suitable for 3-6 months of use
As an affiliate, we earn on qualifying purchases.
Step 1: Gather the Necessary Tools
To begin removing the toilet handle, you’ll need to gather the necessary tools. The tools you’ll need include a pair of pliers, a screwdriver, and a bucket. The pliers will help you loosen and disconnect the nut that holds the handle in place. The screwdriver will be used to remove any screws or bolts securing the handle. Make sure to have a bucket nearby to catch any water that may spill during the process.
Once you have gathered these tools, you are ready to move on to the next step and turn off the water supply, ensuring a smooth and hassle-free removal process.
Step 2: Turn off the Water Supply
First, make sure you’ve shut off the water supply before continuing with the next steps. This is crucial to prevent any water leakage or accidents.
Here’s how to turn off the water supply and proceed with replacing the toilet handle:
- Locate the water shut-off valve, usually found behind or near the toilet. It is typically a small knob or lever.
- Turn the valve clockwise to shut off the water supply. You will feel some resistance as you turn it.
- Once the water supply is shut off, flush the toilet to remove any remaining water from the tank.
By following these steps, you can safely proceed with replacing the toilet handle without the risk of water leaks.
Now, let’s move on to exploring the various handle replacement options available to you.
Step 3: Remove the Tank Lid
When it comes to removing the tank lid of your toilet, there are a few key points to keep in mind.
First, you’ll want to familiarize yourself with the lid removal techniques, such as lifting it straight up or sliding it off the tank.
Second, it’s important to take safety precautions during this process, such as wearing gloves to protect your hands and using caution to avoid any potential breakage.
Lastly, once the lid is removed, you may have several options for replacement. This can include purchasing a new lid or exploring alternative options such as custom-made or decorative lids.
Lid Removal Techniques
You can easily remove the toilet lid by gently lifting it upwards. Here are three lid removal techniques to help you with your lid replacement and troubleshooting common handle issues:
-
Wiggle Method: Start by gripping both sides of the lid firmly. Gently wiggle it back and forth while applying upward pressure. This technique is effective for loosening a stubborn lid that may be stuck due to years of use or mineral buildup.
-
Lever Technique: Locate the hinges on the back of the toilet tank. Lift the lid slightly and use a flathead screwdriver or a butter knife to pry open the hinge caps. Once the caps are removed, carefully lift and remove the lid from the tank.
-
Lift and Slide Method: If your toilet lid has sliding hinges, simply lift the lid upwards and then slide it towards the back of the tank. This technique allows for easy removal without the need for prying or wiggling.
Remember to handle the lid with care to avoid any damage. These lid removal techniques should make the process smooth and hassle-free, allowing you to proceed with your lid replacement or handle troubleshooting.
Safety Precautions for Lid Removal
To ensure your safety while removing the lid, it’s important to handle it with caution and avoid any sudden movements.
Removing the lid of a toilet can be a simple task, but it’s important to be aware of potential hazards.
First, make sure the toilet is not in use and the water supply is turned off.
Next, locate the screws or bolts holding the lid in place, usually located at the back of the toilet.
Use a screwdriver or wrench to carefully loosen and remove them.
Once the screws are removed, lift the lid straight up, being careful not to tilt it or apply too much force.
Remember, the lid is often heavy and fragile, so handle it with care to avoid injury or damage.
Following these safety precautions will help ensure a successful toilet handle replacement without any accidents.
Lid Replacement Options
Consider exploring different lid replacement options available to you, such as different materials, colors, and designs that can enhance the overall look of your toilet.
Here are three options to consider:
-
Wooden Lid: A wooden lid can add a touch of warmth and elegance to your bathroom. It is durable, easy to clean, and comes in various finishes, such as oak or mahogany.
-
Soft-Close Lid: Tired of slamming toilet lids? A soft-close lid is the solution. It features a mechanism that allows the lid to close slowly and quietly, preventing any accidental noise or damage.
-
Decorative Lid: Want to make a statement? Opt for a decorative lid with intricate patterns or designs. From floral motifs to geometric shapes, you can find a lid that matches your personal style and adds a unique touch to your bathroom decor.
Step 4: Disconnect the Chain or Rod From the Handle
To continue the process of removing the toilet handle, the next step is to disconnect the chain or rod from the handle.
This is an important step as it allows you to remove the handle completely and replace it if needed.
In some cases, you may want to explore alternative handle options, which can offer different designs or features to enhance the functionality of your toilet.
Chain or Rod Removal
You can easily remove the chain or rod by disconnecting it from the toilet handle. Here are three troubleshooting tips to help you with this process:
-
Locate the chain or rod attached to the toilet handle. It is usually connected by a small clip or hook.
-
Gently slide the clip or unhook the rod from the handle. Be careful not to damage the handle or any other parts of the toilet.
-
Once detached, you can now replace the chain or rod with a new one if needed. There are various replacement options available at hardware stores or online.
By following these steps, you can successfully remove the chain or rod from the toilet handle.
Now, let’s explore alternative handle options that you can consider for your toilet.
Alternative Handle Options
Now that you understand how to remove the chain or rod from your toilet handle, let’s explore some alternative handle options.
If you’re experiencing issues with your current handle, such as constant sticking or difficulty flushing, it may be time for a replacement. Toilet handle installation is a fairly straightforward process that requires minimal tools.
First, ensure that you purchase a handle that is compatible with your toilet model. Once you have the new handle, follow the manufacturer’s instructions for installation.
Troubleshooting toilet handle issues can be frustrating, but with the right replacement handle, you can restore proper functionality to your toilet.
Now that you have an idea of alternative handle options, let’s move on to step 5: unscrew or unclip the handle from the toilet.
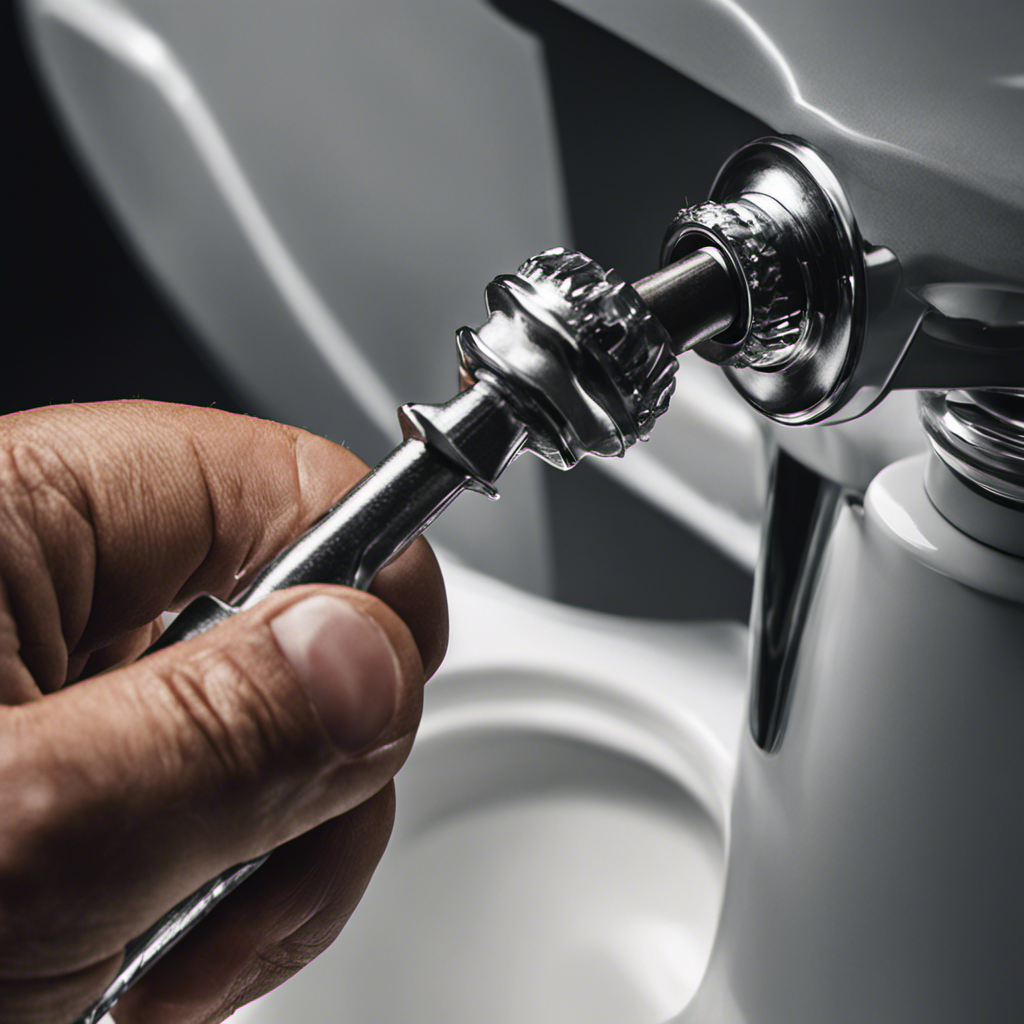
Step 5: Unscrew or Unclip the Handle From the Toilet
First, take a look at the toilet handle and locate the screws or clips that need to be unscrewed or unclipped. This is an essential step in removing the handle from the toilet.
Here are three steps to guide you through the process:
-
Carefully unscrew the screws: Using a screwdriver, turn the screws counterclockwise until they are loose enough to remove. Be cautious not to drop them into the toilet bowl.
-
Gently unclip the handle: If your toilet handle is held in place by clips, locate them and press or squeeze them together to release the handle. Pull the handle away from the toilet once it is free.
-
Remove any remaining attachments: Check for any additional screws or clips that may still be holding the handle in place. Unscrew or unclip them, if necessary, before completely removing the handle.
Step 6: Replace or Repair the Toilet Handle if Needed
After successfully unclipping or unscrewing the toilet handle, it is time to consider replacing or repairing it if necessary.
Toilet handle maintenance is important to ensure proper functioning of your toilet. If you are experiencing any issues with your toilet handle, troubleshooting the problem is essential before deciding whether to replace or repair it.
Common toilet handle issues include a loose or wobbly handle, a handle that does not flush the toilet properly, or a handle that gets stuck in the down or up position.
To troubleshoot these issues, check if the handle is securely attached to the toilet tank, inspect the chain or lift wire for any tangles or damage, and make sure the flapper or flush valve is working correctly.
If these troubleshooting steps do not resolve the problem, it may be necessary to replace or repair the toilet handle.
Conclusion
In conclusion, removing a toilet handle is a simple task that can be done in just a few steps. By gathering the necessary tools, turning off the water supply, and carefully disconnecting the chain or rod from the handle, you can easily unscrew or unclip the handle from the toilet.
If needed, you can then replace or repair the handle. Remember, taking care of your toilet handle promptly will prevent any potential problems in the future. So, seize the opportunity to skillfully solve this simple toilet trouble!