So, you’ve noticed a leaky toilet and suspect that the culprit might be a worn-out wax ring. Don’t worry, removing a wax ring from your toilet is easier than you think!
In this article, we’ll guide you through the step-by-step process of removing and replacing that pesky wax ring. With just a few tools and a little bit of patience, you’ll have your toilet back in tip-top shape in no time.
Let’s get started, shall we?
Key Takeaways
- Rubber gloves and tools like a putty knife or scraper are needed for the removal process.
- The water supply to the toilet must be shut off to prevent further damage.
- The toilet needs to be disconnected from the water supply and removed from the floor.
- The old wax ring should be scraped off, and a new wax ring should be properly aligned and installed for a tight seal.

Elongated One Piece Toilet with Comfort Chair Seat ADA Height 17.33", Powerful Dual Flush 0.8/1.28 GPF Compact Toilet, MAP 1000g, Standard White Toilet Bowl, 12'' Rough-in
[Modern Toilets for Bathrooms]: Full skirt design elongated one-piece toilet, not only is it beautiful and elegant, it's...
As an affiliate, we earn on qualifying purchases.
Tools and Materials Needed
To successfully remove the wax ring from the toilet, you’ll need a few tools and materials. First, gather a pair of rubber gloves to protect your hands from any residue.
Next, grab a putty knife or a scraper to carefully remove the wax ring. Make sure to have a bucket or a plastic bag nearby for proper disposal of the old wax ring.
Once removed, it’s important to discard it in a trash bag and seal it tightly to prevent any unpleasant odors.
Additionally, if you’re considering alternative options to wax rings for toilet installation, you might explore using a wax-free ring or a rubber gasket. These options provide a reliable seal and are easier to remove and replace when needed.

Casta Diva One Piece Toilet Elongated with 17.5" ADA Height Comfort Chair Seat Compact Modern Toilets for Bathroom, Dual Flush High Efficiency 1.0/1.28 GPF & MAP 1000g, 12'' Rough-in, White
17.5" Comfort Height & Elongated Bowl: ADA Compliant Toilet, designed with an ergonomic comfort height seat 17.5" from...
As an affiliate, we earn on qualifying purchases.
Step 1: Shut off the Water Supply
First, make sure to shut off the water supply before proceeding. Shutting off the water supply is crucial when it comes to replacing a wax ring and fixing a toilet leak. By doing so, you prevent any water from flowing into the toilet bowl, minimizing the mess and making the process easier.
Locate the water shut-off valve, usually located on the wall behind the toilet or near the floor. Turn the valve clockwise until it is fully closed. This will stop the water flow to the toilet.
Once the water supply is shut off, you can proceed with confidence to remove the wax ring and fix the toilet leak, knowing that you have taken the necessary step to prevent any further water damage or leaks.

HOROW HR-ST076WD Dual Flush Elongated Toilet with Soft Close Seat, High-Efficiency Supply, Standard Bathroom Toilet 12" Rough-In, White Finish
Dual Flush Modern Design: Our elongated toilet is a more classic style, with smooth shape and one-piece molding....
As an affiliate, we earn on qualifying purchases.
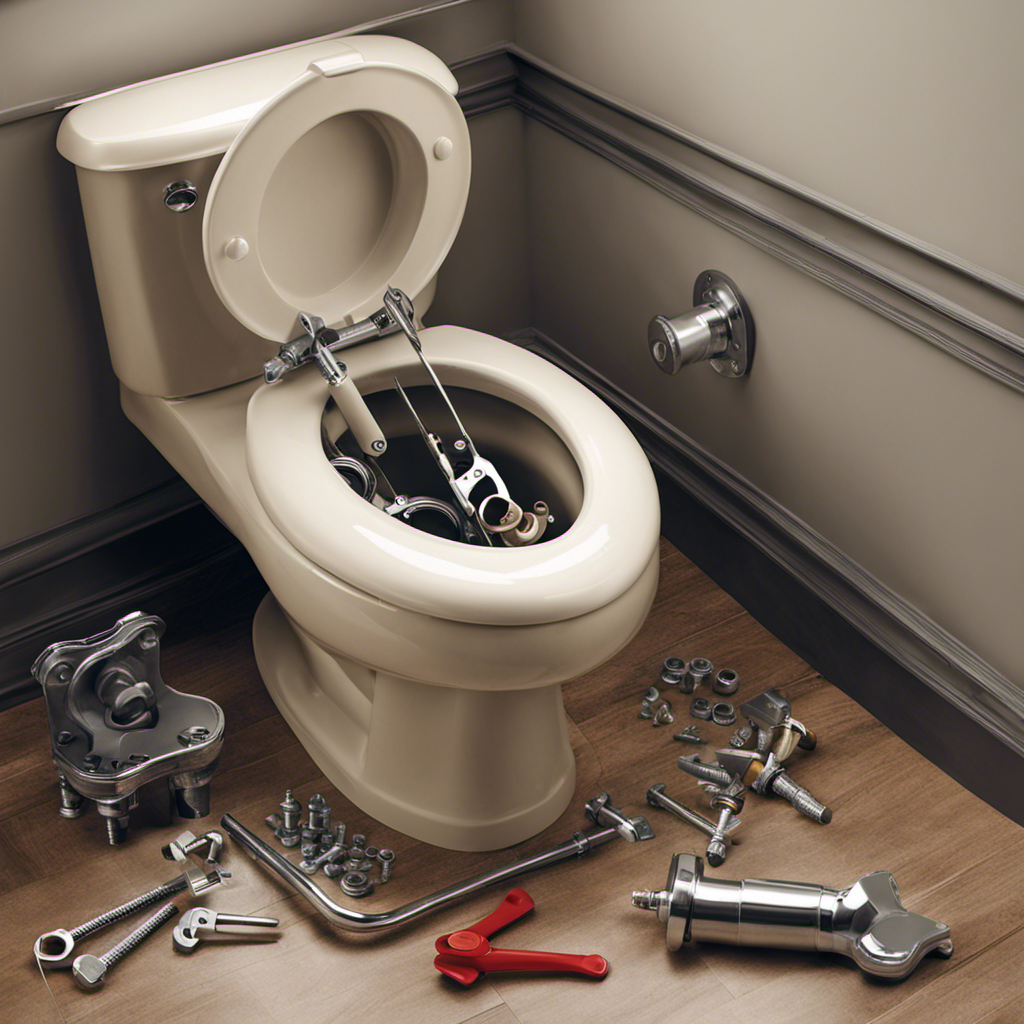
Step 2: Remove the Toilet
Now, it’s time to take off the lid of the toilet tank and carefully disconnect the water supply line.
Removing the toilet is an essential step in the toilet removal process. First, turn off the water supply valve located near the base of the toilet. Flush the toilet to drain any remaining water in the tank and bowl.
Next, loosen the nuts that secure the water supply line to the bottom of the tank. Use a wrench to do this, making sure not to overtighten or damage the fittings. If you encounter any issues, such as a stuck or corroded nut, applying some penetrating oil can help loosen it.
Once the water supply line is disconnected, you can proceed to the next step: scraping off the old wax ring.

DeerValley One Piece Toilet Elongated Toilet with Soft-Close Seat Powerful 1.1/1.6 GPF Dual Flush Standard Height Toilets Skirted Design 12" Rough-In DV-1F026
Modern & Comfortable One-Piece Toilet: Dimensions: 28.75" L x 14" W x 28" H. Enjoy sleek style and...
As an affiliate, we earn on qualifying purchases.
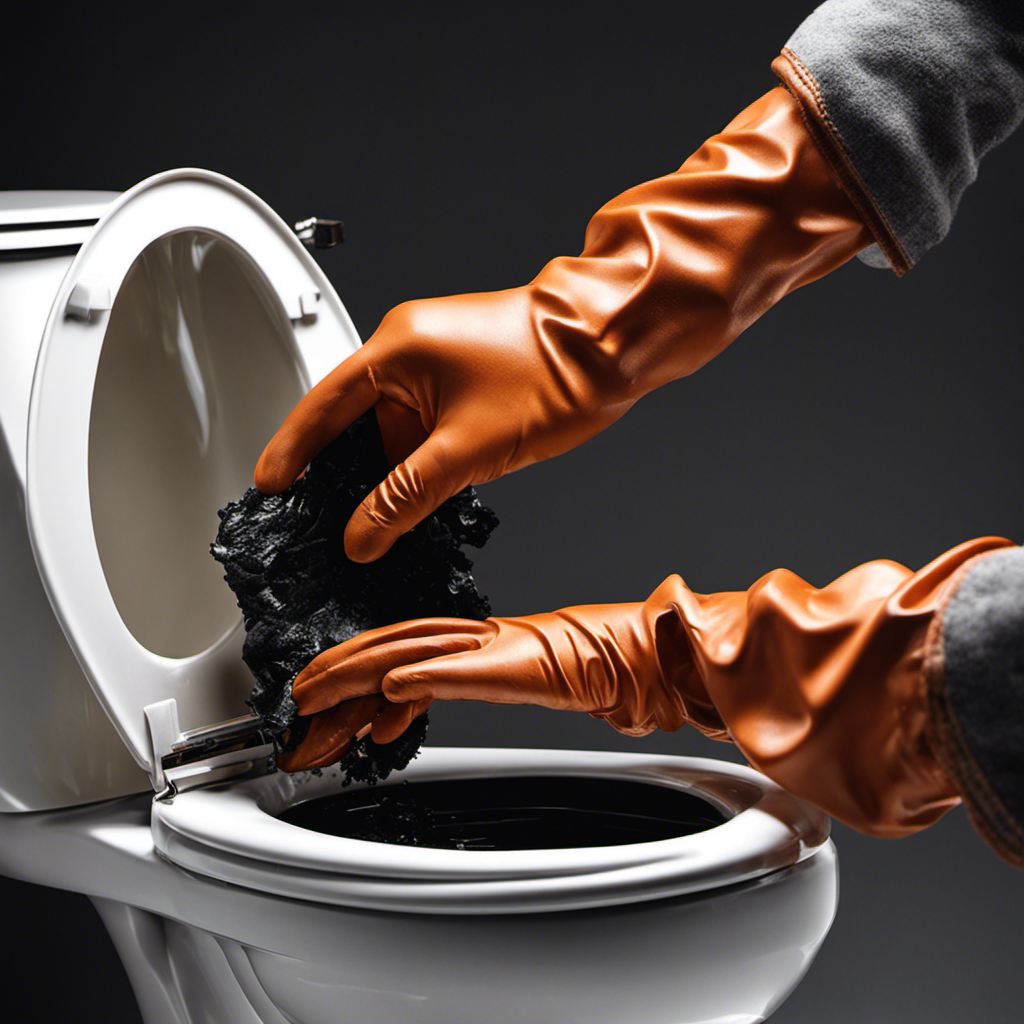
Step 3: Scrape off the Old Wax Ring
After disconnecting the water supply line, use a putty knife to carefully scrape off the old wax ring.
To remove the wax residue and clean the toilet flange, follow these steps:
- Start by gently scraping off any visible wax residue from the flange using the putty knife.
- Use a rag or paper towels to wipe away any remaining wax residue.
- If there are stubborn areas, you can use a cleaner specifically designed for removing wax, following the manufacturer’s instructions.
- Inspect the flange to ensure it is clean and free from any debris or wax remnants.
- Once the flange is clean, discard the old wax ring and prepare for the installation of a new one.
With the old wax ring removed and the toilet flange cleaned, you are now ready to move on to the next step: installing a new wax ring.
Step 4: Install a New Wax Ring
To ensure a proper seal, align the new wax ring with the flange before pressing it down.
Installing a wax ring is an essential step in sealing the toilet base and preventing any leaks.
First, remove the old wax ring and clean the flange thoroughly.
Then, position the new wax ring on top of the flange, making sure it is centered and aligned properly.
Gently press the toilet bowl onto the wax ring, ensuring that it sits evenly on the floor.
Apply downward pressure to compress the wax ring and create a tight seal.
Remember to tighten the bolts evenly on both sides to secure the toilet in place.
This proper installation of the wax ring will help keep your bathroom floor dry and prevent any unwanted odors.
Conclusion
So now you know how to remove a wax ring from your toilet! By following these simple steps, you can ensure a clean and efficient process.
Remember to shut off the water supply, remove the toilet, scrape off the old wax ring, and install a new one.
With the right tools and materials, this task can be completed in no time.
So why wait? Isn’t it time to get your toilet back in working order?